Ahhh! I can’t believe I forgot to share this one with you all! This piece has actually been finished for awhile now, but I just realized that Vicki and I didn’t share the process with you. And it is such a good one too!
Cedar chests or “hope chests” have been around for many many years. They were originally used by a young bride to bring her household items to her new home when she was married. Some are made completely out of cedar and some are lined with cedar which is an aromatic wood that repelled bugs and fungus, making it perfect for storing items!
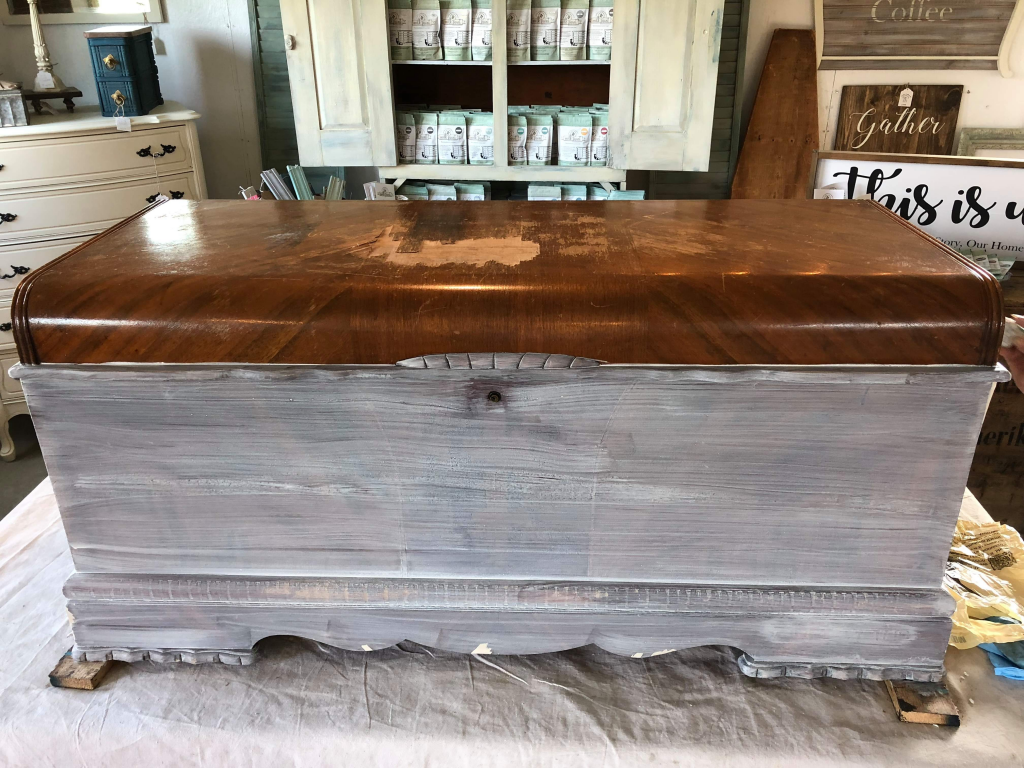
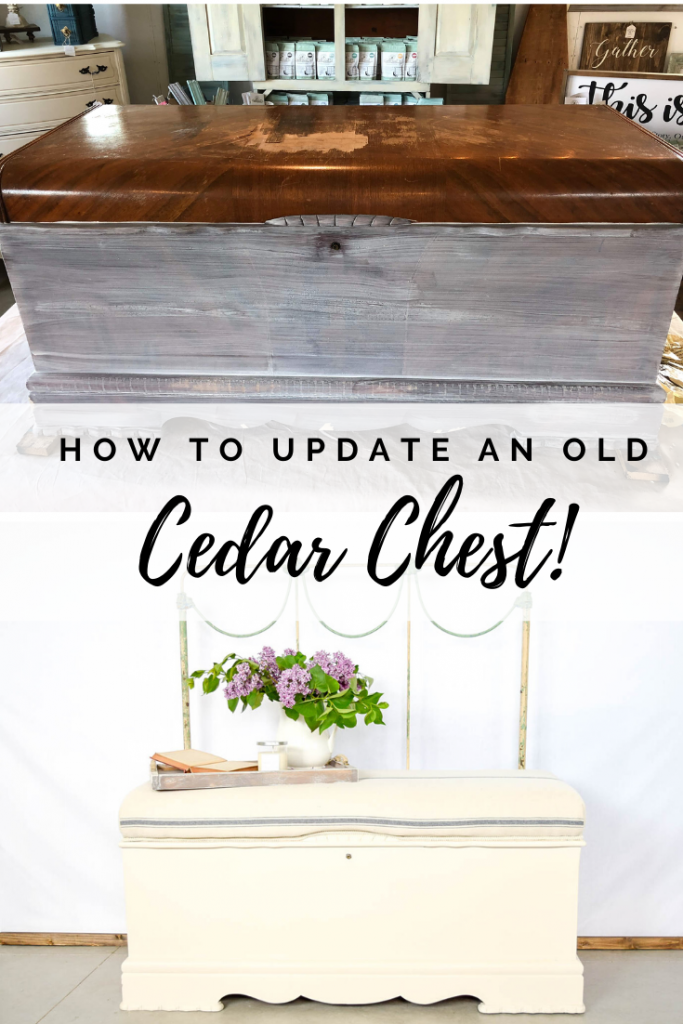
Here is the Before…well actually the during! We had one coat of cream paint on the bottom here, but you get the picture.
Today, you don’t see a ton of people utilizing cedar chests like they used to, but we are here to share how to take an old cedar chest and make it into something updated and new!
This little piece is an Ed Roos “Sweetheart” chest. It was lined with cedar that is still very aromatic, but was then veneered on the outside which was totally peeling off all over the top.
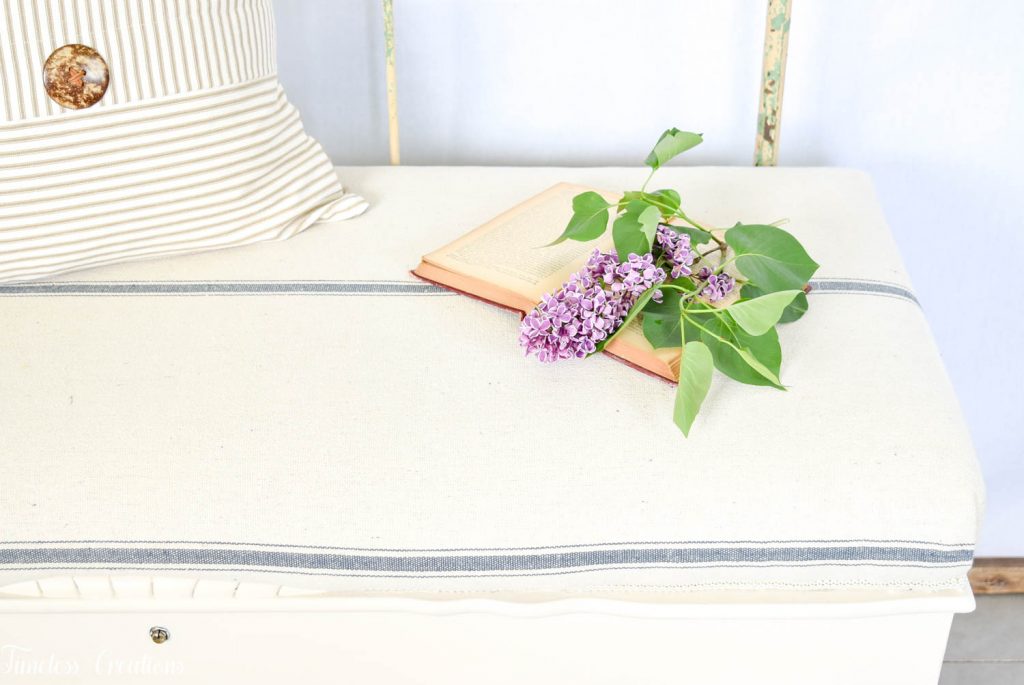
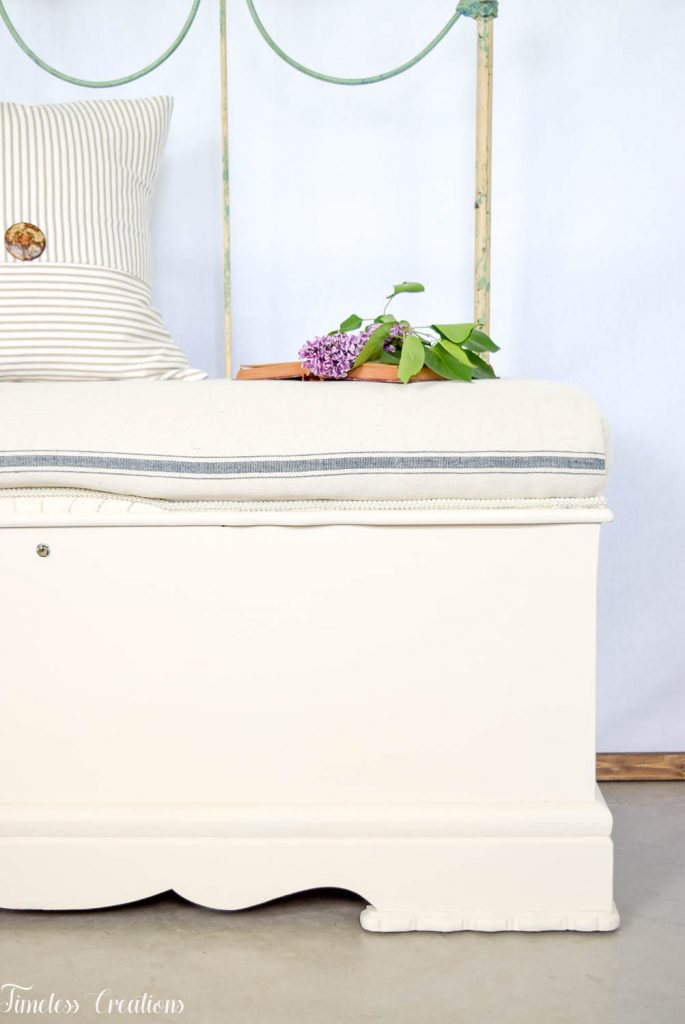
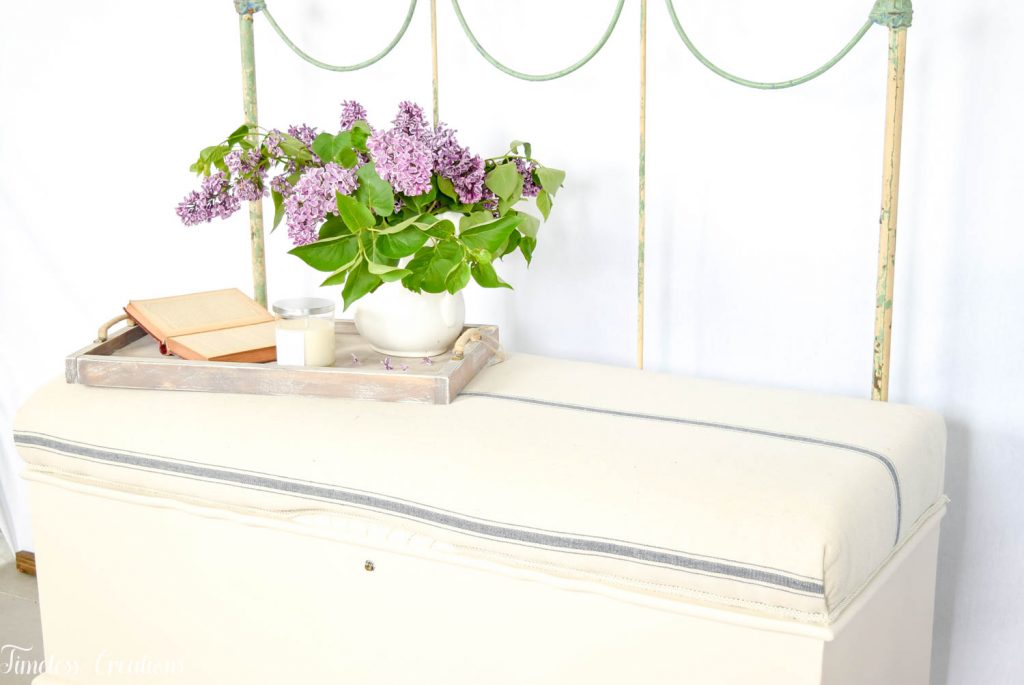
Because of all the damaged veneer we decided it needed to all come off and instead of re-applying more veneer we decided to give it a new look and cover it using one of our favorite fabrics – grainsack!
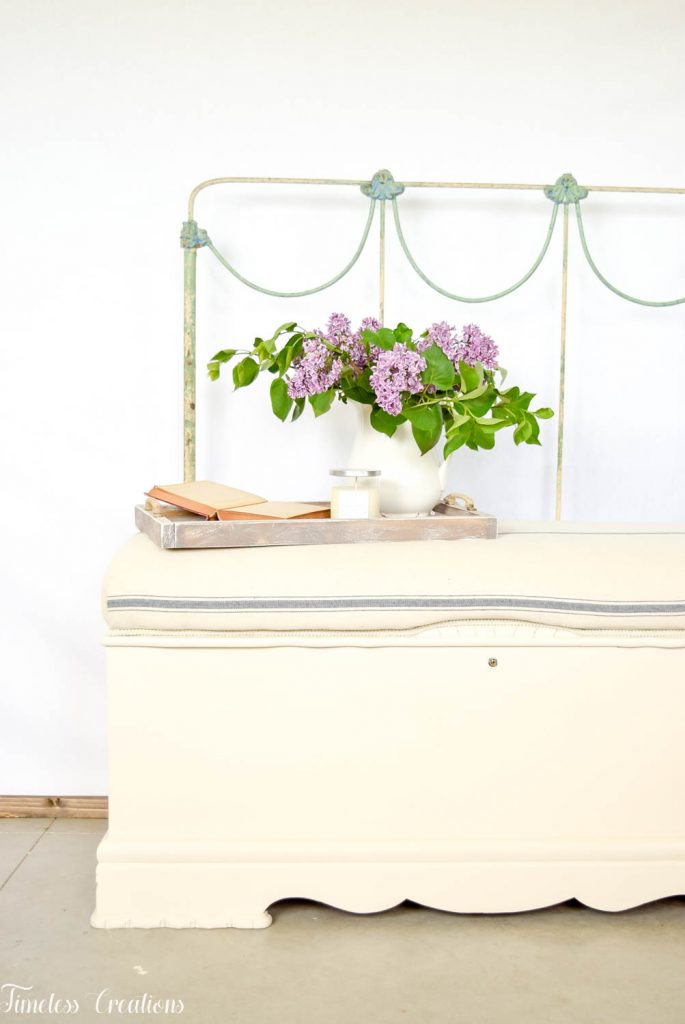
That way this piece could double as a very comfortable bench as well as storage! We made sure to give it a nice thick cushion using thick foam but didn’t wrap the cushion (only the fabric) on the backside so that the top continued to open and close perfectly. To keep your foam from moving around use spray adhesive and apply liberally to both the top of the cedar chest and the foam. Then apply pressure to your foam so it sticks. I apologize for not having photos for this part as we did it so long ago.
Once your foam is adhered, add batting over the top and staple down. Then you can begin stapling the fabric around. Make sure to pull your fabric tight enough so it doesn’t end up bunching later, but not too tight where it pulls and makes funny creases in your foam. A happy medium is perfect!
The back of the piece was painted as well and would work perfectly in virtually any space. Personally we picture it at the end of a bed as a beautiful bench with bonus storage! So if you find yourself with an old hand-me-down cedar chest, or find one at a sale, now you know how to update it for a style that is more modern. We have already had a client ask to do the same exact thing to a cedar chest she already owned.
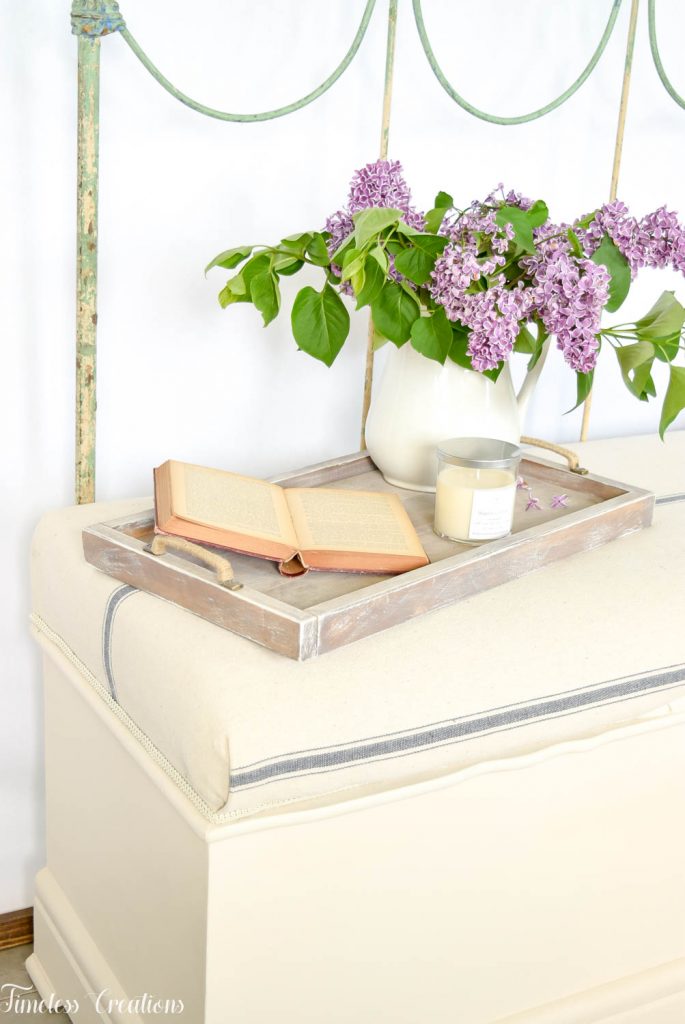
Then to top it off we just added that pretty braided trim around all of the edges to hide the staples. It is very simple to do, you just want to make sure your staples are all in a row for the trim to go on straight. The color of this particular trim is beautiful and goes with so many of our fabrics that we are constantly running out!
If you are DIY-ing something similar just make sure you come up with a good plan on how you are wrapping the fabric on the top. (Or not) You might not be able to wrap the fabric around the back, in that case just paint the entire back piece if it’s necessary for your space. Definitely up to you!
Here is where you can find all of the items needed to DIY your own cedar chest:
Spray Adhesive / Grain Sack Fabric / Batting / Foam / Paint is Fusion Mineral Paint “Champlain” / MORE Fusion Colors / Upholstery Stapler / Staples / Braid Trim



So, love the painted cedar chest, but could you explain how you ended the fabric if you didn’t cover the back. Could you provide a picture or something? I have an old Lane Chest that I want to do just the same with., but I”m not sure about the back.
Thanks,
Linda
Hi Linda, I’m not sure If I have a photo since we did this so long ago and it sold already. For this one we were able to pull the fabric all the way around the back and attach it because the hinges were hidden inside. That way it came all the way around and levelly matched the front.
We have since done the exact same paint and upholstery of a second cedar chest and the hinges of that one were too large and not hidden. That way the fabric wasn’t at the same level all the way around. We had to wrap the fabric only about an inch down on the back instead of level all the way around. It looked totally fine! You just have to try to keep your line of fabric really straight so that when you place the trim on top of your staples you can get an even and straight line of trim.
I am also looking to do this very same with an old cedar chest. I am also confused about the cushion top. The cedar chest I have does not have a cushioned top and how would you recommend having a cushion attach to the top so it doesn’t fall off each time you open?
Hi Anne,
For our Cedar Chest we took upholstery foam and adhered it to the top of our cedar chest so it doesn’t move around. We then added batting and the fabric over the foam and stapled it all along the edge. We used a spray adhesive, sprayed the top of the cedar chest as well as the foam and let it sit while applying pressure before upholstering over it. This prevents it from slipping. You also have to pull your fabric tight enough so it doesn’t bunch WHILE STILL keeping in mind you don’t want to pull too tight to create pulling in your fabric. It is a happy medium. We made sure to only apply the foam to the top and not wrapped around where it would get in the way of opening the top. Same thing with your fabric. You must make sure your fabric can be applied without hindering the opening of your cedar chest.