Welcome to Week 2 of the One Room Challenge where we are making over Kristen’s bathroom! We have so much fun joining in on these makeover challenges that we decided to do another one! If you missed all of the “before” photos as well as our inspiration and plan for the room check it out below for Week 1.
Week 1 /
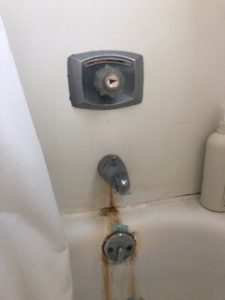
Well, like I mentioned last week when sharing our before photos, we wanted to dig in right away with the biggest part of the makeover – the tub. The bathtub was the main reason for this makeover actually. The previous owners had painted over the old blue tub, and while it looked O.K. when we first viewed the house, after just a short couple months it was terrible. The paint was starting to peel off in spots and because the bath spout had a minor leak to it, the white paint quickly became stained.
There you can see the stains and partially peeling paint. It was much worse by the drain!
But it wasn’t in our budget to change right away, so we lived with it. But now that my daughter is two years old and still taking baths in a plastic baby tub, we knew we needed to get this done! To save some money we decided to do it ourselves! Holy smokes….
After much deliberation, research, and recruiting of knowledgeable (and handy) family members we decided to go for it!
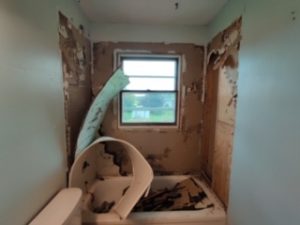
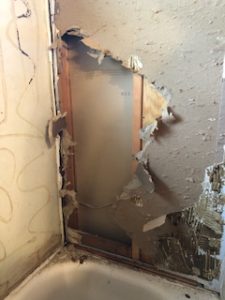
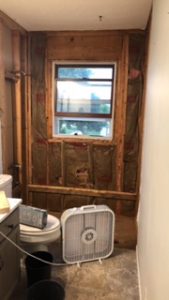
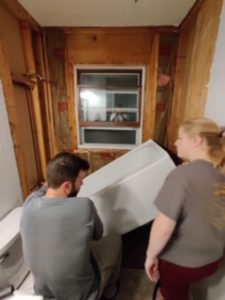
We began with demo-ing the shower liner on the wall. It was a flimsy little material and came off pretty easily. Then came the sheetrock underneath. I personally didn’t do much of this part since we had my husband, brother, and brother-in-law all there to help. The guys pretty much did it all while I watched my daughter and made food for everyone! While it was nerve-wracking to begin this big project we were only semi-confident in, we made it fun too!
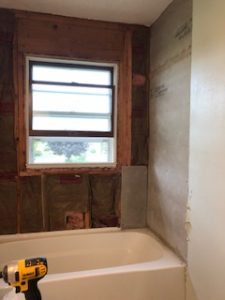
After the walls were out, they began on the tub. Once they got that out it took my husband and brother-in-law quite a while to figure out all the plumbing. It was mainly due to not having the correct supplies. Once they found that out, a Menard’s run was the only option! Lucky for us our sub-floor was in great condition and was level! It was such a relief!
My husband pretty much followed This Video on how to put the drain kit on and the tub back in without having to deal with going from underneath and creating a hole in our downstairs ceiling.
It took half the night to put the drain kit and the tub back in but that was because my husband was being very thorough. He read the directions and tested everything out. We didn’t want any kind of water leak, or having to go through the ceiling from below. So we took our time to make sure it was correct.
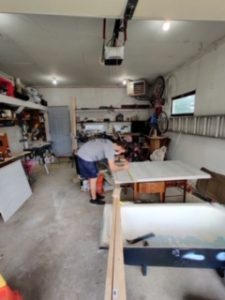
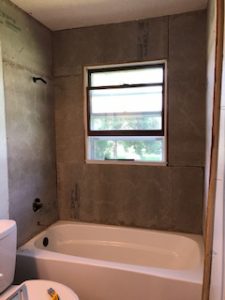
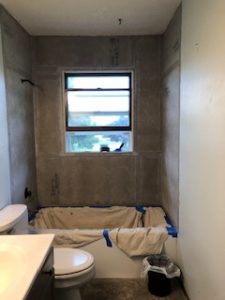
After the tub was put back in we got to start in on the cement backer-board. It was a fairly easy step, just time consuming (like most of this tub replacement is turning out to be.) Once we figured out how best to cut the cement board it went a lot smoother! My husband and brother-in-law did all the cutting while I screwed the pieces in. It went pretty smoothly – except for cutting the circular holes for the plumbing – that took a while to get through.
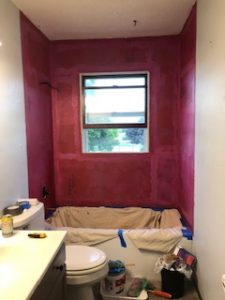
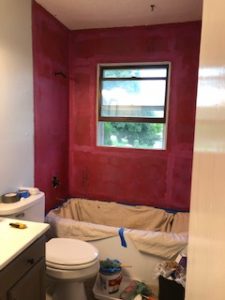
Once the cement board was up we then had to tape and mortar all the seams. When you are doing this part, keeping the mortar smooth is key so you don’t have any problems with your tiling later. After that was completely dry we then had to seal the cement board to make it water proof. It was a couple coats of this smelly red goop stuff that I was able to essentially paint on. Again, while not difficult, it was just time consuming with all of the dry time.
And after the red goop it was tile time! We learned how to tile from my cousin when he did the subway tile on our kitchen back splash. He was very patient with us and taught us all his tips and tricks! We will be sharing the tile part for next week, but it is going pretty well and we are pretty much finished with it. It is looking really good friends! I am so happy!
Until next week!




great progress !
Paloma – https://palomaguzman.wordpress.com/2019/10/10/one-room-challenge-week-2-living-room/
Thank you so much Paloma!
Hi i tried to find the paint color from country chic that you used pop the bubbly… love the color but i cant find in thre color list? Thank you
Hello! We do not actually sell Country Chic Paint. You can go to their website and find a retailer near you to order. It looks like the color is still on their list of colors so I would assume they still carry it. Here is the country chic website. https://www.countrychicpaint.com/