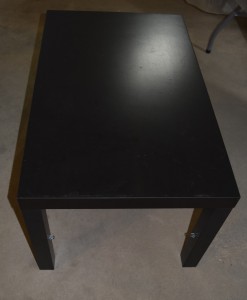
While a college student who was on a very limited budget, Ikea was an awesome place to shop! However, the pieces there are usually fairly plain, kind of modern and aren’t my normal style for my home.
For your convenience in locating products we have used this article contains affiliate links. All products are items we use ourselves and have formed our own opinions on. For our full disclosure go to our “Disclosures” page.
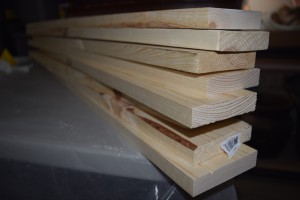
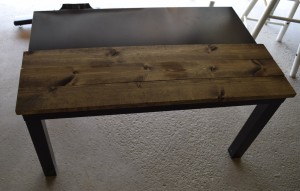
An easy way to give it an update is to add board planks right to the existing top! I went and picked out 1×4 pine boards from my local hardware store for this project.
They came in 6 foot lengths which was perfect, all I had to do was cut the boards in half which left just a small overhang on each end of the table.
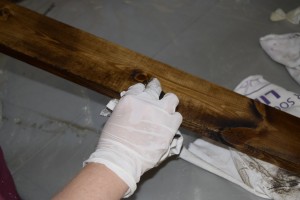
I then stained the boards first with Minwax Dark Walnut stain, which I thought would be easiest to do since I could handle the boards easier.
However, that was not the greatest of ideas!
I found out the next day that it was a mistake to stain first because a couple of my boards had warped from being wet. I would stain after having the boards glued if I were to do it again.
Next, I grabbed our wood glue and got ready to attach the boards! I did have to measure for the overhangs on the ends and on the sides. I liked the look of having a real tabletop instead of cutting the boards to perfectly fit the top. We would have had to cut the boards lengthwise to perfectly match the existing top and we didn’t have the correct saw to do that.
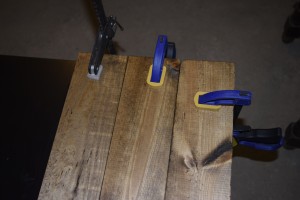
After you get your measurements, start by glueing board by board. We started at one end, placed glue on the board, then moved the board to where it was supposed to be. We then clamped both ends down.
(Watch out for seeping glue underneath the boards! Wipe with a damp paper towel or rag.)
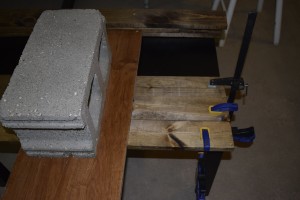
After getting the boards down with the ends clamped we did put weight in the middle of the table (i.e. a cinderblock!) to make sure the glue and boards were completely adhering to the table.
We did put an extra board between the cinderblock and the tabletop so it didn’t scratch or indent the pine.
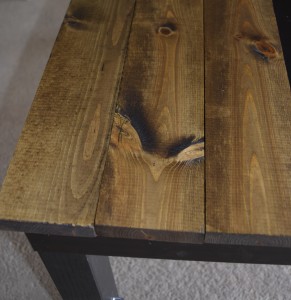
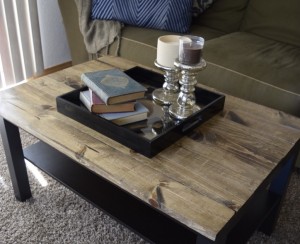
After your all done, finish the table top off with a few coats of Polycrylic to seal it! I applied about 5 coats since a coffee table gets a lot of use at our house.
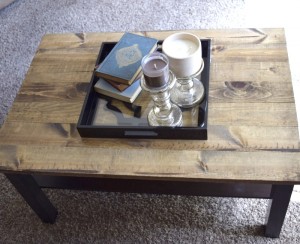
And there is the finished product in its new home! I love it! Was such an easy and cheap update without having to go out and buy a new (more expensive) table.


Leave a Reply