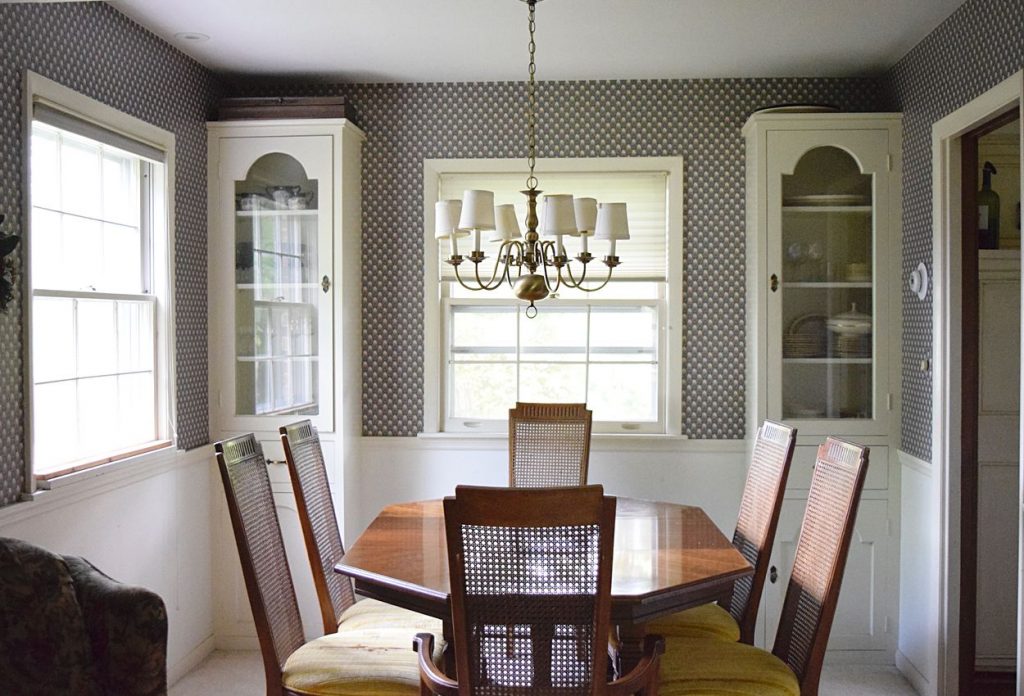
This last Memorial Day my husband and I decided to take an extra long weekend so we could travel to my in-laws and makeover their dining room for them. The previous year Vicki and I had added molding and painted their kitchen cabinets for an updated look and therefore the dining room was next in line!
For your convenience in locating products we have used, this article contains affiliate links. All products are items we use ourselves and genuinely recommend. For our full disclosure go to our “Disclosures” page.
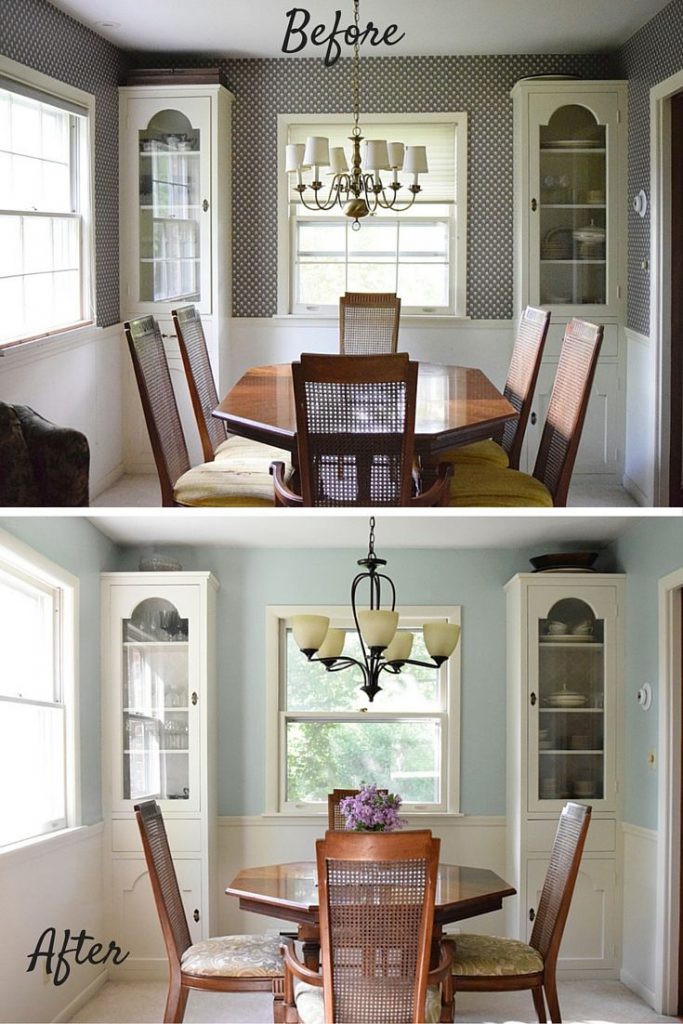
While deciding on a design theme for this room, we knew the old wallpaper just had to go…It was peeling off in one spot and made the room feel very small with its dark colors and small pattern. We then noticed that all of the trim, the two windows, and the inside and outside of the built-ins would all need to be given a fresh coat of paint. Vicki suggested that after we paint the built-in cabinets it would look great to stencil the inside for a fun visual detail.
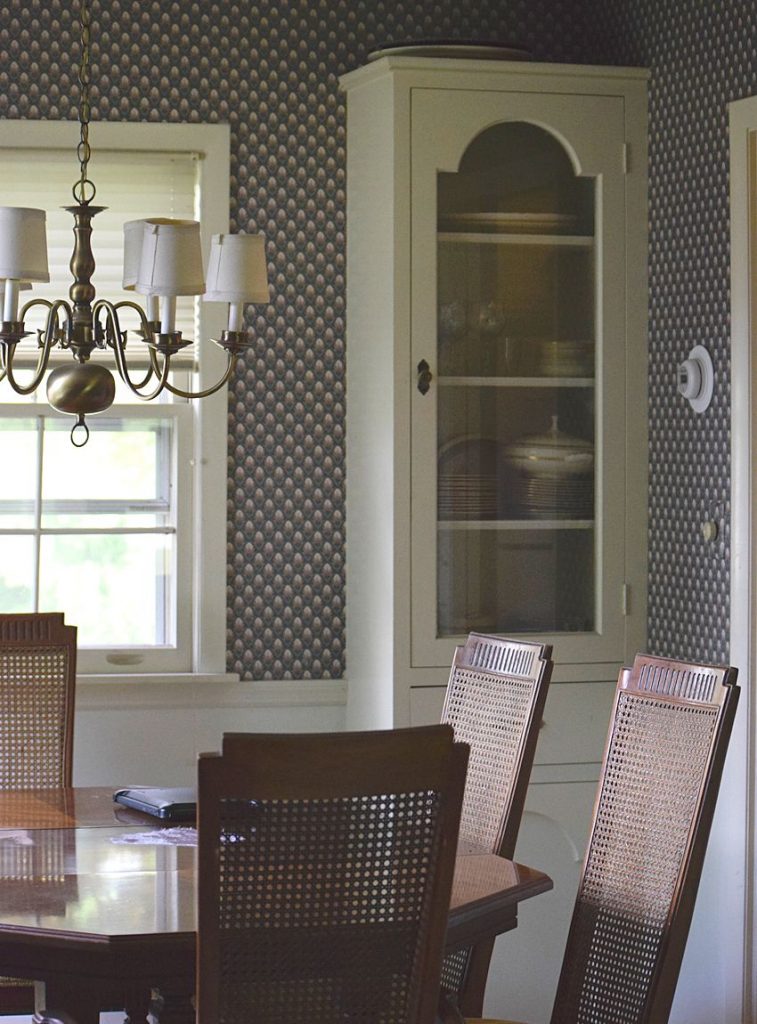
Once everything was agreed upon, we began the not-so-fun prepwork of clearing and cleaning the room. Faceplates were removed, the walls and trim were wiped down with soapy water, and we began to remove wallpaper. If you haven’t ever removed wallpaper, it is not that difficult, it’s just time-consuming and annoying. All we did was take a spray bottle of white vinegar and water and drenched the wallpaper starting from the top down. Start peeling at a seam or corner using a putty knife to get started. It ended up coming off in two layers, we peeled the top layer then went back and drenched the bottom layer even more and peeled that off.
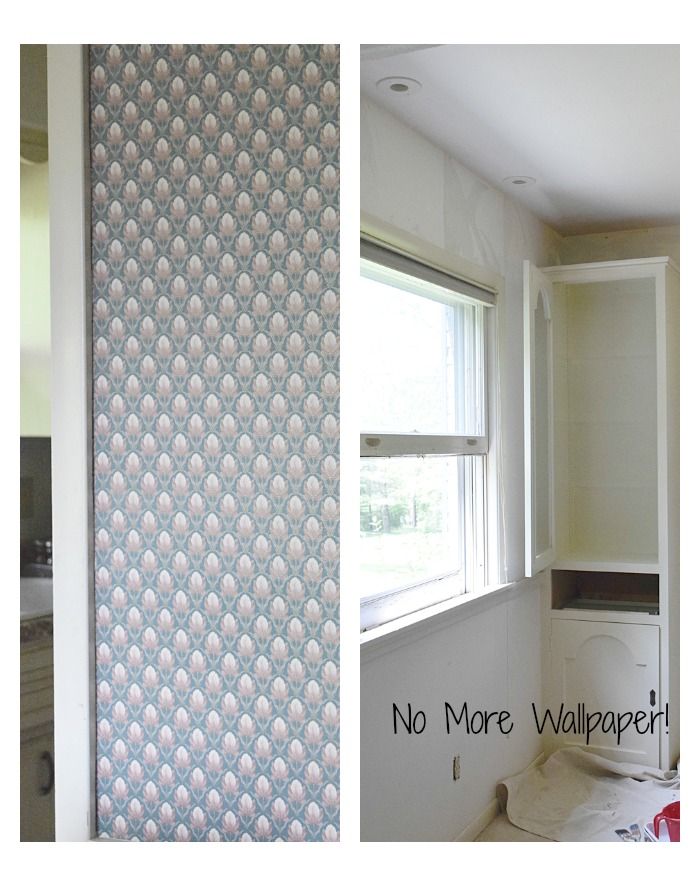
But under that wallpaper was a surprise for us! Well..Luckily it wasn’t more wallpaper, but it was straight sheetrock and hadn’t been plastered at all. SO…we stepped back and decided the top part of the walls were going to be textured using Joint Compound and a large putty knife.
I had previously textured Vicki’s office in her house using a rustic edged technique, but for this dining room we wanted the look to be more elegant. I decided to smooth the joint compound on and instead of edges, I used the putty knife to create “swirls” or rounded half circles. I got to use my creativity for this since the “swirls” were added in no particular pattern or size but I had to do what looked “right”.
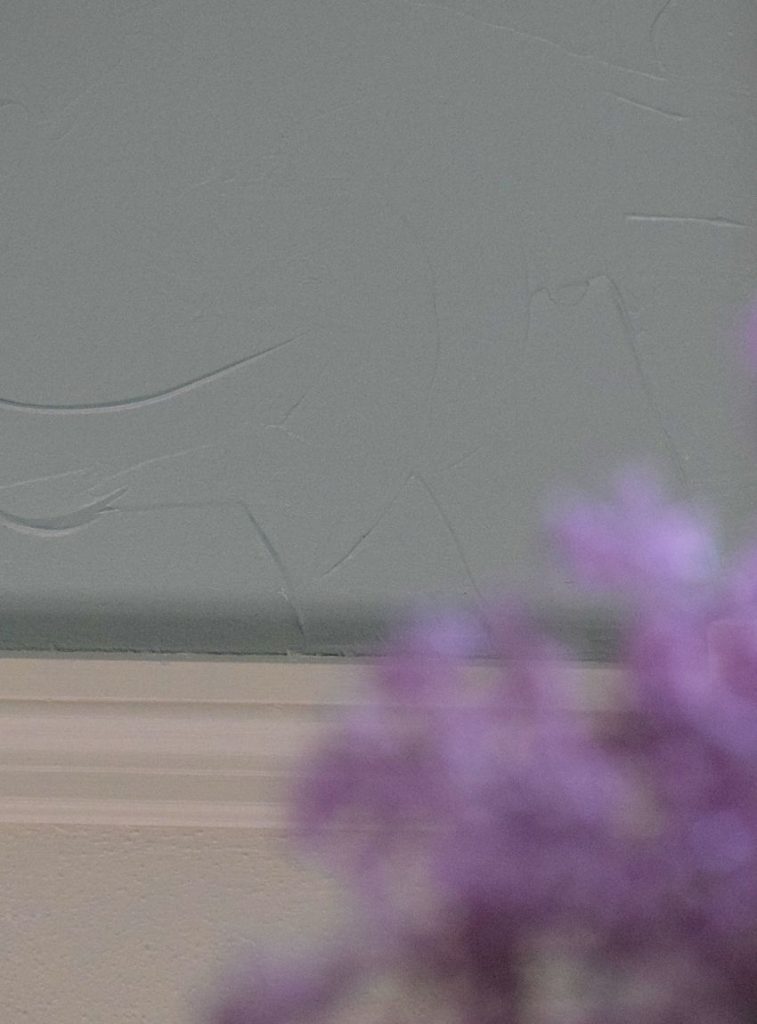
We allowed the texture to dry overnight but painted the trim, bottom wall, windows and cabinets in the meantime. We used leftover Behr paint we had lying around from The Home Depot for it all.
The next day we went back to the upper wall to paint the texture. We used Behr paint again in a light green color named “Mountain Falls” which was perfectly matched to the greens and blues in the new fabric we purchased to reupholster the dining chairs.
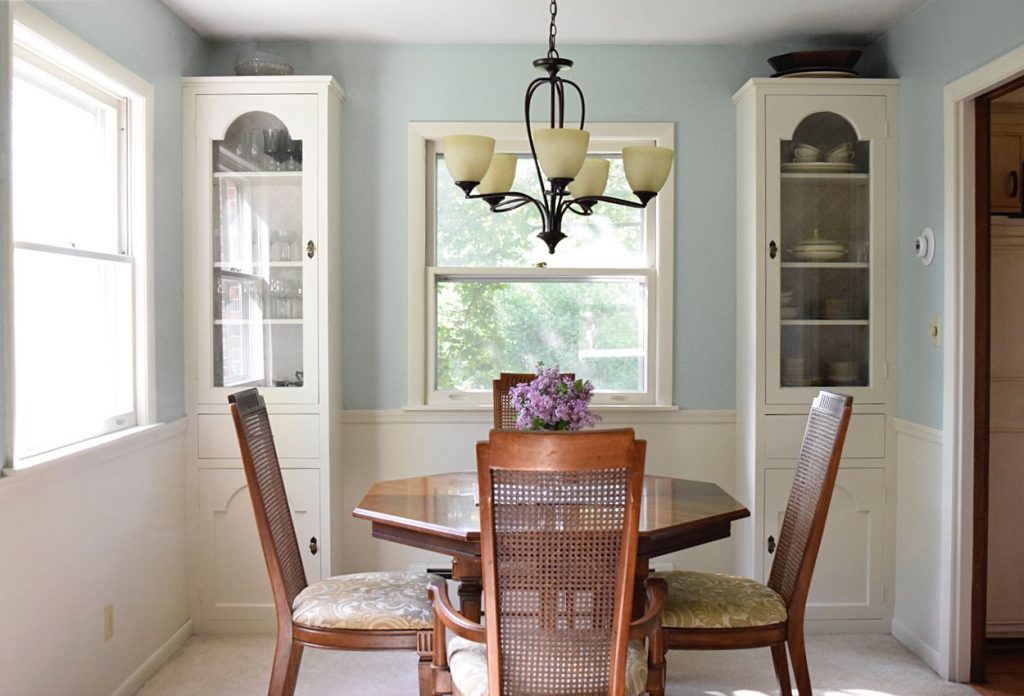
After everything was freshly painted and my husband began to put the knobs, and faceplates back on I grabbed a wall stencil in a “moroccan” pattern and my beige paint, (“Understated” by Behr) lined up the stencil and rolled the paint on with a small sponge roller. Decide how you are going to measure and line up the stencil before you begin. We did one column from top to bottom, let that dry, and then lined up starting in the middle for the second column.

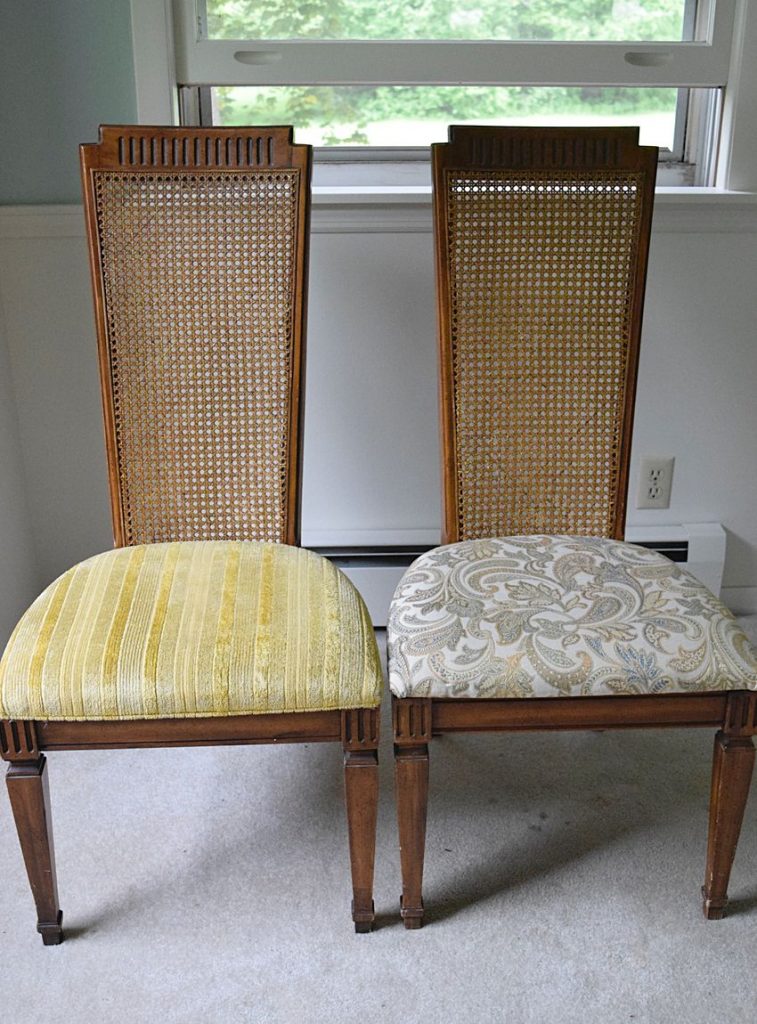
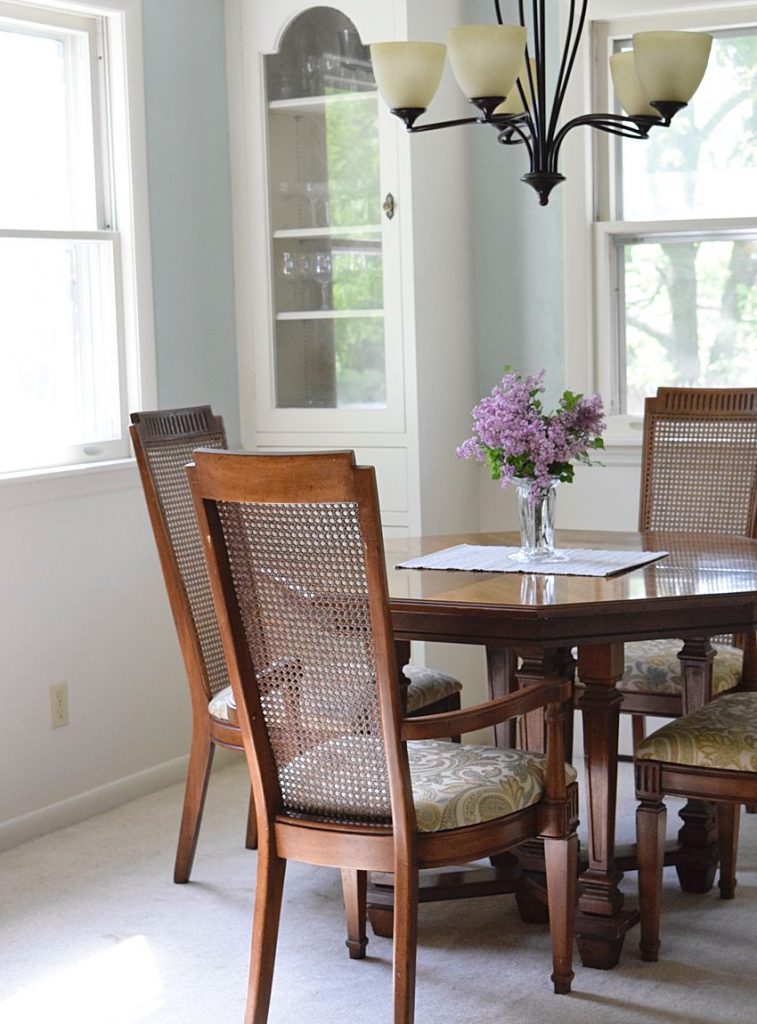
All that was left after the paint was to reupholster the dining chairs! The seats popped right out of the frame so I set my husband to tearing off the old fabric while I cut the new. Then I just stapled the beautiful new paisley fabric from Joann Fabrics right around the edges and screwed the seat back in! (If you want a full tutorial to recover a chair seat, click here)
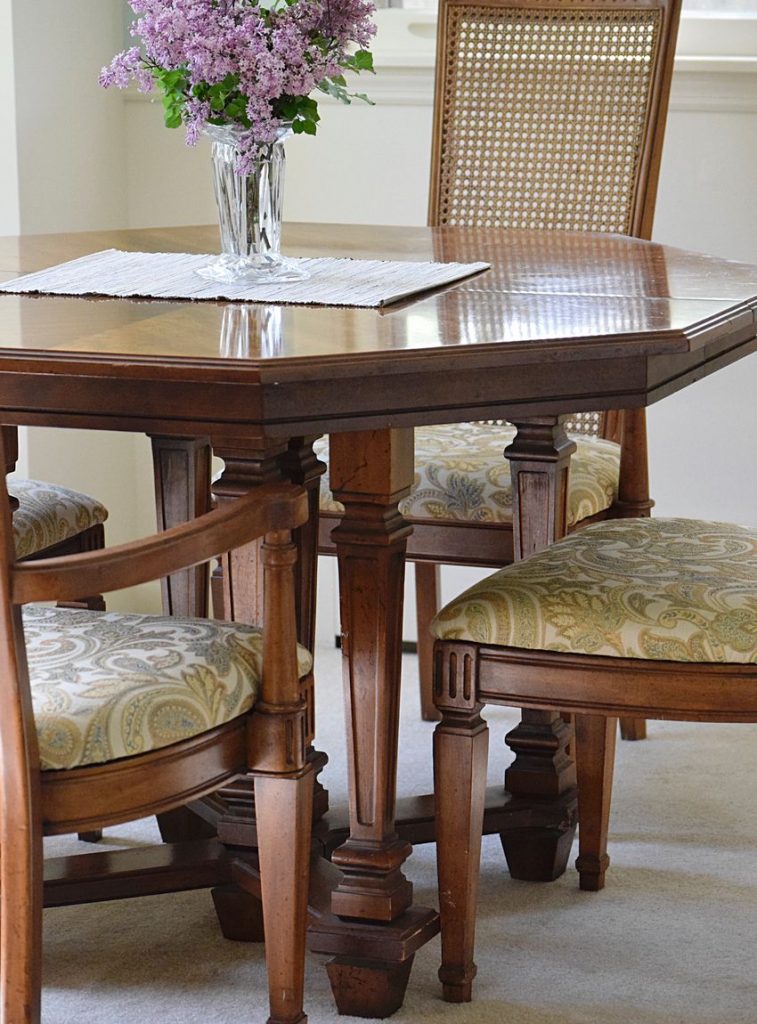
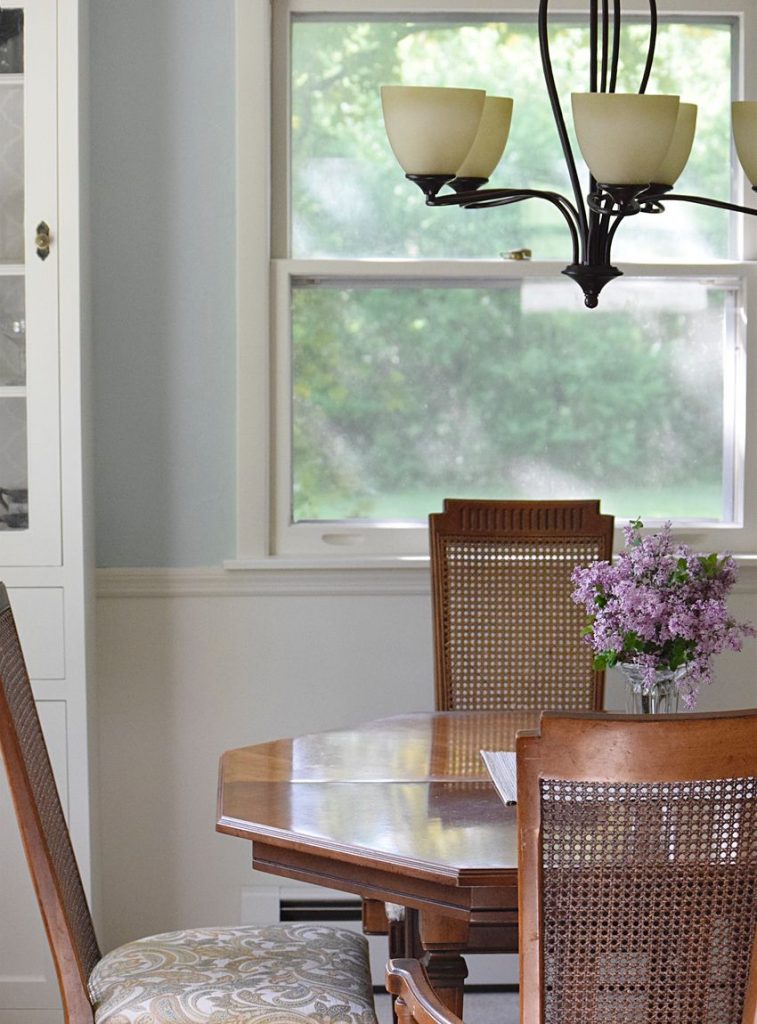
We topped off the room makeover with a new chandelier that tied together the entire look. Then we added the china back into the built-ins and set up the table and new looking chairs under the chandelier.
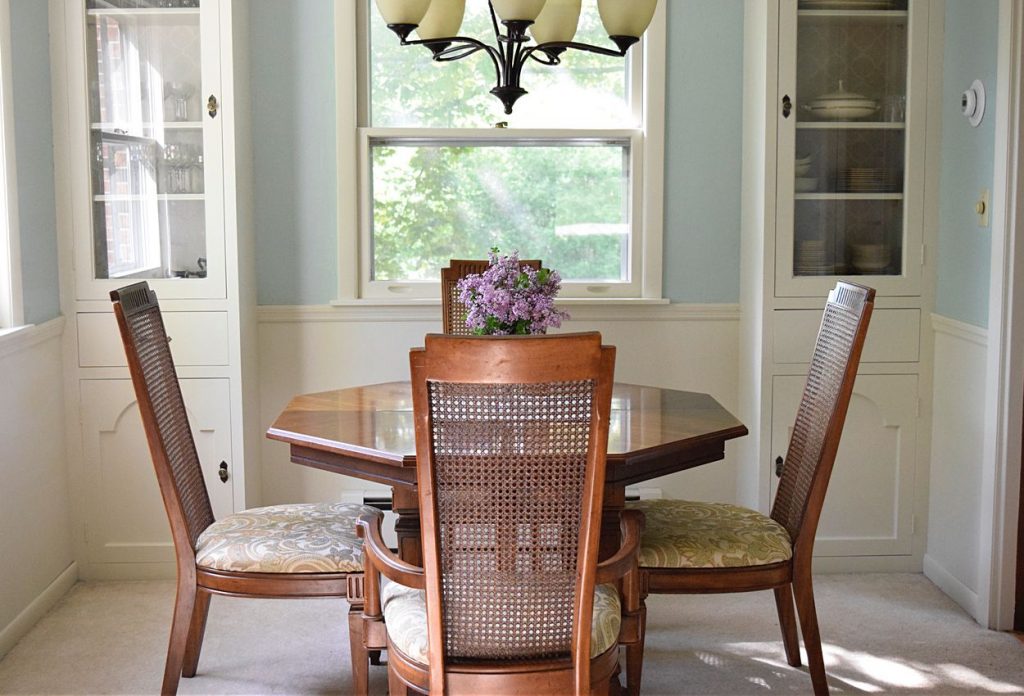
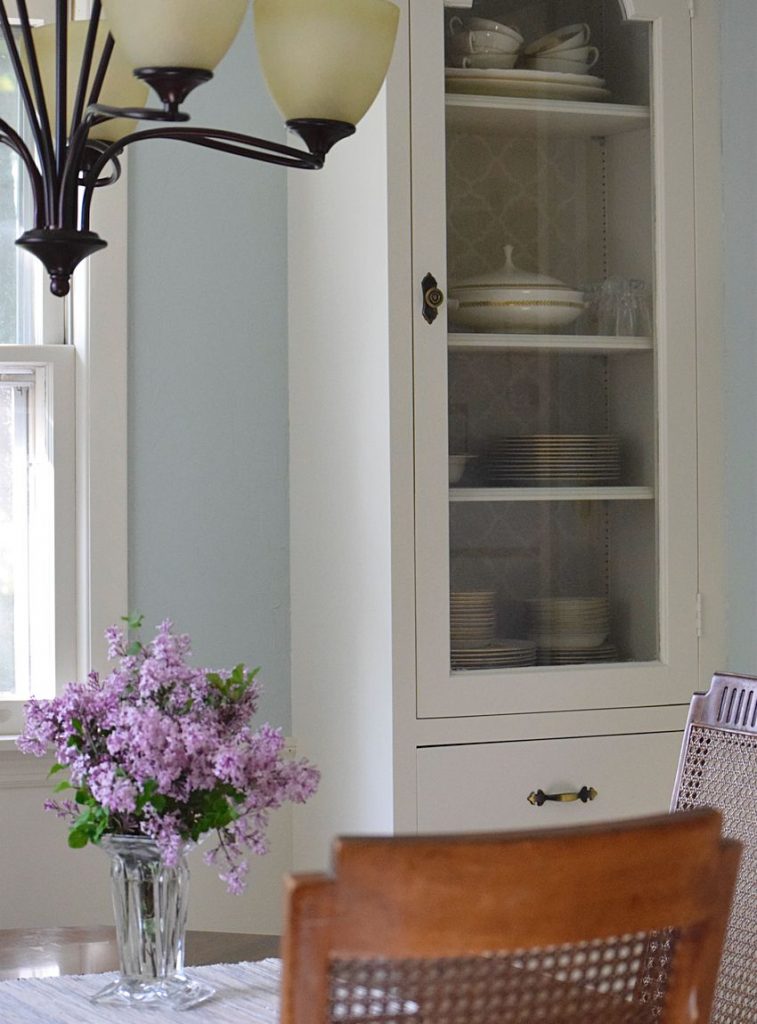
The dining room went from having dark and dated wallpaper to a bright and airy updated room!
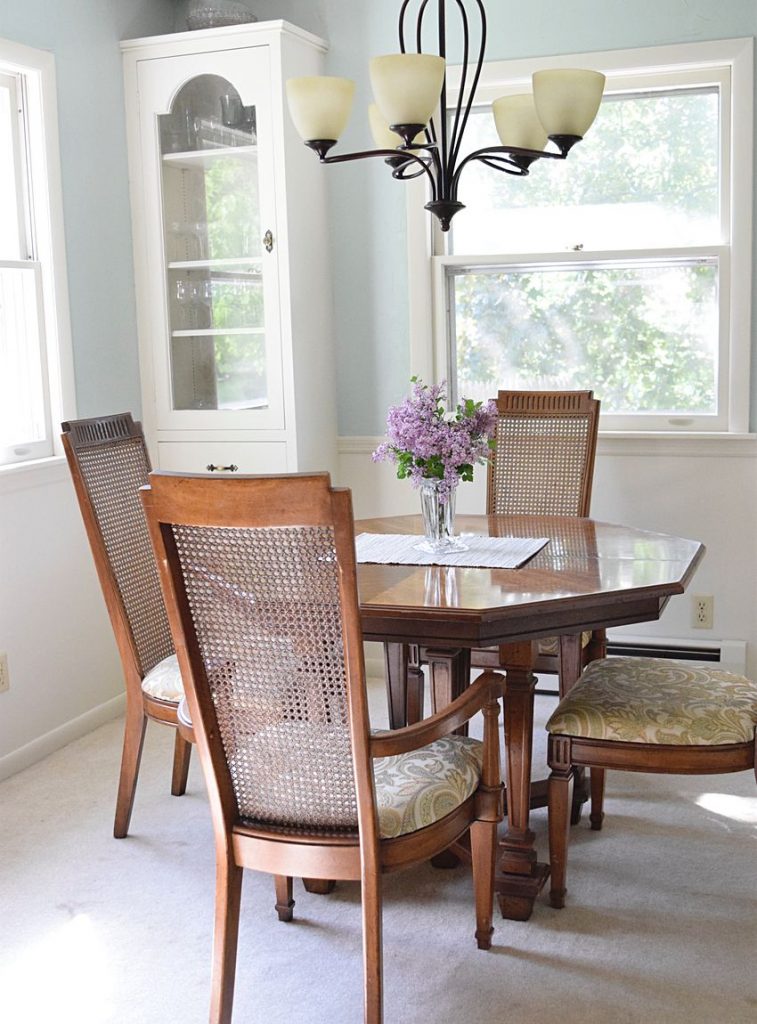
I think the upper wall color was just absolutely perfect for this small room. It made it so bright, but I love that in some light it looks green and in other light it looks blue.
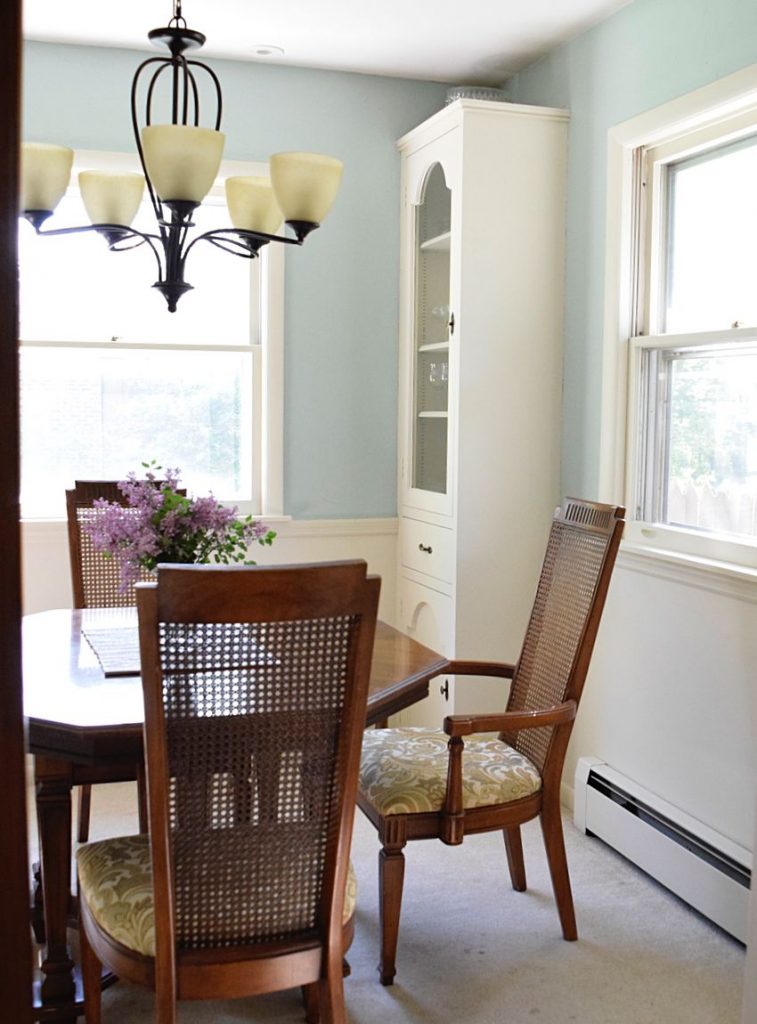
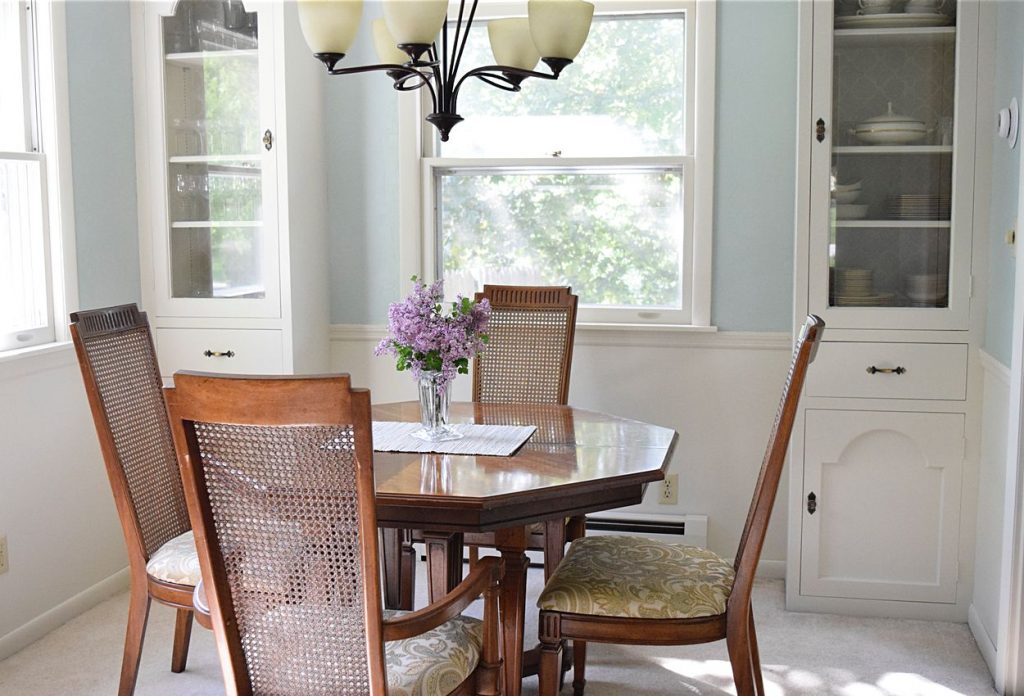
It definitely ties in with their updated kitchen that Vicki and I did last year too. What room will be next?!

More you may also love…

5 Target Farmhouse/Industrial Barstools


Wow, what a transformation! Also, I am so glad to hear that the wallpaper came off with elbow grease. So many new wallpapers today adhere much stronger and it seems it’s easier to just hang new drywall. lol I would love if you would share this at our Dishing It & Digging It Link Party that started this afternoon. I think my co hosts and followers would love to see it. If not, it’s not a problem, I still love the transformation. Great job!!
Thank you Christine! I went right over and added the link to your party and will definitely be back again! It wasn’t a fun time to get the wallpaper off but then wasn’t the hardest I have ever done either! But my husband said he did NOT want to do it again! haha!