It’s week 7! The One Room Challenge is almost complete!
Whew, it’s been a long journey getting my laundry room completed – and I can finally see the end! I got all of my major “To-Do’s” on the list checked off. I was hoping to take the last couple of weeks a bit slower and just put everything together except things don’t always go as planned.
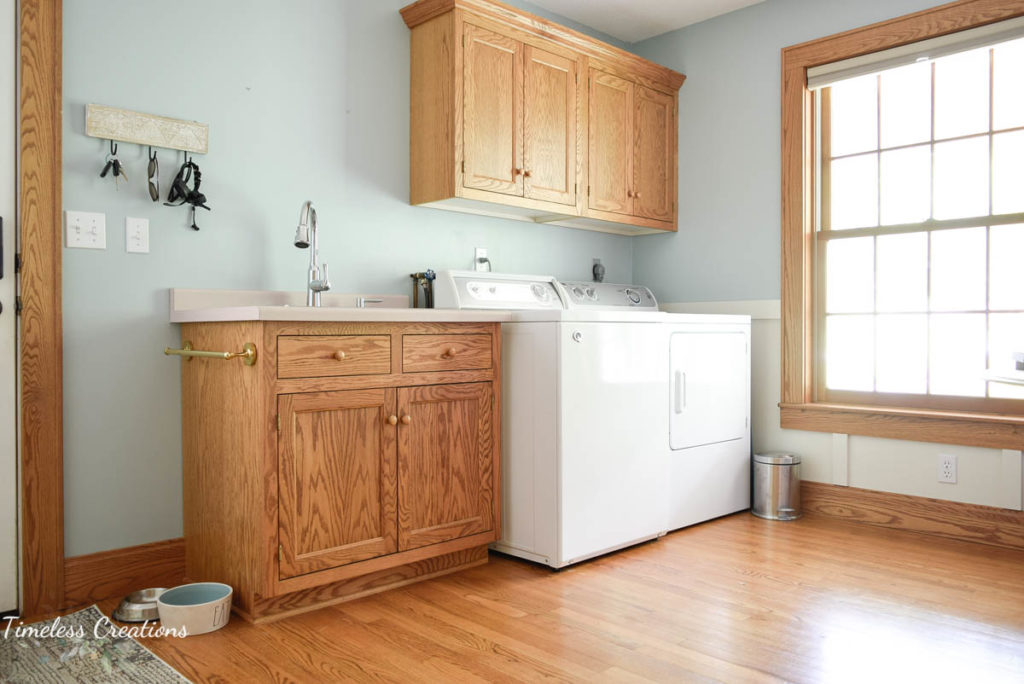
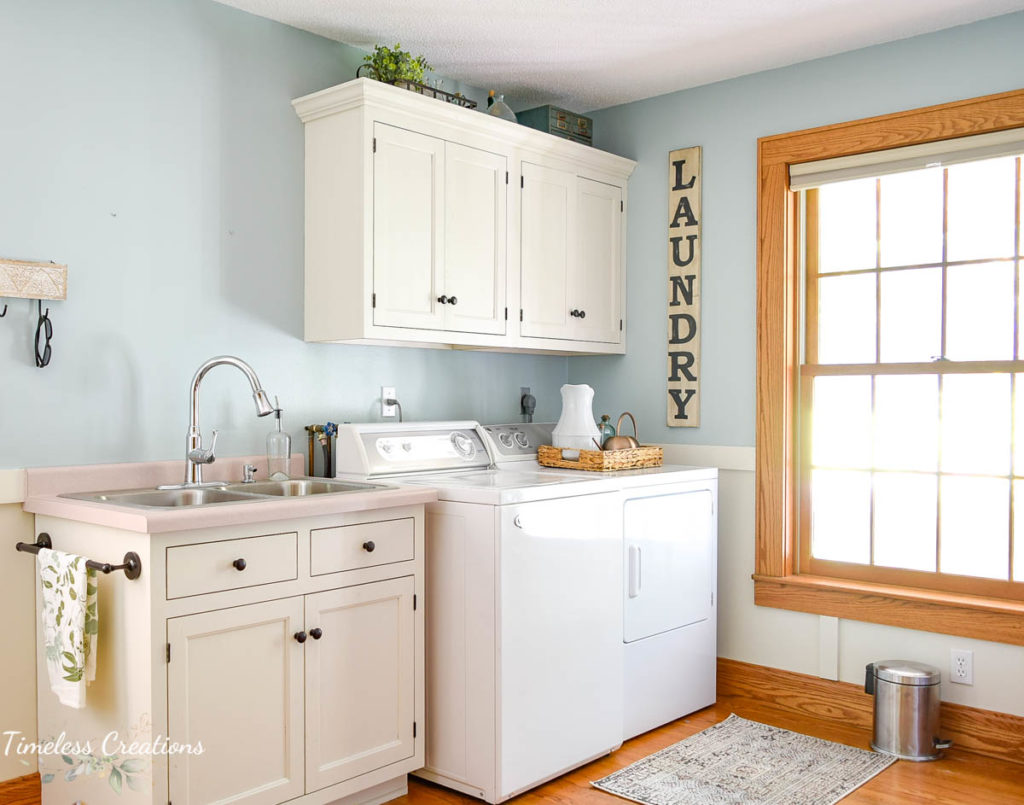
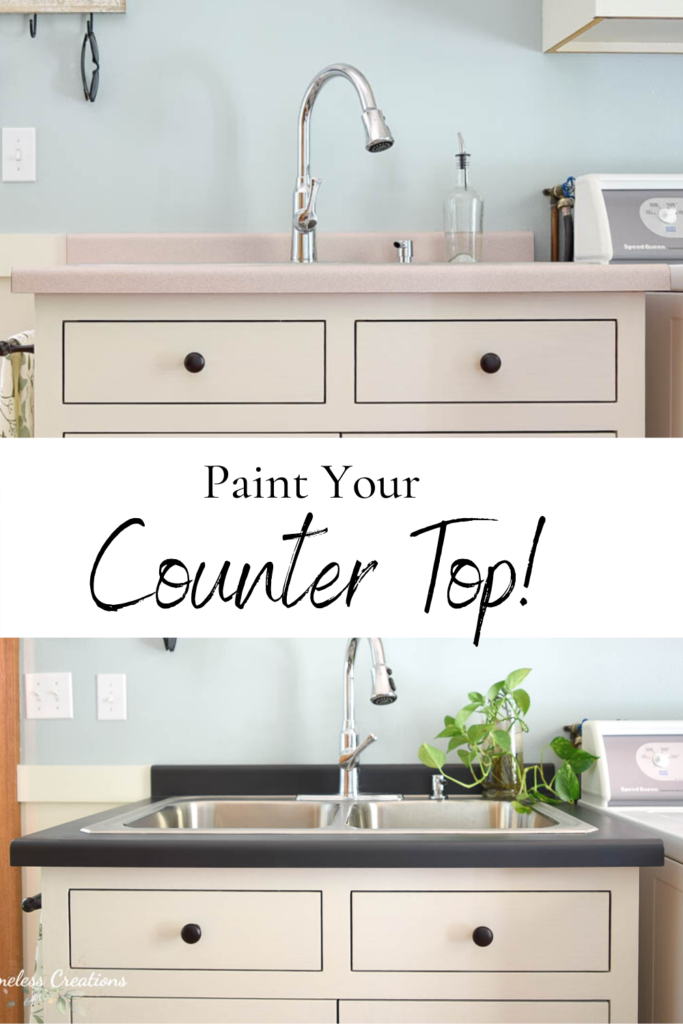
Last week we shared how we painted our cabinets with Fusion Mineral Paint to transform the dated oak to something more along my style. Even though painting cabinets is always time-consuming it all went pretty smooth actually. What we didn’t plan for was the look of the small counter top by the sink going from a beige color with the oak, to a super pink undertone when I changed the cabinets to white!
Here it is “Before” while it still looked beige-ish.
And this is “After” the cabinets were painted where you could see the pink undertone!
I ALMOST freaked out… it wasn’t in the budget right now to get new counters anywhere in the house. And honestly I want to wait until we can get a new washer and dryer and then put a full counter and folding area above a new front loading washer and dryer set. That plan is for later and couldn’t happen right now. So instead I had to think of a solution to get rid of the pink counter without it costing me a lot.
I immediately asked Vicki her thoughts and she suggested painting it! If you follow us on Facebook or Instagram you may have seen my “story” about the counter looking pink. I put up a poll and it was almost unanimous to paint it! (Thanks for all those who voted!)
So here it is: How I painted my counter with Fusion Mineral Paint!
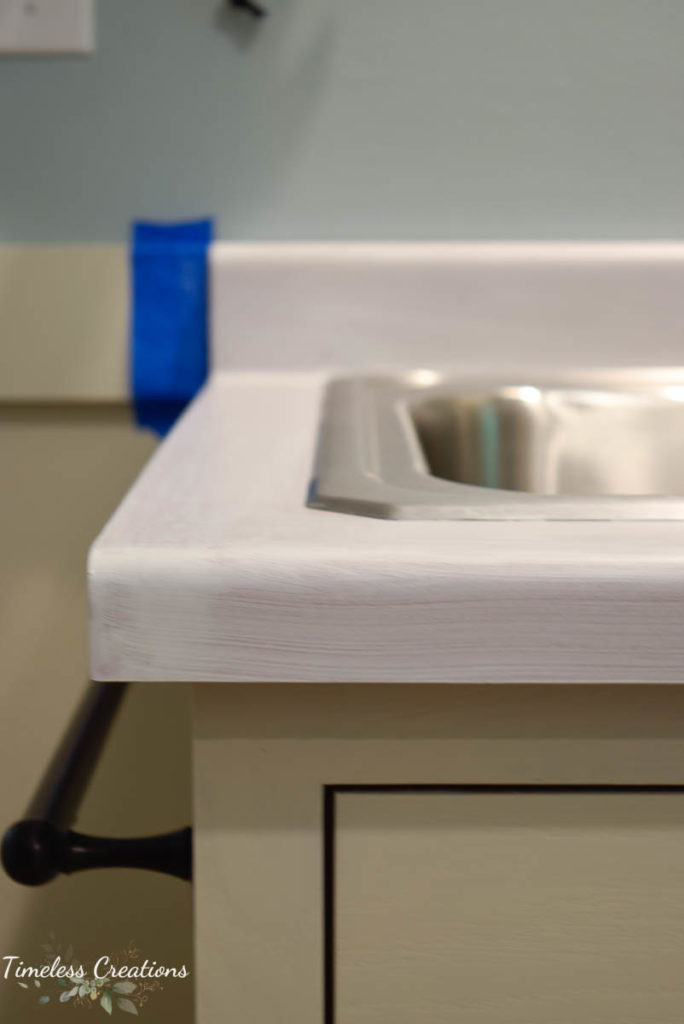
Begin by cleaning it really well so any dirt and grime is off. Then scuff sand it. Since this was such a tiny area I knew it wouldn’t take much to get it finished.
Since my counter top is laminate I then painted on a primer so my paint would get the best adhesion possible. I used a primer I had on hand at my house but you could use the “Ultra Grip” which is made to act like a bonding primer under Fusion Mineral Paint. It is necessary to use a primer based product for any slippery or shiny surfaces like laminate, glass, or melamine.
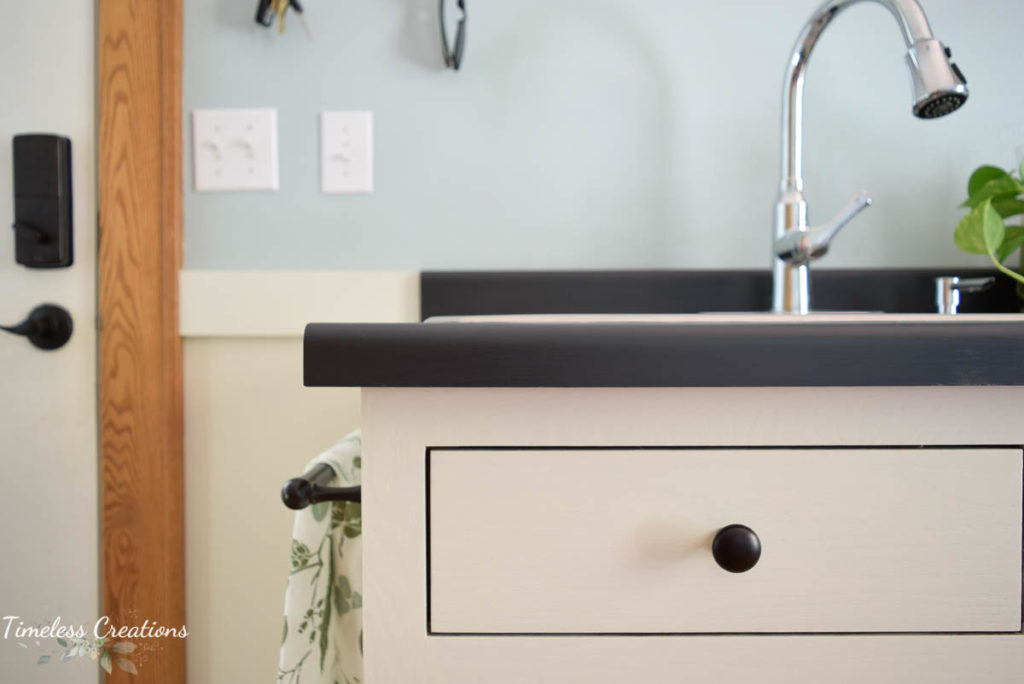
Once the primer was dry I could then begin painting! I used Fusion Mineral Paint in the color “Ash” which I already had at my house from a previous project. Vicki suggested the dark Charcoal color to tie in with my new knobs on my cabinets and some of my decor that I plan to use in this space.
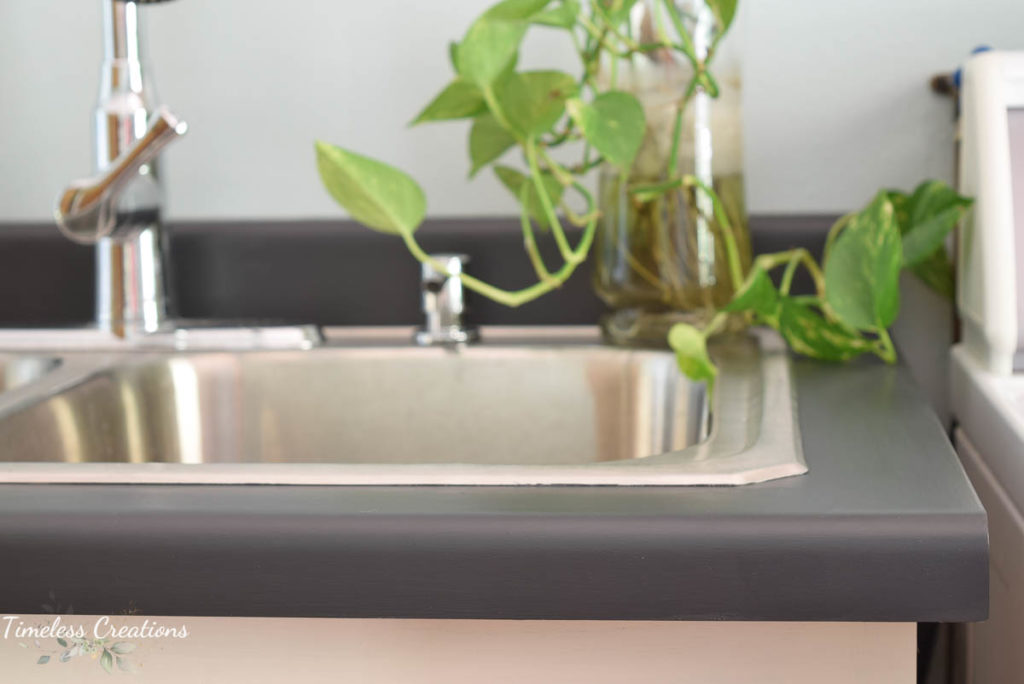
I did two full coats of the “Ash” waiting 2 hours in between coats to make sure I had good adhesion. Fusion doesn’t normally need to be sealed since it has a built-in topcoat, but since this counter top was by a sink I use a lot I decided to seal it with an exterior grade sealer to protect it from water. THIS is what I used. (I have also tried this sealer over a Fusion white and it didn’t yellow! So go with this good brand) It also gave my counter a nice little satin sheen as well!
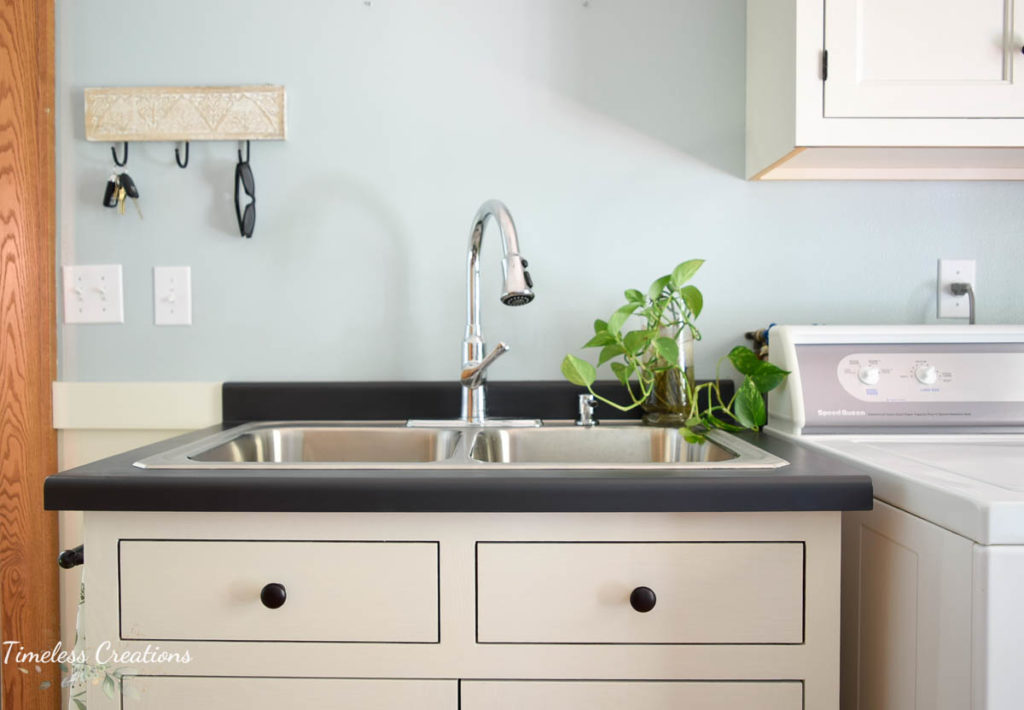
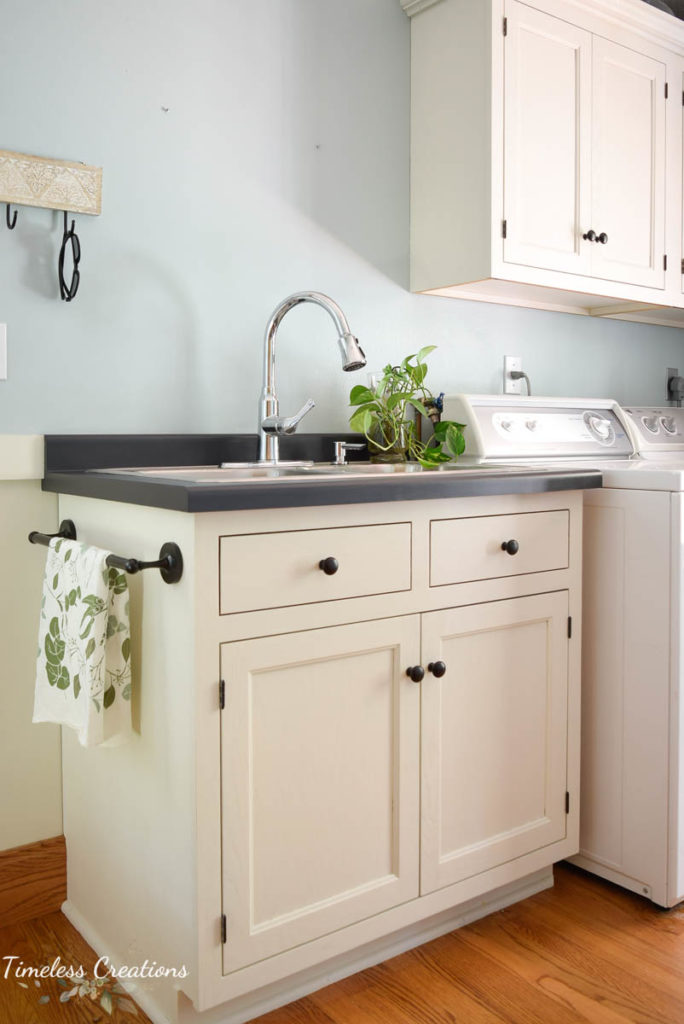
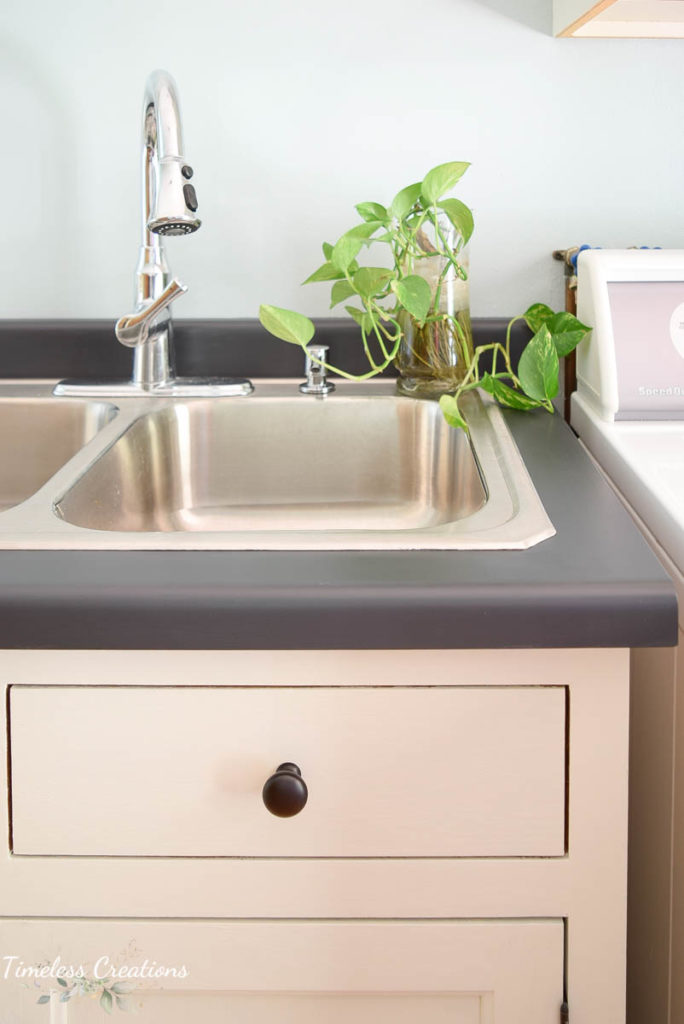
And there we are – no more pink counter! Oh I am so relieved to get that done, but now I don’t think I’ll be able to paint any other cabinet in the house until we can get countertops! Oh that makes me sad…
Let’s take a quick look at what we have accomplished in this room!
Paint the wallsPaint the cabinetsNew light fixtureNew rug(s)Paint drop leaf table and use for a folding table- Paint the mirror or replace
Paint the gold towel bar- Decorate
Projects we added
Board and Batten wallPainted Counter
We just have the mirror and decorating left, I would say that’s pretty darn good! I’ve had to change my idea for the mirror a bit so we will see if Vicki and I can come up with something cute. Otherwise tune in next week for the final REVEAL! I can’t wait to share it!
If you missed out on any of the previous weeks check them all out by clicking through the links below:
Week 1 / Week 2 / Week 3 / Week 4 / Canceled / Week 6 / Week 7 (You are here) / Week 8



Wow I would have never thought about painting a counter top that is awesome. Many years ago I covered one in a craft room with contact paper but that was it, LOL. Your laundry room is looking great!
It looks great! I love the you picked a dark color. And, wow, isn’t it amazing how painting something next to another surface can really change how the color looks?!
Laundry room is looking beautiful! So glad you painted the countertop, it looks wonderful with the cabinets! Looking forward to seeing the end result! It’s going to be stunning! 😃
Thank you Julie! I am SO glad we painted to countertop as well!
Wow! The counter looks so great! The close up is so smooth. Perfect solution for a utility sink.
Thank you! Yes I did end up sanding between coats to make sure I get it super smooth!
Wow that painted countertop turned out awesome! I never would have thought of trying that!
Thank you Tina! We will see if it holds up, but we are loving it so far!
any update, on how it held up?
Hi Taylor! I have not done an update post on it, however it has been a year and a half and it has held up fairly well. I do have a couple scratches, but I have a family and kids and expected that. I would not recommend painting your countertop as a long term solution or for any super high traffic areas like a kitchen. That being said, I would wholeheartedly do this tiny little countertop again if I had the choice as it is small and I can easily touch it up if needed! I do not regret it at all.
That looks amazing! I’ve seen painted countertops before but I think this is the first time I’ve seen someone use this type of paint!
Looks great, what did you use to put the topcoat exterior varnish on… a brush or roller? And what kind?
Hi Joanne! I used a 1″ Purdy brush to add the exterior poly on this piece as it was such a small counter area. If you had larger area to cover I would use a larger 1.5″ or 2″ brush.