Hey all!
We are going to try something new in this new year of 2020! We have been flipping furniture for quite a few years now and have had relative success so far. We want to continue to grow our business but we also want to help those of you that cannot talk with us in person just like we learned from other successful furniture sellers on the web. We want to start a new series where we bring you even MORE information on furniture flips. From the very basic of items to sometimes more complex we hope to capture it all! So if you haven’t already subscribed to our email list, make sure you do down below this article so you won’t miss a one!
To see more about each furniture piece just click the link below each picture.
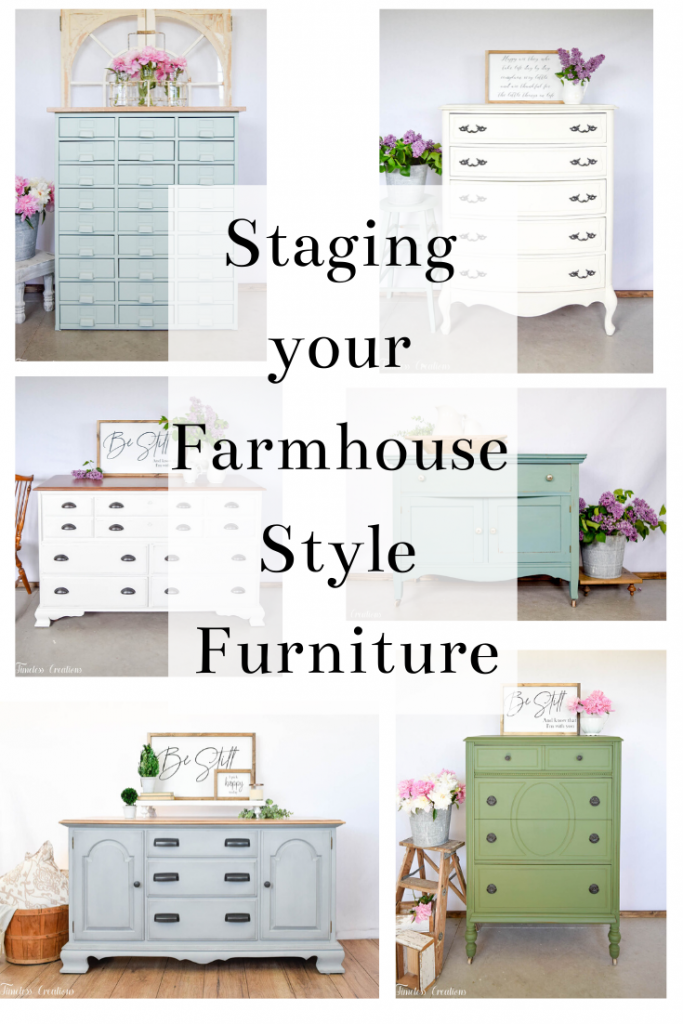
We are beginning this new series in no particular order, but as we were looking back at the furniture we did in 2019 we came across a theme of styling our pieces with one of our favorite home decorating styles – the “farmhouse style”.
Staging a furniture piece is one of the most important aspects of flipping. You have to have a beautifully styled photo in order for the piece to be listed online for sale. Good lighting, editing and staging is absolute key. One of our goals for 2019 was to step it up in our staging. In the past, we noticed that if we tried to take pictures without fully thinking it out, waiting for good lighting, or just quickly snapping something, they weren’t our best photos. But when we carefully think it over and prepare for taking photos is when our best staging happens.
Most of this past year we scheduled when we were going to have a “photo shoot” day. We changed our staging wall around to where we got the best light, and purchased a plain white curtain for the background. It isn’t ideal, but we do all of our staging in our store – and it got hard to be rearranging everything. We still have to set up our curtain and new floor each time, but it works better than rearranging the entire store. So we decided to do our furniture pieces in batches. We wait until we have about 4 or 5 finished pieces to take photos of and then do them all at once!
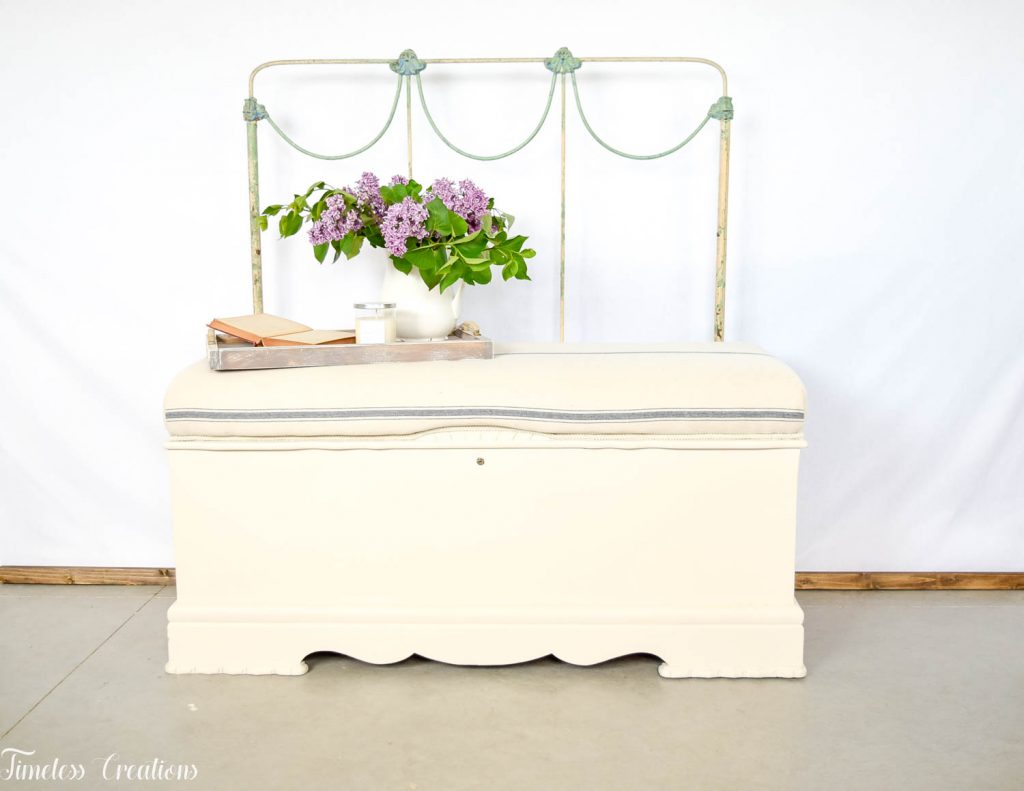
Cedar Chest
Vicki and I also really try to do all of our staging together. We are much more successful when we can bounce ideas off from each other and have a second set of eyes to say “No, that doesn’t look right” or “we need something taller here” ect… also it is much easier to move furniture with two people!
We touched on the plain white background as well as having good light, but you also have to actually decorate your piece well. Some key items and tips we use all the time when staging are the following:
- Florals or greenery (HUGE!)
- Farmhouse plaque or sign
- Our Risers (they help tremendously for raising items)
- Vintage/Antique Props
- Different heights or levels
- Different textures
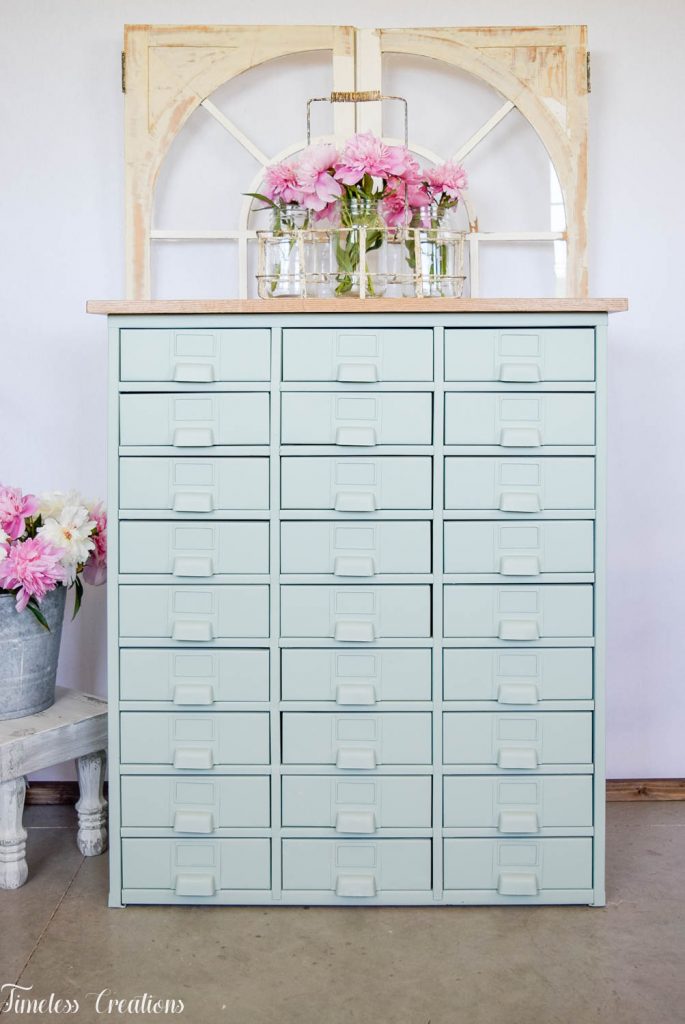
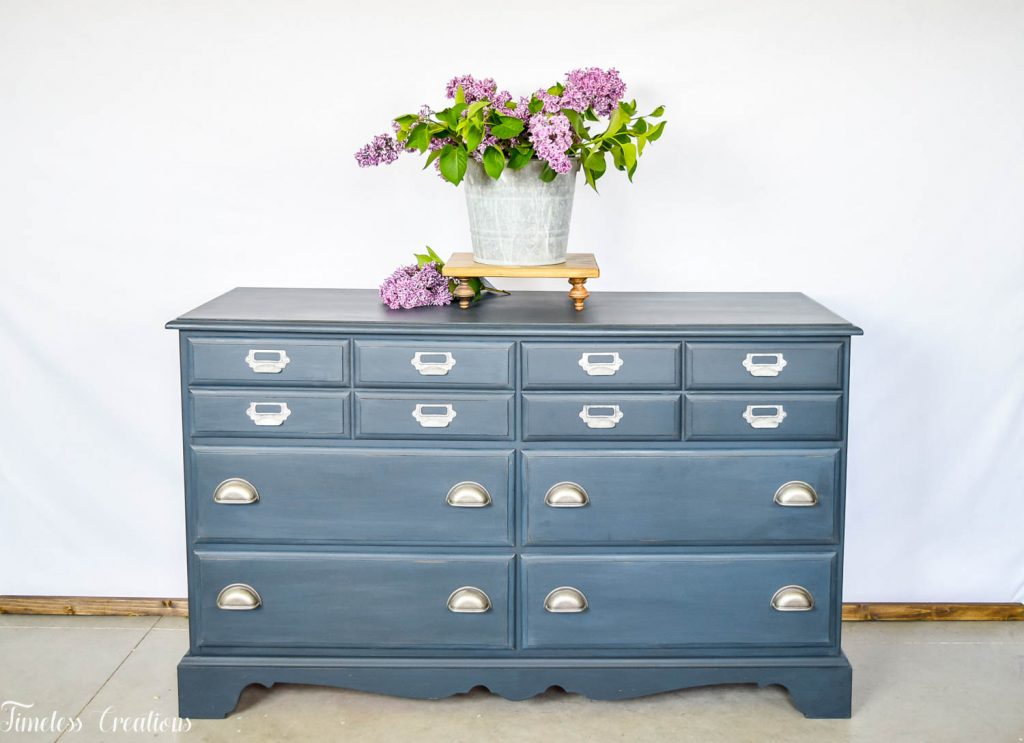
Florals or greenery whether faux or real are a must. They just really help so much to bring a piece together or add a splash of color. Fresh florals are absolutely beautiful to have – especially in spring and summer. We tend to stage around when the flowers around the house are available! Peonies and lilacs in spring and hydrangeas in the summer – they are some of our favorites. But if you don’t have access to fresh flowers, faux are perfectly fine! Our favorite store to find floral stems from are Hobby Lobby! Especially when they have them 50% off!
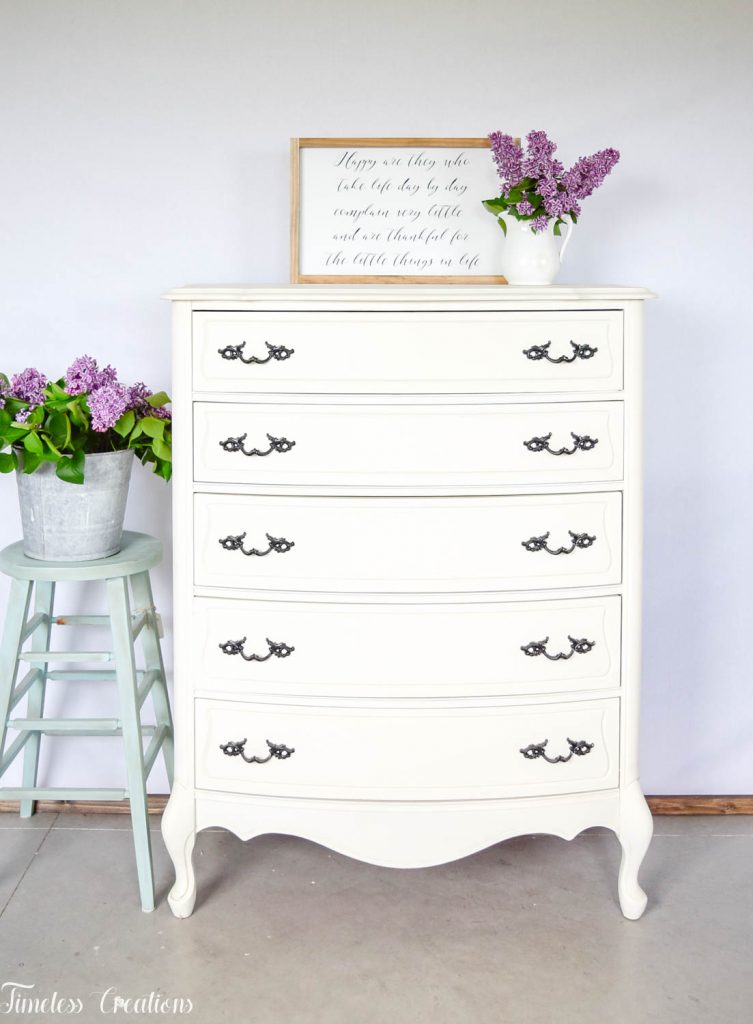
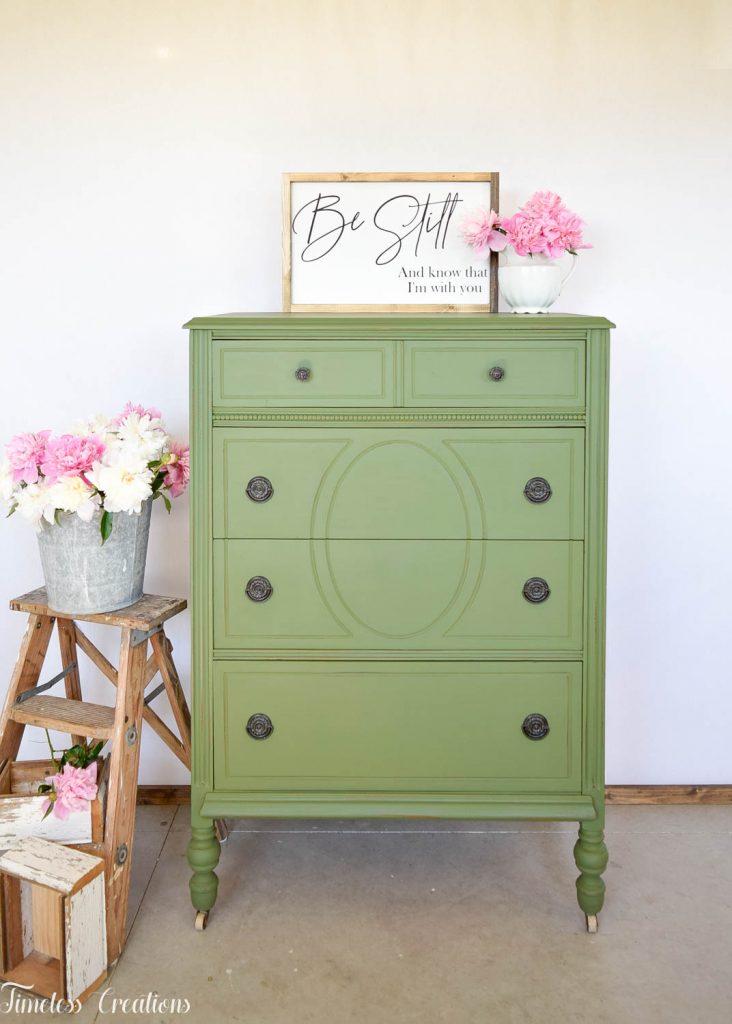
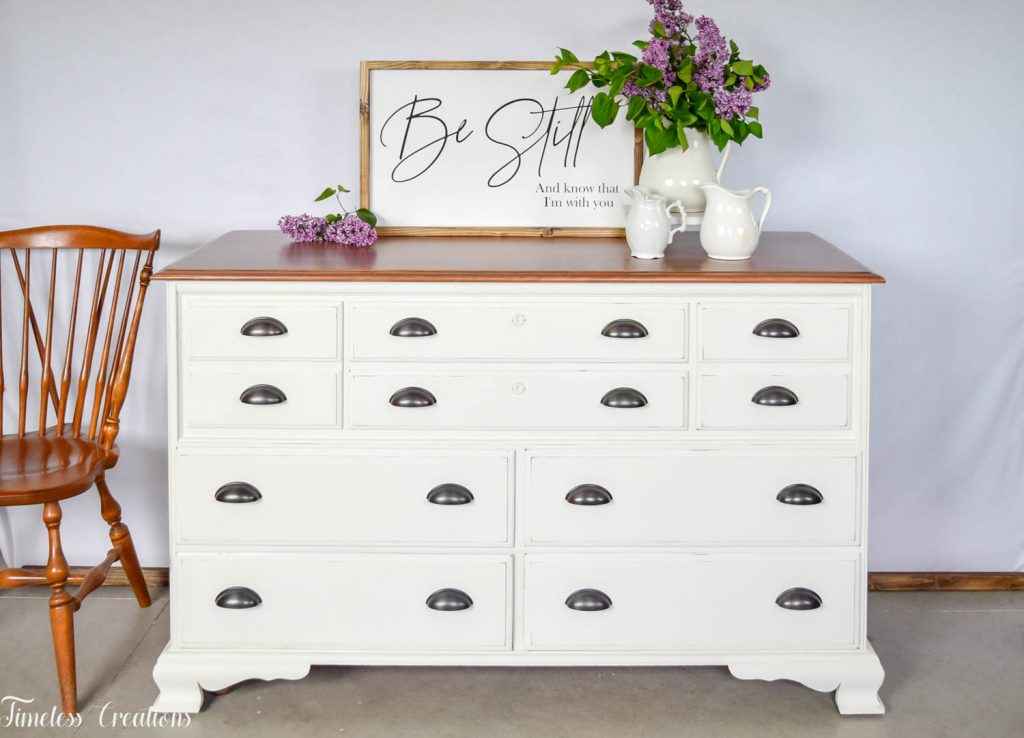
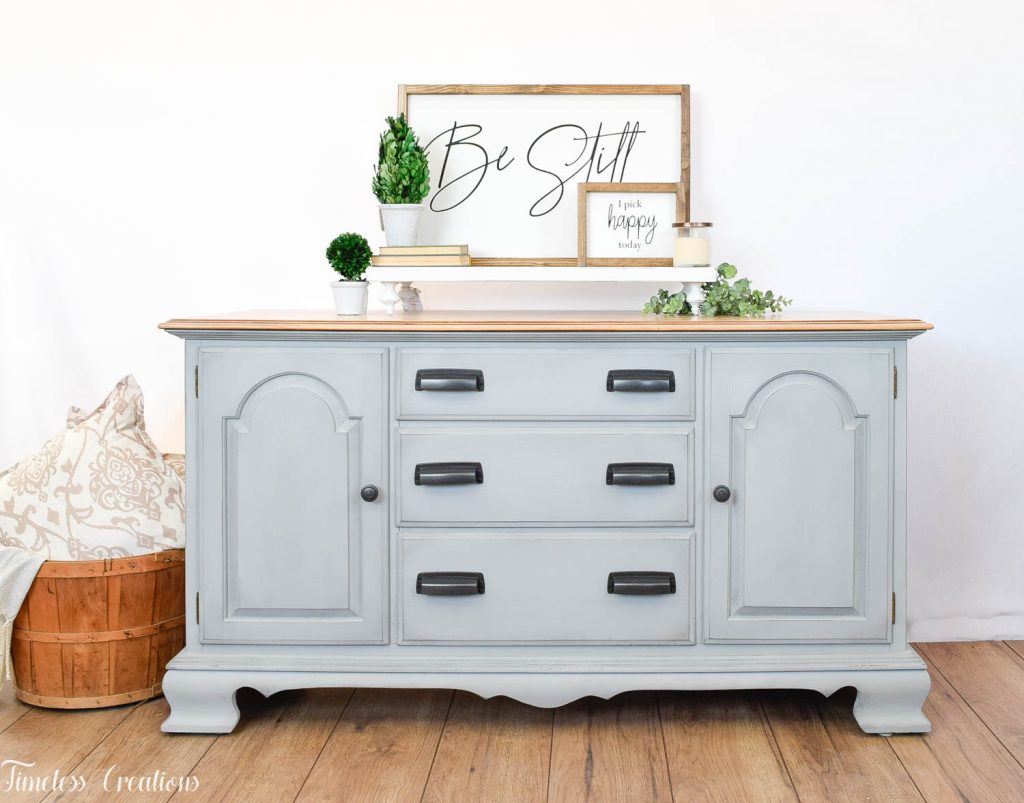
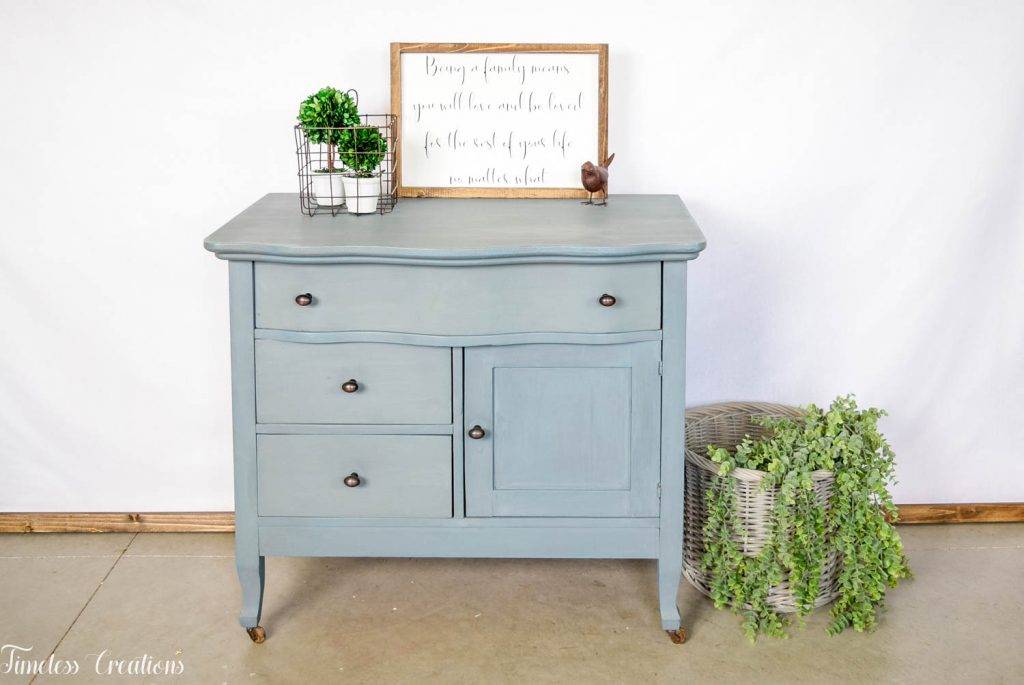
We make our own farmhouse wood plaques for our store and for our own homes and they are perfect for helping to stage. We usually keep a bunch of different sizes – from large to small. We also like to layer them like you see below! They are the perfect little touch.
We also love to use our farmhouse wooden risers in our staging as well. We use them a bunch for adding height to other decor items. But they also add a different texture and color to the picture as well. Whether wood, white or weathered gray we usually try to add contrast from the furniture piece with the riser. So, for example, if the furniture is white we use a wood stained riser!
See how much better this last picture is after we purchased some flooring! I am absolutely in love with the planks we chose – and they were really inexpensive. I have no idea why we didn’t purchase flooring sooner!
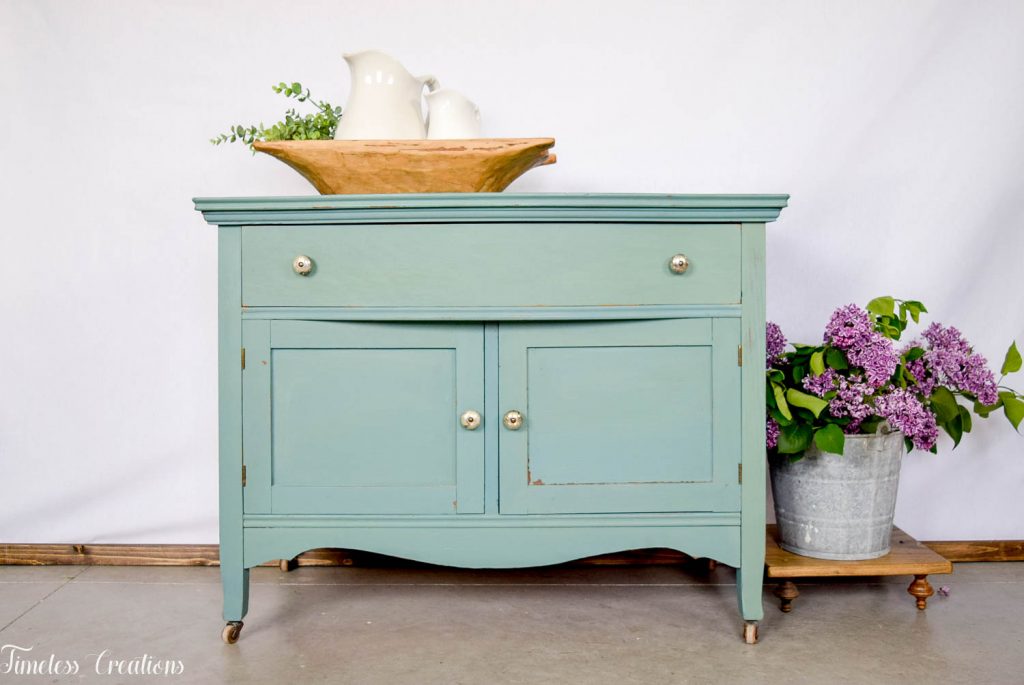
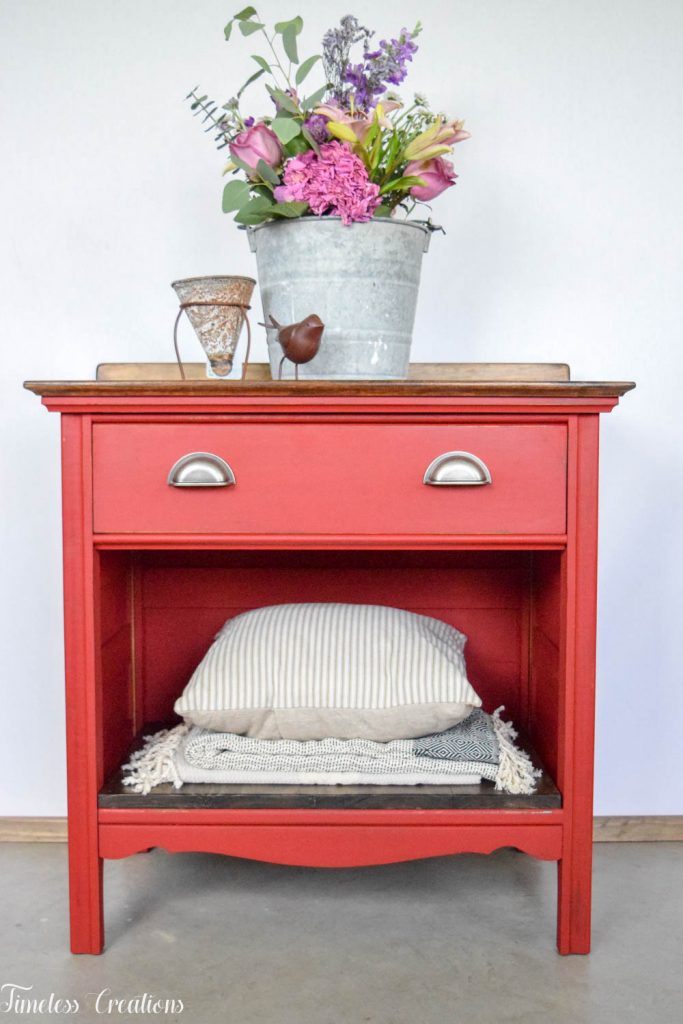
Adding a touch of vintage or antiques when staging your furniture for farmhouse style is also a great idea. As you can see we frequently use an old galvanized bucket or antique ironstone as vases. A chippy stool, old basket, or even an old paint stepladder are perfect little touches to add interest to the sides of your pieces. For taller pieces you can use a taller side prop and for shorter, a smaller prop of course! Adding pillows or a throw when weather appropriate add a soft, cozy touch.
Now this doesn’t mean that you have to go out and purchase a bunch of new items to stage your furniture with. But if you have some of these key items you can use them again and again – just in different ways! You can see we use plaques, risers, ironstone, and that galvanized bucket continuously, but no two pictures are styled exactly the same.
We hope to continue to improve in our own photos and staging, but we hope sharing what we have learned thus far helps you out as well! And again, stay tuned for more in-depth furniture flipping information from us this year! Sign up for our email newsletter below.



Leave a Reply