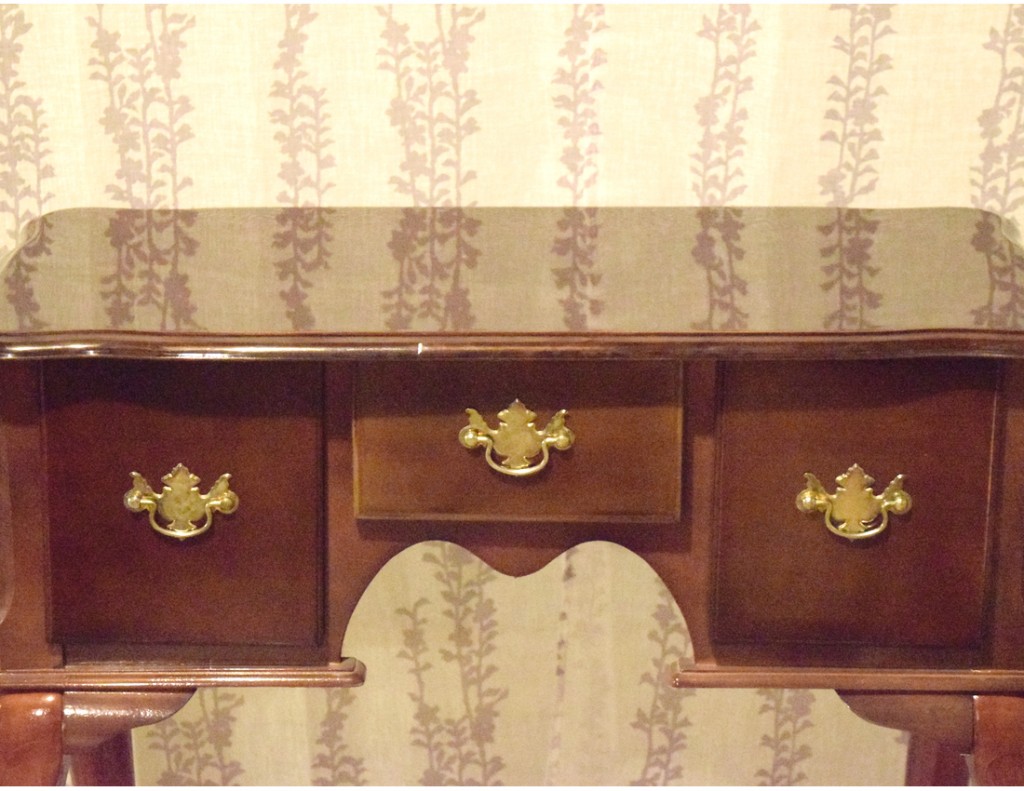
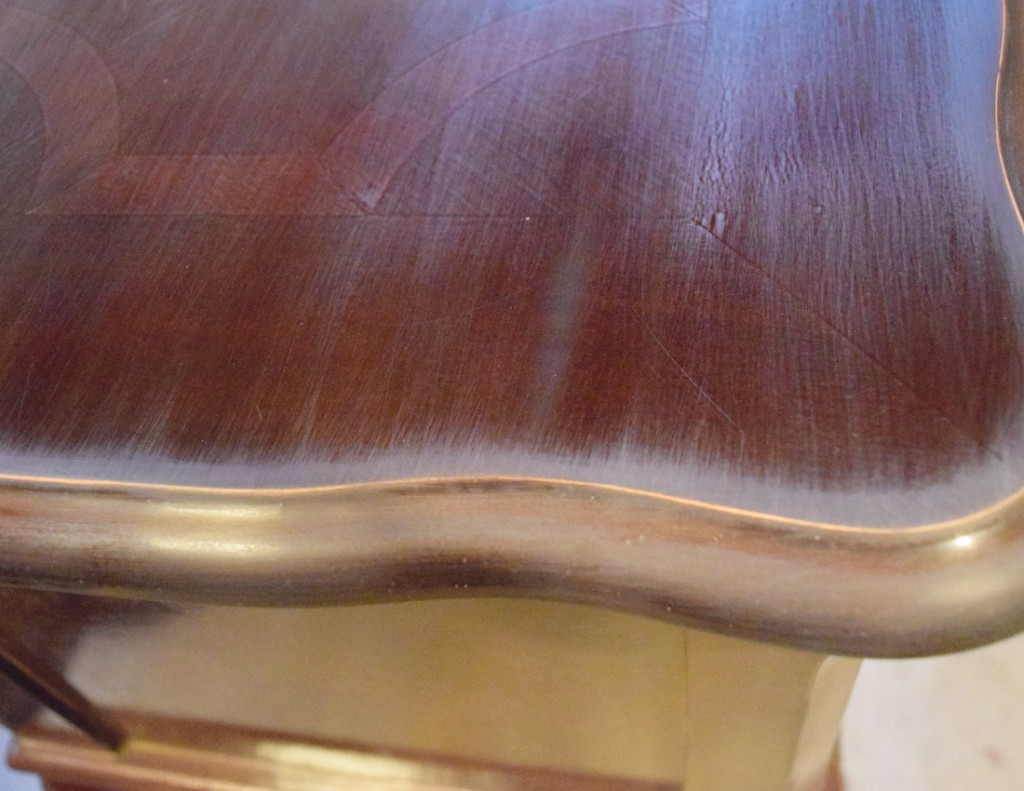
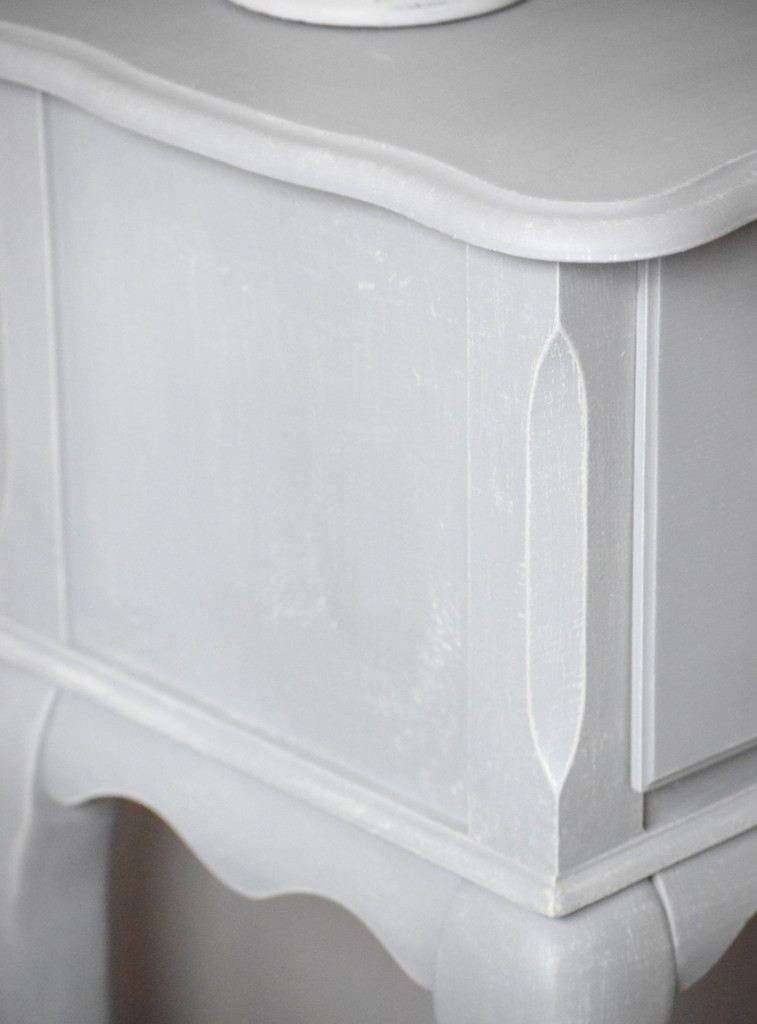
For this week’s table makeover I wanted to try a technique that we have tried on small decor items before, but not on an entire furniture piece. I thought it would be fun to take this elegant looking console table and play with the chalk paint texture by creating a dry brushed look over the base color. I pictured this piece in a front entryway or as a sofa table in the living room, therefore I thought it definitely needed to be brightened up instead of being so dark and heavy looking.
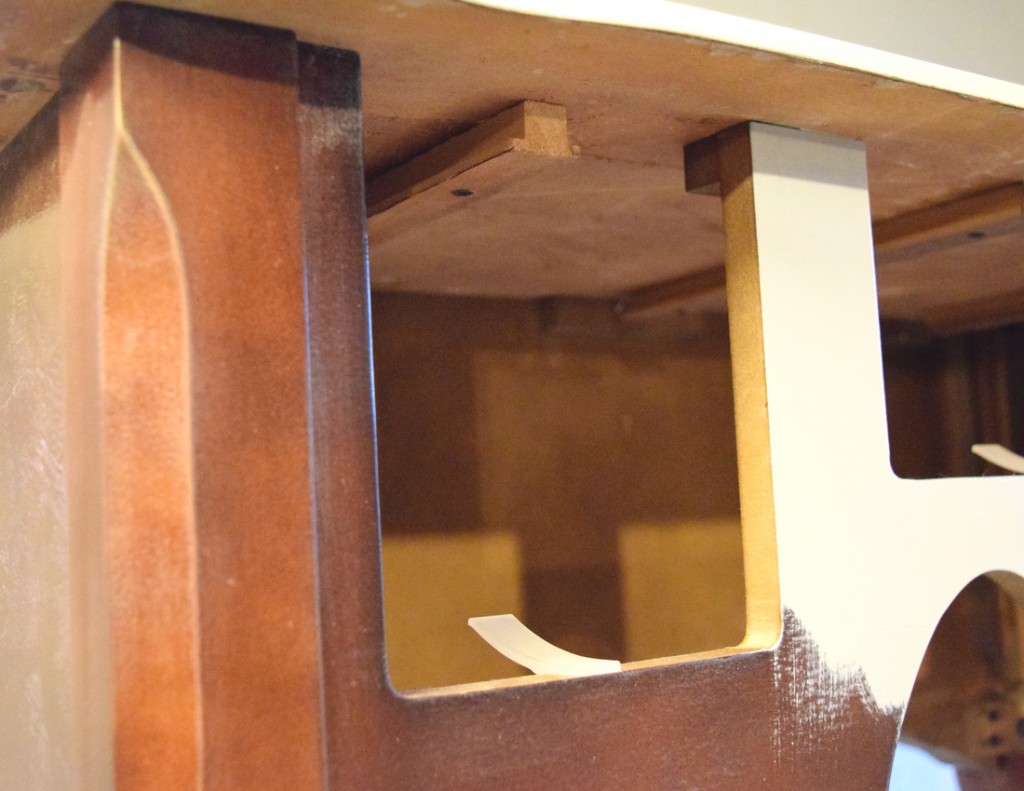
The first step to any kind of painting, is to decide if your piece needs to be fixed or filled. (Tip: If your furniture piece has hardware to it (knobs or pulls) decide if you are going to reuse the same ones, or buy new ones. If you are buying pulls you must make sure new ones will fit in the holes, otherwise you may want to fill and sand those old holes before you paint) Always do the correct prep work first and then you can lightly sand down the entire thing. Luckily for this table it was in fantastic shape so all that needed to be done was sand it lightly to scuff up the very shiny surface.
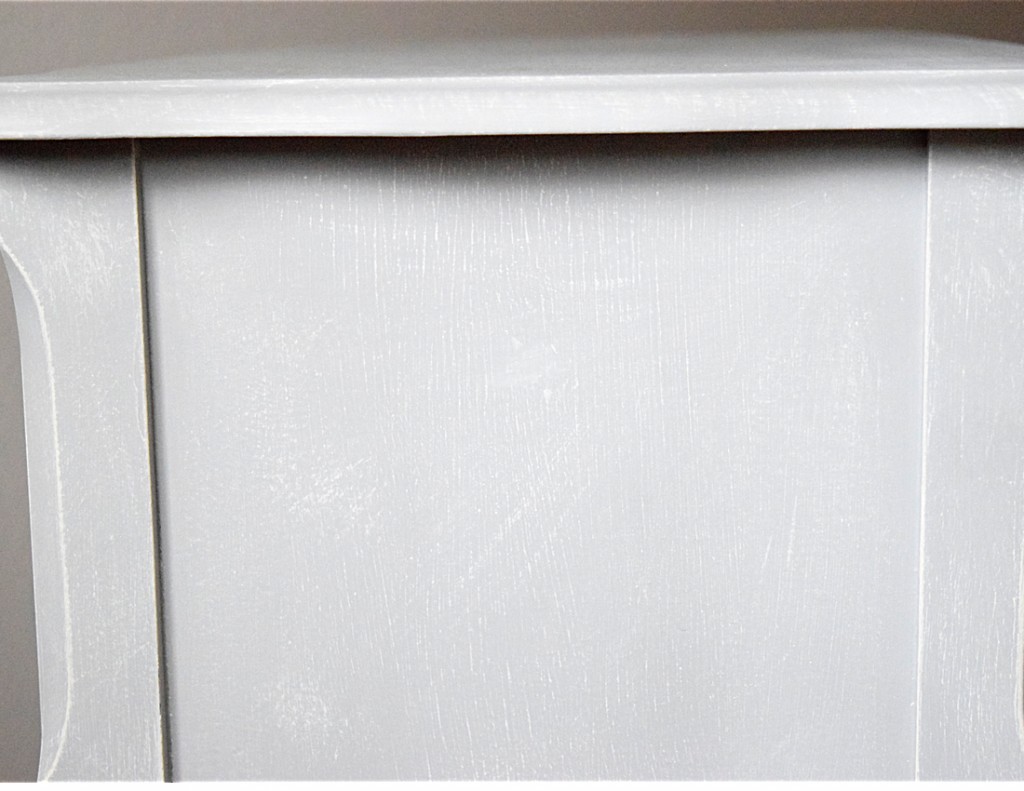
Next you can decide on a base color that you want to paint the piece. I chose Annie Sloan’s “Paris Grey” for this particular table. Chalk paint is a great product to use since it has a thicker consistency which helps to get the texture you want in order to dry brush. I used a brush instead of a roller or sprayer for the entire piece so I could use the brush strokes to texturize the piece. I usually apply 2 coats of paint (yes even the chalk paint) otherwise it can look a bit streaky. If you are going for a heavily distressed look then maybe one coat is all you want.
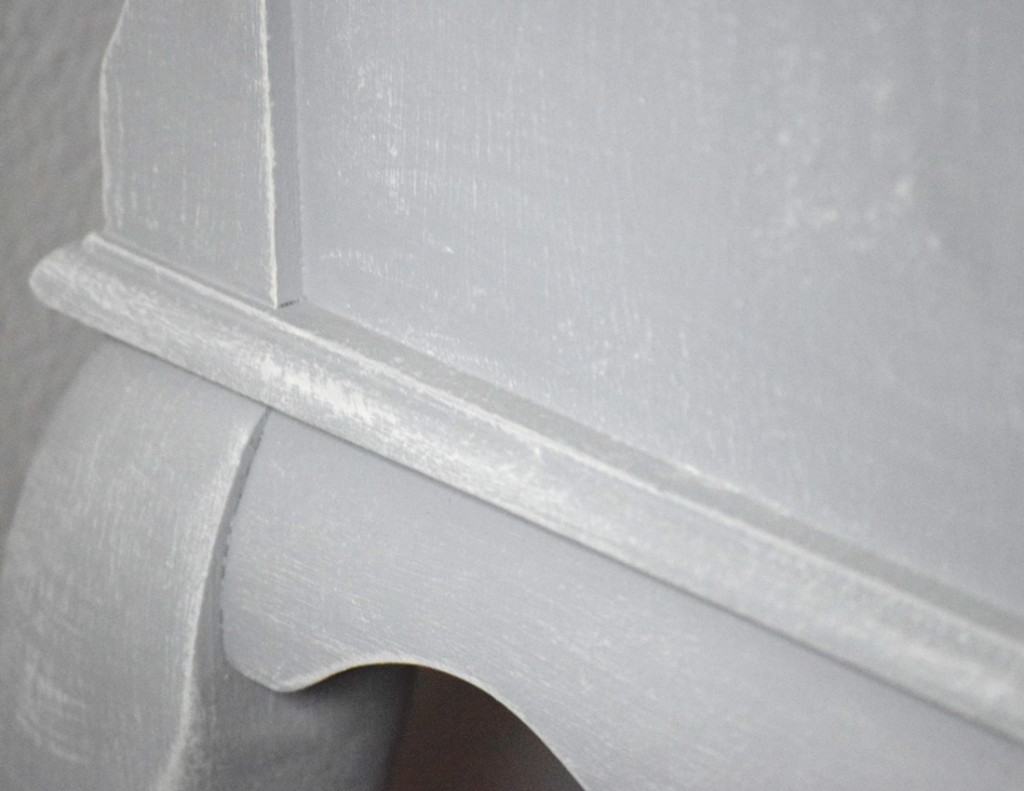
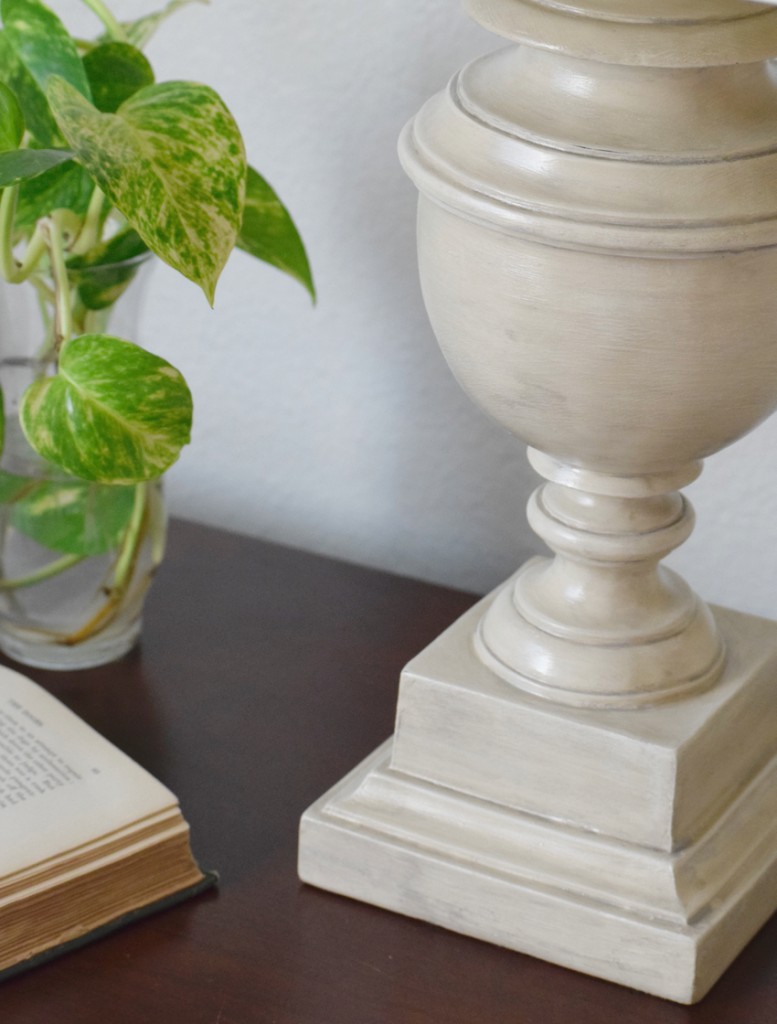
Once your base coat has dried you can then begin the fun dry brushing technique! I used Annie Sloan’s “Old White” as the dry brushing color. We found inspiration from Rachel at Shades of Blue Interiors who has a wonderful video tutorial on how she dry brushed a furniture piece to get a Restoration Hardware inspired look.
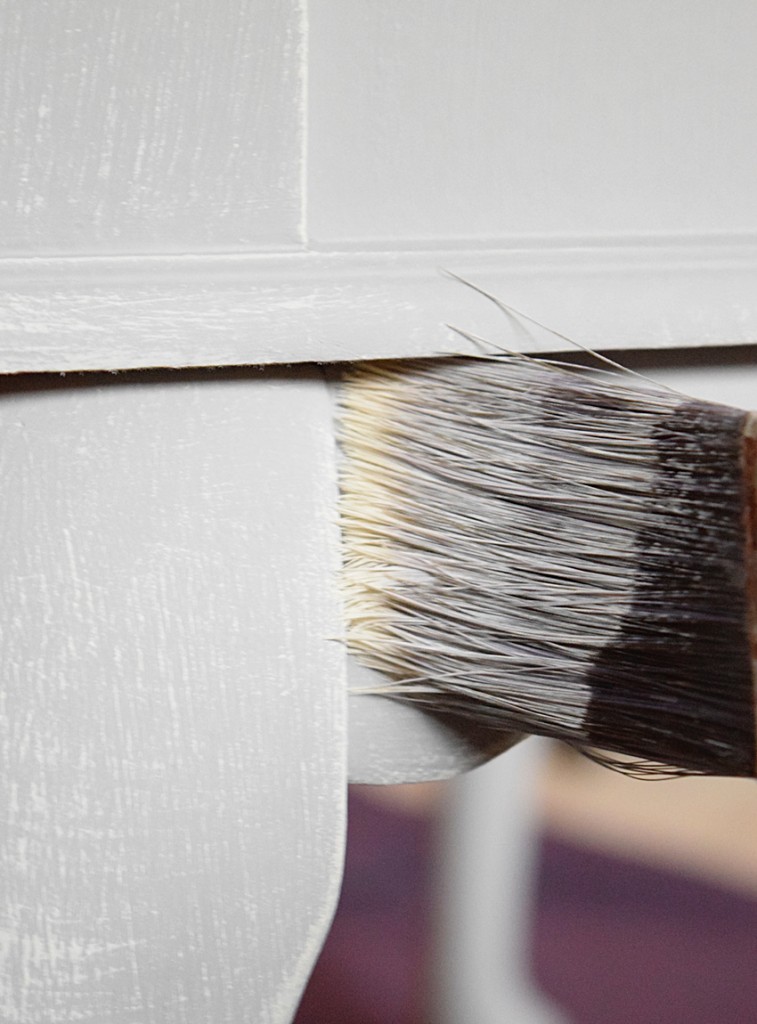
Basically for dry brushing you want to get your paint brush bristles completely wet with paint, but then wipe the excess off on the side of your paint can. Next take a paper plate or paper towel and wipe even more of the paint off. You essentially want the brush as dry as you can get while still having a small amount of paint that will very lightly rub off onto your furniture or decor. Once you have swiped your brush on the paper plate a couple times you can go ahead and brush it onto your furniture piece!
Go in all different directions so the highlight color will bring out all that texture from your base coat. I also like to focus on the edges of a piece to highlight them even more. Just concentrate your brush strokes in those spots, or go over them multiple times.
For your convenience in locating products we have used, this article contains affiliate links. All products are items we use ourselves and have formed our own opinions on. For our full disclosure go to our “Disclosures” page.
Also, don’t worry if your brush bristles look quite worn out during this part. Our favorite paint brushes (that are still in our price range) are the Purdy brand and I was getting scared that I was ruining my favorite paint brush while doing this! However, once I cleaned it up with soap and water it was back to new!
Once your highlighting color has dried you can then seal the piece with either wax or polycrylic. We love to use wax with chalk paint because it gives the piece a wonderful matte sheen instead of shiny. (It can take a couple weeks until the piece is completely cured after waxing so be careful with it right away.)
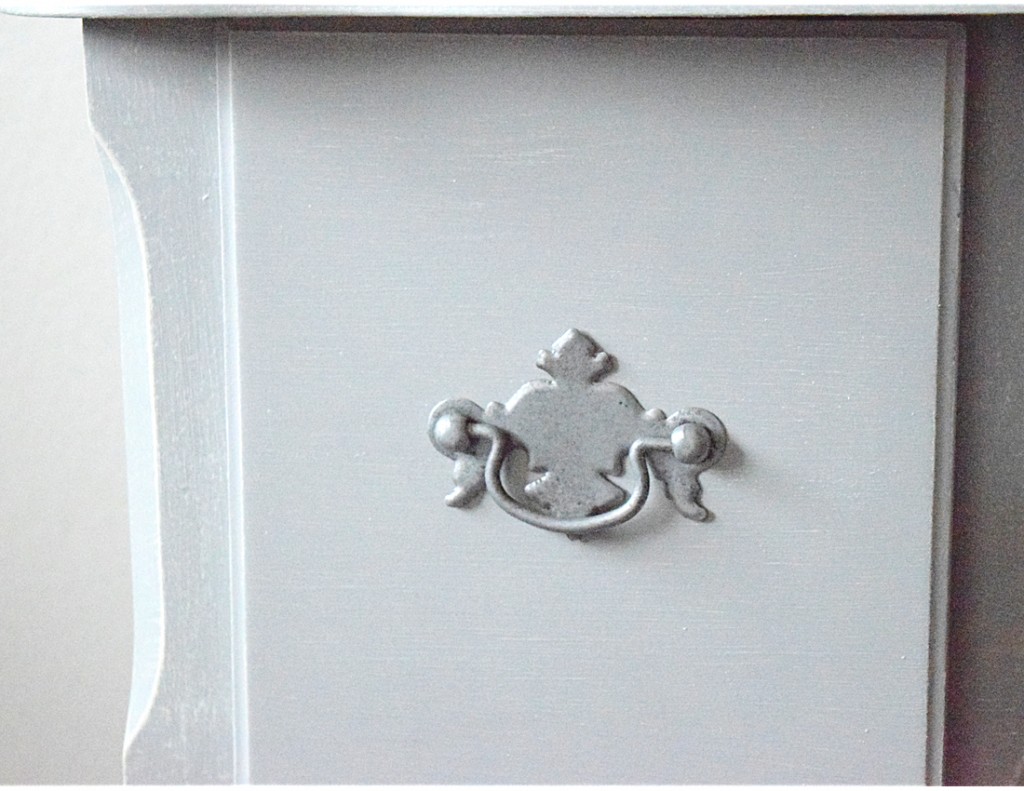
I wanted to reuse the old hardware for this piece, but didn’t like the brass coloring of the pulls. So instead I took our Antique Pewter Kit we picked up and followed the directions to change the color of the handles. It has a base coat of metallic silver and then a dark top coat that gives it an antiqued look. Because the handles were mainly flat and didn’t have a lot of texture for the top coat to get into, instead of wiping the top coat off I dabbed it off with a paper towel so more of the dark coat stayed on. (Work quickly with the second step because the top coat can dry fast.)
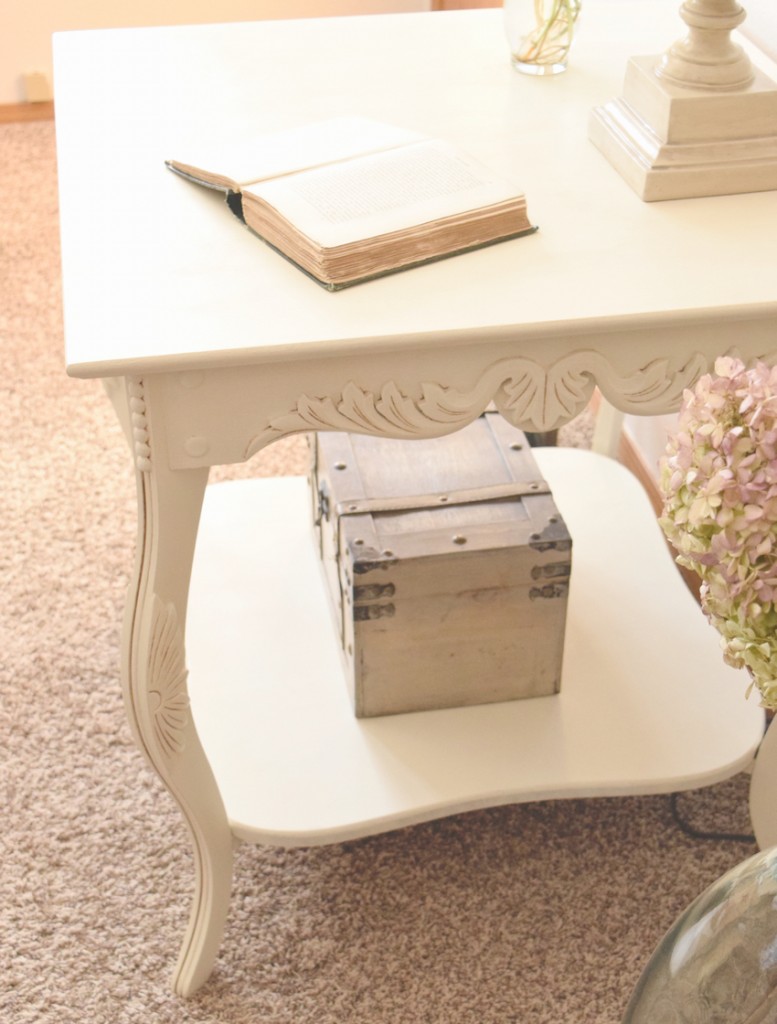
This beautiful little console table is now bright and airy and ready to add some storage as well as great decor to an entryway or behind a couch as a sofa table.
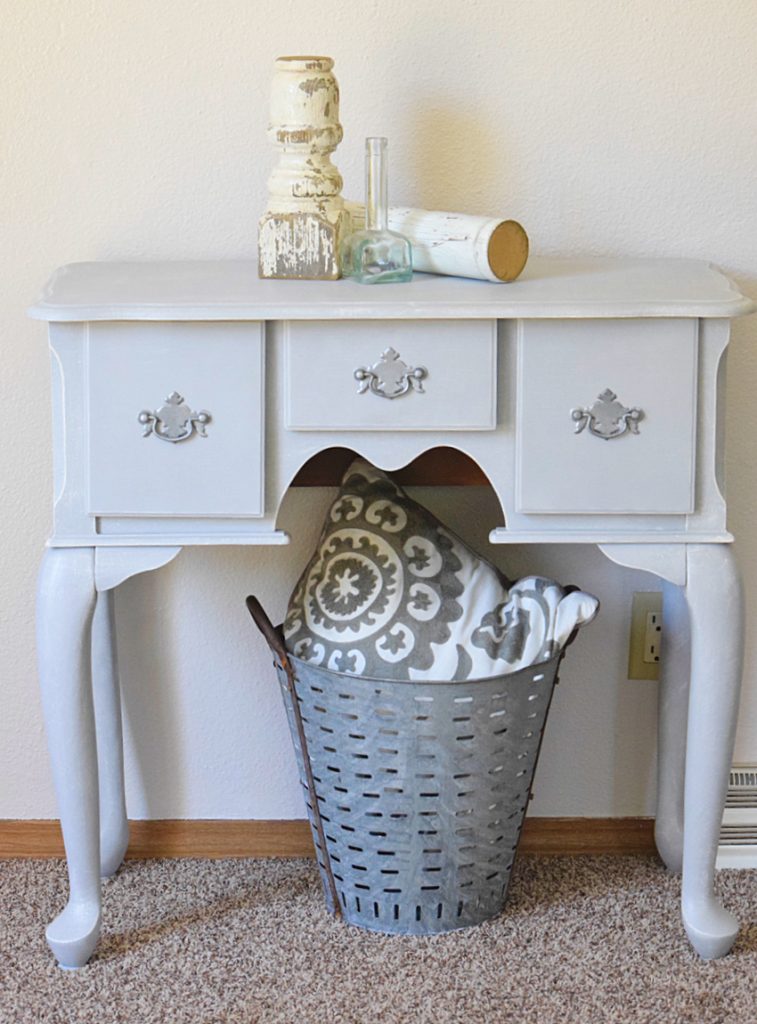
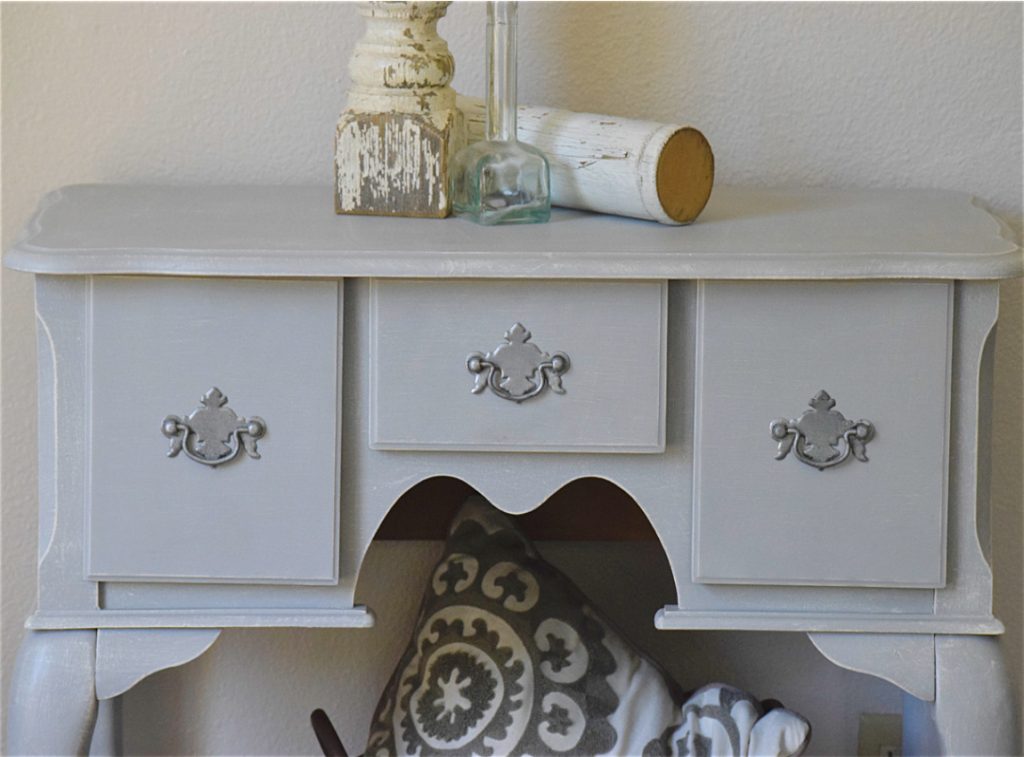
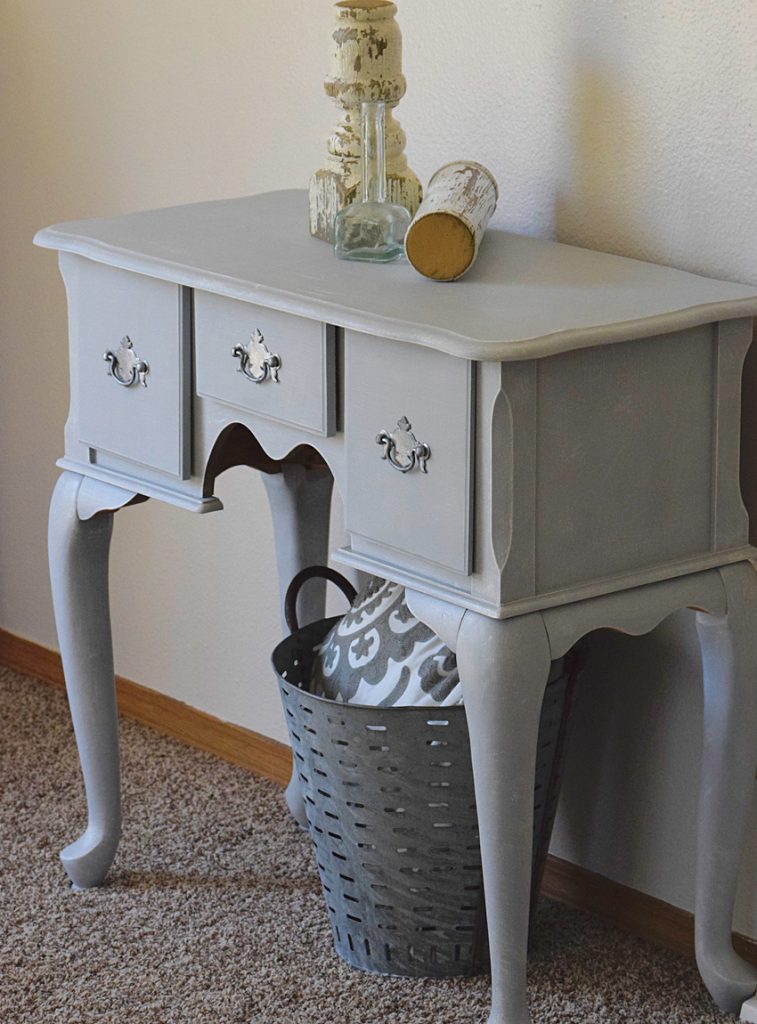
I love the Paris Grey color along with the Old White highlights on this, and I think it gives the elegant curved legs and boxy frame a much needed update!
Source List:
-
Pillow: Threshold from Target
-
Found Olive Bucket: Similar Iron Olive Bucket
More you may also love…



Leave a Reply