Welcome back to our Family Room Restyle for the $100 Room Challenge series we are participating in. If you missed last week – take a peek at which room we chose and the before pictures HERE.
(See the rest of the story: Week 1, Week 2(You are here), Week 3, Week 4)
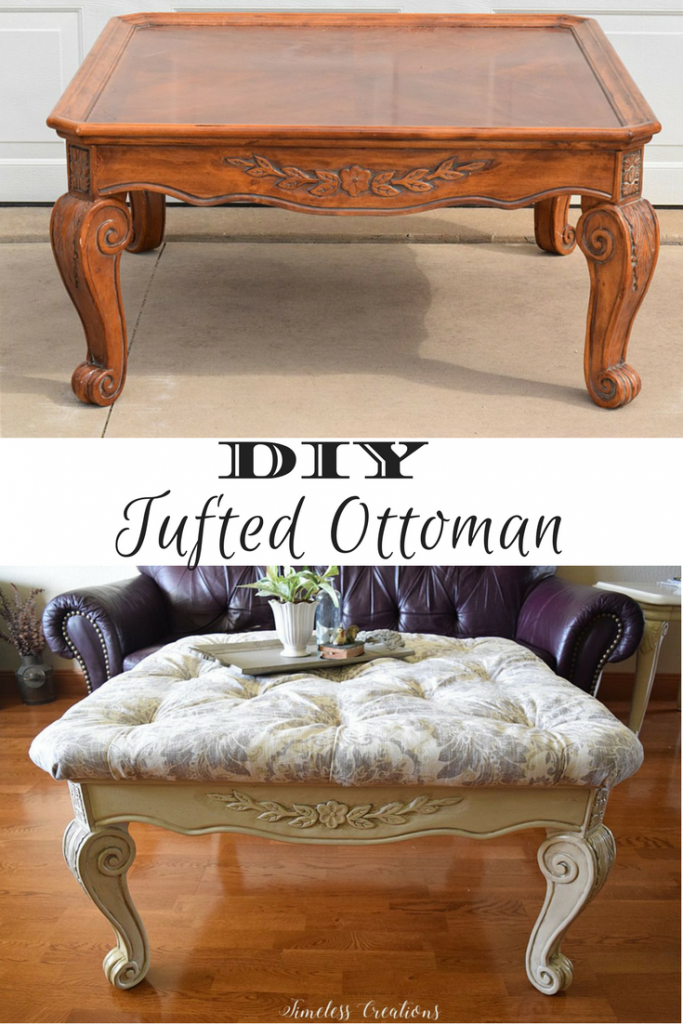
This week we decided to concentrate on making over a large coffee table into a tufted ottoman. I have had this table and all the supplies to make an ottoman for awhile, so my budget of $100 hasn’t been touched yet. This was a pretty easy DIY makeover that you wouldn’t need to know anything about upholstering for.
Here is what the table looked like before:
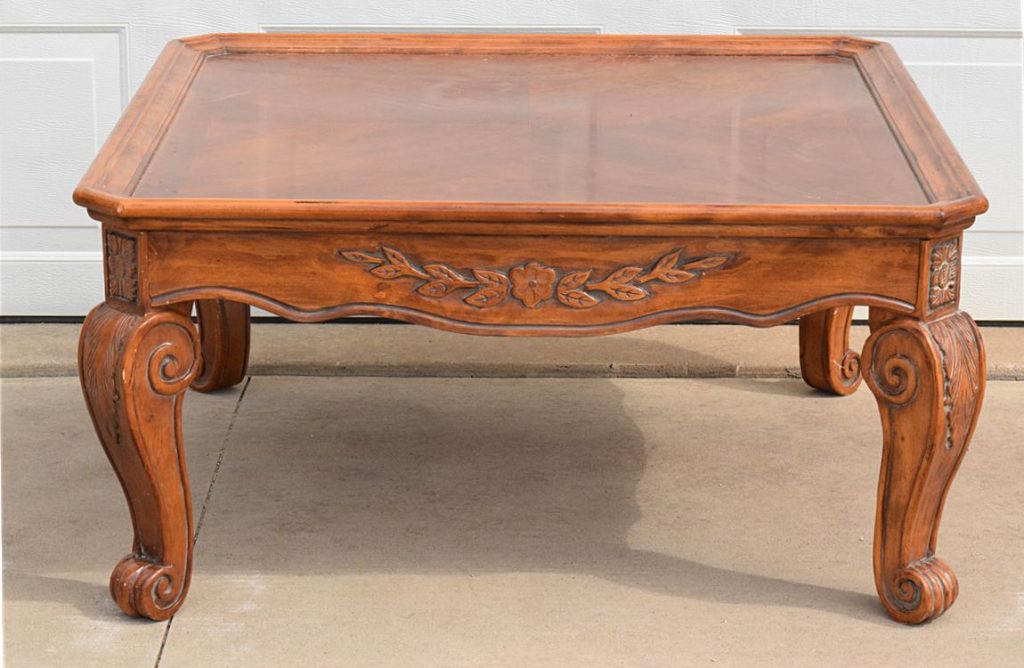
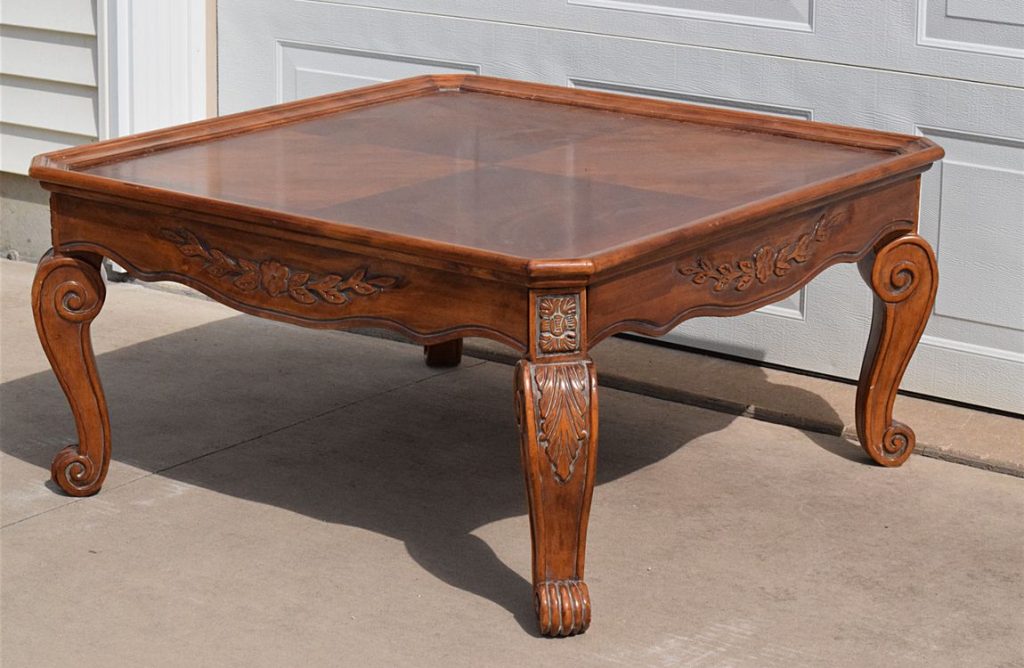
The first thing we did for this coffee table was to paint it of course! We didn’t have to worry about any repairs on this one, just needed to paint to update the piece and bring it to the style that I have incorporated into my downstairs living areas. We painted the legs and apron of the table a creamy white and accented it with a ‘greige’ paint wash. We used chalk paint which is the same paint and accent we previously used on the end tables we have already restyled for this room. We then finished the painted area with 3 coats of sealant in a satin sheen.
The next thing we needed to do to make this an ottoman rather than a coffee table was to add fabric to the top. As we mentioned in our first post about this Family Room Restyle – we combed through my current stash of fabric to see if there was something suitable (in both heavier upholstery weight and in color) that would be in keeping with the style of the room. I have a great selection of fabrics, many of which would be amazing for an ottoman, but we decided hands down that this purplish-gray patterned fabric would be fantastic for this room!
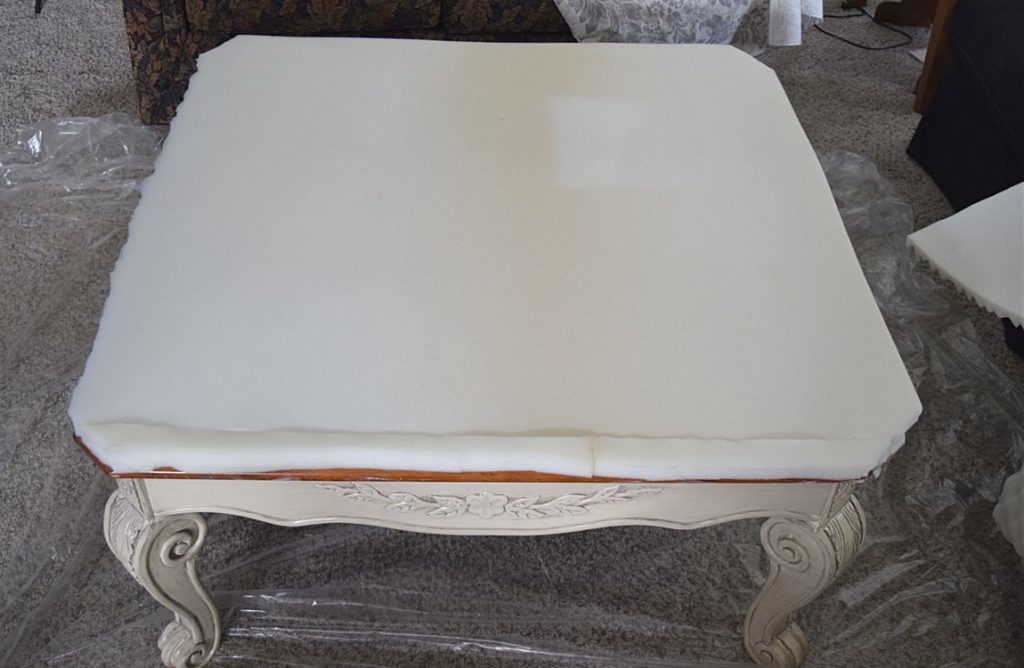
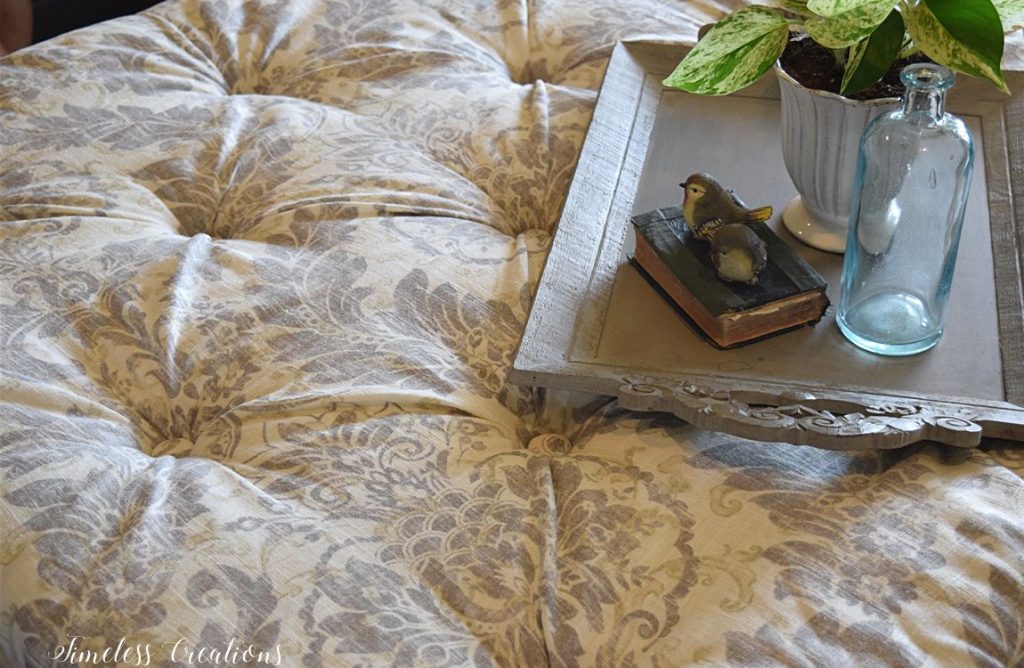
Before we began attaching the fabric, we glued a couple layers of a quilted twin size mattress pad to the top of the table as the foam insert. We then marked out a grid pattern on the foam for placement of the tufts and buttons. We first started with a center line in each direction, then spaced evenly from there depending on how many buttons we wanted. We ended spacing the buttons 7 inches apart in rows of 3, 2, 3, 2, 3. We wanted there to be a center button on this very square table.
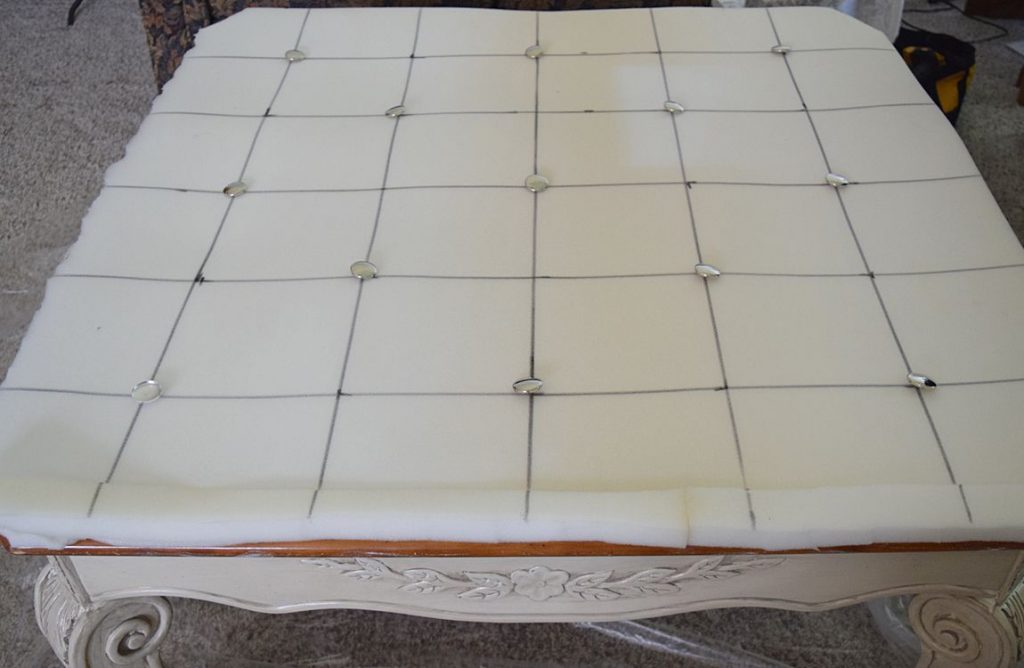
After the grid was drawn we placed our buttons where the lines intersected in the pattern we wanted. We then drew a circle around the buttons so we knew how big we needed to dig out the foam in the spots we wanted the buttons to go. This made it very easy to know exactly where and how big we needed to cut!
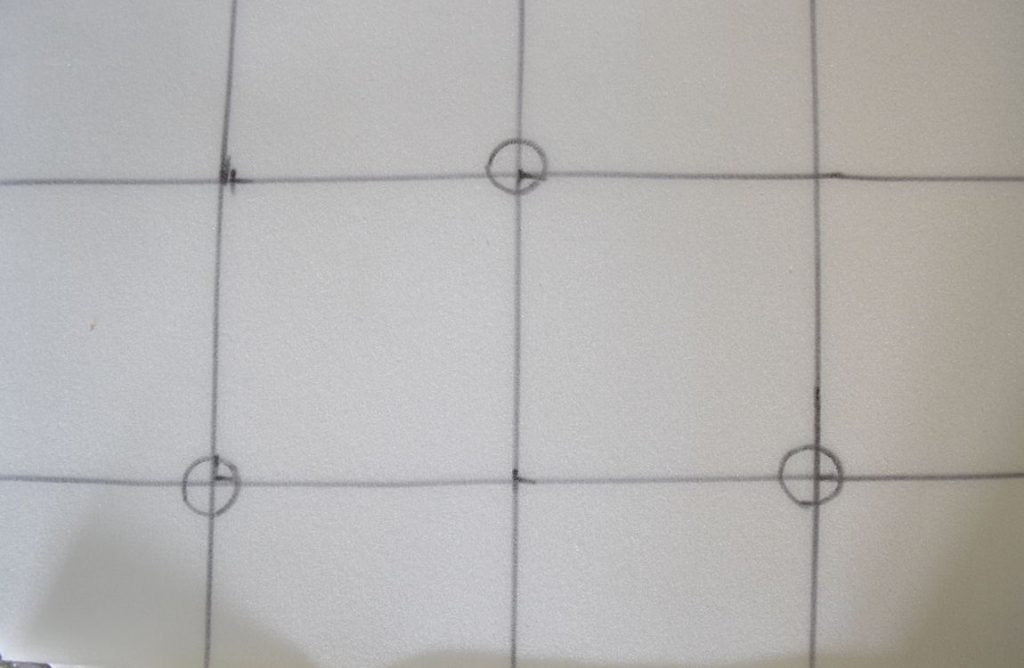
We used just a regular scissors to cut out the holes for the buttons in the foam.
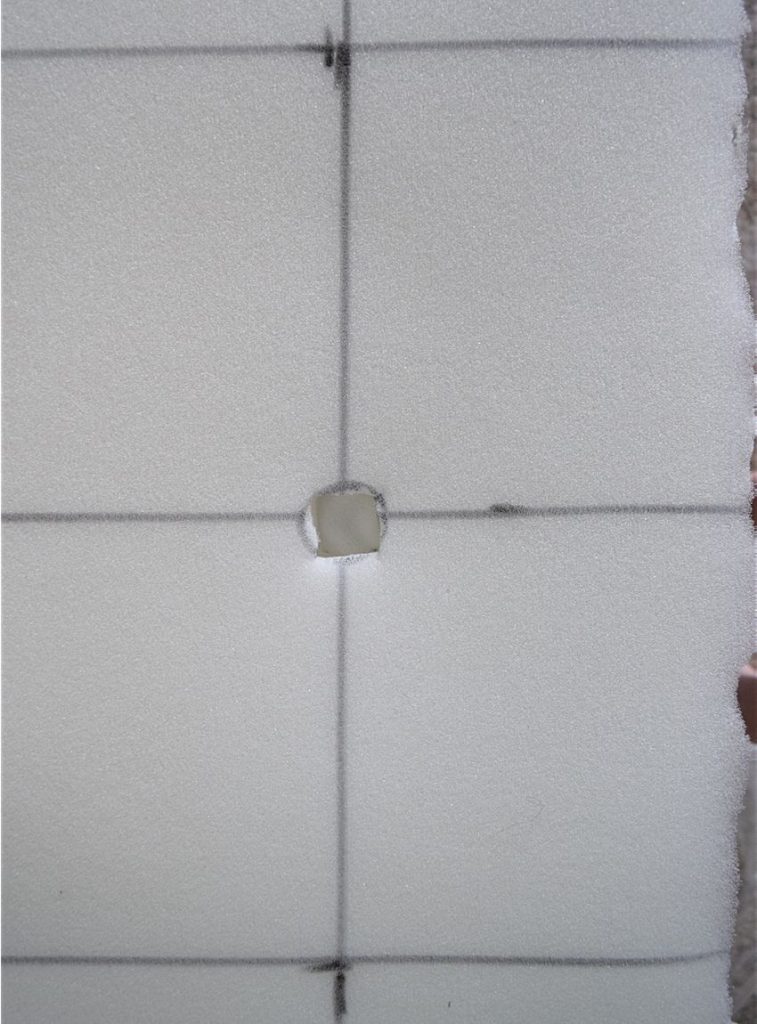
Once the holes for the buttons were cut we laid out two layers of batting over the top of the table and poked through that where the holes on the foam were.
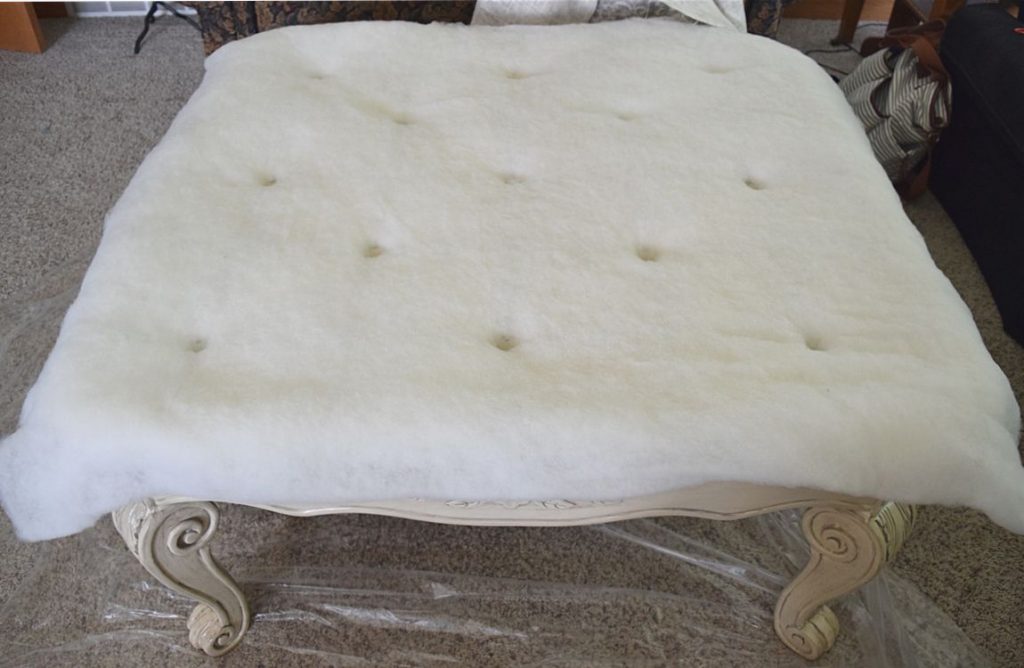
Next came the fabric!
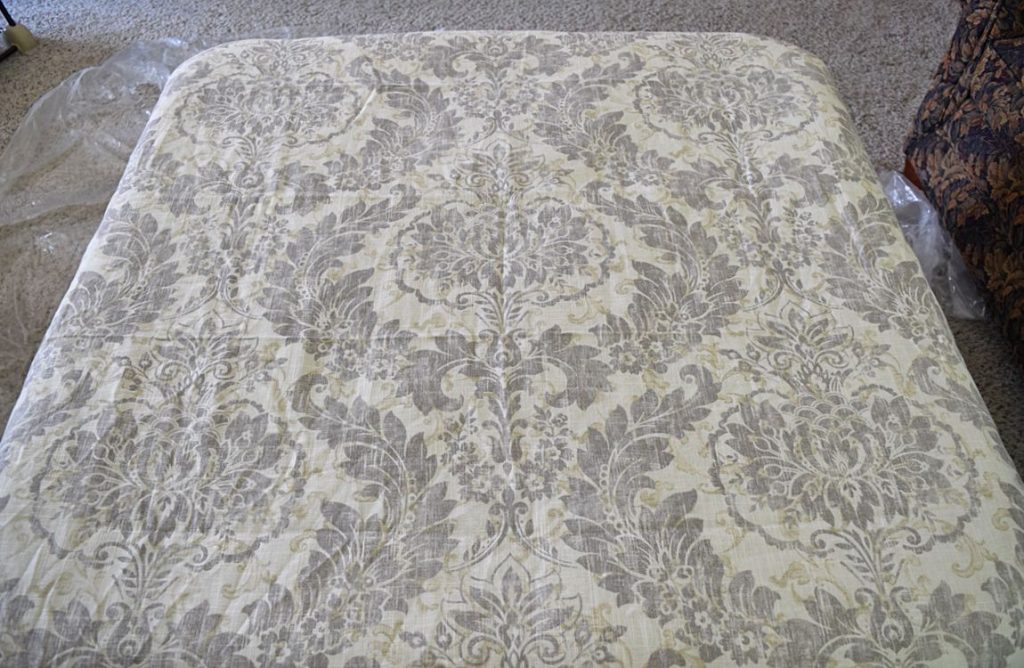
We laid the fabric over the entire table to get ready for the tufting. TIP: If your fabric has a pattern pay close attention to detail and line the pattern up how you want it on the table top. We had a very distinct part of the pattern we wanted centered so we did that first!
When it came to actually creating the tufts, we debated on where to start. We were following a tutorial by Kristi at Addicted 2 Decorating. We didn’t follow everything exactly step-by-step, but her tutorial gave us a way to start! (Definitely go check out her tutorial as well for other tips and tricks!) So we decided to start with the center button and create the tufts going out from there. We poked the fabric down into the center hole then took a #8 3/4 inch screw and a #10 washer and screwed the fabric down into the hole and into the tabletop.
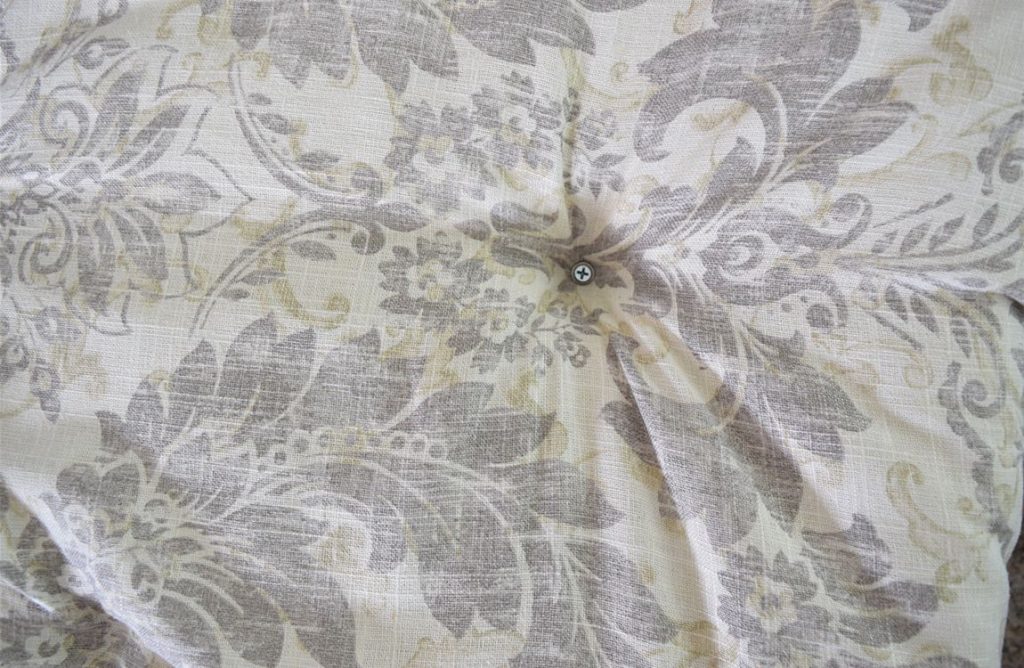
Tip: We found it eaiser to have one person holding the fabric taught into the hole and one person screw. Be very careful your fabric doesn’t get wrapped around the screw or it will pull too much of it down.
Next we went straight out to the left and right side to make sure the fabric was correct on the spots that needed to be smooth. The fabric sort of makes it own tufts, but you don’t want the smooth parts to get pulled too tight and make other indents that don’t go with your pattern!
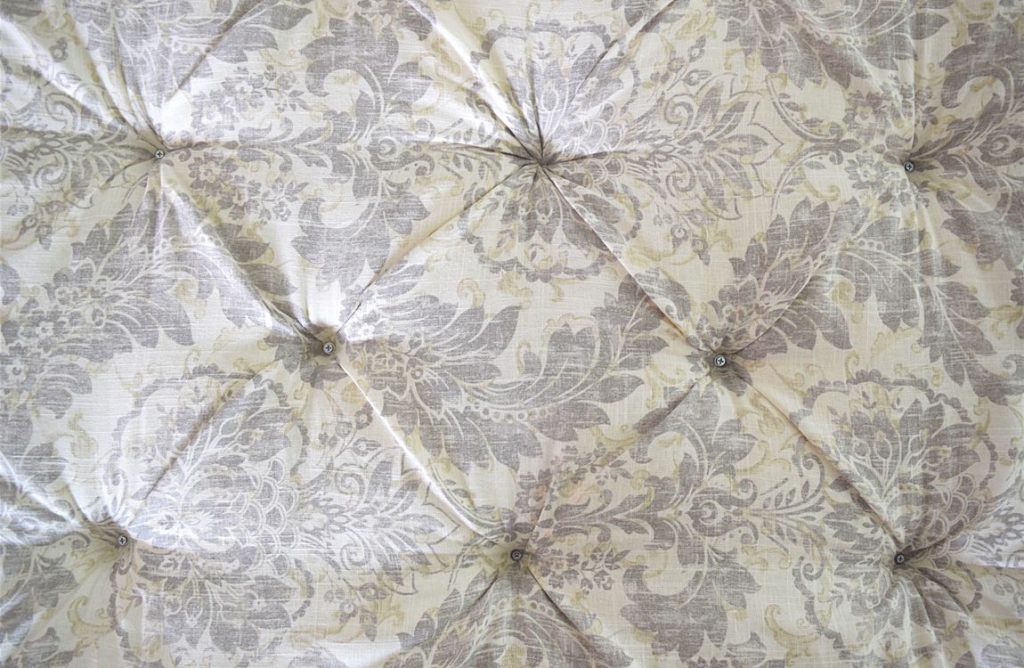
After that center row was done, we moved to the next row, working our way out towards one edge of the table, then going back to the center and working out towards the other edge. Make sure to create your tufts as you go. Once the tufted top was complete all that was left was to trim your fabric and staple it around the edge! (We used our electric stapler for this part).
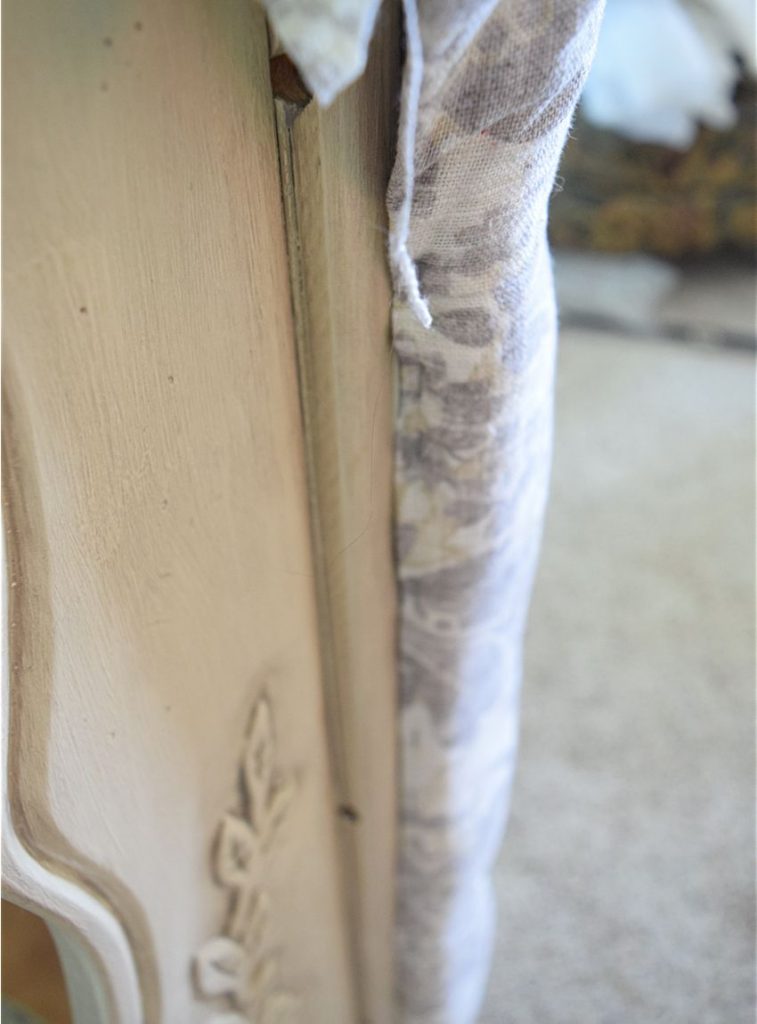
Last, but not least – I cut out circles of the leftover fabric for my buttons and then glued them on top of the screws down in the tufts. (These are the buttons we used, they worked very well) This was extremely easy! No threading through to create the tufts. Anyone who has a screwdriver could do this upholstery!
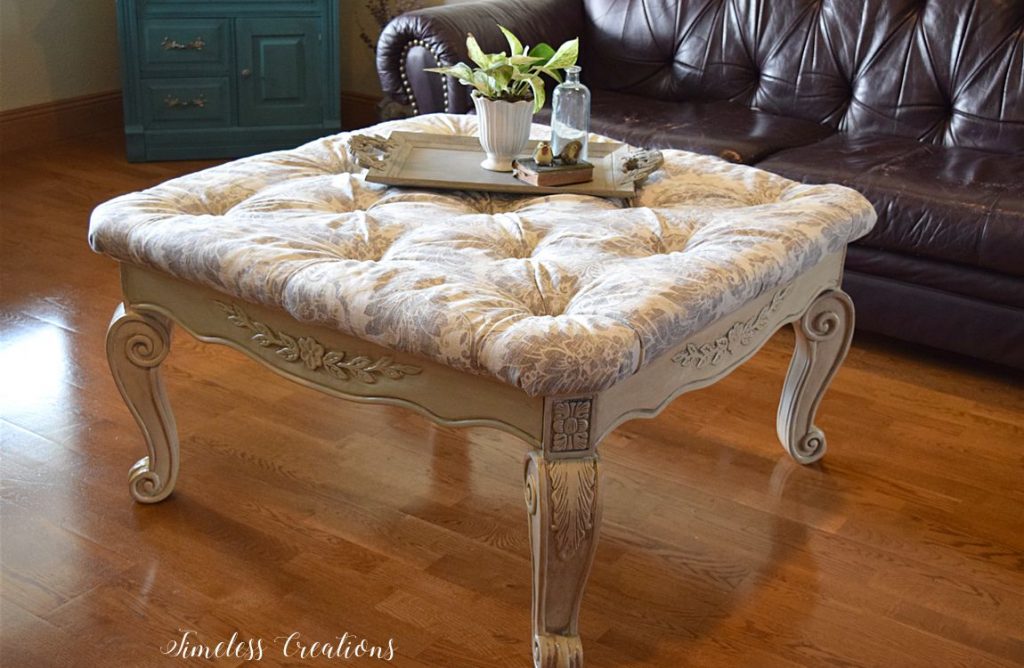
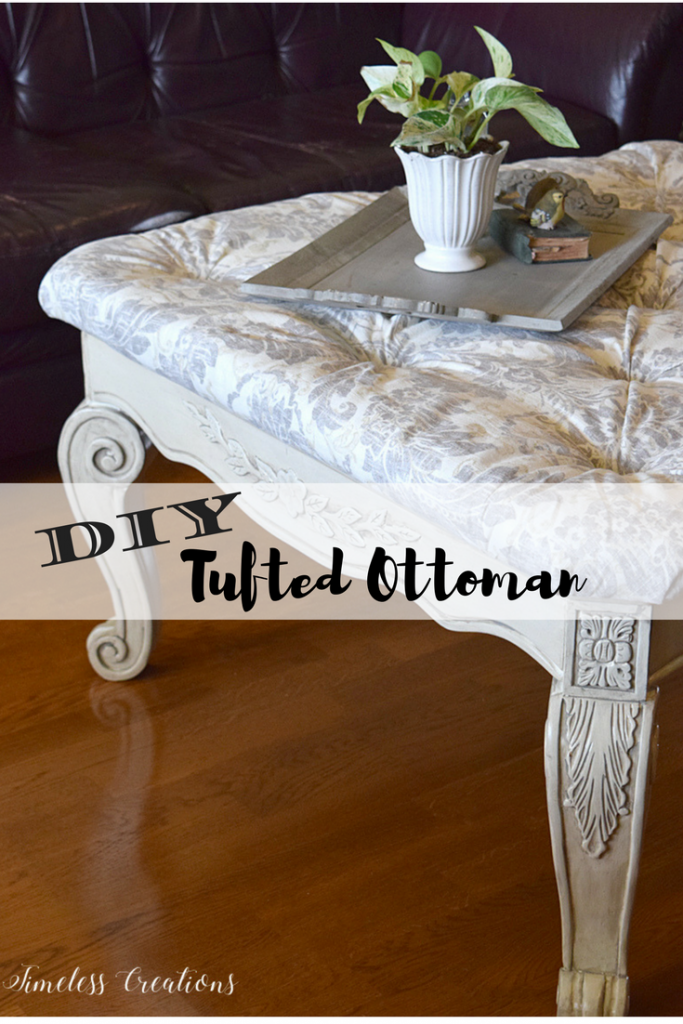
And there is my new tufted ottoman! Unfortunately for me, Kristen and I don’t feel like it works in this room. Darn! This table is just massive and almost overwhelms the family room! Even though I am completely in love with it, I don’t think I will keep it in this space. But lucky for me I have a large extra living space upstairs that this will work better in!
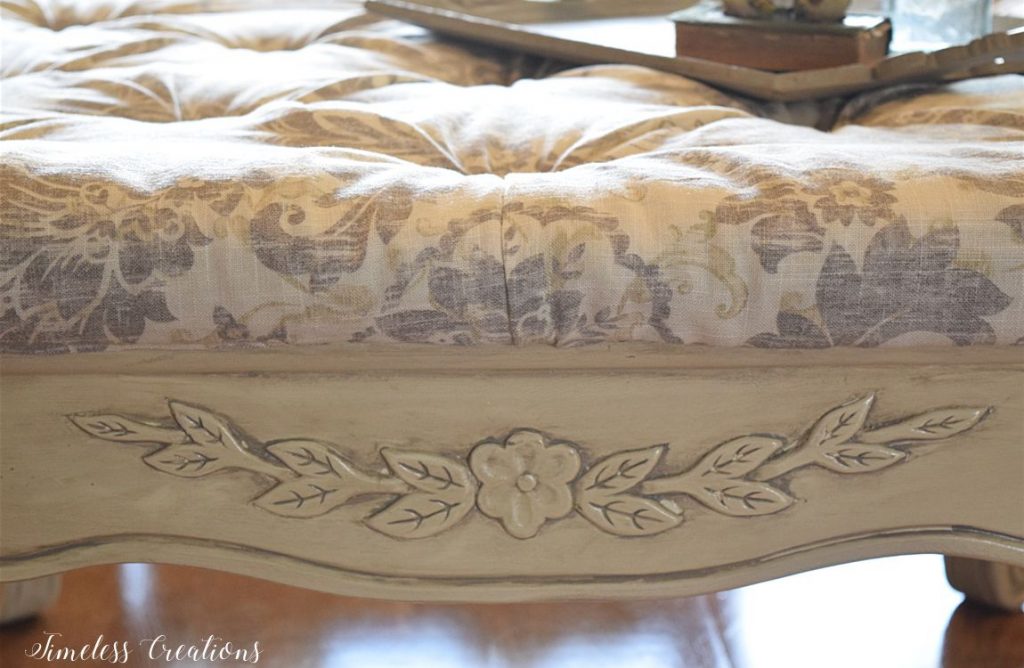
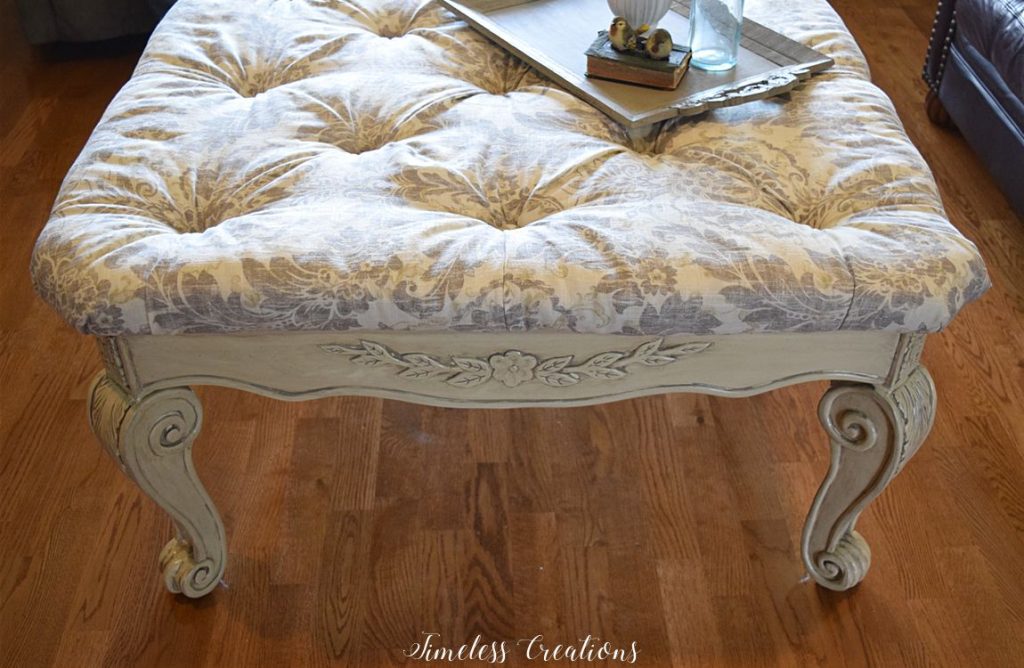
We were unsure from the beginning if it would work in this room, but decided to take the chance anyway! Now we will have to come up with a Plan B for my family room… so stay tuned to see what we actually end up doing!
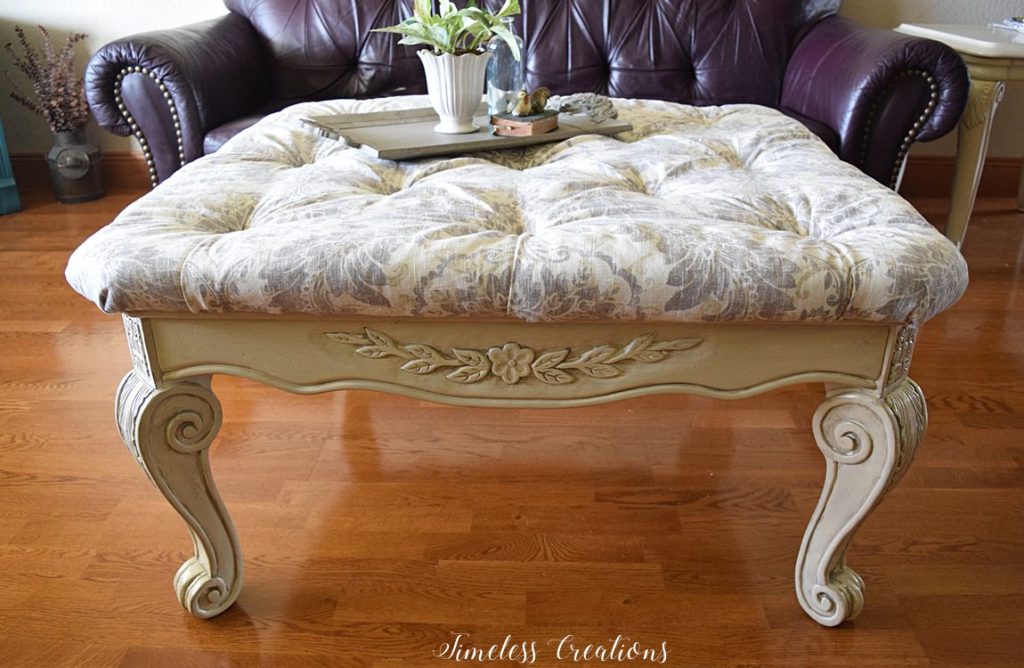
And don’t forget to check out all of the other blogger’s spaces in this $100 Room Challenge series! The link-up is below.



I am so amazed by this transformation!! It looks amazing and you would have no idea it used to be a table. LOVE IT!
Thank you Liz! We love it too!
omg I am in love. I will be searching for something like this at my local habitat for humanity. To make one Great project.
Maria
Thank you Maria! We love it too! Best of luck in finding a table to makeover into your own ottoman!
This turned out amazing! I’ve always wondered how to do tufting like that. I love it and I know you’ll find the perfect spot for it somewhere!
Thank you, Meredith! I definitely will have a spot for the ottoman! I love it too much not to!
Vicki and Kristen:
I am so impressed with what you did! I will be moving into a house we are building soon with a big walk-in closet. I wanted something like that for the center of it. Going to the Big Flea in Northern Virginia over the weekend and will look around for a piece of furniture so I can do something similiar. You are the perfect inspiration.
Thank you Judy! So glad we were able to provide inspiration for your own DIY! What a wonderful idea to put a large ottoman in your walk-in closet. Best of luck in finding the perfect piece!
I liked the coffee table but Love the ottoman. The fabric is so pretty.
Thank you! Always good to hear kind words!
Bummer that it didn’t end up working in your space, but it turned out beautifully! Glad you have another spot for it.
Thank you Erin!
It looks so completely different. You would never say it’s the same table Vicki. Beautifully done
What a gorgeous look you gave the old table. It’s such a great way to upcycle it into a new decor piece. Thanks for sharing at Snickerdoodle. We’ll be featuring this at today’s party.
What a coincidence Vicki, I have this exact project lined up for this month! I must say yours came out beautifully and I love the fabric choice. Thanks for sharing your creativity at #fridaysfurniturefix love having you!
Brilliant transformation Vicki! I’ll be featuring your beautiful tufted ottoman at this week’s party. xx
What an amazing transformation this table has gone through! I love that it is no-sew tufting!
How do you calculate how much fabric you will need?
Hi Tricia,
That is a really great question that depends on many factors. It depends on how many tufts you are doing as well as how thick your underlying foam is. I would definitely allow maybe 6-8 inches for each tuft? We had a very large piece of fabric and didn’t cut it until all of the tufting was finished. Always allow extra fabric and cut down last.
Wow! What a transformation! Ty so much for the inspiration!