My husband and I moved to a new apartment in a new town this last year and at the same time started this journey of setting up a new business with my mom, Vicki. Needless to say while living with only one true income I had to find ways to be thrifty in my home decor while still trying to perfect the style I wanted. Now I can share with you all how I helped to make our new apartment our home just by using a paintbrush and a little bit of paint!
For your convenience in locating products we love this article contains affiliate links. If you make a purchase after clicking a link we will earn a small commission at no additional charge to you. To see our full disclosure go to our “Disclosures” page.
Lamps:
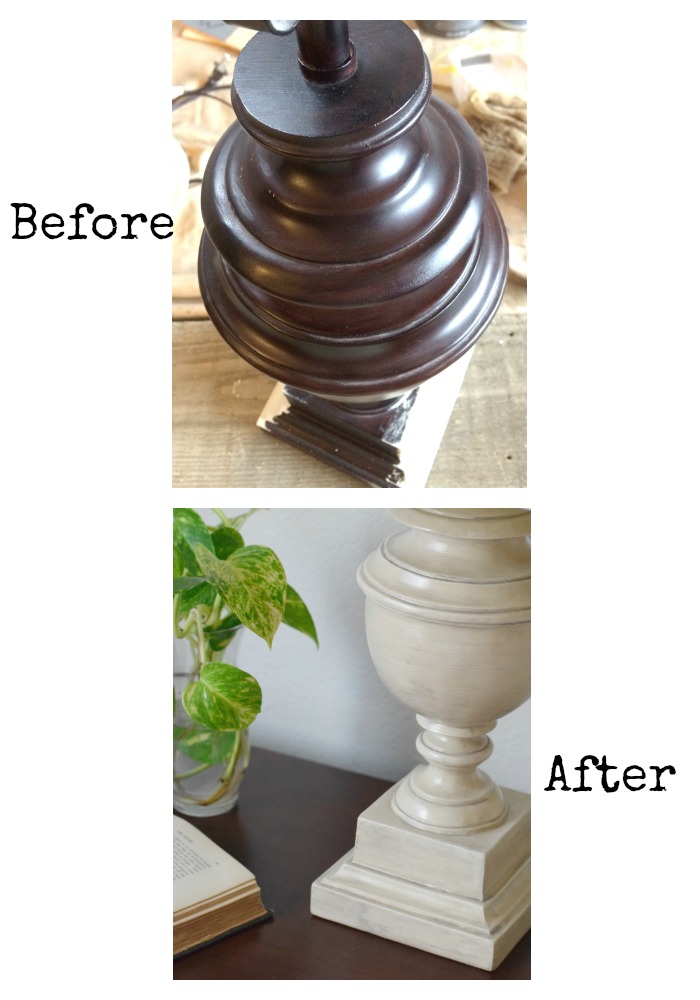
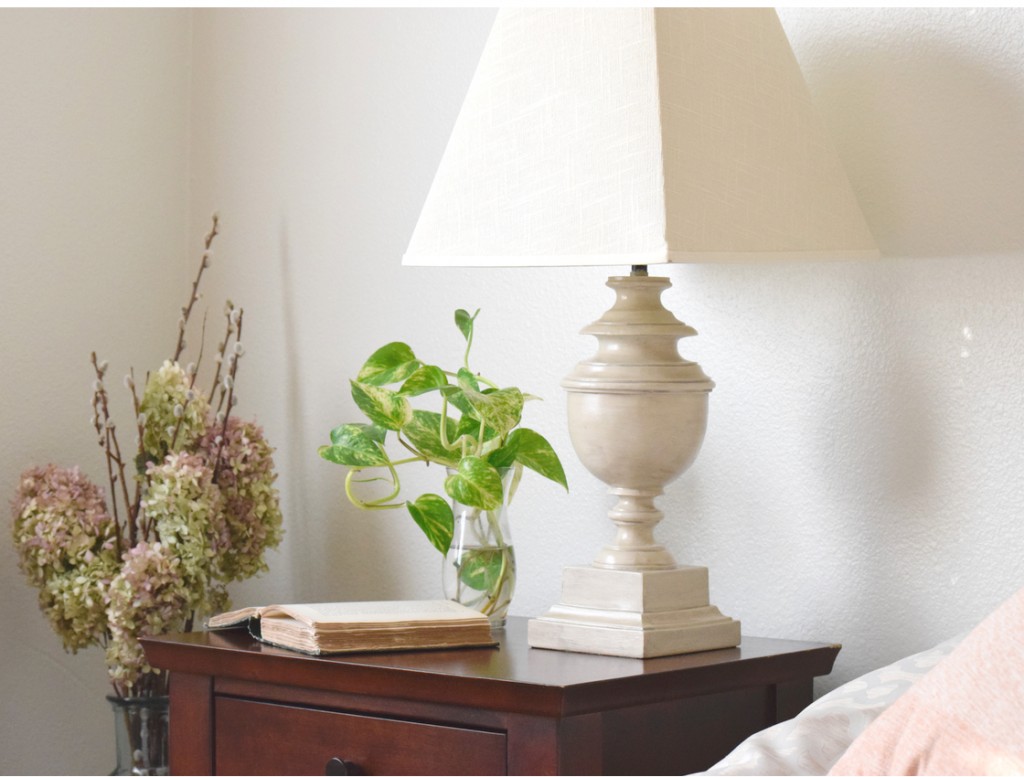
The first item I tackled was kind of a surprise. One day I was putting the laundry away and just looked at my bedside lamp and decided right then and there I was going to paint it! I had had this lamp for many years, and just got sick of the dark color. So I brought it to my workshop and brushed on some cream paint and voila! a new lamp was born!
I thought the paint and wash gave the lamp a very nice “French Country” style which worked well in our bedroom.
Find the full Lamp tutorial here.
Shelves:
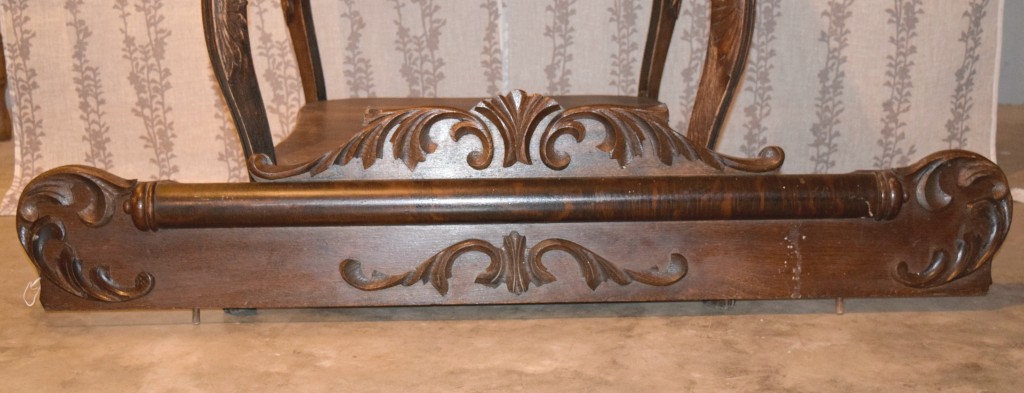
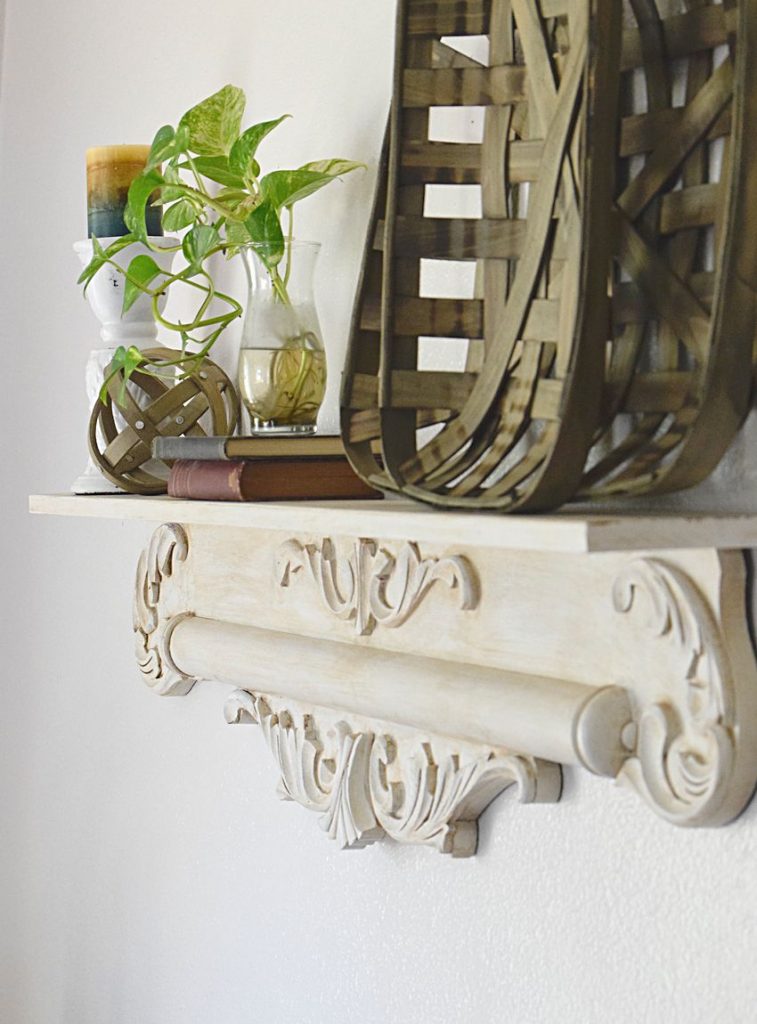
There was a little more involved than painting for my next item, but it is the easiest tutorial ever. Find it here. All I did was take a pine board and glue it to an old pediment I found at an antique store. I then painted it white and added dark wax to accentuate the details!
You can take any kind of shelf you may have around the house. We have also painted old pine shelves and gave them a French Country look (similar to our lamp above) instead of the dated ‘honey oak’ look.
Finials:
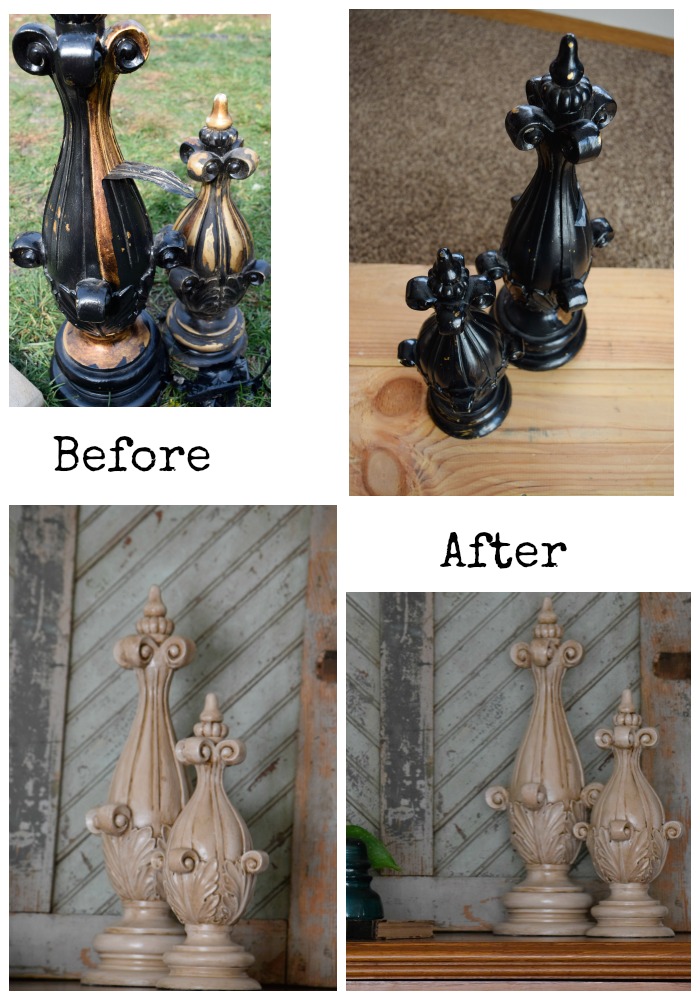
These finials were also an antique store find and were painted a terrible and peeling black when I got them. I saw the potential in them however and snatched them up for cheap! For these though, I did have to peel off all that black paint which was a bit of a pain, but definitely worth it. I then used chalk paint for these so the paint would stick this time around. To bring out the details, I mixed up a glaze to go over the chalk paint. (I used Annie Sloan chalk paint for these finials but we have used this line and this one as well on other projects.)
Wooden Boxes:
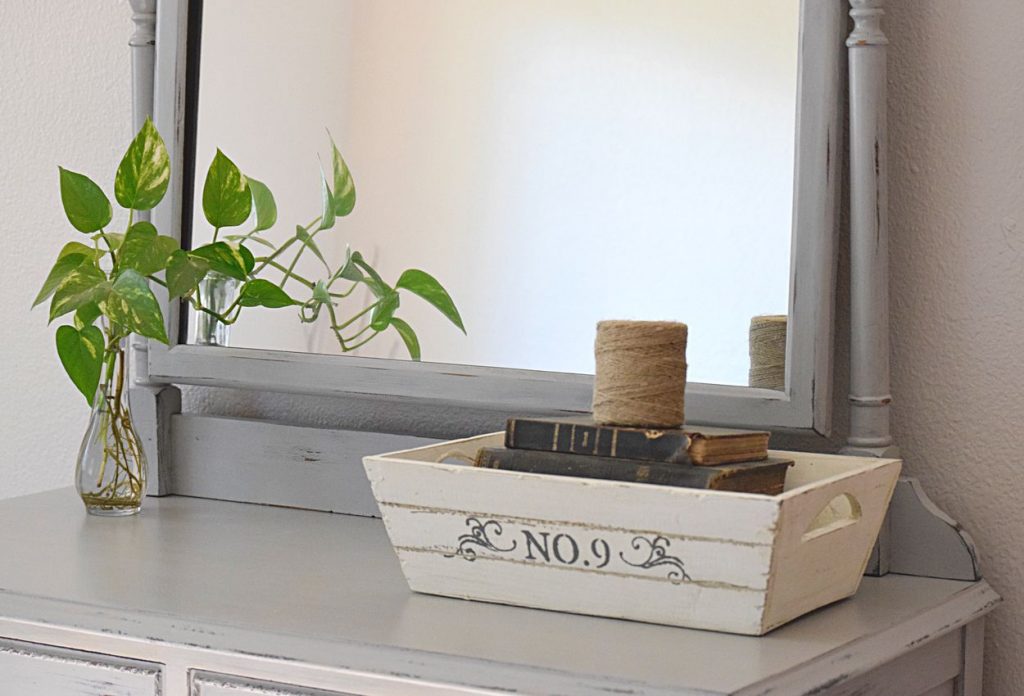
Both of these boxes were so easy to update it probably took me 5 minutes each! (maybe less) The white one, was already that color and had some great distressing to it. All I did was grab a stencil and some acrylic paint to add the “No. 9” to it. That was it, and look how cute it turned out!
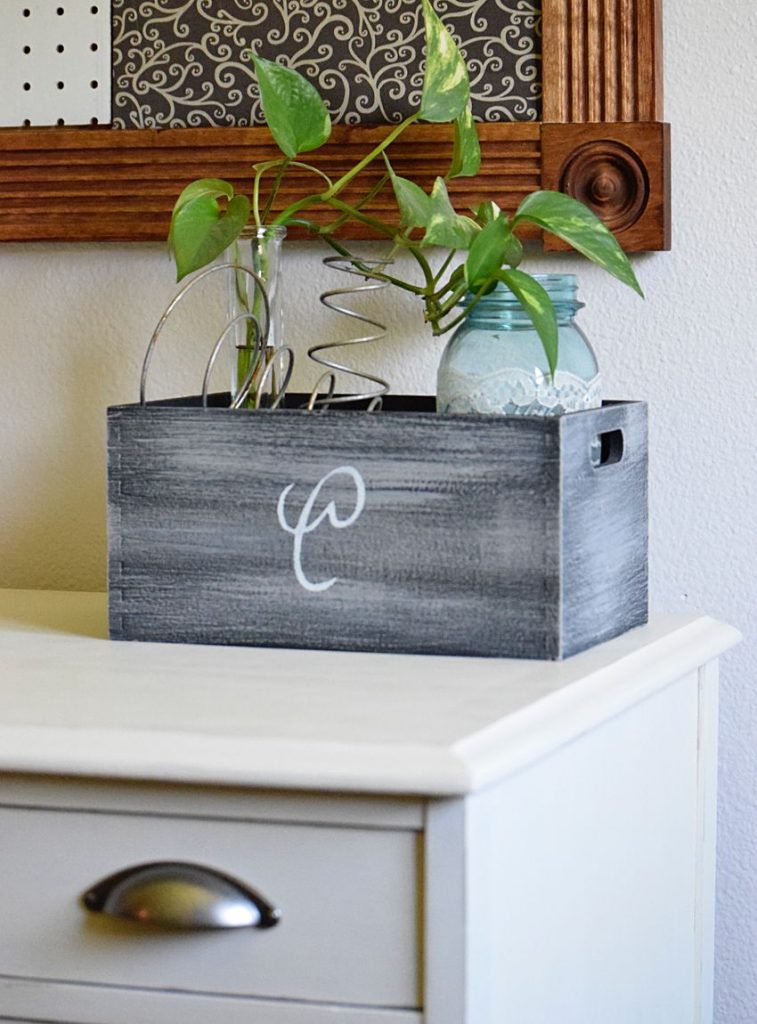
And this second small box was given to us as a gift, in the dark gray color. I dry-brushed on some lighter gray and added the “C” Monogram with a stencil and gray acrylic paint. Again, very easy, but it’s now unique and personalized!
Ornate Objects:
This piece was another antique store find (are you finding a pattern here-I love antique stores!) It was painted and given a wash over it and then highlighted with a little dry brushing. It now hangs on my gallery wall in the kitchen!
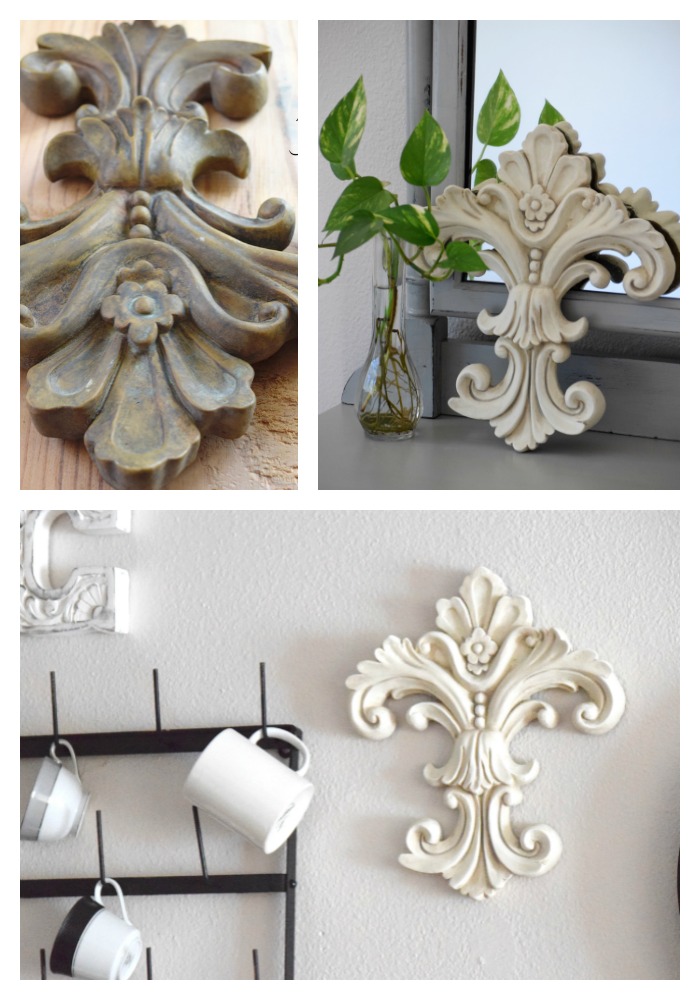
Find a tutorial for a “wash” here.
Frames:
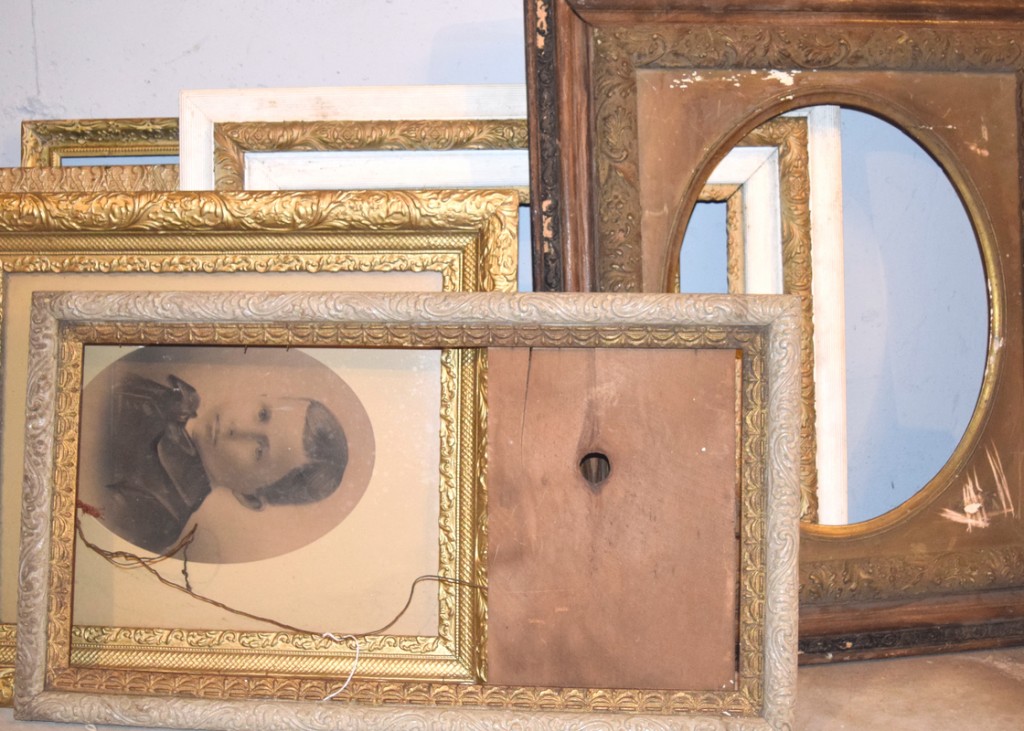
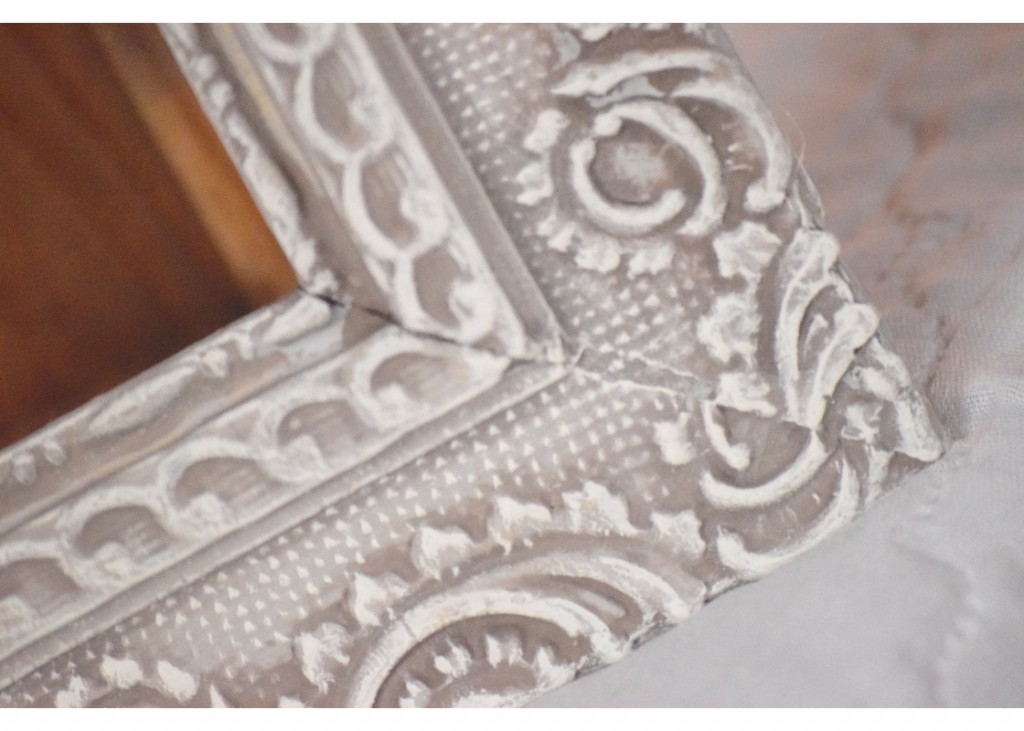
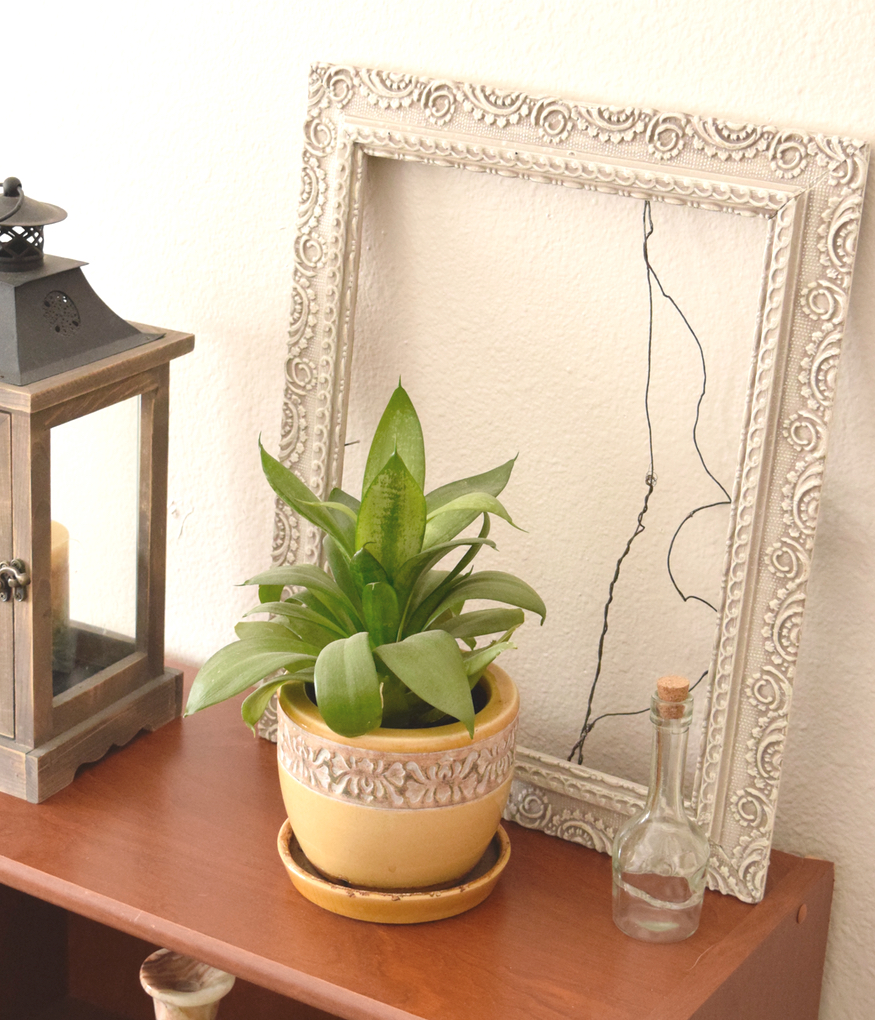
Whether an old frame you have lying around, a thrifted one from Goodwill, to auction finds (like below) frames are definitely abundant. It only takes a quick coat of paint to get an updated look. Chalk paint with a wash over the top is one of my favorite ways to update our frames, but the possibilities are endless to get any look you want!
For this frame tutorial, click here.
Candleholders:
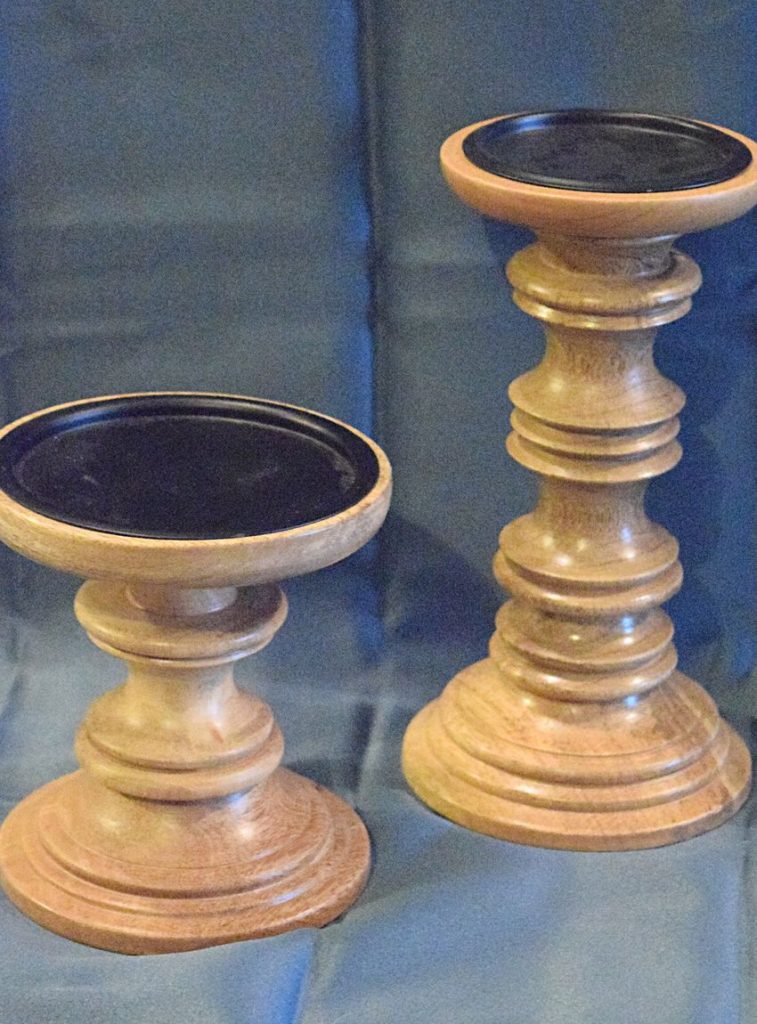
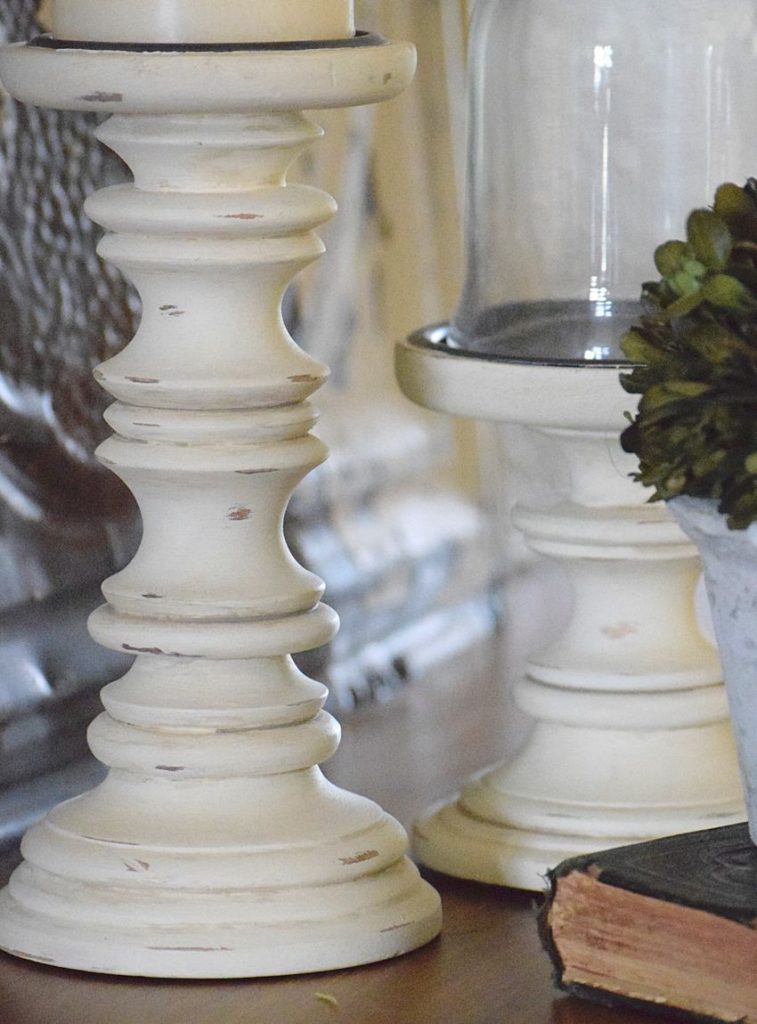
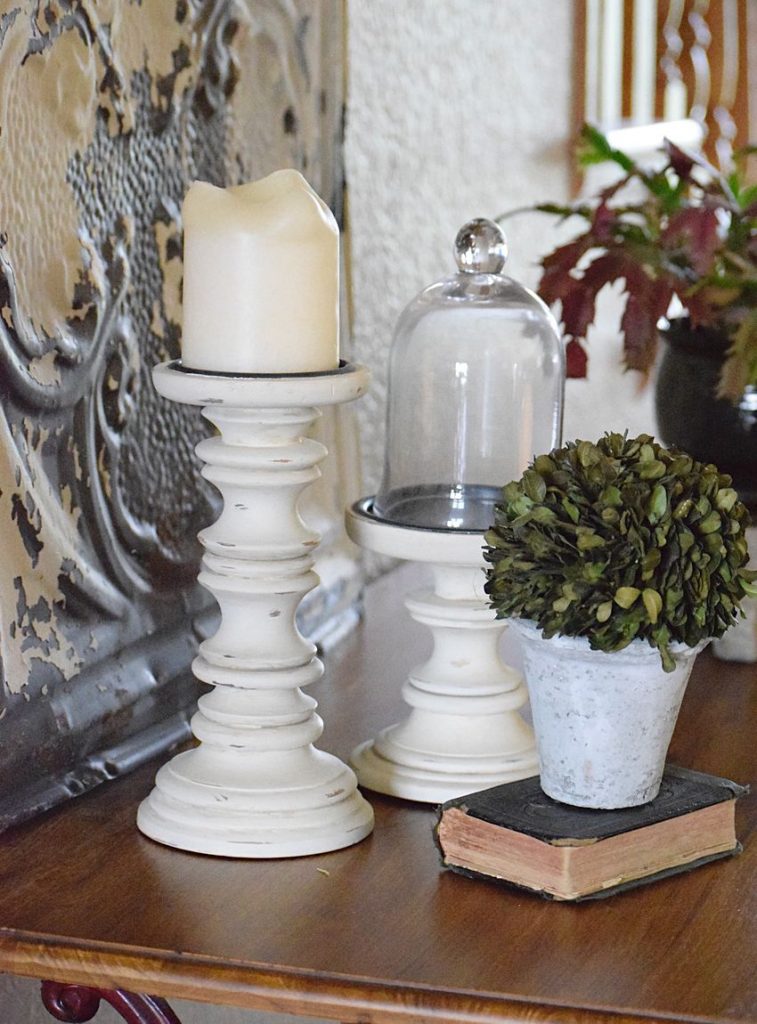
Once again, these are an easy thrift store find! We have found a ton of great candleholders at Goodwill that just needed some paint to make them pretty again. This particular pair was on clearance at Target. A little paint and some subtle distressing and they look wonderfully new!
Mirrors:
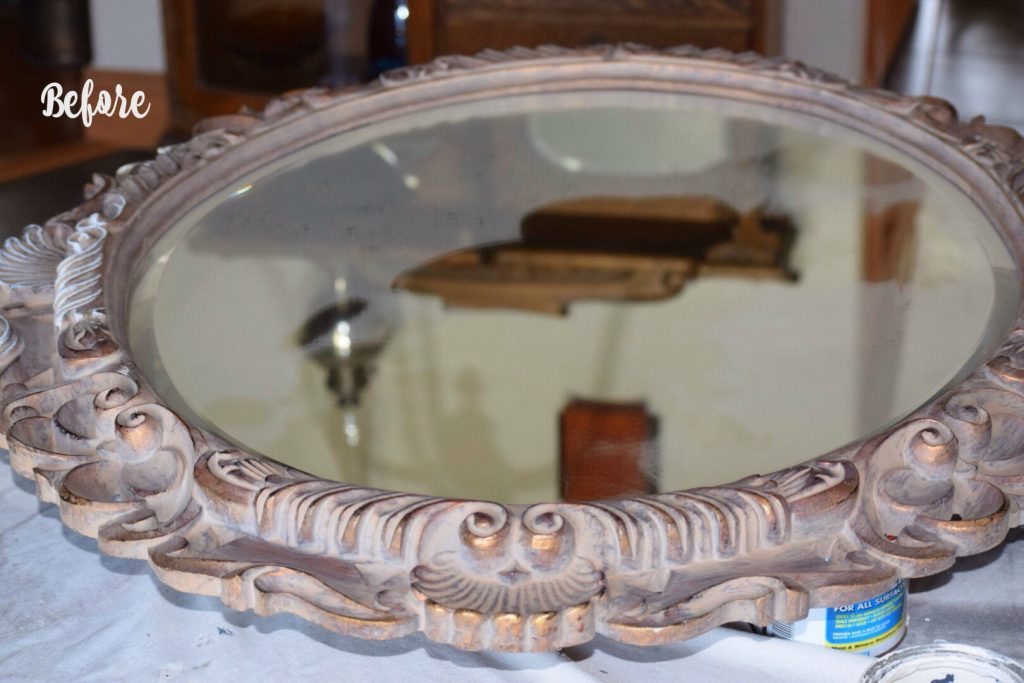
We had painted some old mirrors for home decor pieces previously to sell in our storefront, but this last weekend we decided to paint this huge ornate mirror to hang in Vicki’s living room! It actually had some great patina to it already, the only thing we didn’t like was the metallic gold on the edges. So we decided a little dry-brushing with some AS “Old White” would be perfect to change the gold as well as bring out the details.
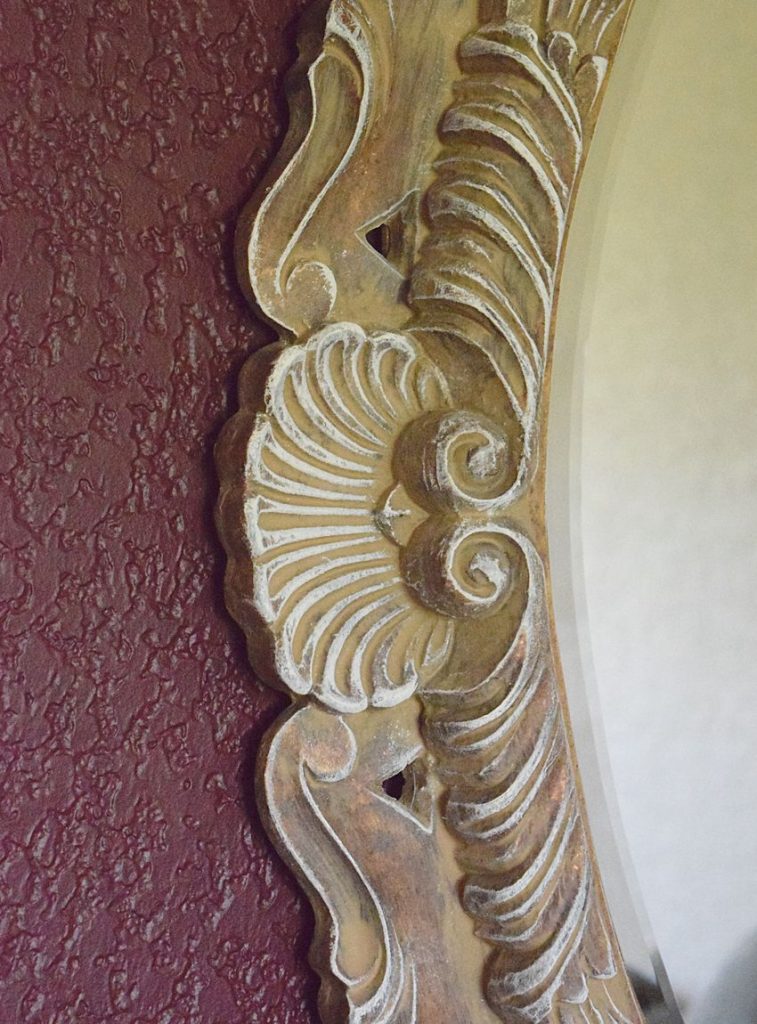
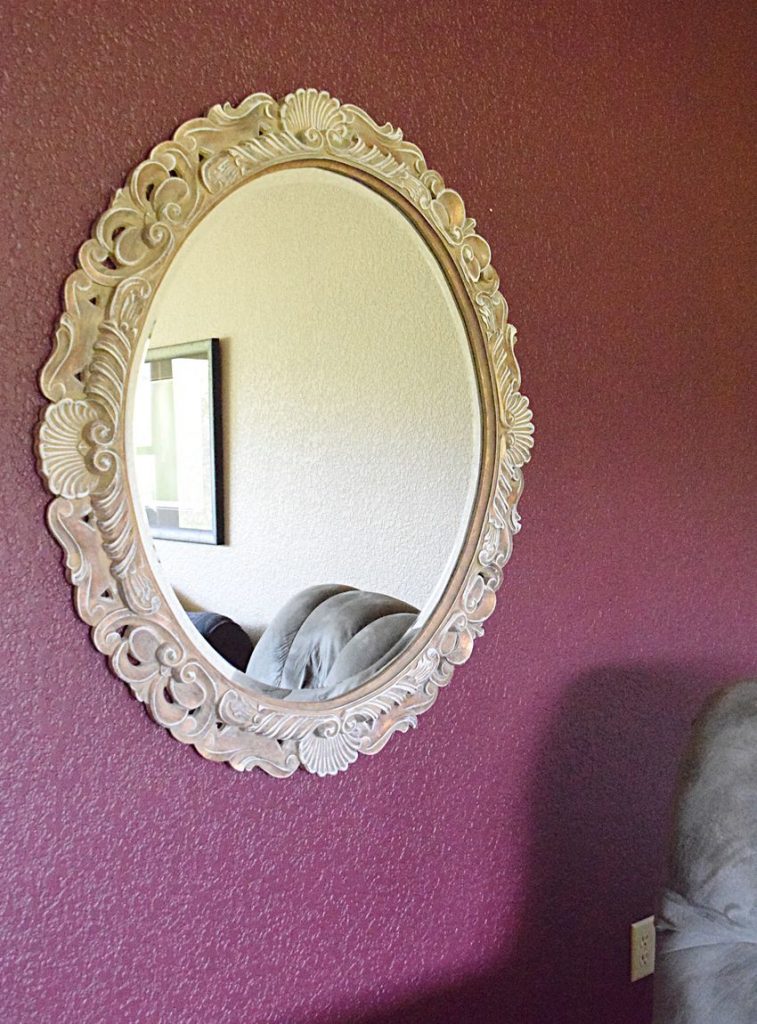
To learn how to dry-brush, click here.
There’s almost no end to what you can paint from around the house. We particularly like to use chalk paint because it sticks to almost everything and is very easy to distress for added character. We use Annie Sloan a lot, but if you want to try something a bit more budget friendly we have used this chalk paint and and this one as well.
If you like an even bigger DIY project, take a peek around the website for our furniture makeovers! Painted furniture is a bit more work, but is definitely worth it.

Linking with: Thursday Favorite Things, Dishing it and Digging it,
More you may also love…


All of these are great ideas/reminders! Sometimes it’s easy to convince yourself to get rid of something you’re tired of when really, it probably just needs a fresh coat of paint! Thanks for linking up with our Merry Monday party this week 🙂
Some great ideas ladies! I shared your post to my facebook page for my readers! Thank you so much!
Thank you so much Debi for stopping by and for sharing! We love giving new life to old items 🙂