A new and improved hutch!
So ya know those old china hutches from the 80’s that are sort of clunky and now just dated. Yup, those ones you see all over the place that are just screaming for some fresh paint! Well we had one of those in our stash of furniture that we decided to tackle before our store Grand Opening this spring!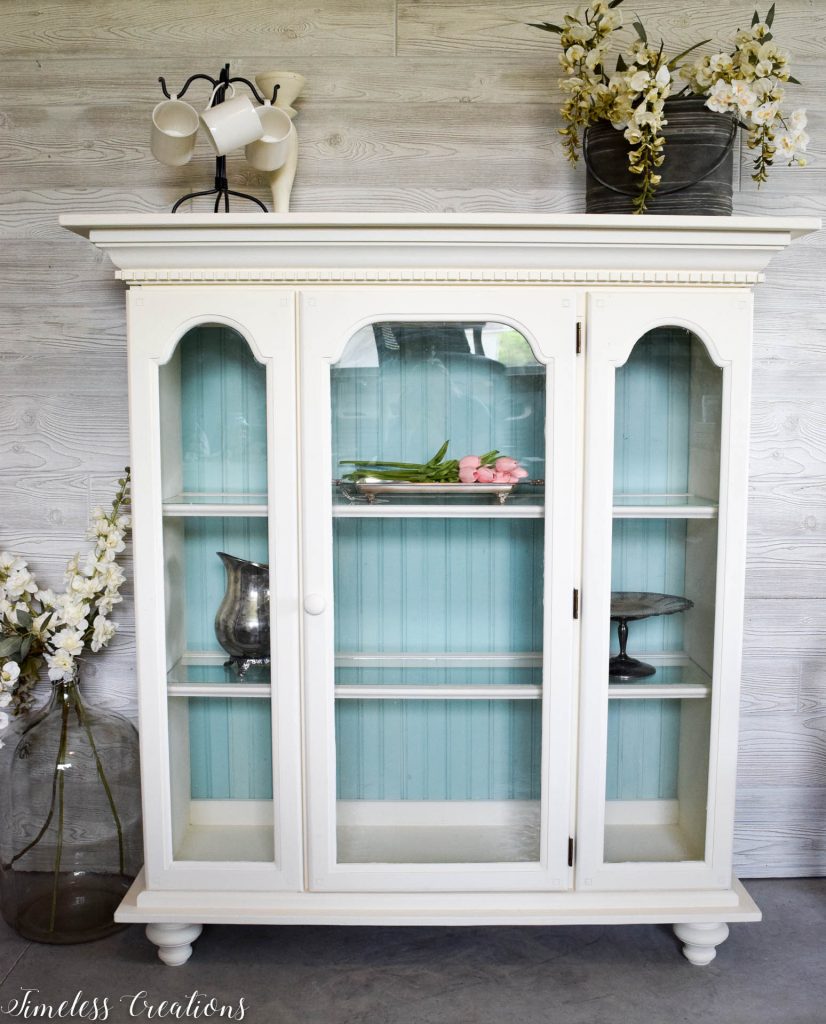
Unfortunately with the craziness associated with opening a retail store, we didn’t grab a ‘before’ photo for this one. We are really kicking ourselves now when we want to share the transformation! But oh well, I’m sure you can all picture the dark, chunky “before” of this hutch!
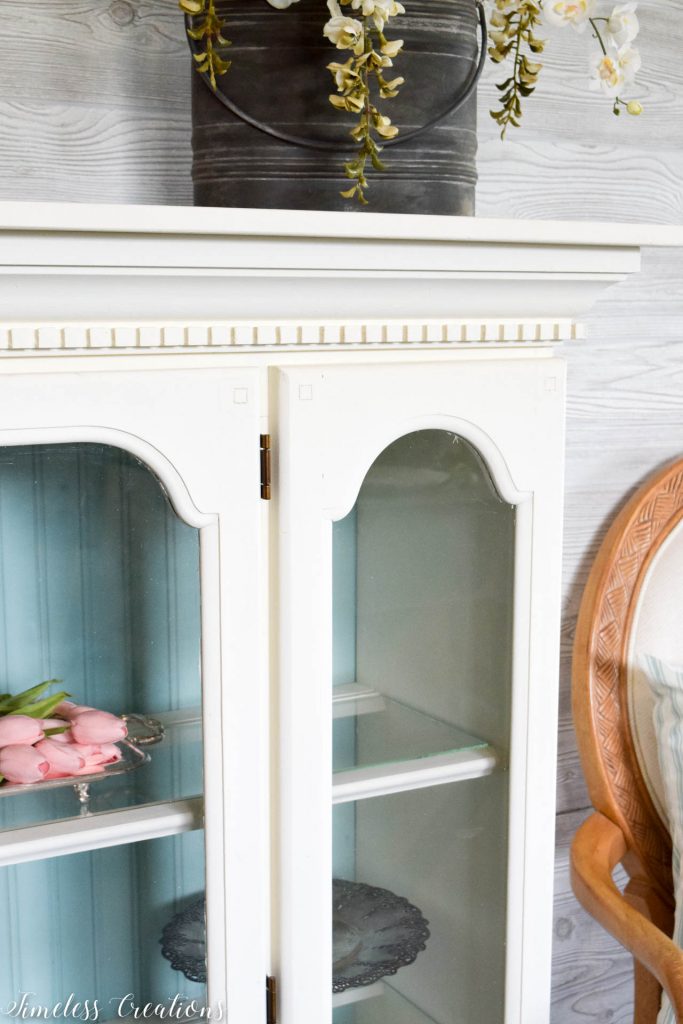
We wanted to go really different with this hutch, so we decided to separate the top and bottom pieces to create two unique furniture pieces. We decided to begin with the top of the hutch and added feet to the bottom as well as a full top shelf. But we wanted to go one step further and replace the entire back! Instead of keeping the boring, thin back panel we decided to change it to wood planks that look like beadboard!
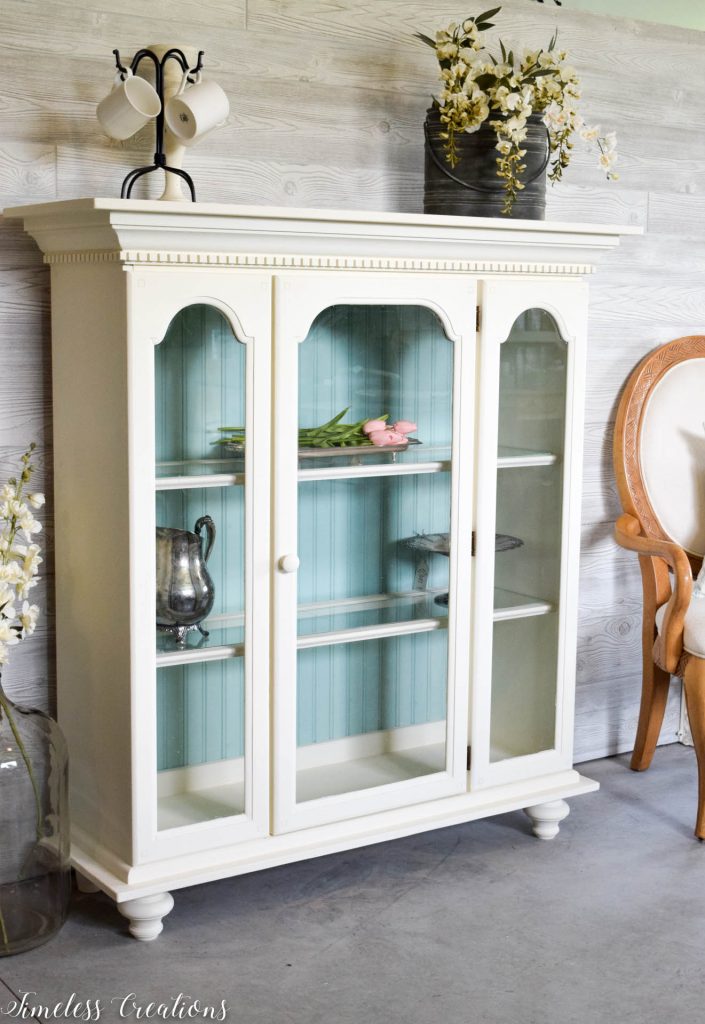
Taking the back panel off made painting the inside SO much easier too. We were happy about that 🙂
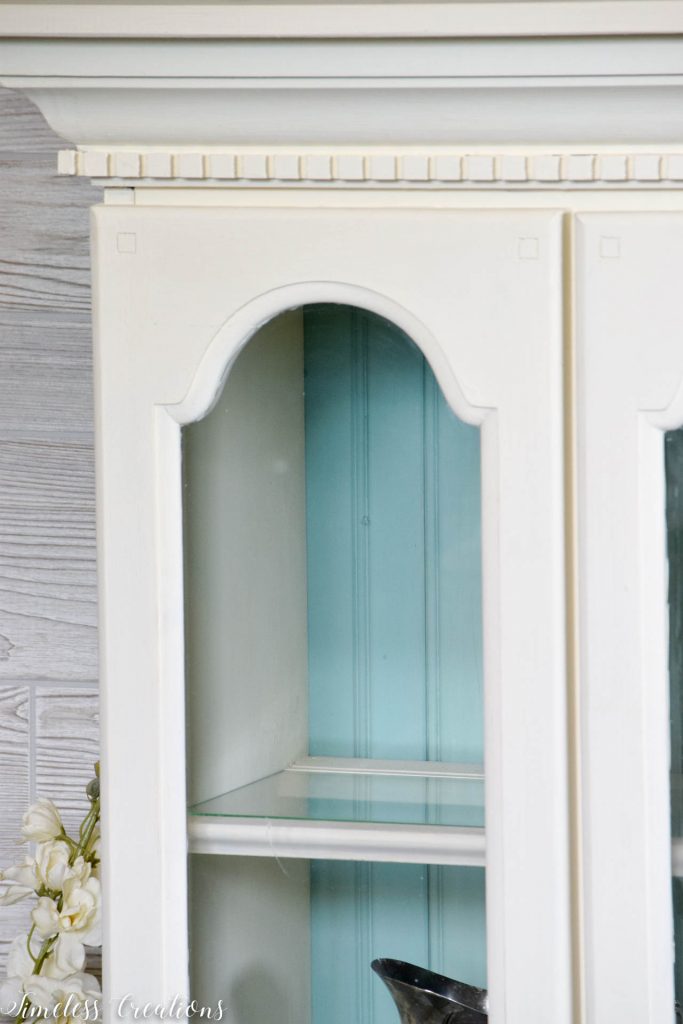
While we absolutely adore white furniture, we decided to take it up a notch AGAIN and go with a bright aqua in the background! And boy were we happy with the way it turned out! It was front and center for our store opening and it got so much love!
We figured it could be used not only as a hutch/display piece, but also as storage for beautiful quilts, or for towels in the bathroom.
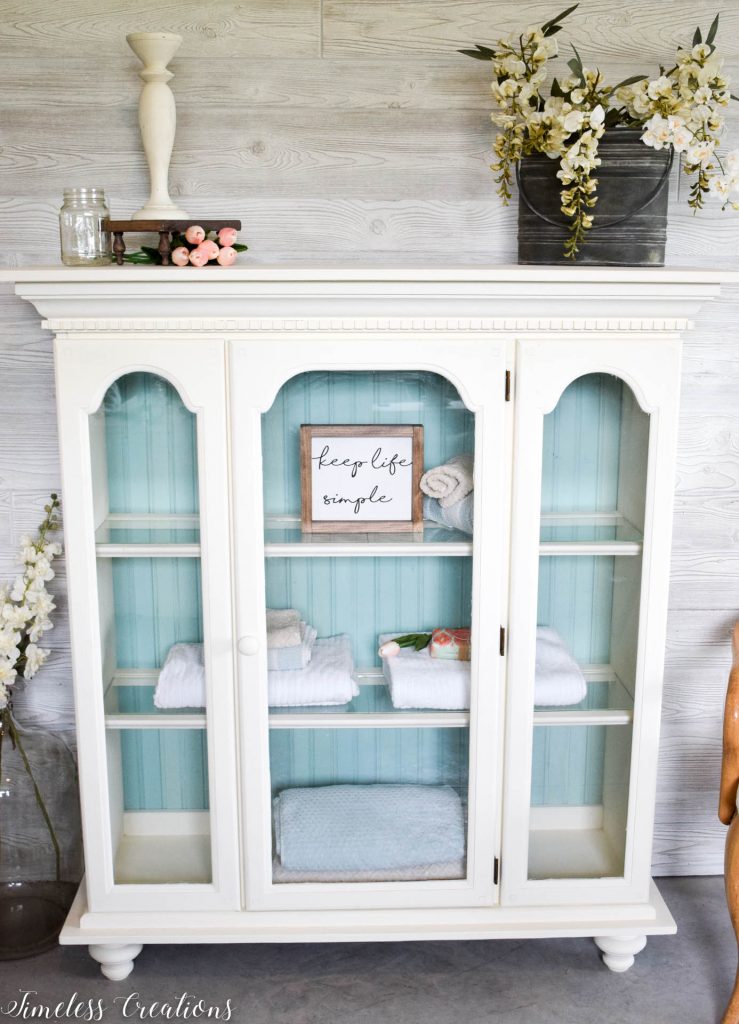
This little piece sold very quickly and we couldn’t be happier that it is now in it’s forever home!
Supplies: Feet / Bead Board backing / White Paint / Aqua Paint


Oh, this hutch makeover looks absolutely beautiful! And I personally love the blue in the background. Just really makes it fresh and airy.0
Thank you so much! We love that blue too 🙂
The pop of blue is the perfect touch to make the white stand out. And the addition of the feet is a wonderful way to repurpose the top of the hutch. What a great makeover.
Thank you so much! We are so glad you love it! Those little feet ARE too cute!
Hi Thanks for sharing at Inspire Me Monday. I wanted to let you know that you are one of my Featured Links this week. Come check it out at http://www.farmhouse40.com/inspire-me-monday-188 See your there!
Was the original piece in two pieces or did you have to deconstruct? If you had to deconstruct, can you share how you did that? Thanks.
Hi Jackie! The original piece was in two. We didn’t deconstruct and haven’t done so. It could be done I’m sure but would be quite a lot of work to fix it I’m guessing. There are SO many hutches that come in two, I would look for one of those! Good luck!
Can you tell me the colors you used?
Beautiful! What colors did you use?
Hi Lara, we used a lovely off white shade, it would be almost identical to “Raw Silk”. Then we used a lovely aqua color for the back on the inside by Miss Mustard Seed’s Milk Paint in the color Eulalie’s Sky. It would be similar to “Brook” .
Your work is beautiful! How did you attach the top? Mine has a hollow area behind the top moulding.
Hi Serena! Yes our hutch had that same hollow area. We ended up adding a back piece to mirror the molding all along the top so that we were able to glue and nail down the top plank on all four sides. If yours is super long you may want to think about adding some kind of middle support as well. But only one board would be needed. Nothing extravagant.
It is truly beautiful, & the paint colors are perfect. I was wondering if you added the top front piece that looks like dentil moulding, or if it came that way?
I’ve got a boring hutch top waiting to get done, & I like that trim so much it add detail, I may buy similar moulding to add to the top. My project will never look like that, no doubt!
Oh yes! We did add that dentil moulding to the top of that! It was pretty easy to add to with a little glue and I think some little finishing nails. It added so much!
Beautiful! Did you sand the whole thing before painting? I have a large dark hutch that I want to lighten up but am unsure where to start!
We always, always sand before painting no matter what paint we are working with. Always clean, scuff sand with about 220 grit sand paper, wipe off dust and then paint! Doesn’t have to be down to raw wood, just give your piece a little “tooth” for extra adhesion.