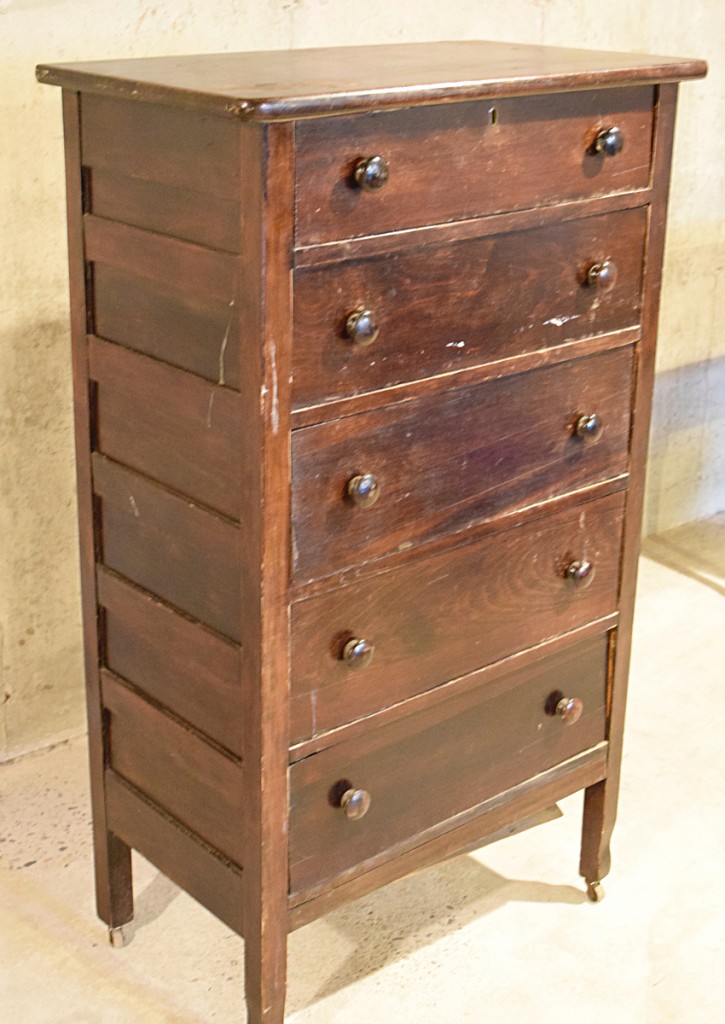
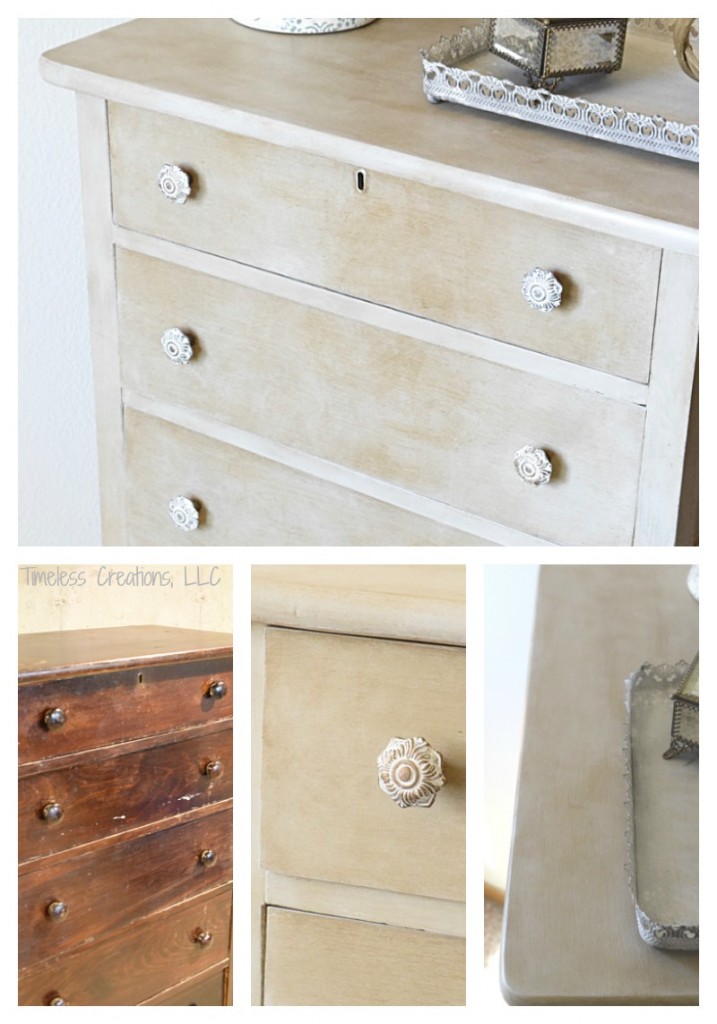
This week an old dresser got quite the extensive makeover to make it a whole new piece. When bringing this dresser into my workshop I noticed it needed a lot of work before I could even begin to paint.
Prep work definitely isn’t my favorite at all…I hate how long it takes to sand, fill and sand again when all I want to do is dip my paintbrush into a beautiful new color, however, it is worth the work!
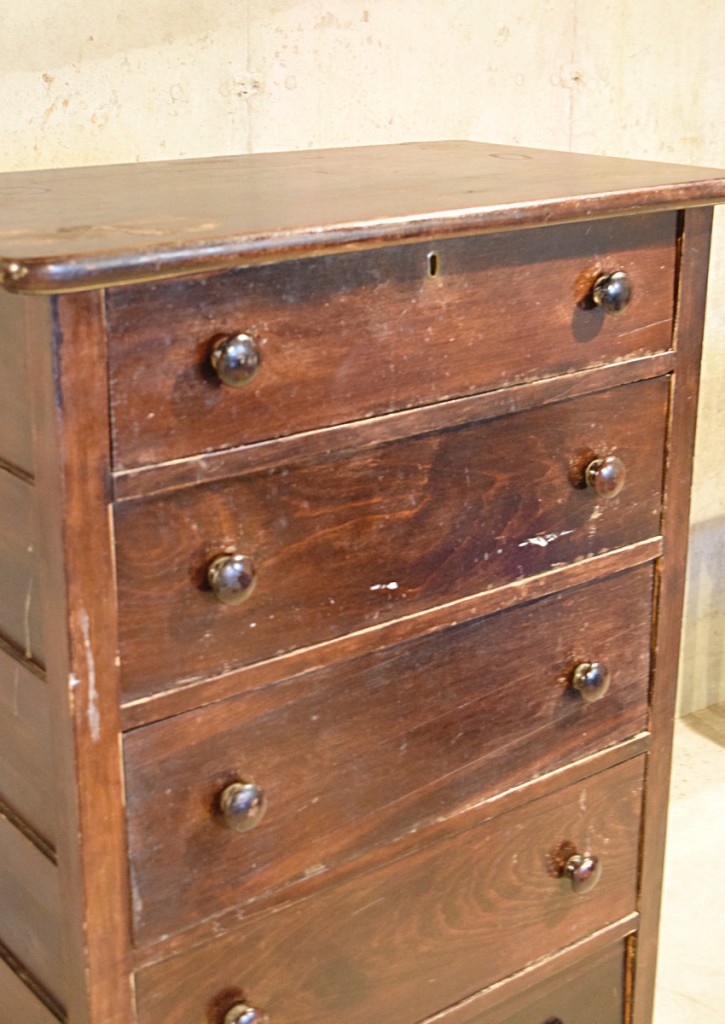
Even though we tend to use chalk paint for most of our furniture (which most manufacturers say you don’t need to sand) on furniture pieces that are as beat up as this one, you still have to take the time and do the correct prep work. This dresser had many small dings to fill, veneer to re-glue, as well as water rings to sand down. The entire dresser actually needed to be sanded down since the wood was really rough, including the inside and outside of every drawer (not just the front).
For your convenience in locating products we have used, this article contains affiliate links. All products are items we use ourselves and genuinely recommend. If you make a purchase after clicking an affiliate link, we will earn a small commission at no additional cost to you. For our full disclosure go to our “Disclosures” page.
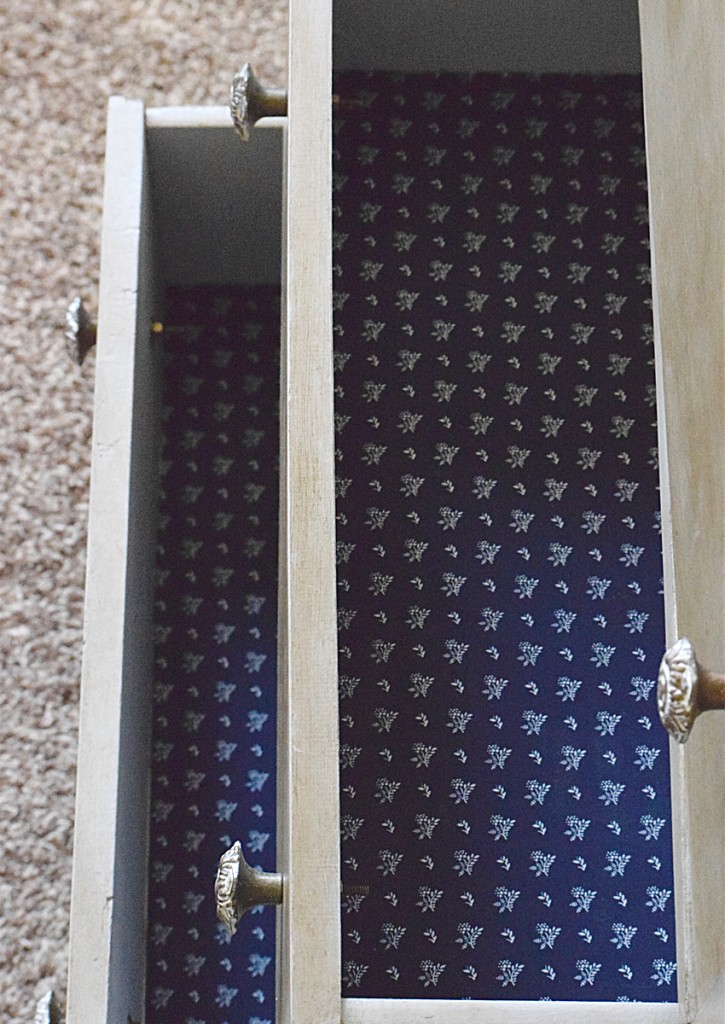
I also had to pound together and re-glue some of the bottoms of the drawers as well. While doing that I noticed the bottoms didn’t look the greatest so I decided this would be the perfect piece to cover the bottom with fabric! But first, the paint needed to be applied.
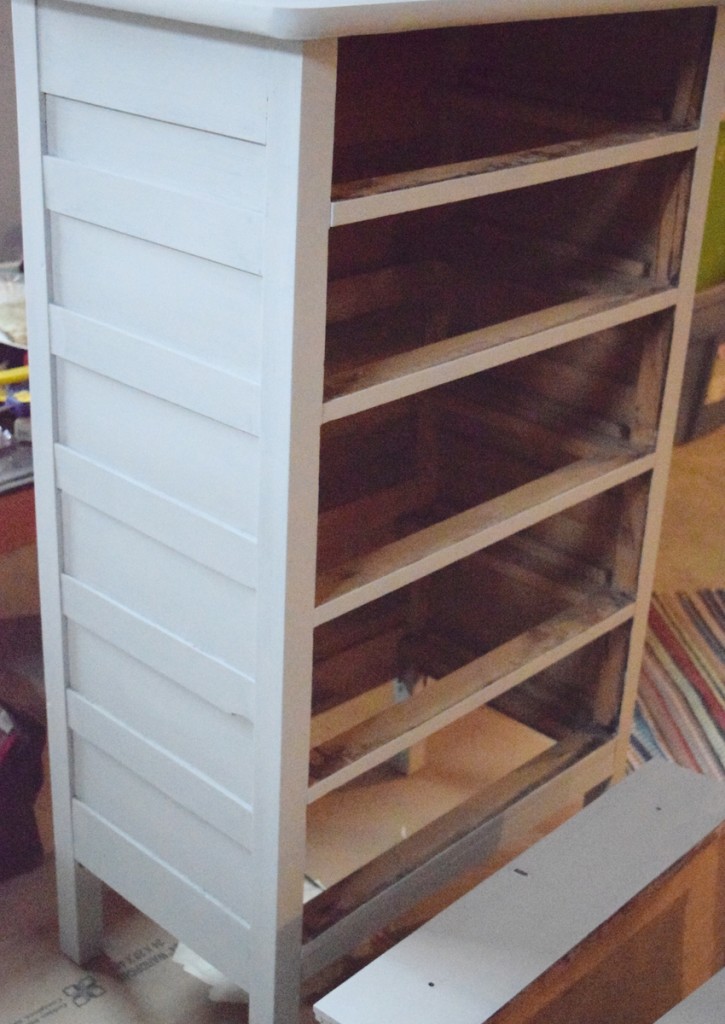
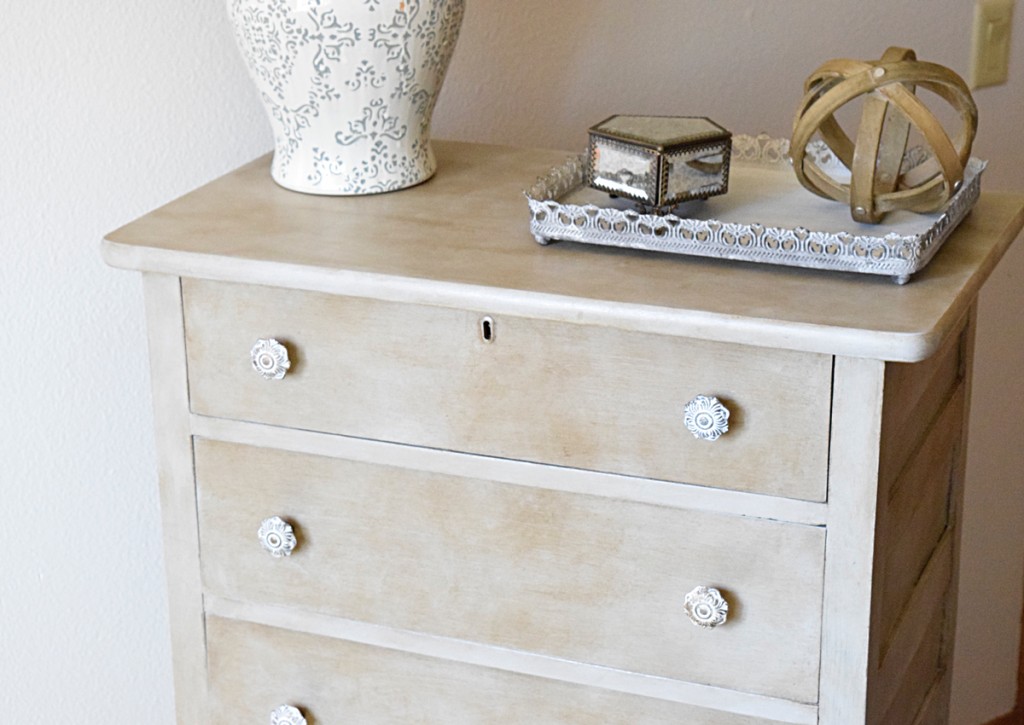
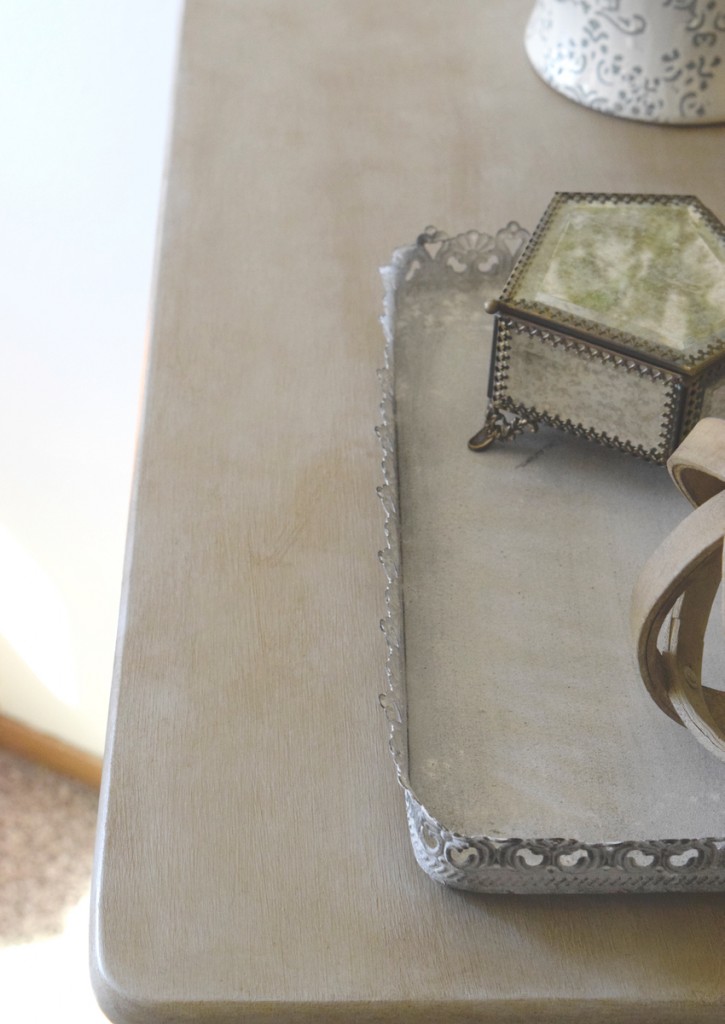
We used Rust-Oleum’s Chalked brand of paint in “Aged Gray” for this dresser which is a beautiful light gray color. Two coats were added to pretty much every inch (except the inside). The back of the frame as well as the inside and outside of the drawers were all painted!
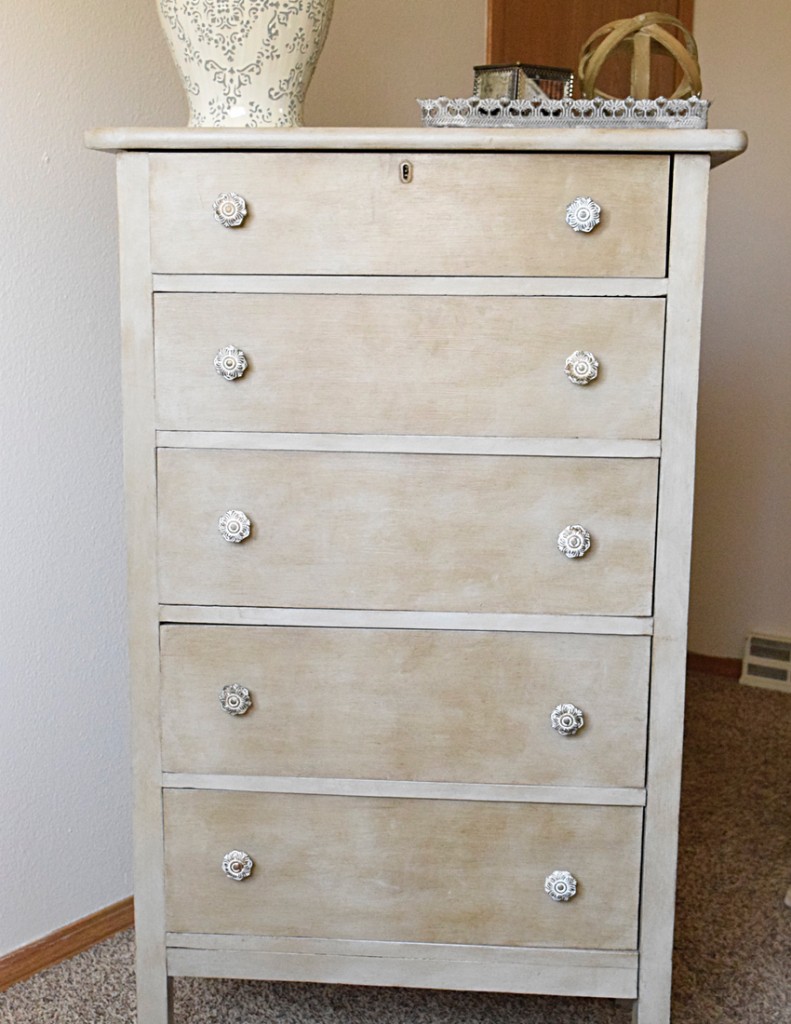
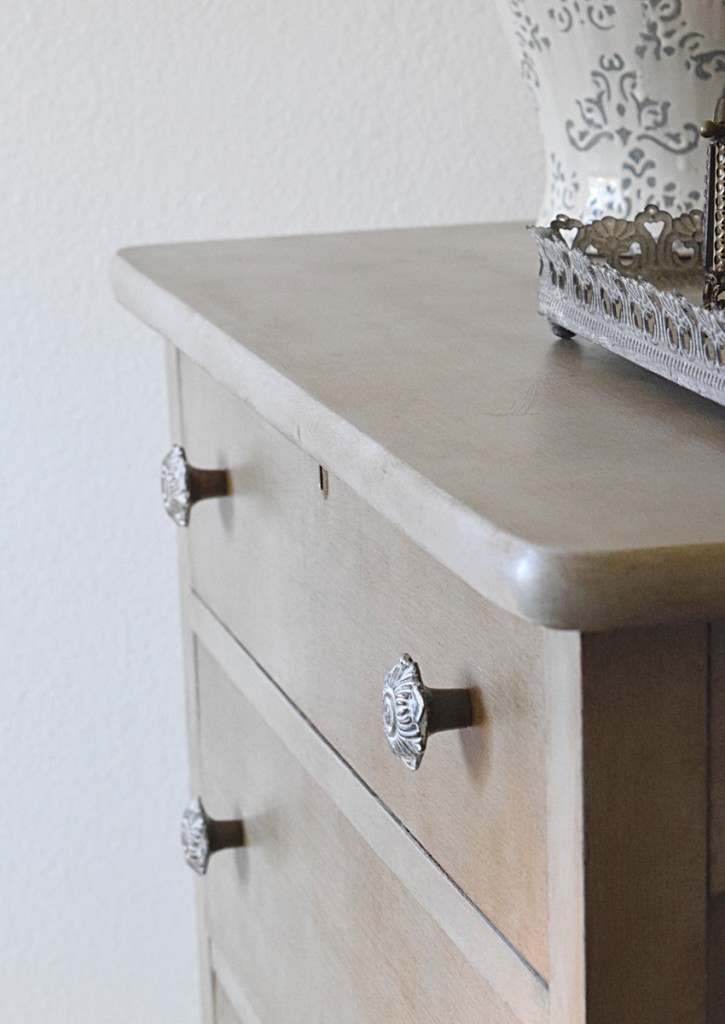
After the paint, it was time to wax, which is our favorite way to seal chalk paint. Clear wax was added first, but before I buffed I also applied Annie Sloan’s dark wax to give the piece an antiqued/aged look.
It did greatly darken my original gray color, so I would suggest trying your dark wax on a sample board or in an inconspicuous spot first to determine whether you like the look or not. Once applying the wax was completed I then took a clean, dry rag and buffed the entire dresser to give it that wonderful matte sheen.
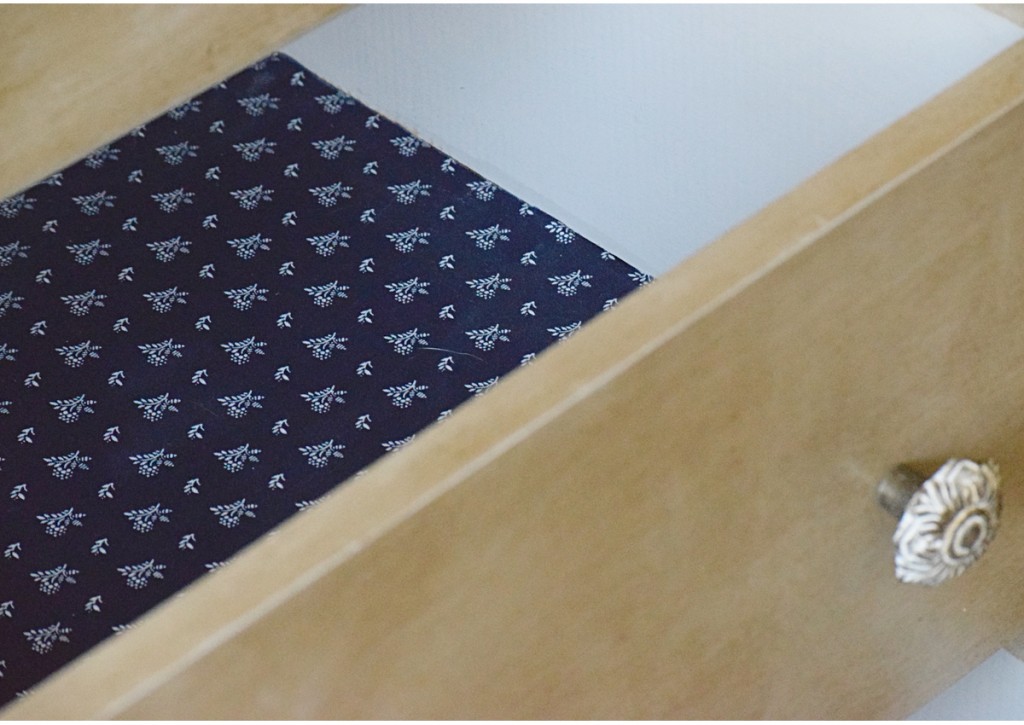
The last step was to cut out and apply the fabric inside the drawers with Mod Podge. I chose a beautiful navy blue color fabric with a small white design on it.
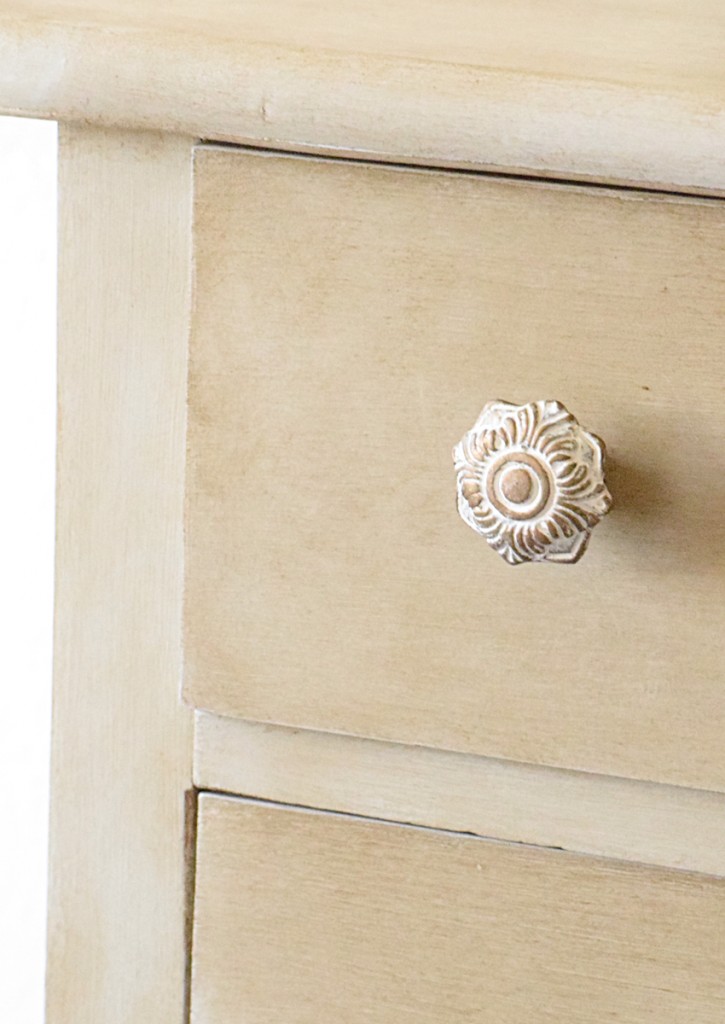
The final touch to bring the piece together was to add new knobs for the drawers. Vicki and I stopped at Hobby Lobby to shop for some decorative knobs and bonus!, the knobs were 50% off that day! So needless to say we couldn’t help but grab some others that we liked as well. 🙂 New knobs really helped to tie all the design elements of this dresser into one. The white of the knob matched the design in the fabric as well as the gray on the inside, And the rustic bronze color tied in the antiqued look of the dark wax, bringing the dresser together perfectly.
As I’m bringing new life to old pieces I always tend to imagine them in different settings. This dresser I first imagined in a nursery, but as it took shape I could imagine it for virtually anyone. The colors are very versatile but the knobs give it some sophistication while still having rustic elements.
To see how we lined the drawers with fabric please click here.
More you may also love…




Leave a Reply