Who doesn’t love a great rocking chair?! Rocking chairs are a classic piece that can add a dash of style to a small corner, while still being functional to use as an extra seat. They are also a staple for almost every nursery as a great addition to comfort your little one.
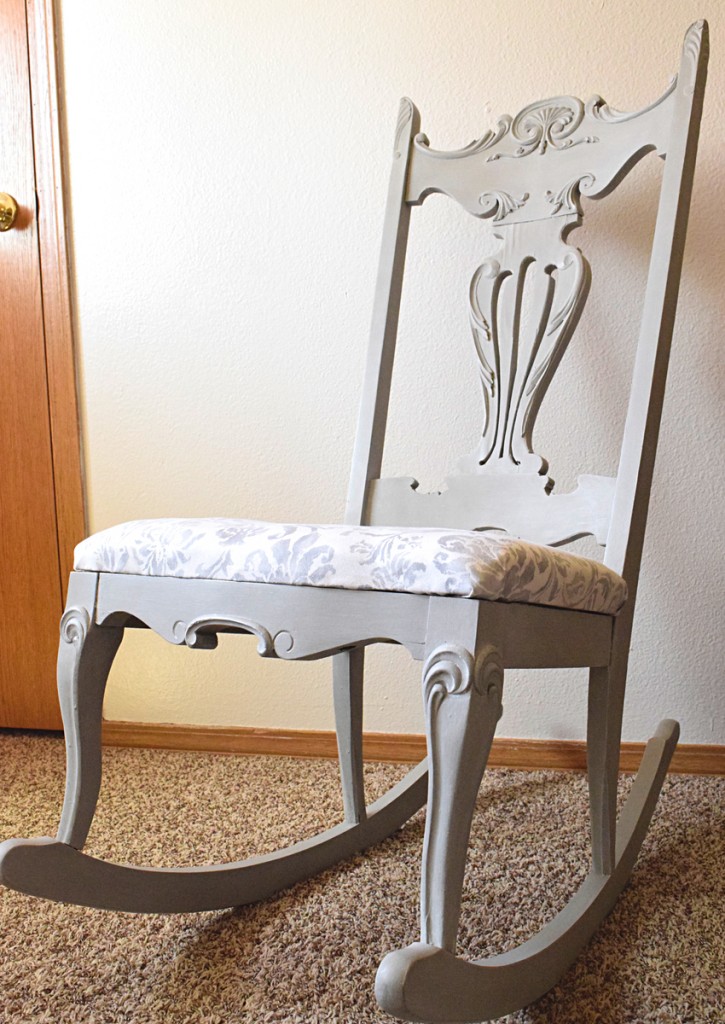
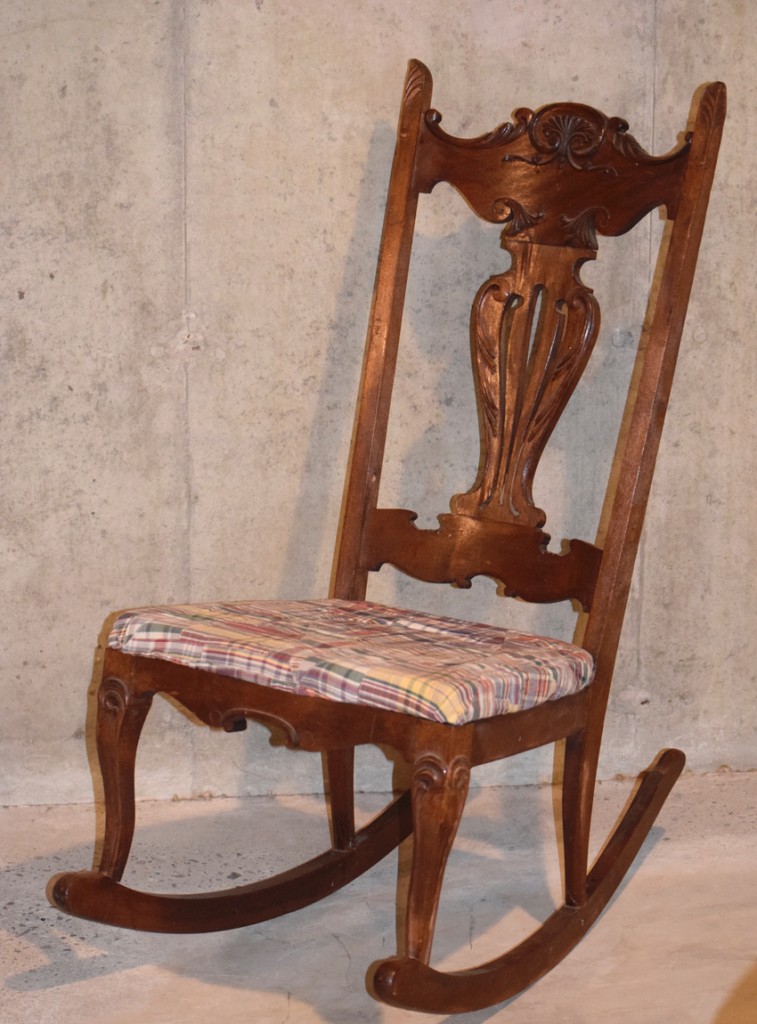
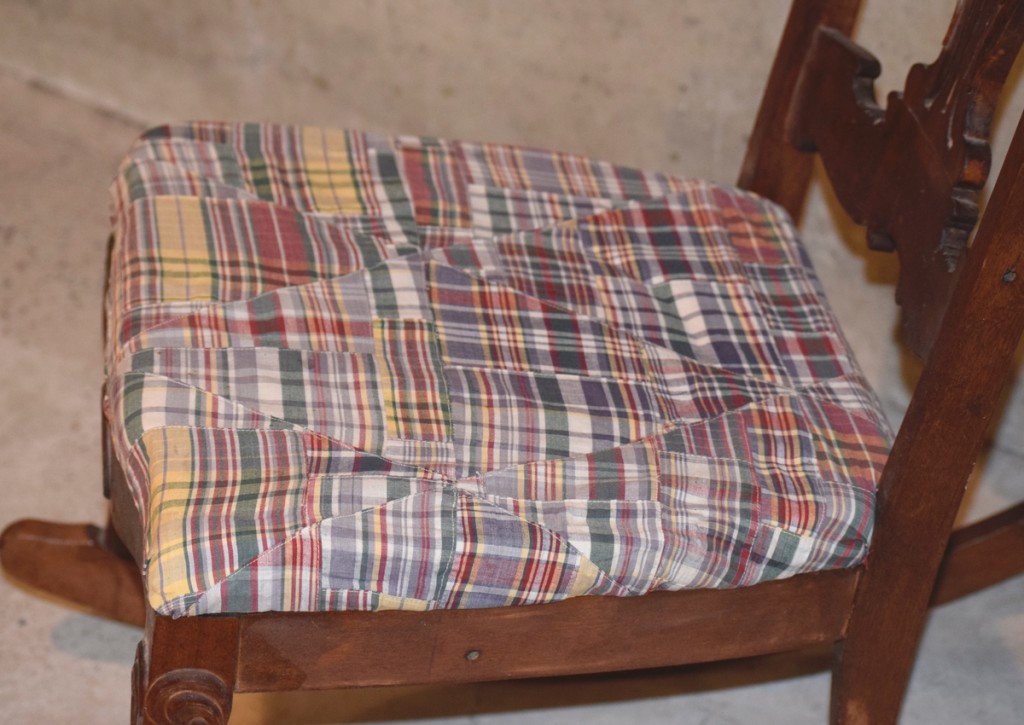
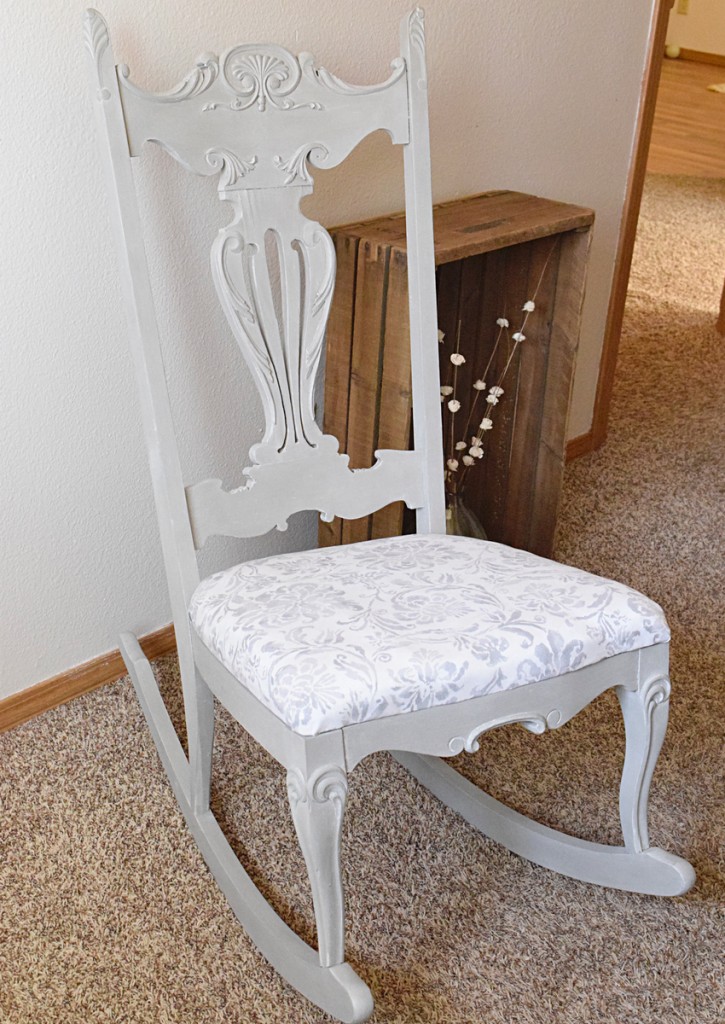
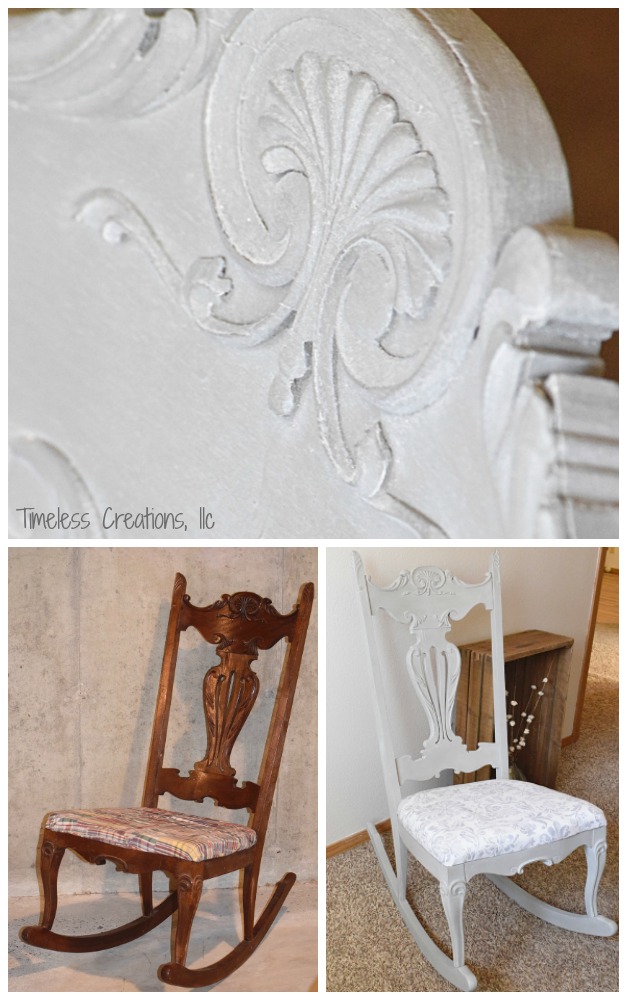
We have a couple rockers we have acquired recently so we decided to tackle our first which had a covered seat for comfort. This little piece had ornate details that really inspired me to take it from checkered country to french country chic!
I knew I wanted to transform it from dark and dingy, to light and bright. On other previous painted pieces we have used a “wash” to get in all the crevices to accentuate the details, but for this piece I decided I wanted to try white wax instead.
For your convenience in locating products we have used, this article contains affiliate links. All products are items we use ourselves and genuinely recommend. If you make a purchase after clicking an affiliate link, we will earn a small commission at no additional cost to you. For our full disclosure go to our “Disclosures” page.
Of course, with almost all of our pieces we get for discount..there are parts that need to be fixed! For this chair, small cracks needed to be filled and some chipped veneer had to be taken off (using a putty knife). There are many options for fixing chipped veneer, but since the section was so small, I just smoothed some of the wood filler along the edge so it wasn’t too stark of a line. (For bigger pieces it works best to use Bondo).
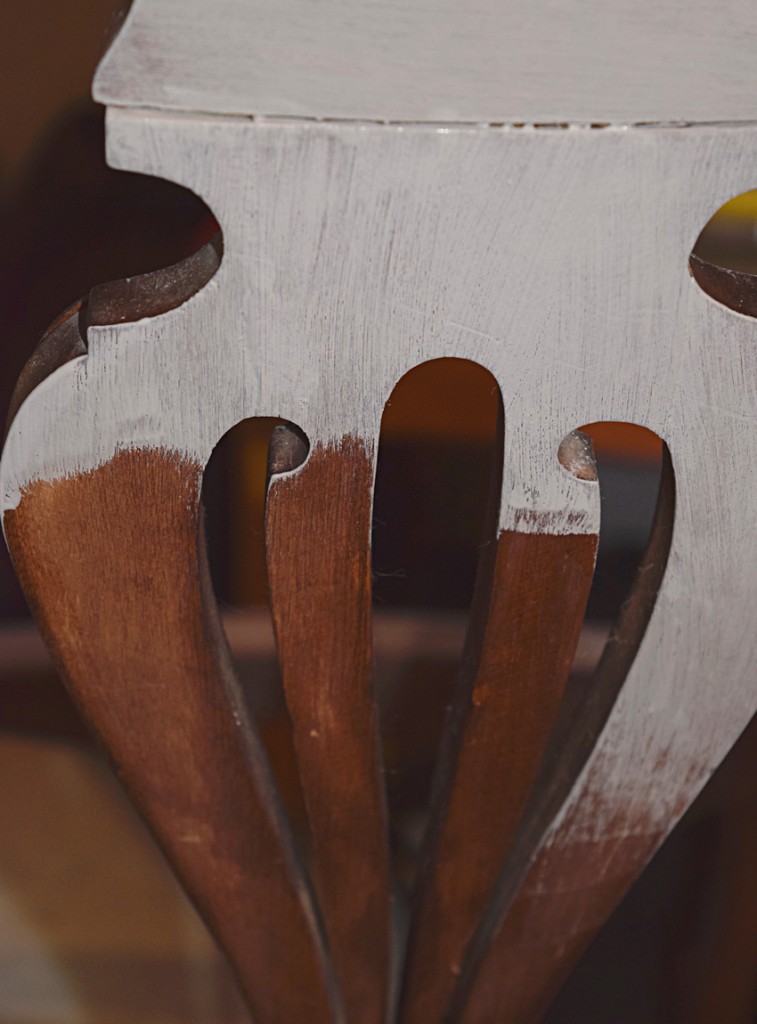
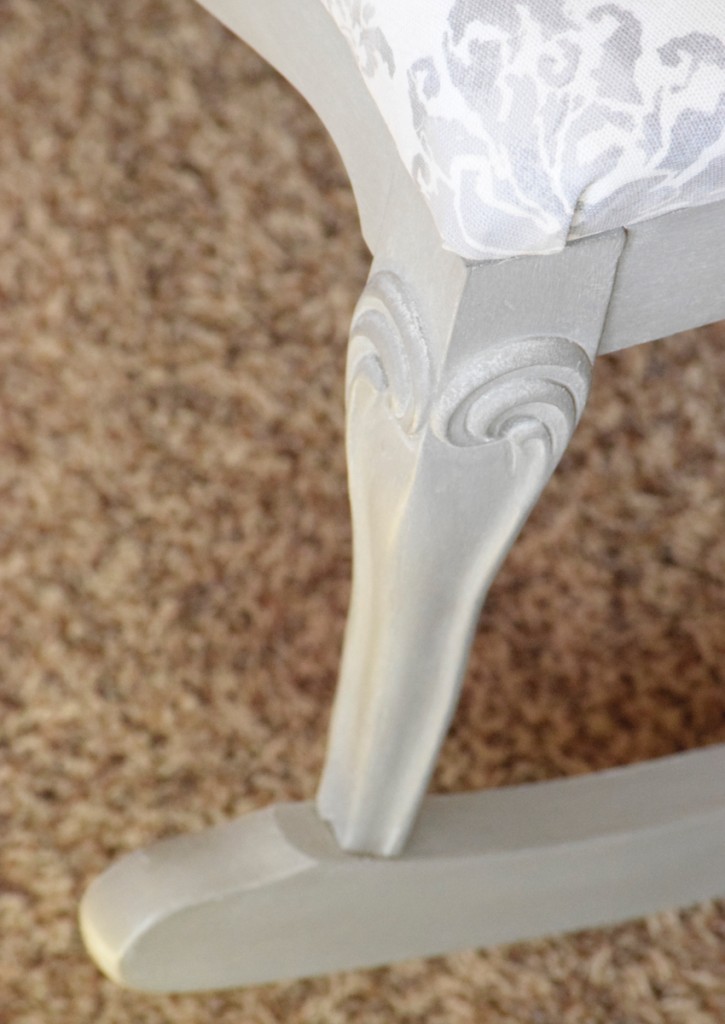
After filling and sanding down the entire piece, it was time to paint! Annie Sloan’s beautiful color “French Linen” was chosen, which is one of our favorites. Two coats were needed since we wanted a smooth finish with no distressed parts.
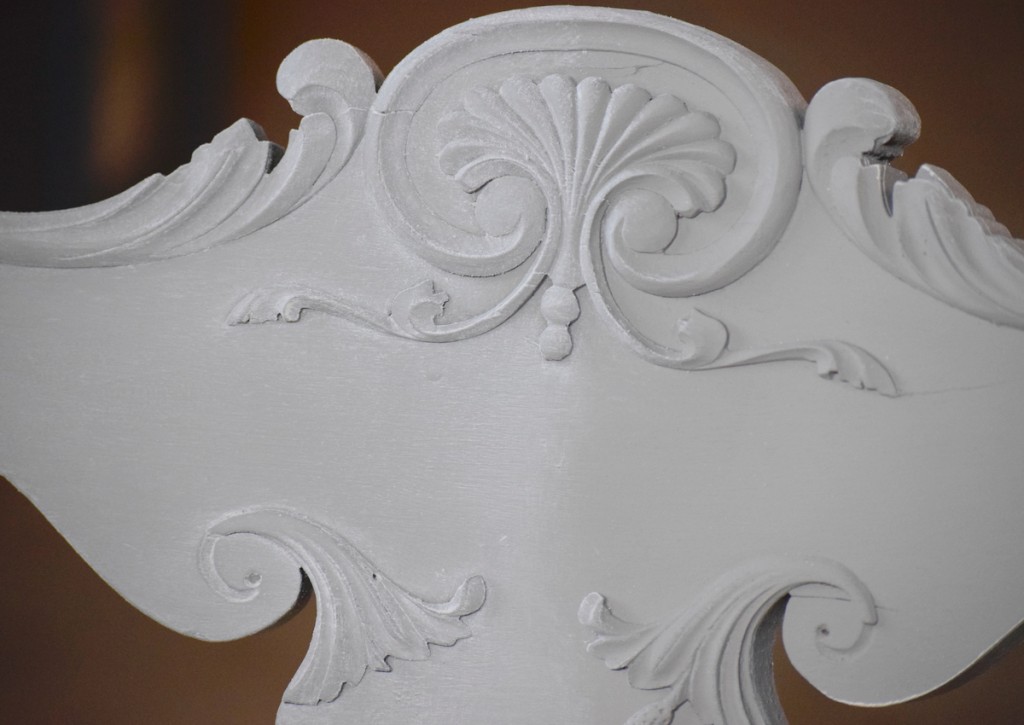
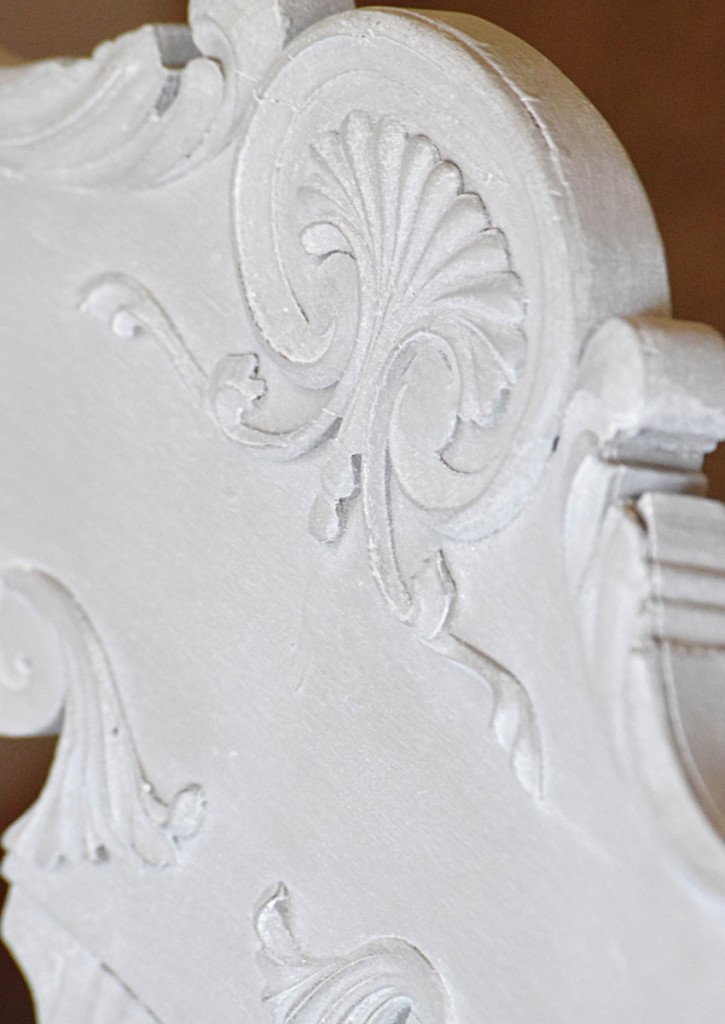
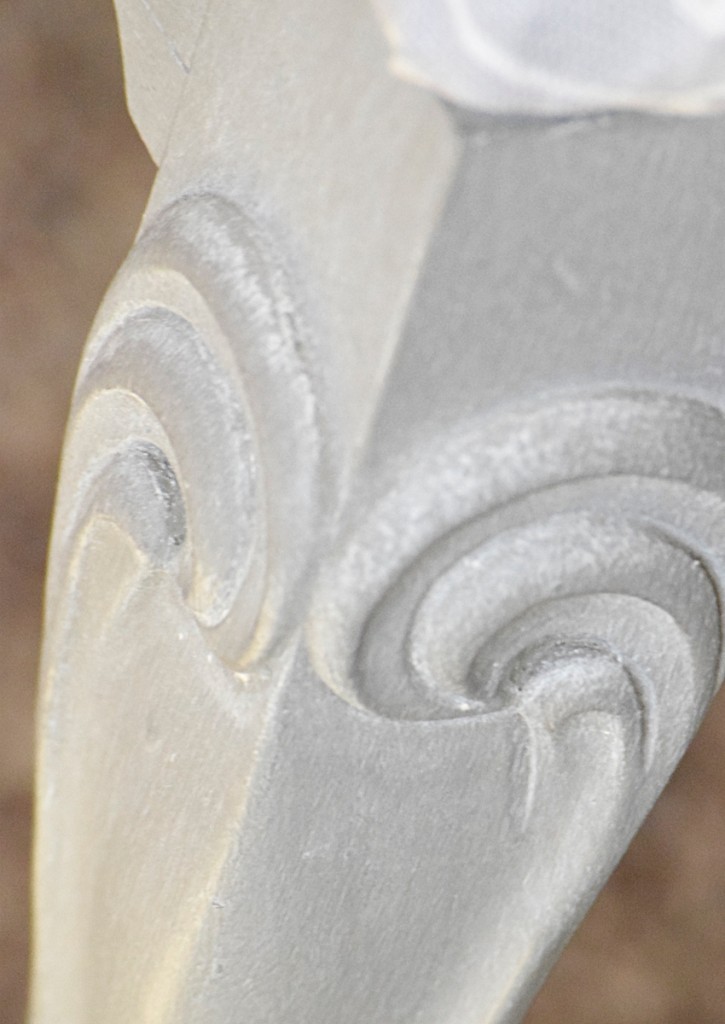
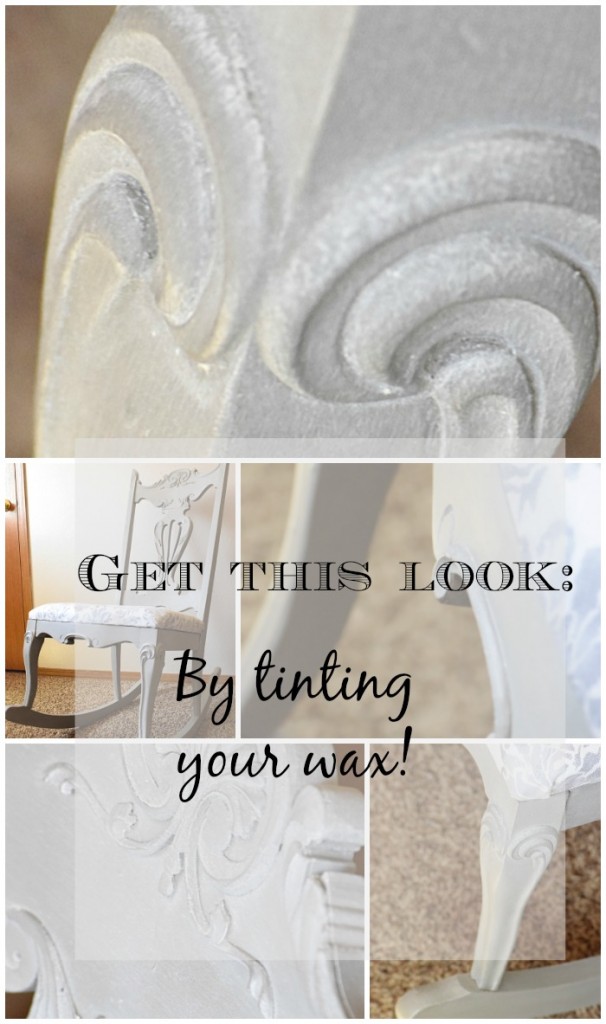
Next came the fun part! We knew the details were a focal point and wanted to bring them out beautifully. Wax is a wonderful sealant for chalk paint, which gives the piece a gorgeous matte sheen. We normally use Minwax Finishing Paste to seal all our pieces, but since we wanted a white wax we had to be creative. Instead of buying white wax, (which you certainly can do) I decided to tint my clear wax! For the tint, we mixed a tablespoon of Rust-Oleum’s Chalked paint in “Linen White” and added it to about a tablespoon and a half of the wax. Use a plastic spoon to dig out some wax and mix the two together on a paper plate.
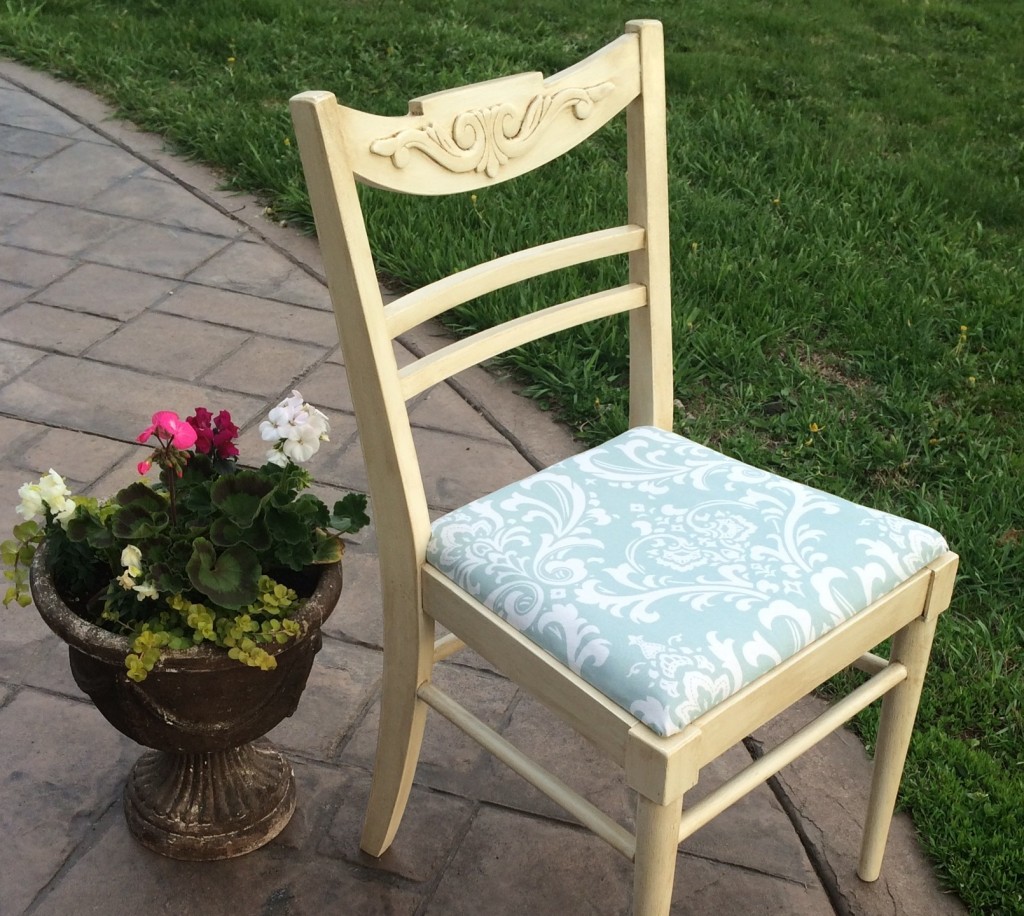
Then apply the wax to the piece with a wax brush or lint-free cloth, really squishing it into the nooks and crannies of the details. Just one coat of the wax was applied to this piece, but I did go over all of the details with a second coat just to make sure the white wax was how I wanted it to look. Just look at the difference the white wax made!
Then all that is needed is some quick buffing with a new rag once the wax is dry (dry time is about 10 minutes) and the piece is done!
I like using tinted wax this way because it is basically two steps combined into one. Bringing out the details with the extra color while sealing your furniture piece at the same time.
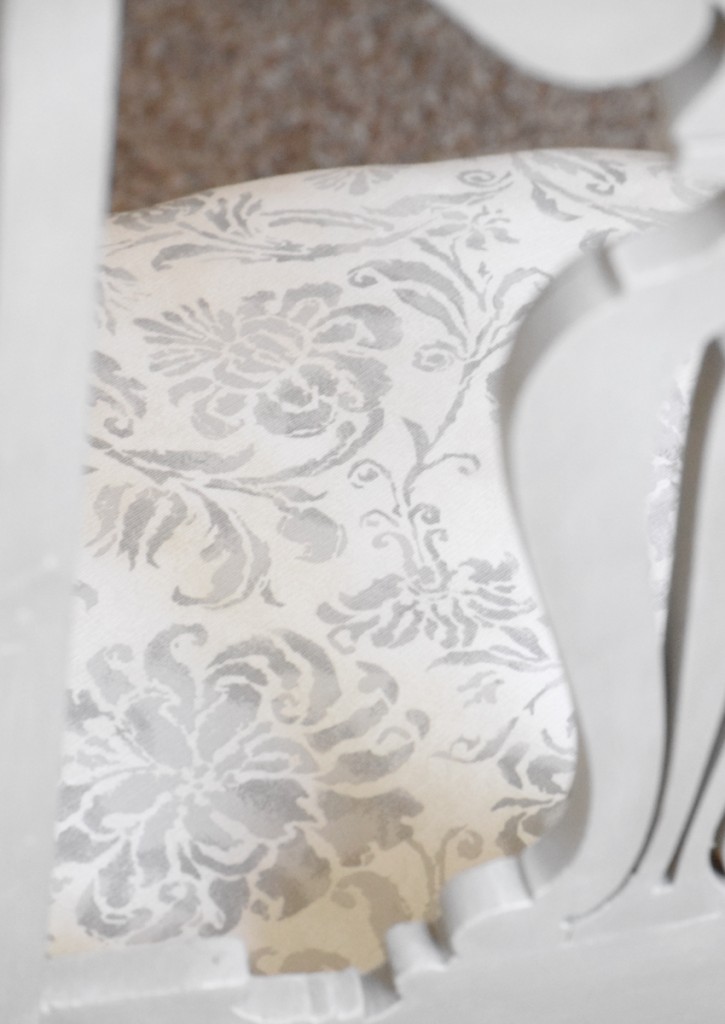
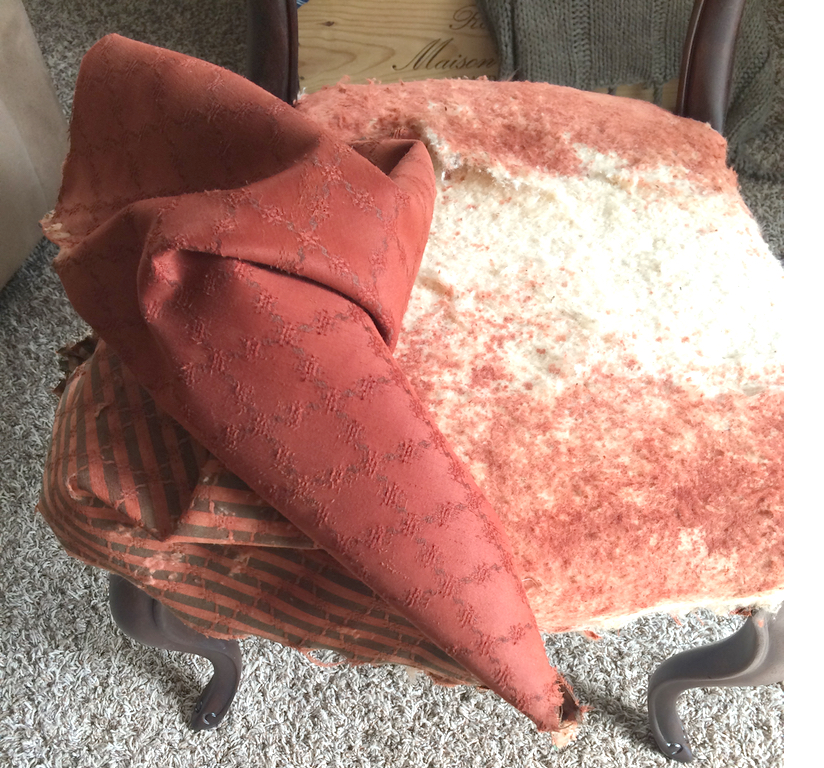
The last addition to bring this entire antiqued piece together was to recover that terrible fabric that was previously on the seat!
Don’t be scared by a little upholstery, a seat like this that just unscrews from the chair frame is so easy to recover-anyone can do it! Just unscrew that seat and pull all the old staples out that are holding the fabric down with a needle nosed pliers. For this seat, new foam was actually needed (I used 2 inch) but that is easy to cut using your chair bottom as a guide and a utility knife to cut the new foam. If the previous foam is in great shape, go ahead and reuse it! To cut your fabric take the old seat cover and pin it to your new fabric as a pattern. You can then lay your foam, then batting and new fabric over the seat bottom, turn it upside down and begin stapling it down with your staple gun.
For the stapling I usually begin in the center and work my way to the corners. I staple one sides middle, then pull the fabric tight over the opposite side and staple that middle. And continue until all four sides have at least one staple in it. Continue to pull and staple from the inside out. The corners come last, because it may take some maneuvering to get them to look how you want. There isn’t a right or wrong way, but I ended up making the front side smooth and folding on the side and then stapling the bunch to the back.
Transforming a great piece of furniture is almost like therapy for me! This rocking chair took no time at all to get it finished. And what a difference some paint and new fabric can make! It is absolutely gorgeous now!
Other posts you may like:



Doggone it, your rocker makes me wish we hadn’t gotten rid of similar one in KY our dil gave us. It had incredible details which would have been gorgeous painted. Think it had wood seat tho. We were getting ready to move and just couldn’t deal with it., had so much to do.
Your rocker looks incredible, really brings out gorgeous details. Great job ladies.
Enjoy weekend
Haha! Thank you Jane! We love a great and comfy rocker for sure 🙂
Your makeover on this chair is just gorgeous Kristen, I love the white wax over the grey, it really softens it up beautifully. A perfect fabric choice tops it off! Thanks so much for sharing it at Fridays Furniture Fix!
Thank you Brenda! The white wax really picked up the pretty details too 🙂