Hello! And welcome to a great resource post on “How To: Make a Mold for Broken Furniture”! Sometimes it seems daunting when you have to repair many different things on a piece of furniture. Vicki and I have been fixing and painting furniture professionally for about 8 years now, and I can say, even I hesitate on a super broken piece when it comes to repairs… I have found out that it is the ‘starting’ that always holds me up. I feel overwhelmed when there are so many things wrong, when all I need to do is just START! Looking at one repair at a time really helps me out.
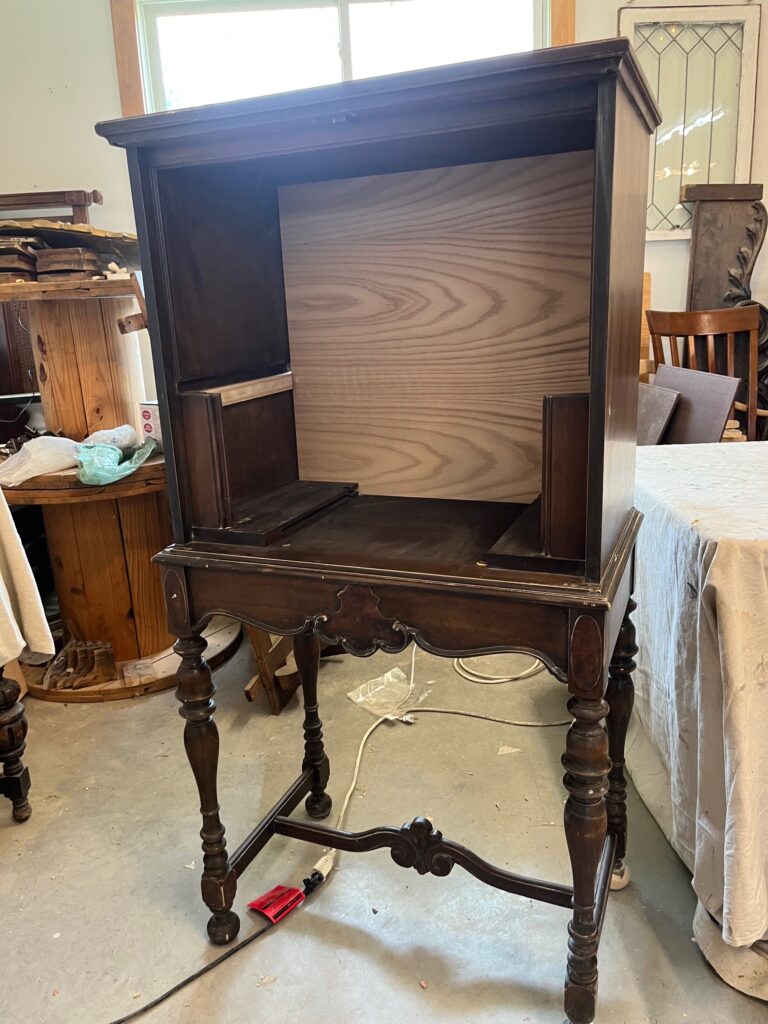
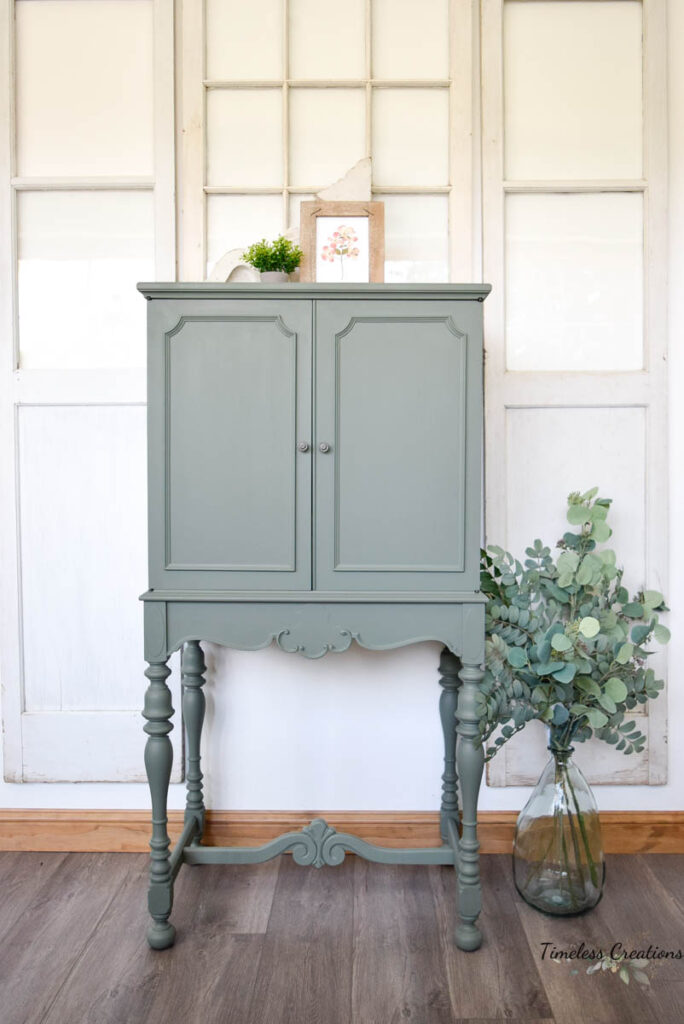
This little antique cabinet had some great bones to it, but was missing a few rounded edges on it’s feet. I knew since some of the pieces were still intact, I could create my own mold from the existing pieces to fashion new crescents for the missing ones. Vicki had previously done this on previous pieces where some decorative additions had gone missing.
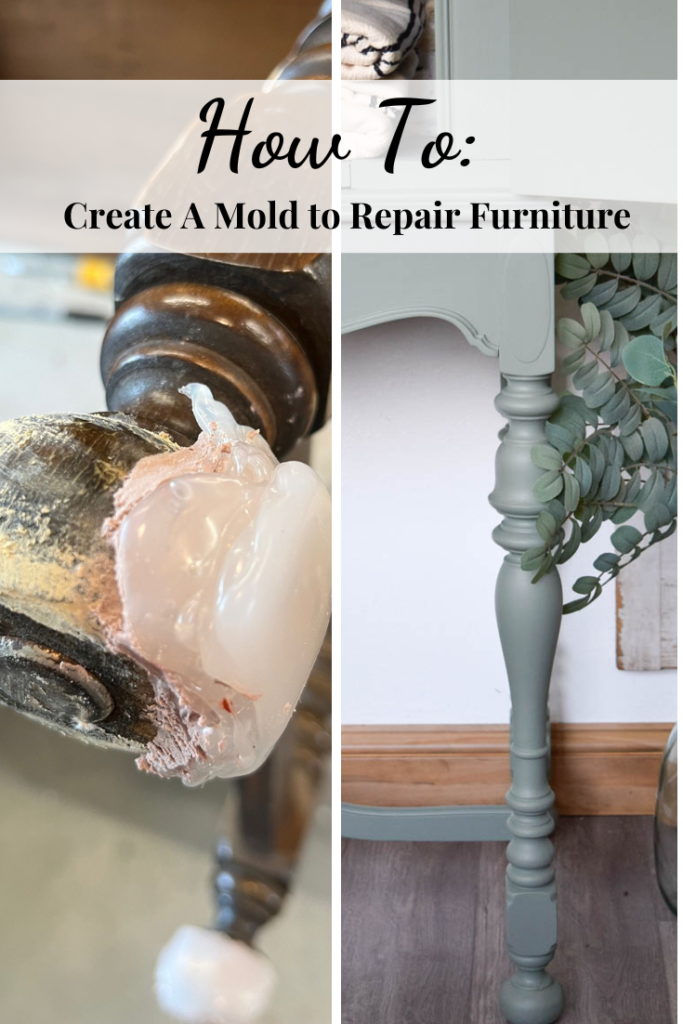
This cabinet also had to have a new shelf added as well as a new back cut out and attached as the old back had a huge hole cut out of it – most likely for a plug to go through the back. Below is a photo of the crescents on the feet that were missing on one of the legs.
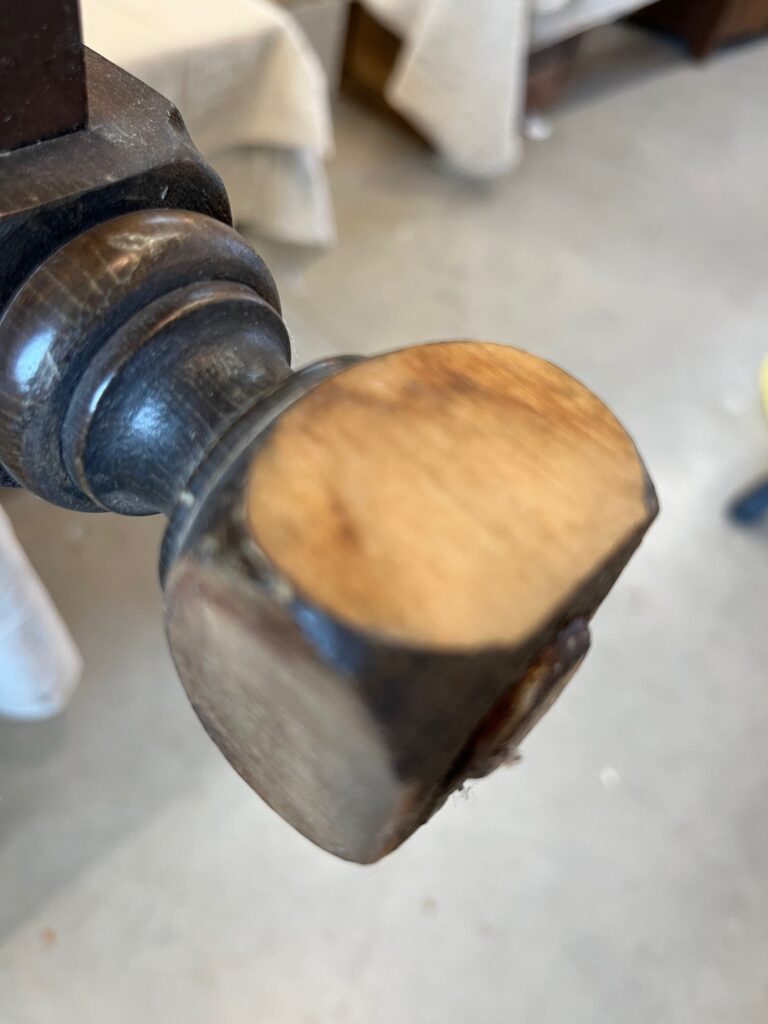
To fashion your own mold to use to create new crescents I followed the steps described below! It really isn’t bad at all to do. Just grab the supplies you will need from the list below:
- Glue Gun & Glue Sticks
- Olive Oil
- Rag
- Bondo
- Utility Knife
- Orbital Sander
- Paint
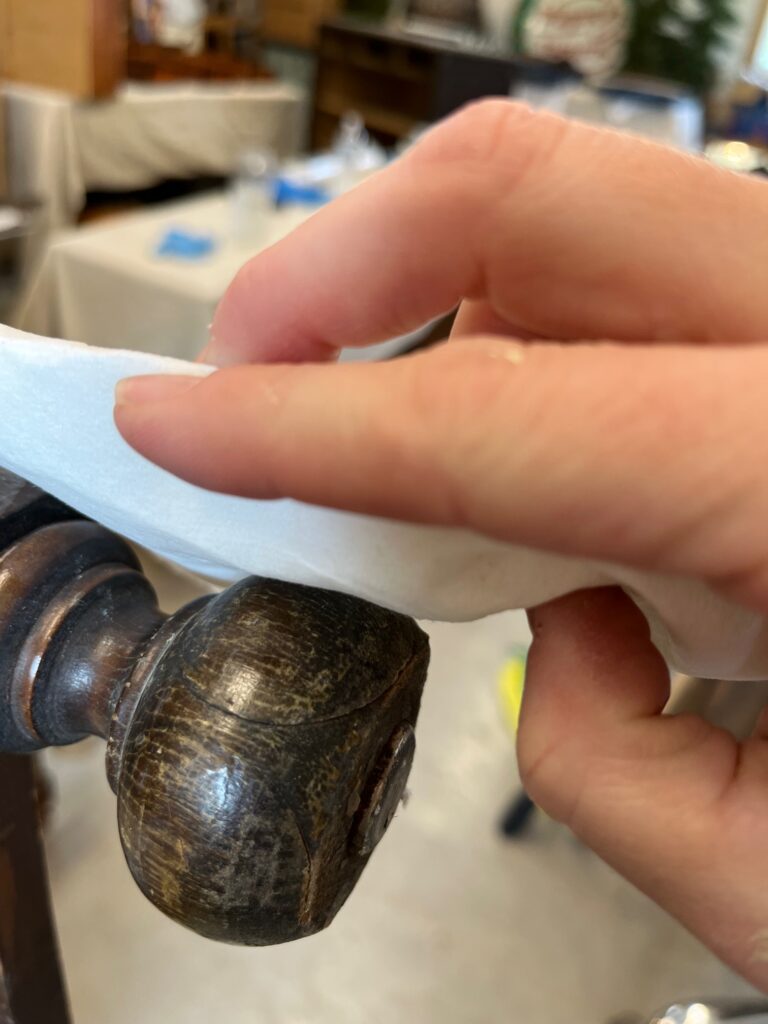
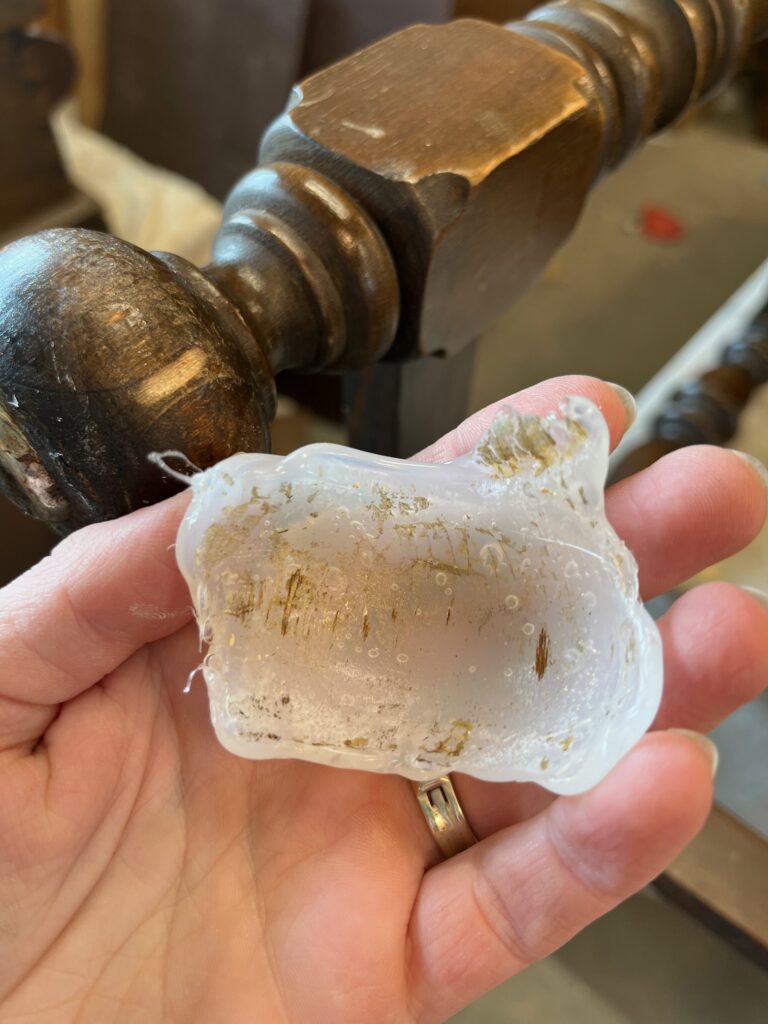
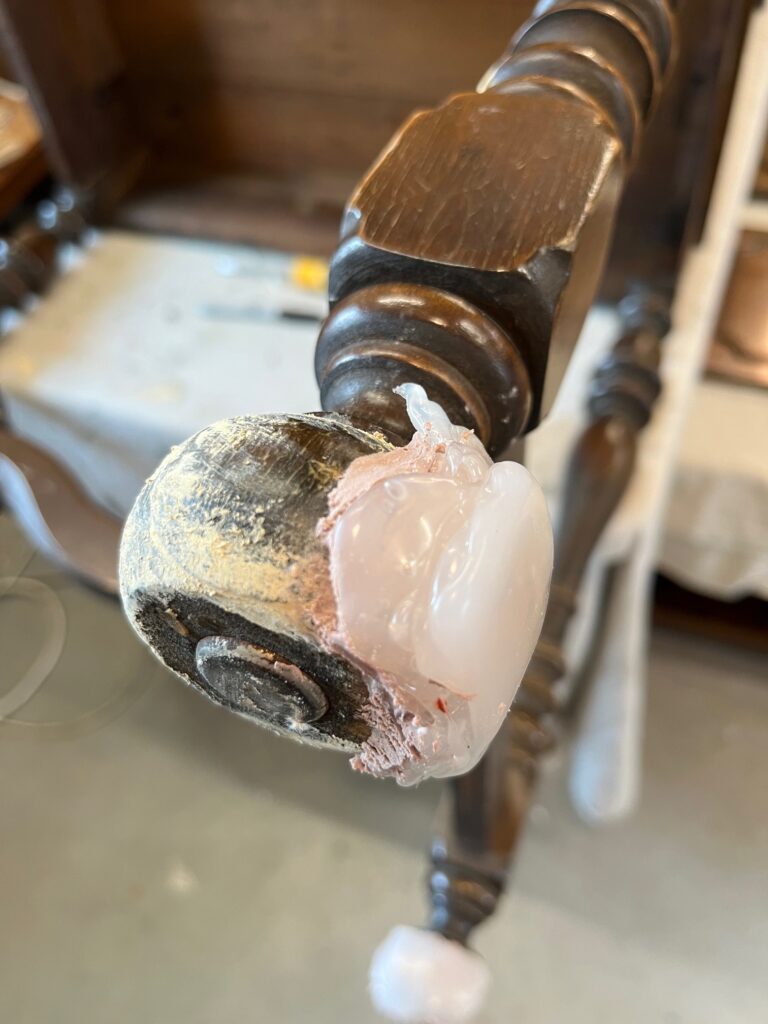
First step, oil up a rag and rub onto the part of the furniture you want to make a mold from. The part you need to imitate that you are missing. The oil is to keep the glue from completely sticking to the wood so your mold is easier to remove later.
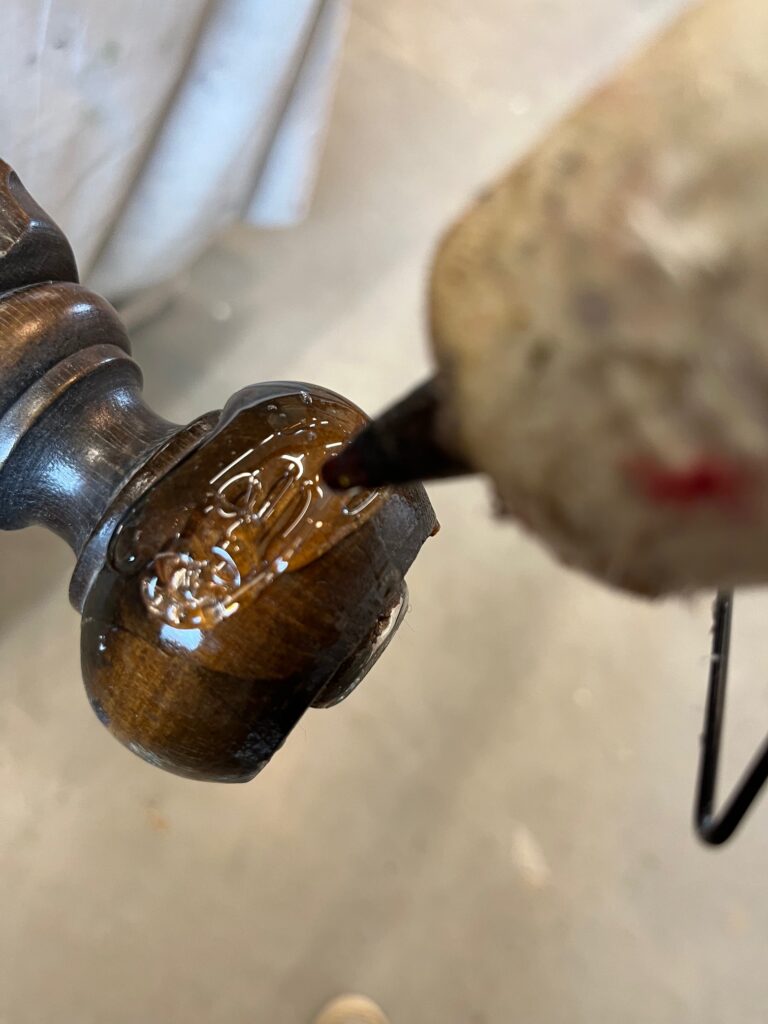
Next, take your hot glue gun and add on a thick layer of glue all over the oiled area. You most likely will have to let a first layer harden a little bit, then add on a second or possibly third layer in order for it to be strong enough.
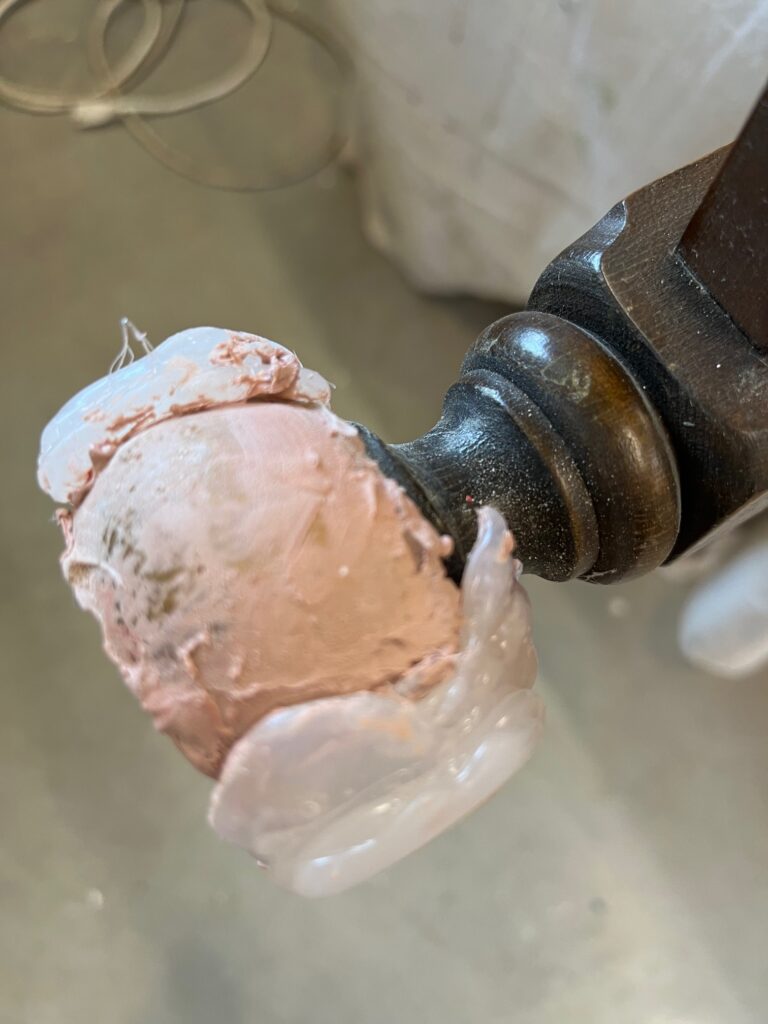
Once the hot glue has completely set and hardened you can remove it. Oil up your mold and then mix up some bondo to add into your mold piece. Mix according to the bondo instructions and then add it into your mold. For this particular piece I added the mold with bondo immediately onto the furniture piece for it to stick and harden onto the piece. For decorative pieces or ones that are not easily accessible I would let the bondo harden in the mold and then remove it. You might need to trim up an excess bondo before adding decorative pieces.
For this furniture piece I had to add multiple of these half crescents for some of the feet. I then trimmed up the excess hardened bondo with a utility knife and followed with an orbital sander to smooth is all out. If you are letting your bondo harden in the mold then you will need to add some wood glue or super glue to the bondo to get it to stick to your furniture piece.
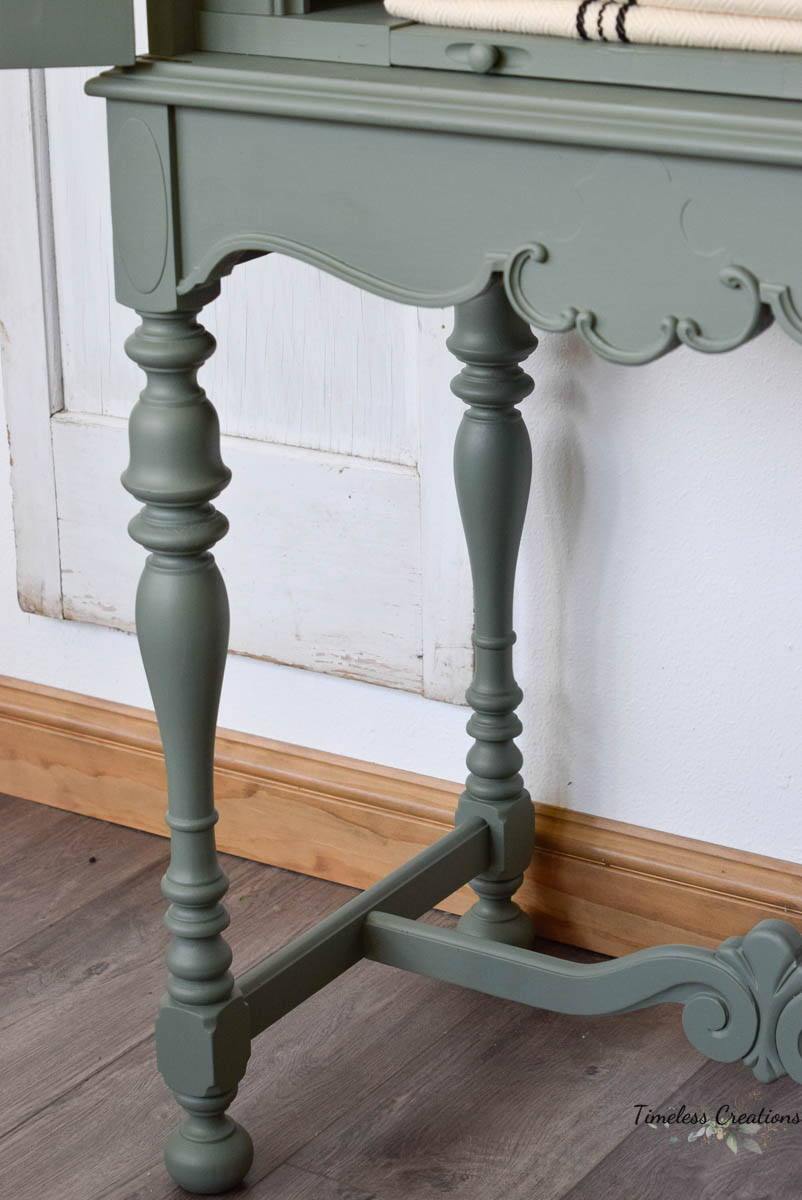
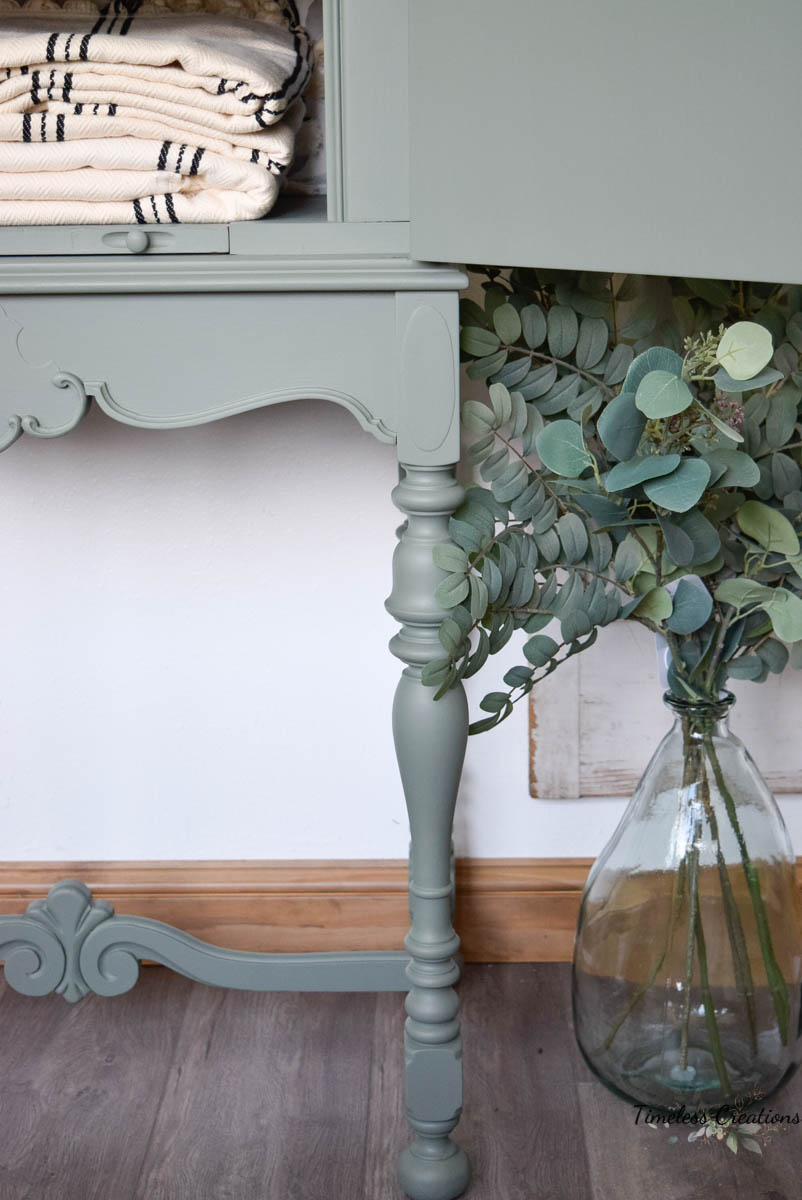
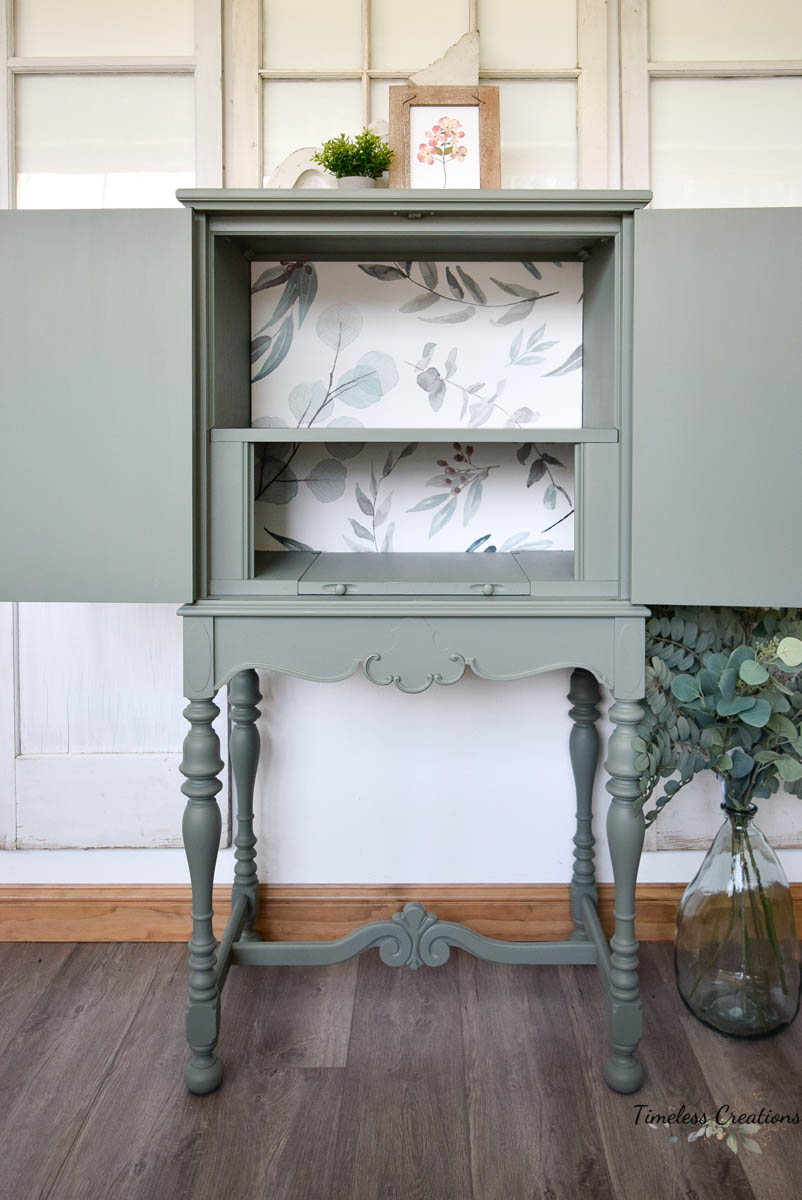
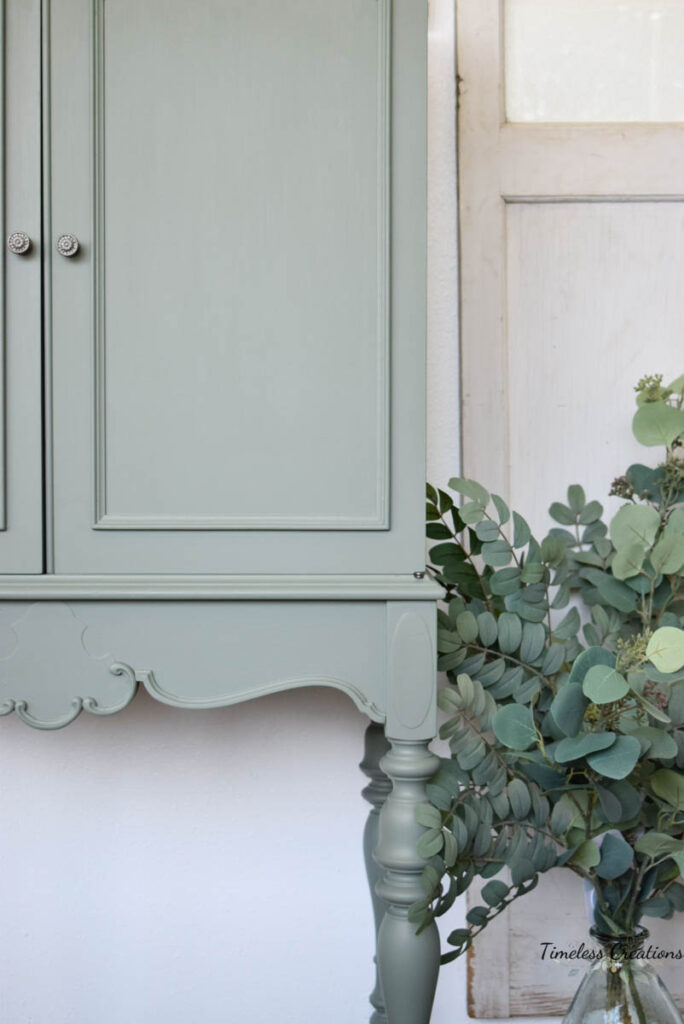
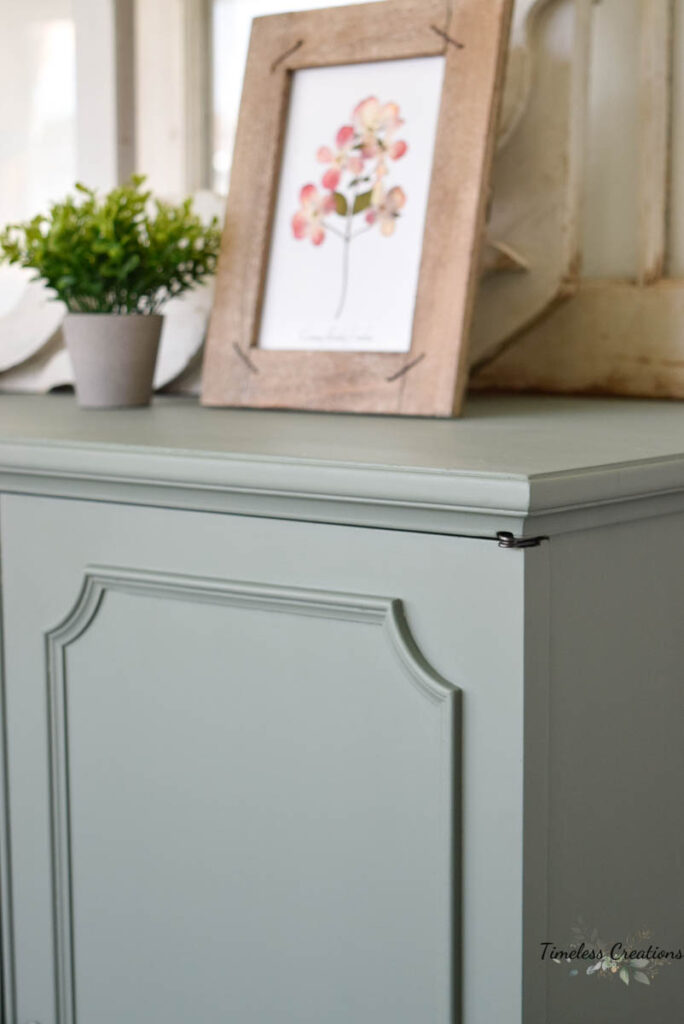
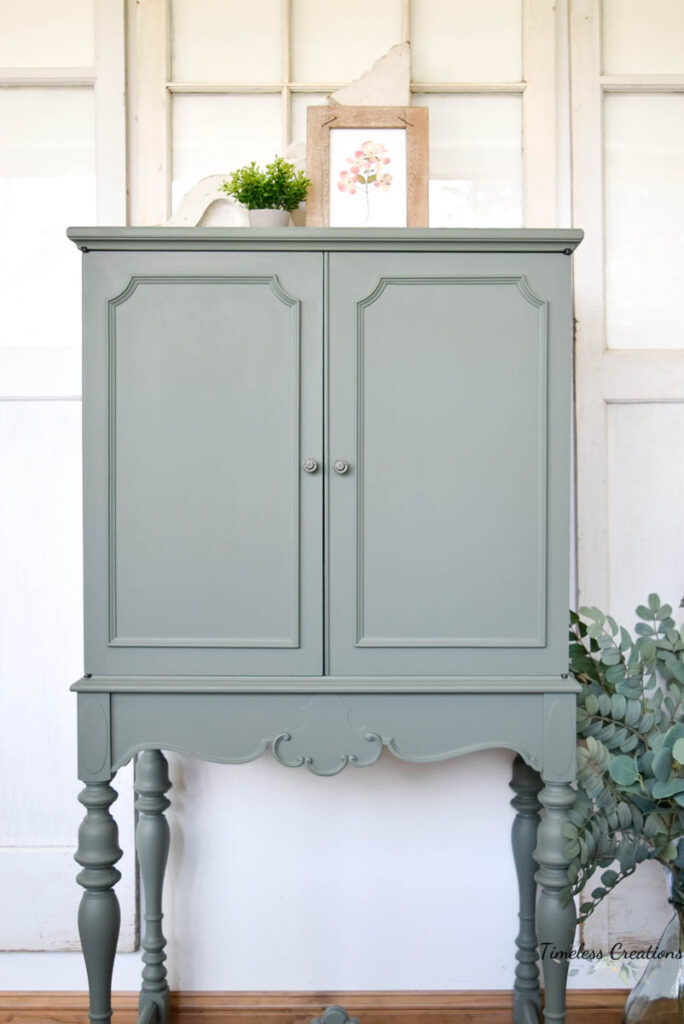
After all your repairs, cleaning, and scuff sanding over the whole piece you can then go ahead and paint! For this little cabinet we chose the color “Carriage House” by Fusion. It’s a gorgeous green color that we painted inside and out for this little cabinet.
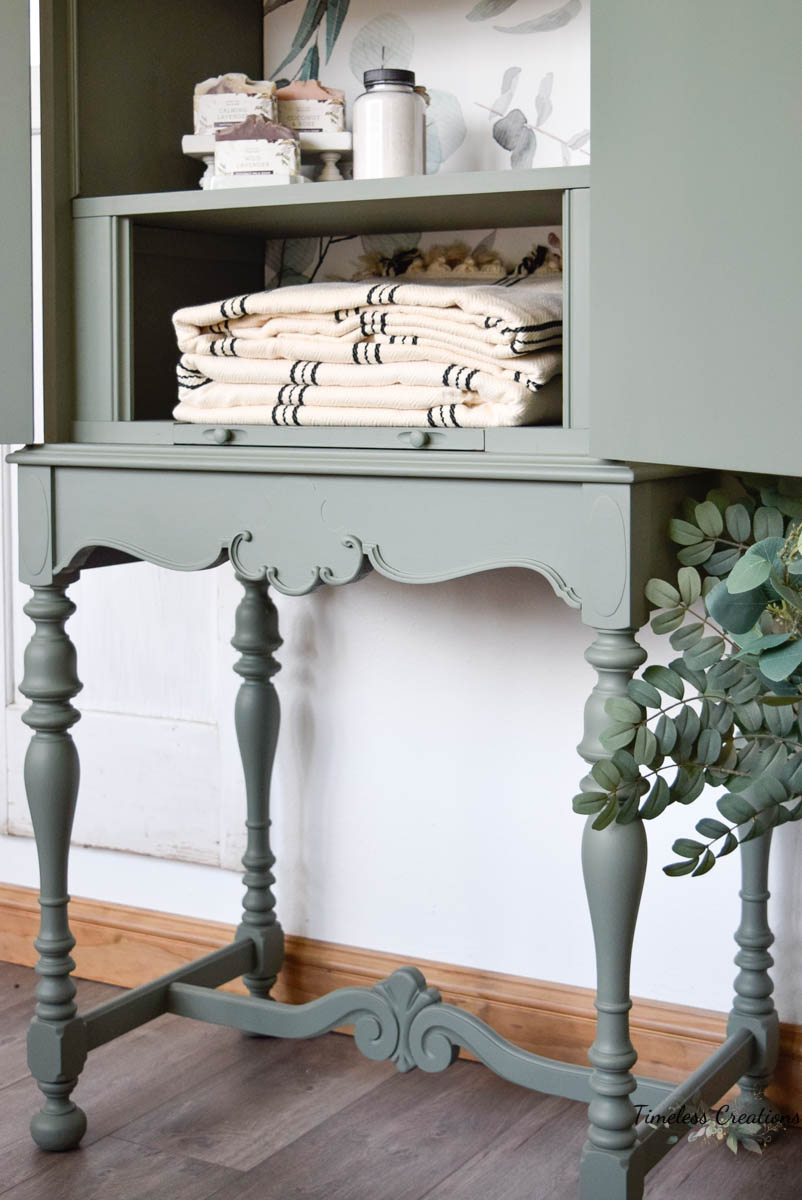
After a coat of paint, you can’t even tell that this cute cabinet once had missing parts all over on those feet! What an easy fix! And just look at those pretty turned legs. You get the coolest details on old pieces that we just absolutely adore. And this aged, dusky mid-tone green looks so fresh and modern on this piece.
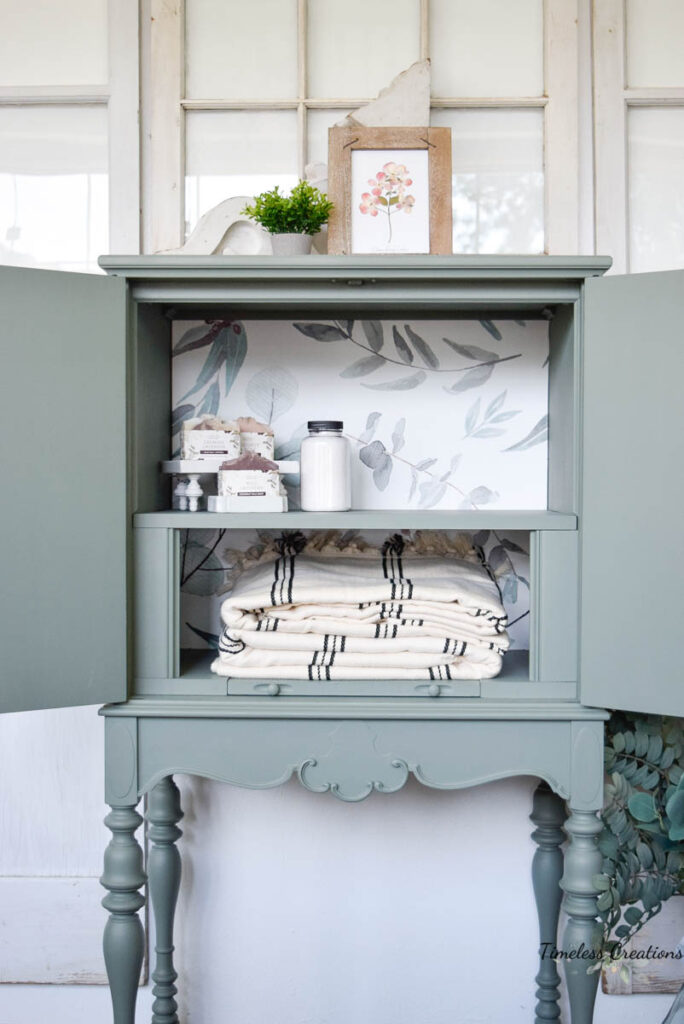
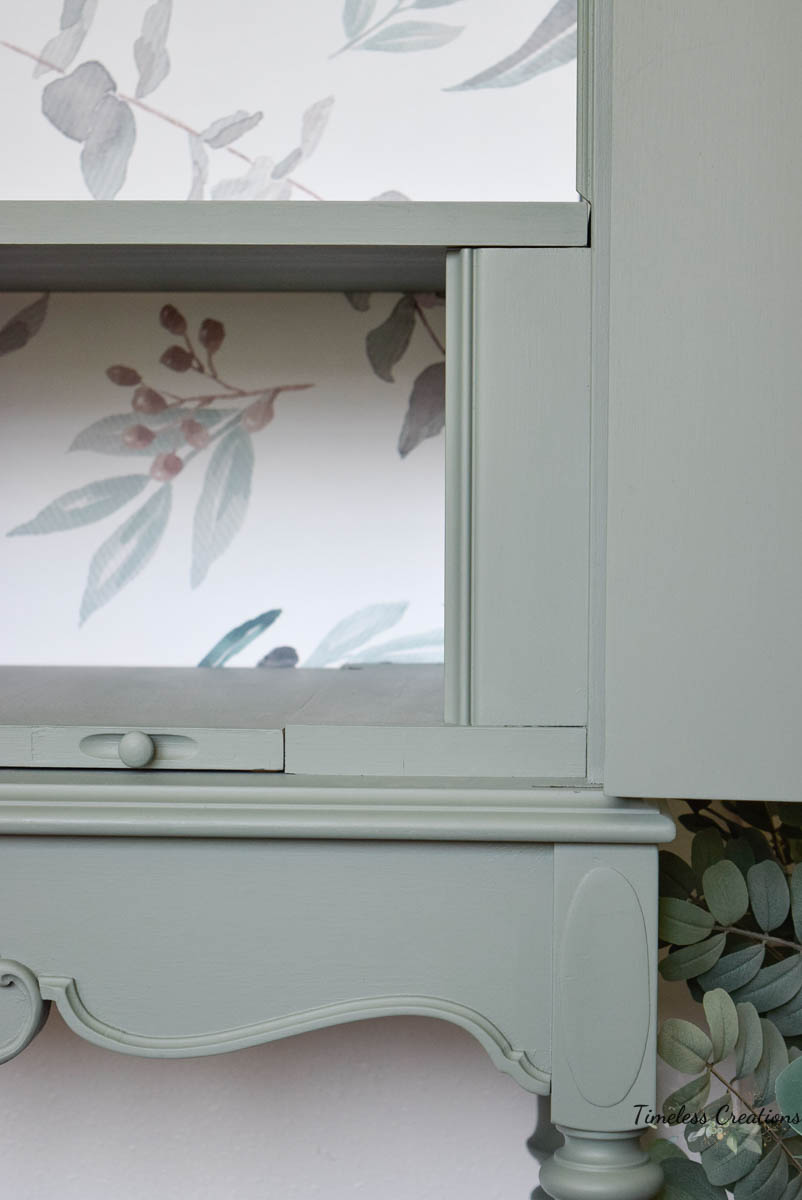
We then decided to add a little pop of beautiful Eucalyptus wallpaper to the inside back portion that was previously left over from a different hutch. It matched really well with this color and gave a fun pop to the inside.
We imagine it to be used in multiple different ways. From a bookshelf, to a liquor cabinet, to hold old quilts or a linen storage in the bathroom like the photo below. It has many uses. The doors have very interesting hinges that allow them to fold all the way around to the sides.
As I am writing this post – this cabinet is still currently available for purchase, and is just gorgeous. There are so many pieces that I wish I could take home and keep – this is one of them. [Purchase details for this piece are HERE.]
Stay tuned with us as I have a couple other great furniture pieces to share coming up very soon!
Products used for Painting Process: Carriage House / Staalmeester ‘Pointed Sash’ / TSP / Sanding Pad



Leave a Reply