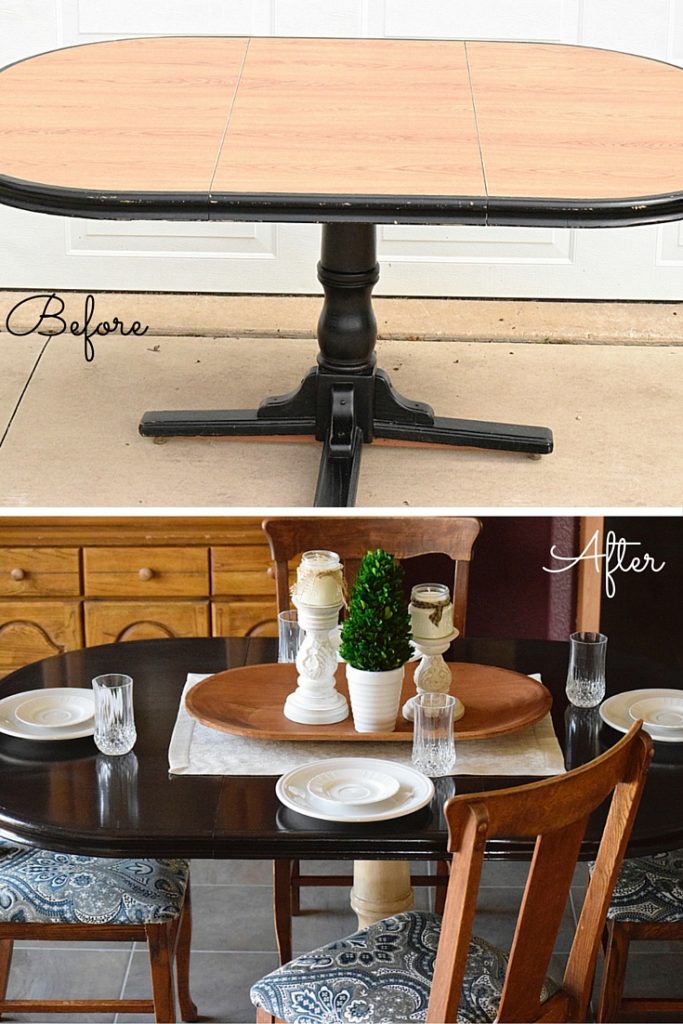
Yes, you read that title correctly! We are sharing how we used STAIN to change the look of this laminate topped table.
You know that piece of furniture that just gets handed down from person to person in your family? The dining table we restyled this week is one of those…It originally was our family table when I was a child! It got beat up, then got a makeover once in the 90’s, then got handed to my husband and I when we moved to our first apartment. Now it is being handed down, once again, to my younger sister as she moves to her new apartment! It is a laminate topped table (not very cute) but it is sturdy and good sized.
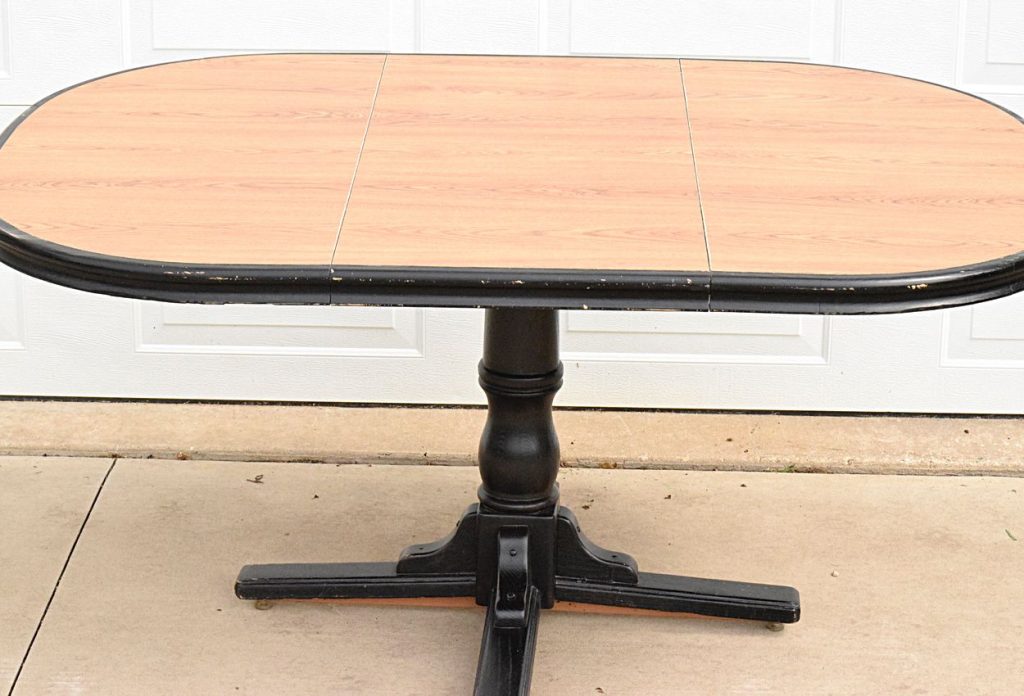
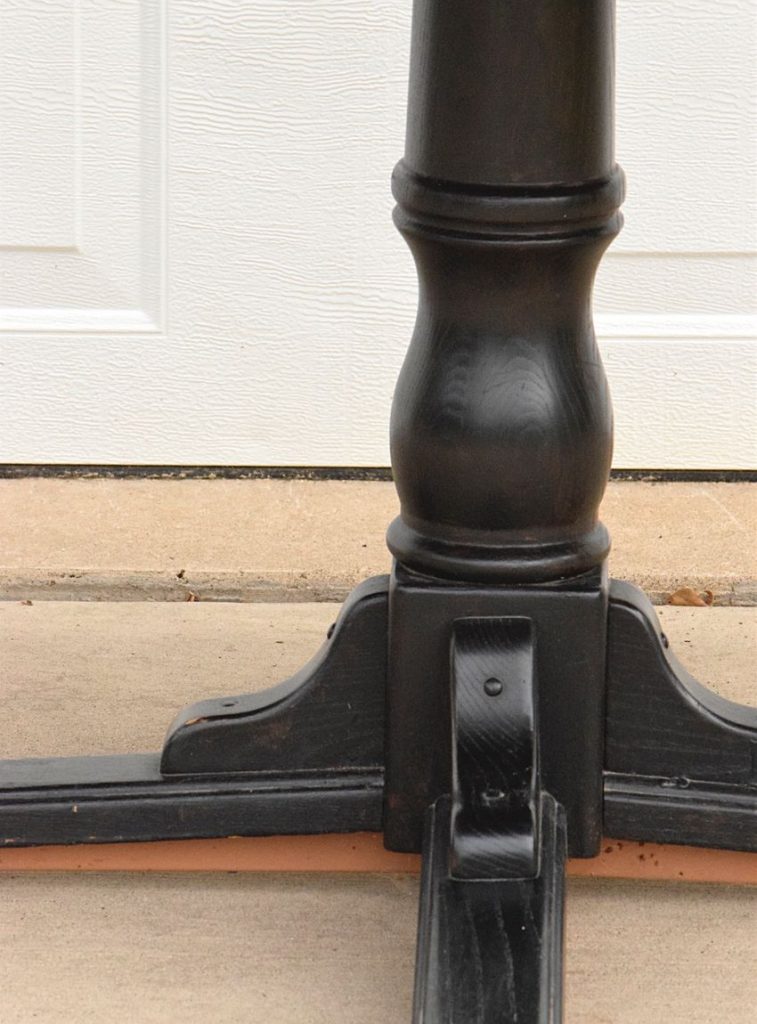
Previously the base and edge of table were painted black, which was a Pottery Barn inspiration (a long time ago).
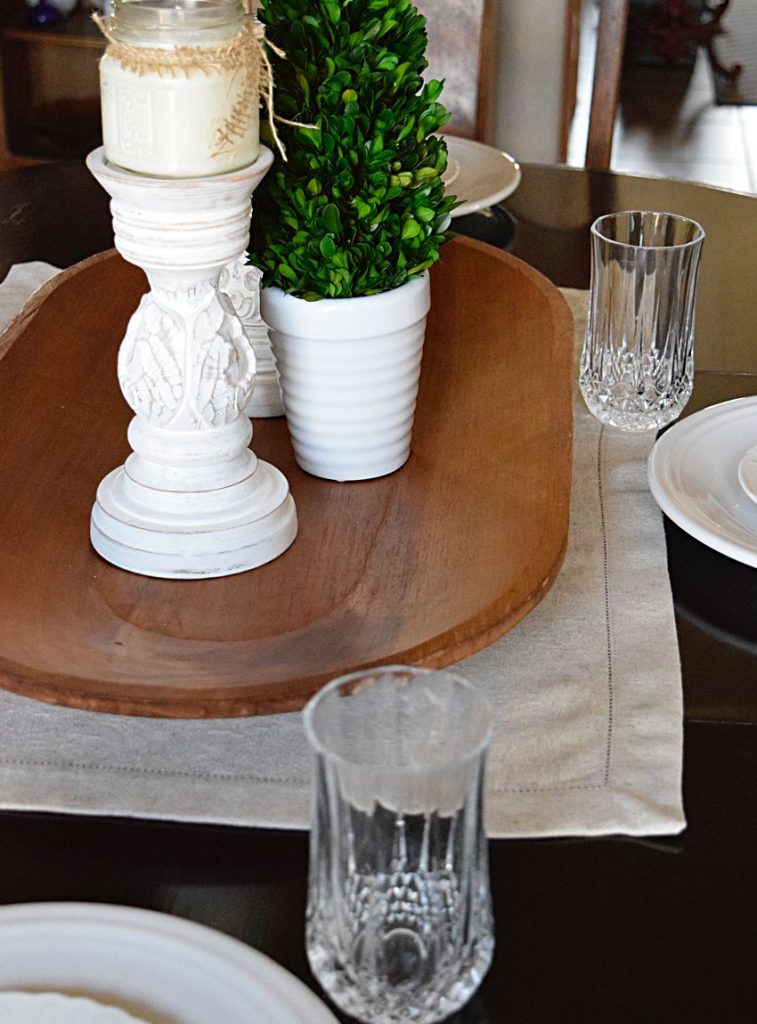
So we decided to switch it up! Literally. One of my sister’s favorite looks that we have done previously was from our drum table, where we stained the table top dark and gave the base a cream and glazed makeover.
For your convenience in locating products we have used, this article contains affiliate links. All products are items we use ourselves and genuinely recommend. For our full disclosure go to our “Disclosures” page.
We decided to try this look out, right over the laminate top! After some light sanding to the real wood edges and base we grabbed a sponge brush and our Gel Stain (this is what we used) and applied the first coat. We were so ecstatic after seeing how the stain dried onto the table-it actually worked! It dried with a hard, almost polyurethane finish. The first coat was pretty streaky, so a second coat was applied after a few hours. Make sure to wipe it on in even strokes, back and forth along the entire length. Once dry, we took a good polyurethane and added 3 coats to seal the stain.
We then painted the pedestal with two coats of Annie Sloan’s “Old White” to lighten that up. We didn’t like the starkness of the bright white against the dark top so to soften the look we decided to apply a wash over the white.
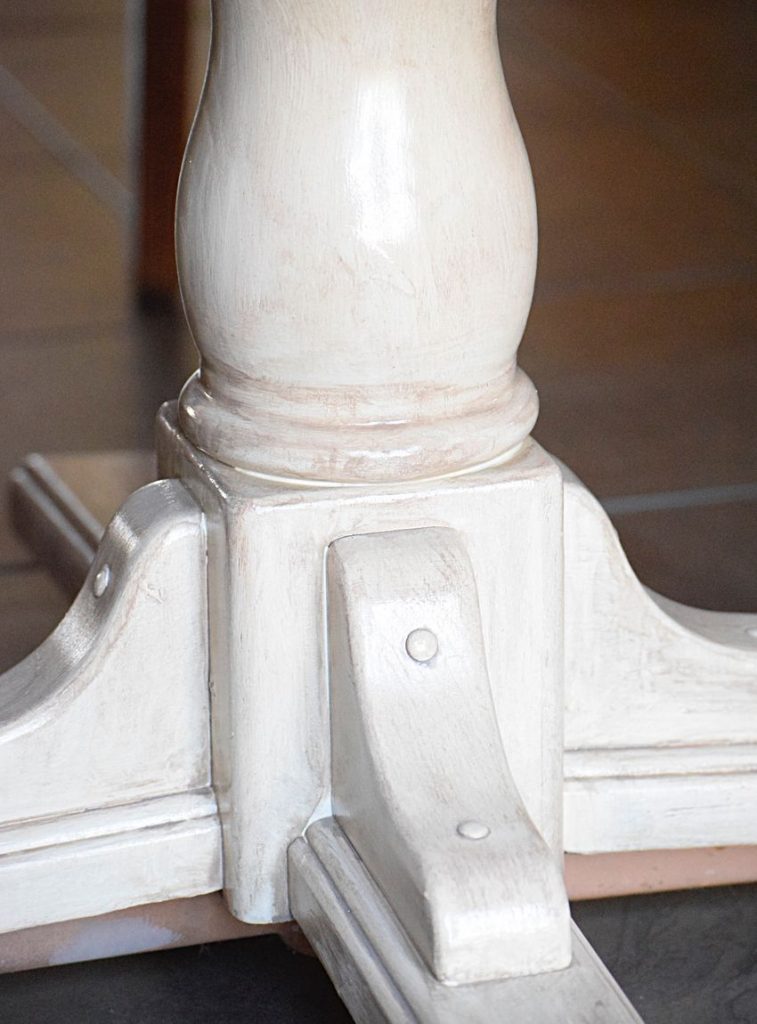
A wash is when you mix water with your paint and then wipe off any excess to get a soft yet detailed look. It stays in any nooks and crannies to bring out some character in any piece. We mixed Annie Sloan’s “Coco” with water in a 2:1 ratio. It was applied with a foam brush and then wiped with a clean, dry rag.
Tip: Make sure to work in sections, applying and then wiping off. Be smart about your sections so you don’t get weird lines.
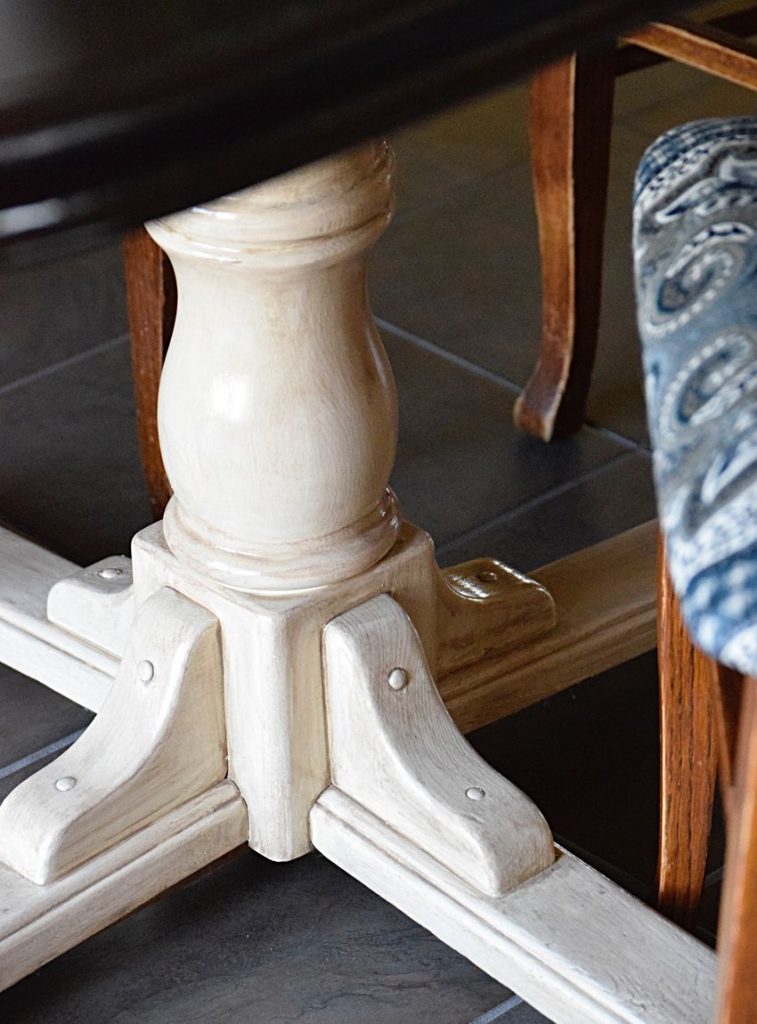
We used a different sealer for the painted part, just to make sure it doesn’t yellow over time, but still applied 3 coats for a very durable finish. (This is what we used.)
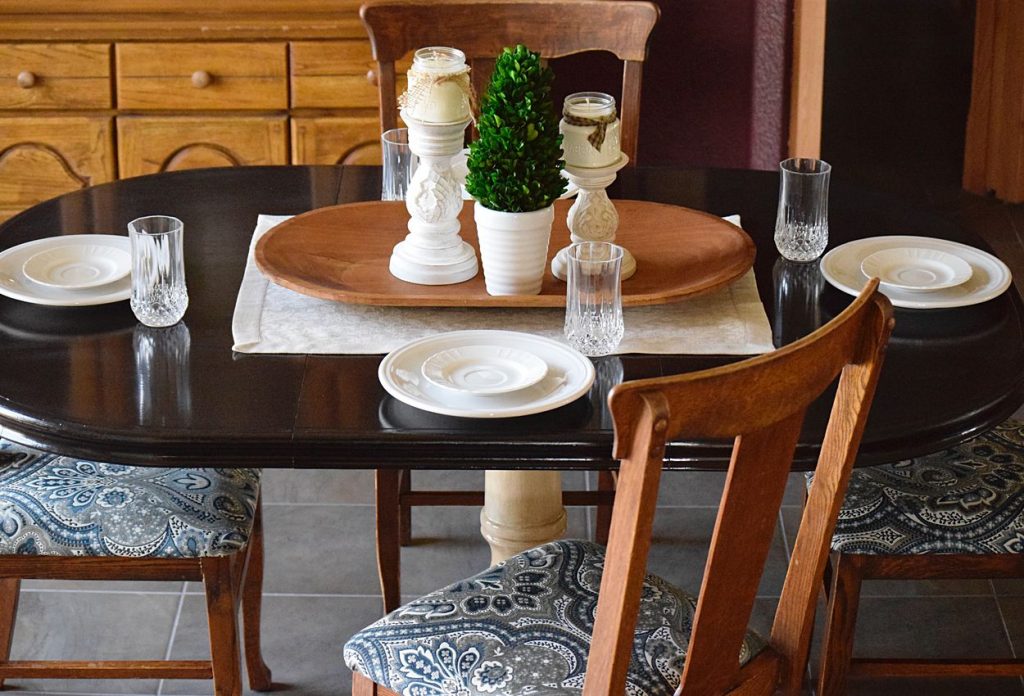
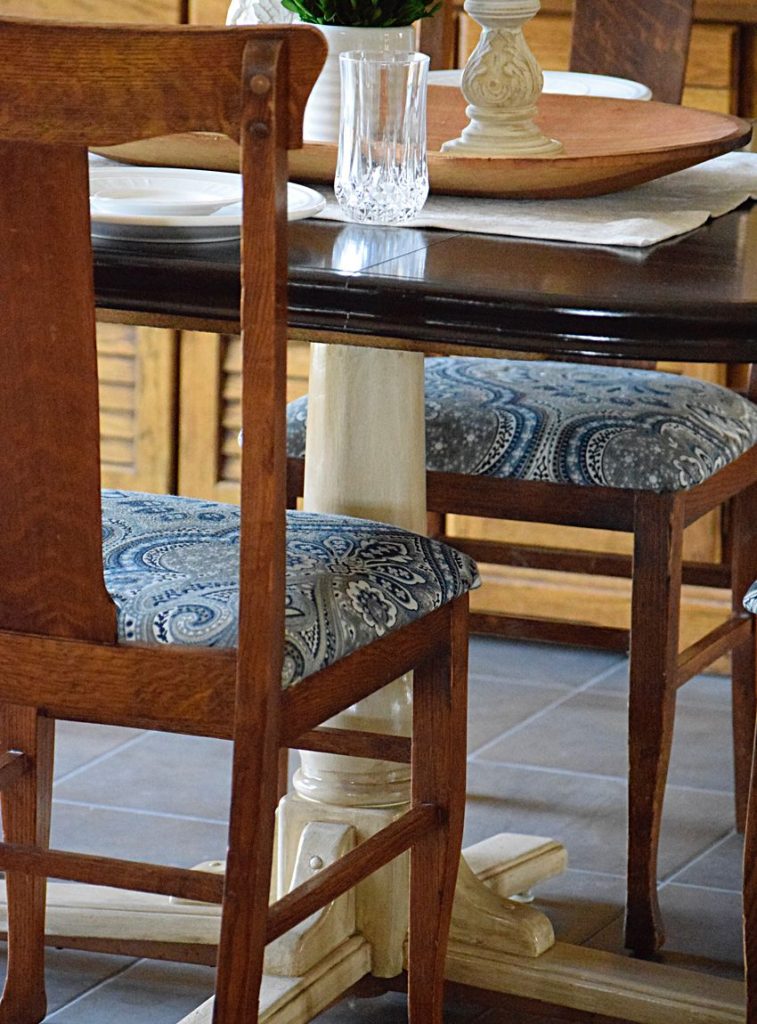
We also had 4 chairs to re-do to go with this table, but decided not to paint over the wood since it was too pretty! We did some quick reupholstery to the seats to make them more comfortable and prettier. 🙂 (Find that post Here…)
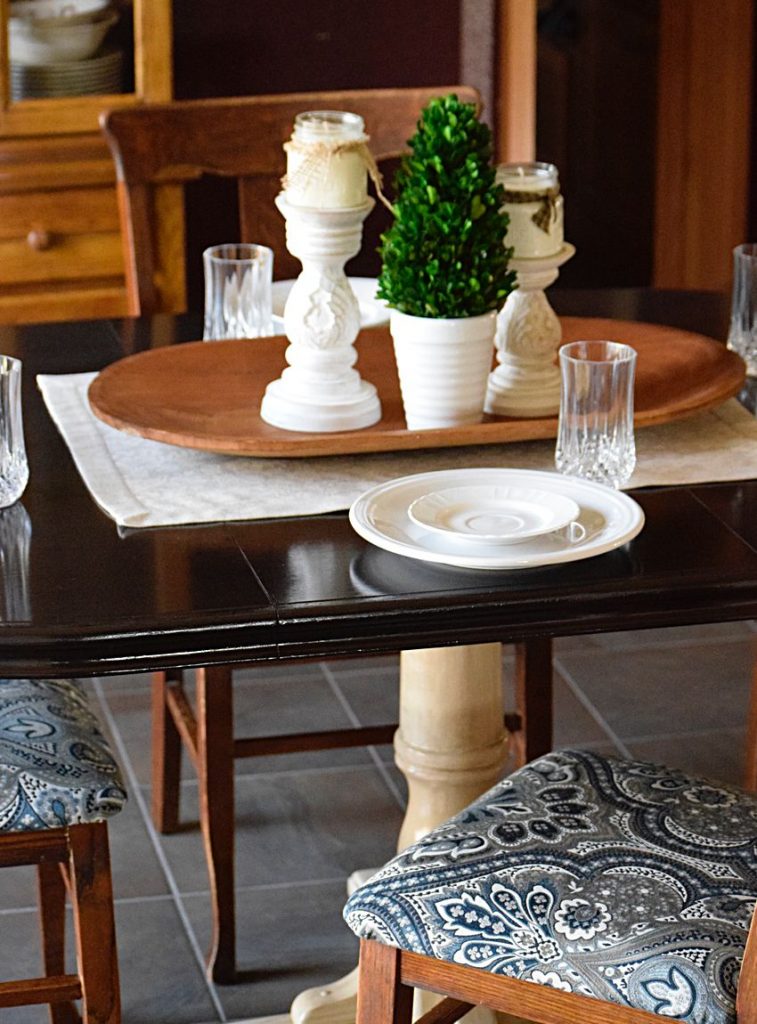
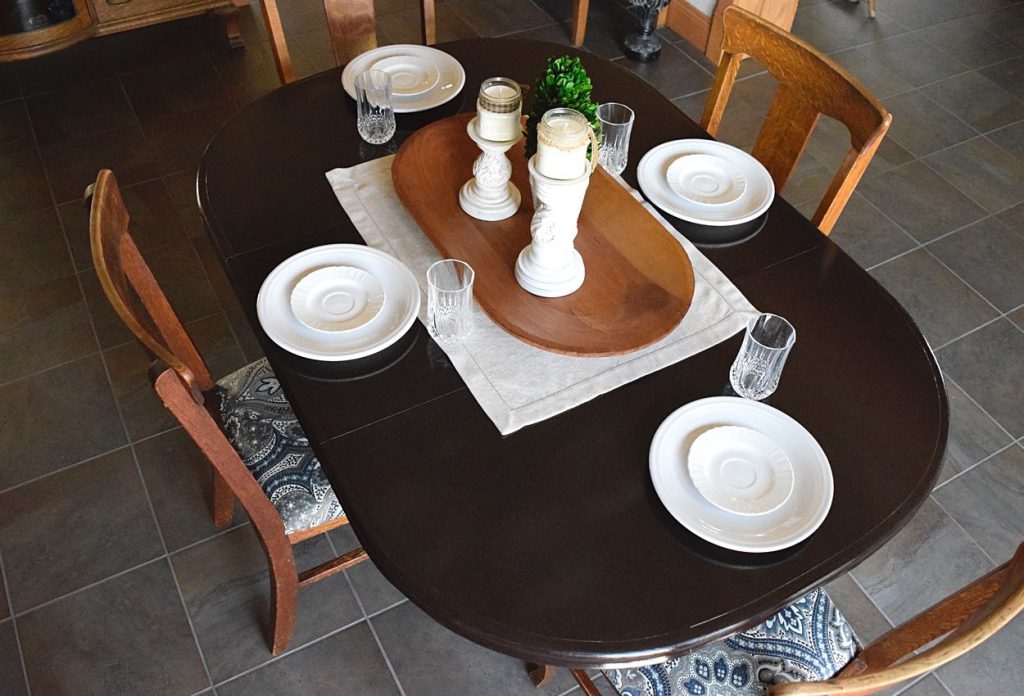
And my sister now has a new dining set! For a hand-me-down, it sure looks beautiful! And those chair seats will be much more comfortable since we added some padding and upholstery.
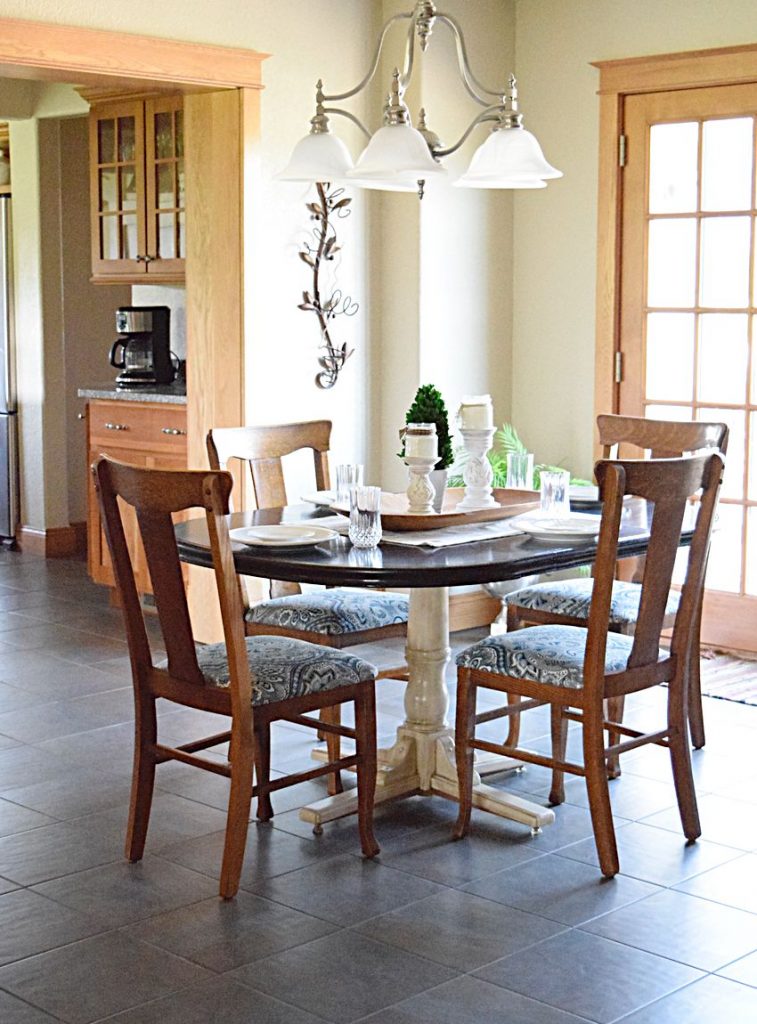
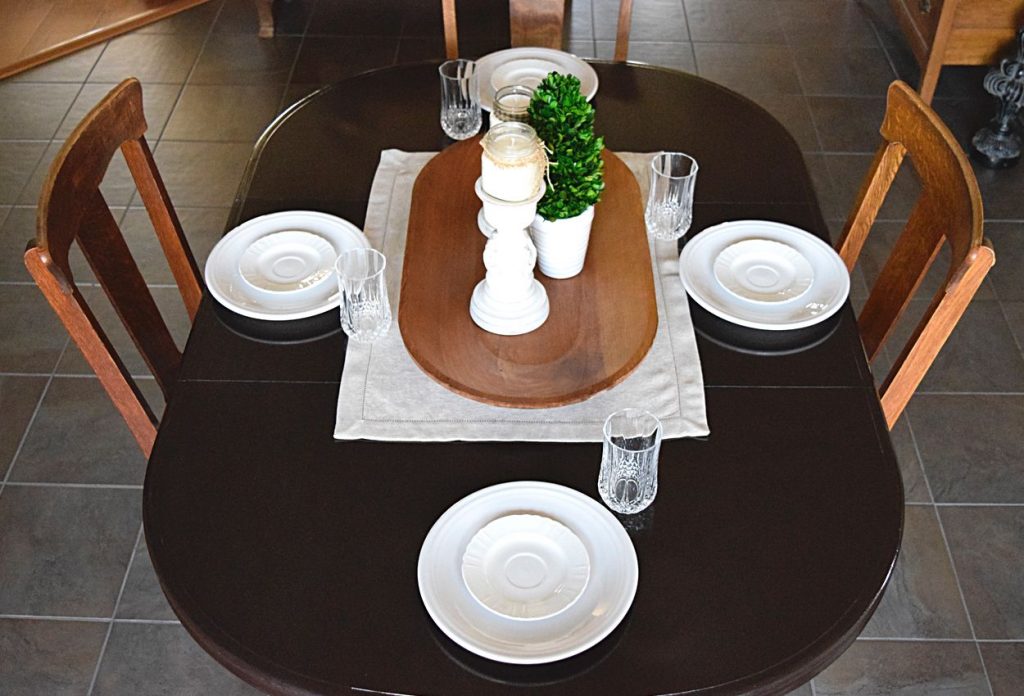
This was styled in Vicki’s dining room for the pictures, but the plan is to sew some throw pillows in similar colors to the chair fabric for the living room to tie everything together. We were so ecstatic that it turned out so beautifully!

Shop this Look:
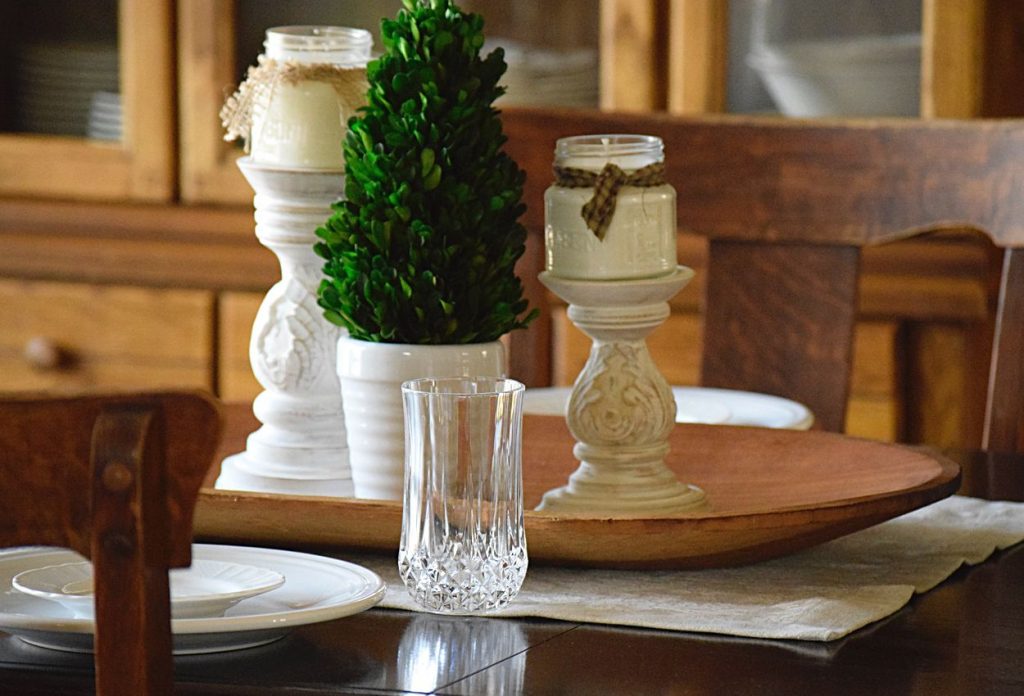
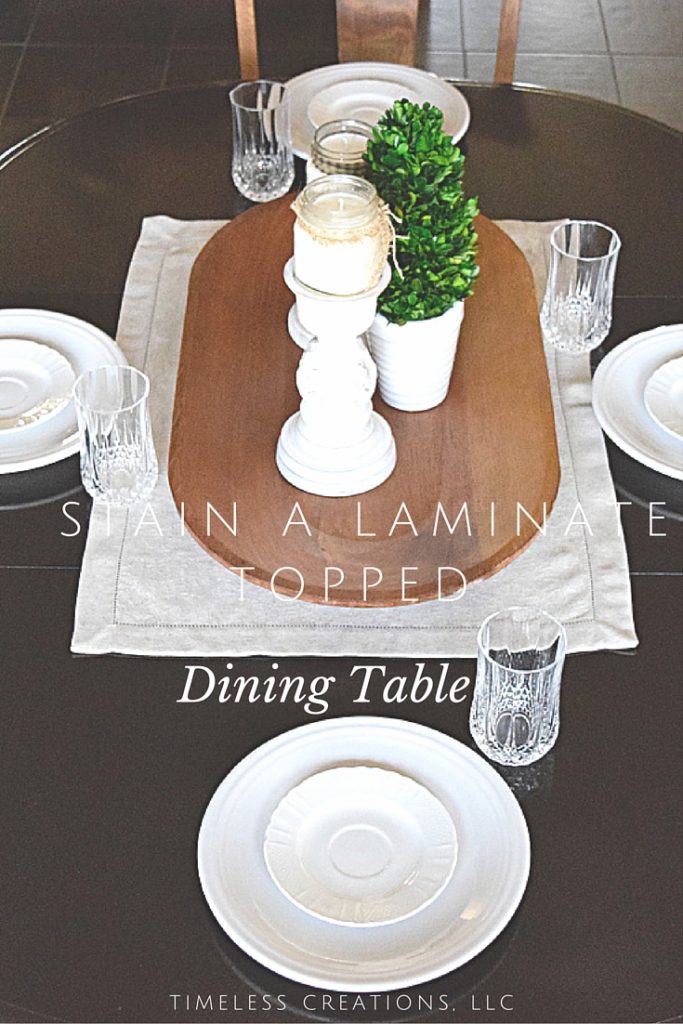
White Candlesticks (same as above)/Wooden dough bowl (Similar)/Boxwood Topiary (Similar)/ White Dinner Plates
Linking with: The Scoop, Dishing It and Digging It,
More you may also love…


What a transformation! The table and chairs looks amazing now. Can’t wait to see your tutorial on upholstering the chairs. We have a few that I’d love to add some padding to!
Thank you so much Vineta! Sometimes we can’t believe how easy reupholstering chair seats is..tutorial comes out this week! We will be sure to share it to our groups 🙂
Great job! Looks absolutely wonderful 🙂
Thank you so much Angie!
It looks beautiful! Love your chairs and decor, too! Thanks for sharing at Dream. Create. Inspire. Link!
Thank you so much for visiting and for your kind words Samantha!
The transformation looks great! Thank you for sharing at Merry Monday!!
Thank you so much Amanda! We definitely love linking to your fun party!
Thanks for sharing at Inspire Me Monday link party. I am featuring your Stained Table Top as one of my picks this week. Come by and check it on Monday at http://www.farmhouse40.com/
Oh thats wonderful! Thank you so much for featuring it! We love linking up with your party every week!
I love the table makeover, she’s got a new lease on life for the next of kin. Thanks so much for sharing your piece at Fridays Furniture Fix!
Hi! I am looking to do the same to my table! How has it held up? I have children so the table will be used alot. Worried if it will be able to handle alot of use. Its beautiful!
Hi Amanda! The one complaint my sister has with this table is that it gets dusty! But that happens with any dark surface. I think if we were to do this again, we would seal with Varathane Polyurethane. We like that better and is tougher.
Did you sand the laminated part of the table
We very lightly sanded it with a fine grit sand paper, just to rough it up a little bit so the stain would stick better. Just very light.
Do you have a tutorial on how to sand down the laminate top? I just bought an Ethan Allen pedestal table and realized after purchasing via photos only, that it has a thick Formica top (it’s from 1982). I’d LOVE to be able to keep and stain it (I do not want to paint it), but I’m terrified of just ruining it.
Hi Stacey, We do not have a tutorial for sanding down formica because I don’t believe that would work. Formica and laminate are not real wood products, which is why we just put a gel stain over the top of this laminate and let it dry that way. You CAN, very carefully, strip and lightly sand a Veneer product as that is very thin sheets of real wood. But formica I wouldn’t recommend sanding or stripping down as it is a man-made product.
What type/brand “sponge brush” did you use to apply the stain? And what did you apply the polyurethane with? Thanks!
Just any cheap sponge brush you can get from any hardware store. We use that or a lint free rag. We apply polyurethane with a good paint brush OR a paint sponge. I know Country Chic Paint has a great sponge specifically for painting.
Several years later is the table still being used and has it held up? I am in the great debate of paint or stain for my new to me laminate table. I love the look of the stain so much better.