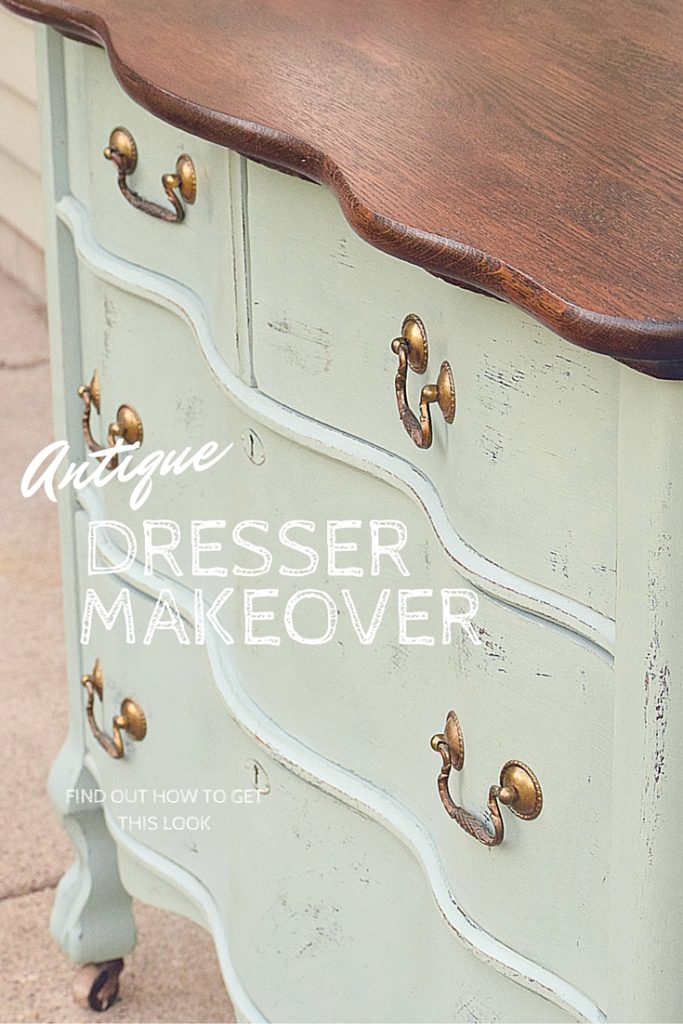
An antique sideboard gets quite the transformation.
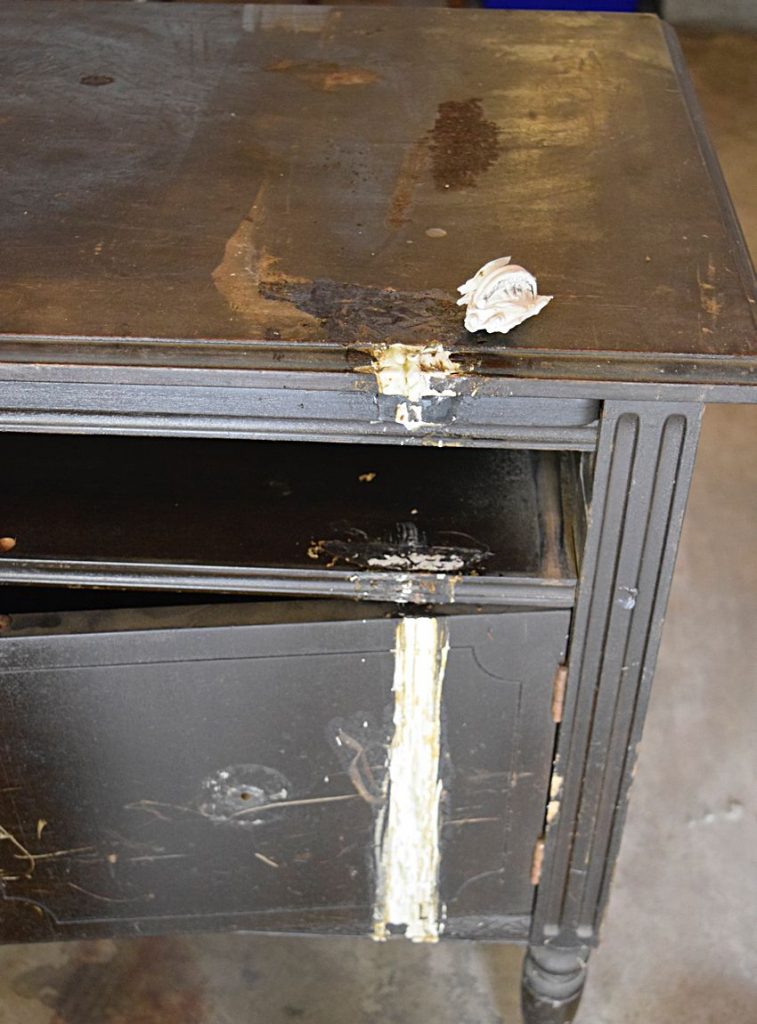
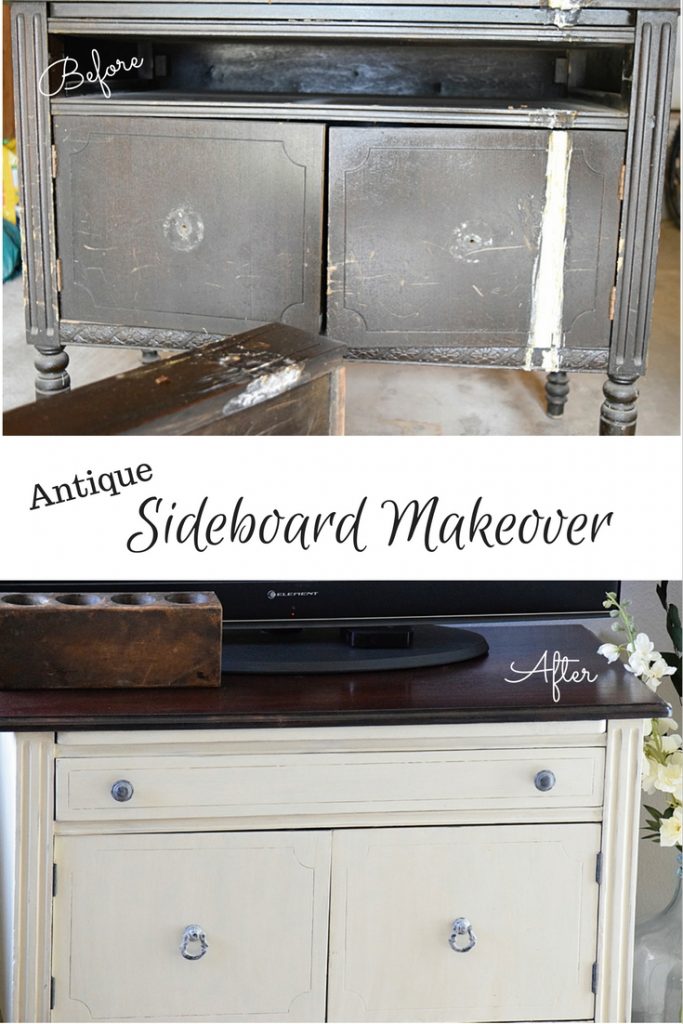
I’ll be honest with you…when I first saw this furniture piece, I got kind of scared! The first time seeing it was from a dark snapped phone picture from my mother-in-law. She informed me that they were cleaning out the garage and needed to get rid of it. It had paint globbed all down the front, chips out of the legs and front edges, as well as a huge saw mark right on the front of the top!
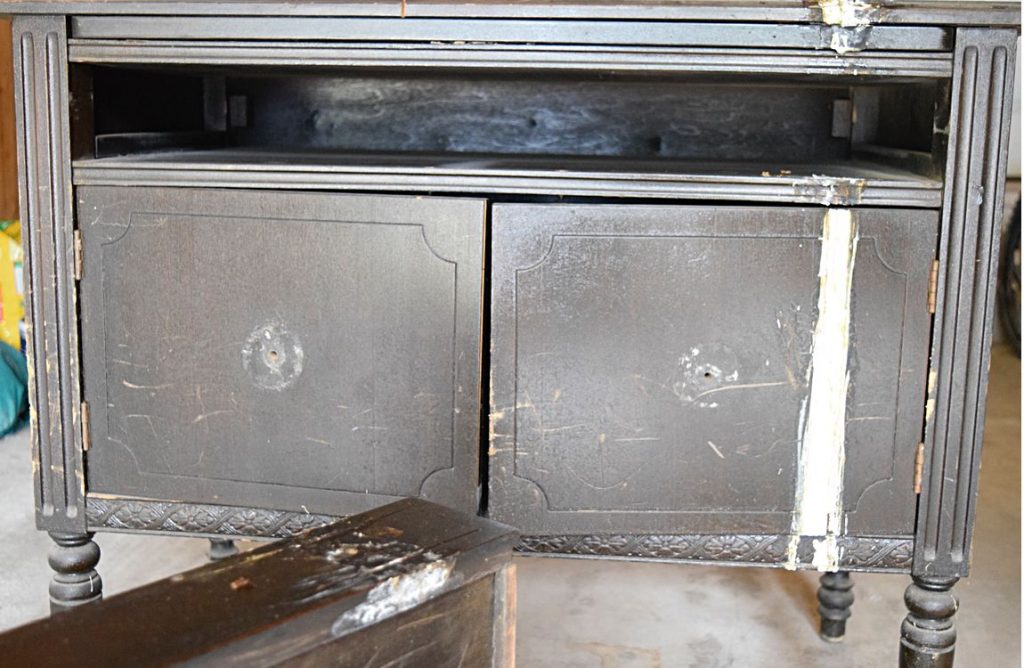
When we went to pick it up my first thoughts were,
“Oh boy, how am I going to fix this…
…but hey! its free! I better take it…”
So we loaded it up in the SUV along with our luggage and the puppy and brought it back home to my workshop!
For your convenience in locating products we have used, this article contains affiliate links. All products are items we use ourselves and genuinely recommend. For our full disclosure go to our “Disclosures” page.
I have always shied away from using anything other than sand paper to strip down to the bare wood, but I knew that was going to have to change for this particular piece. The paint drips were too thick down the front. Unfortunately chemical stripper was needed to loosen it up. (See what we used here…) This was the only one that was supposed to be a bit safer for you, environmentally friendly, and also cleaned up with soap and water. I still used gloves, safety glasses, and a mask though for added protection.
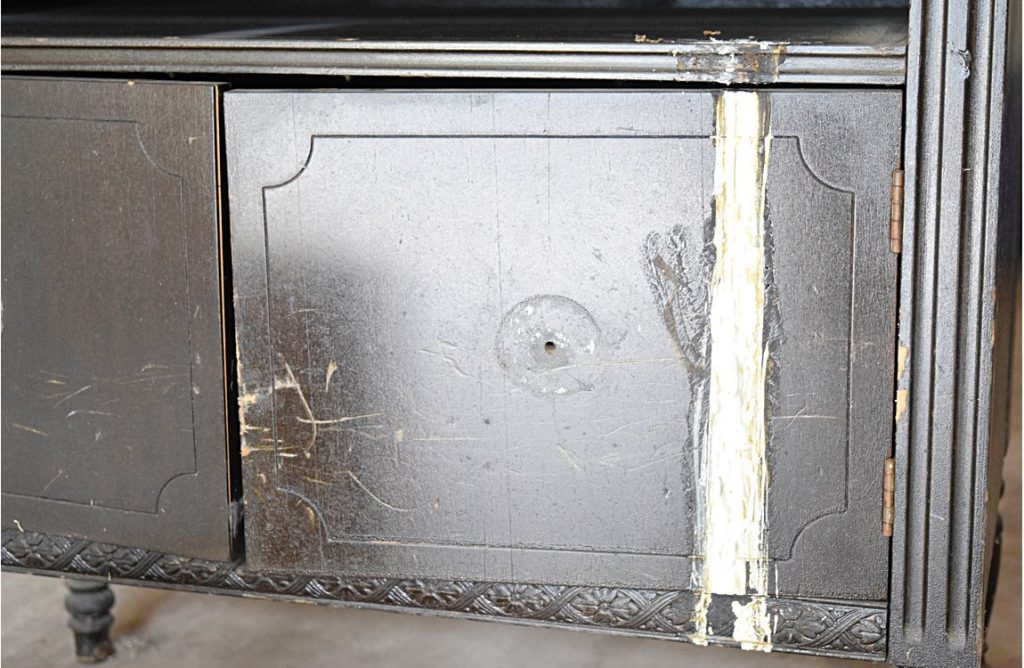
I then used a plastic scraper once the stripper was allowed to work its magic. I was pretty impressed with the job it did! Just make sure to get it all scraped off, then go ahead and clean the entire piece with soap and water.
Next, an electric sander was needed to bring the top down to the raw wood. I wanted to have a stained top for this piece, but also needed to sand all the shallow scratches out. Once the sanding was done it was then time to fill any scratches, dents, or holes that the sanding didn’t get out. (This is the best filler we have used!)
Oh boy, I did the best I could…in the middle of filling I decided if the fix wasn’t perfect I was just going to embrace it! Since I had planned on lightly distressing I knew it would help it look more rustic anyway!
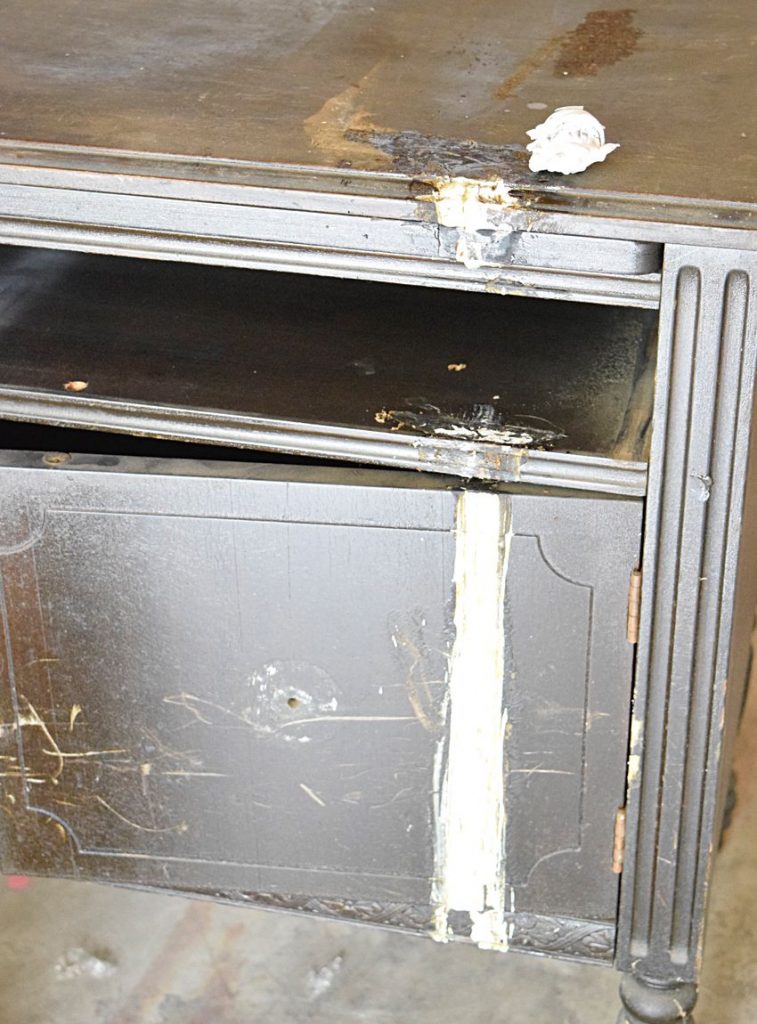
Whew! After sanding down all the filler, I was finally ready to start the transformation. The first step was to stain the top. (I always start with the stain, so it doesn’t accidentally get on my pretty new paint.) The wood underneath was absolutely beautiful and had a reddish tint to it so I decided to play up that gorgeousness and went with a dark stain with a reddish tint to it. (Find it here)
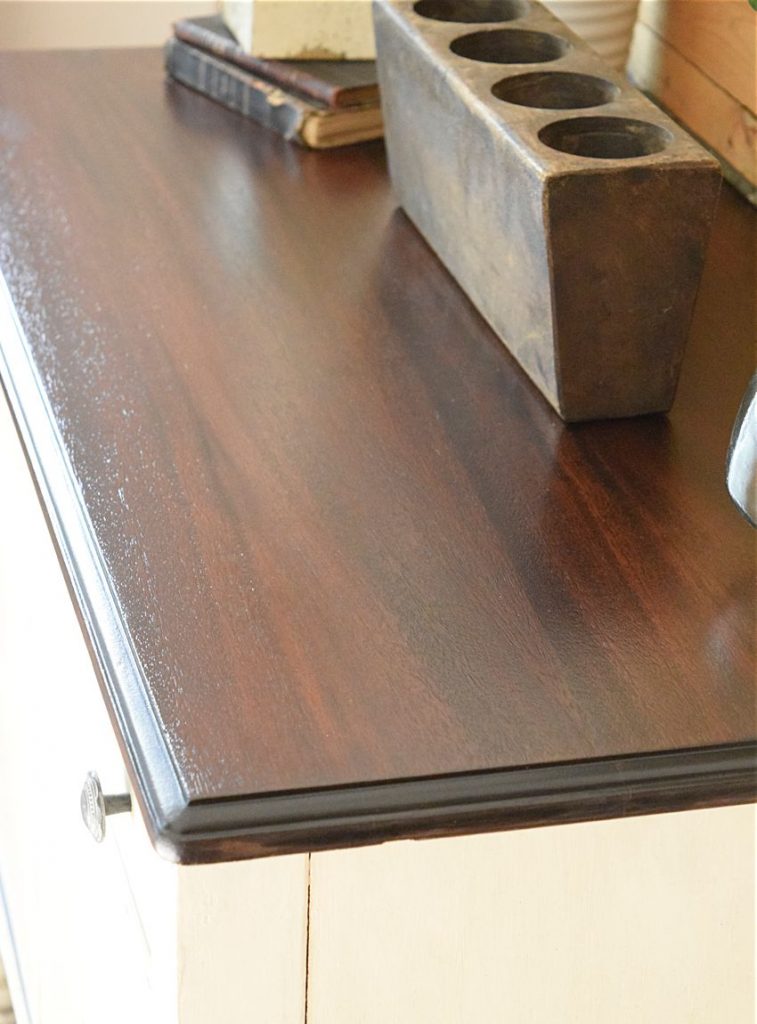
One coat of the stain was applied with a Foam brush and then wiped back with a clean rag. That was all that was needed to give it beautiful color. Two coats of Annie Sloan’s “Old White” was the paint we chose for the body of this sideboard. It is one of my “go-to” colors and has also been used on other furniture pieces in my house, so I wanted it to match.
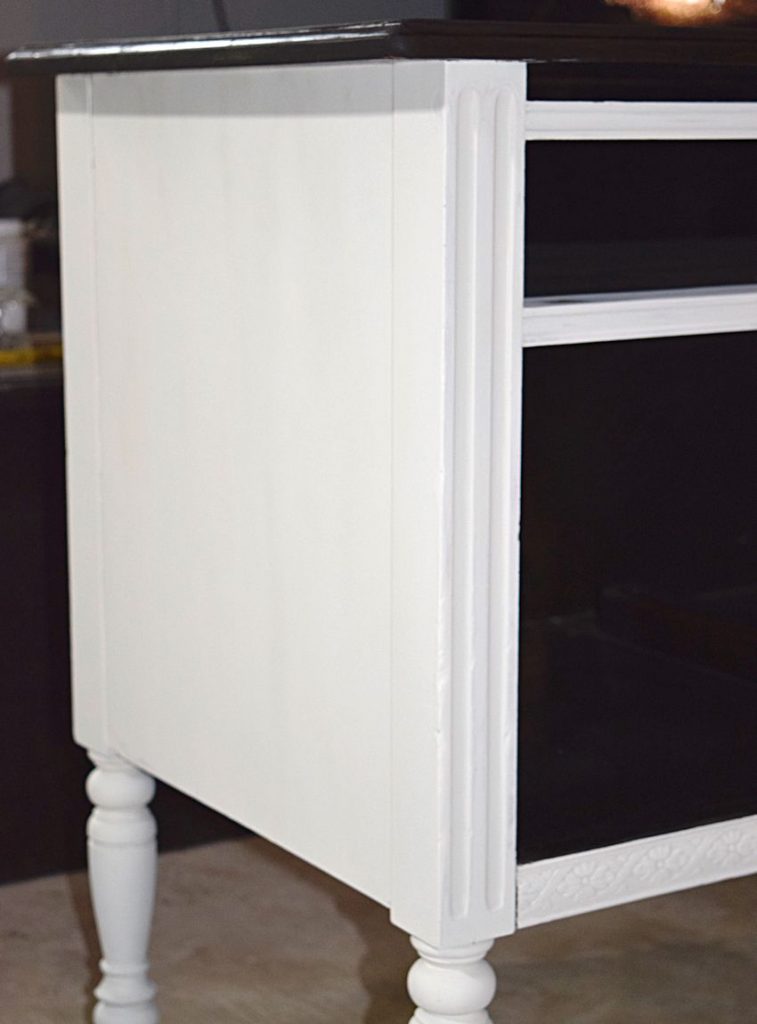
When the paint dried, a “French Linen” wash was then lightly applied over the top to give more character to the subtle details. (Find more info on applying a ‘wash’ here). After the wash was completely dry, I used a fine grit sanding block to lightly distress around the edges. I wanted it to be pretty subtle so I concentrated on the edges and legs.
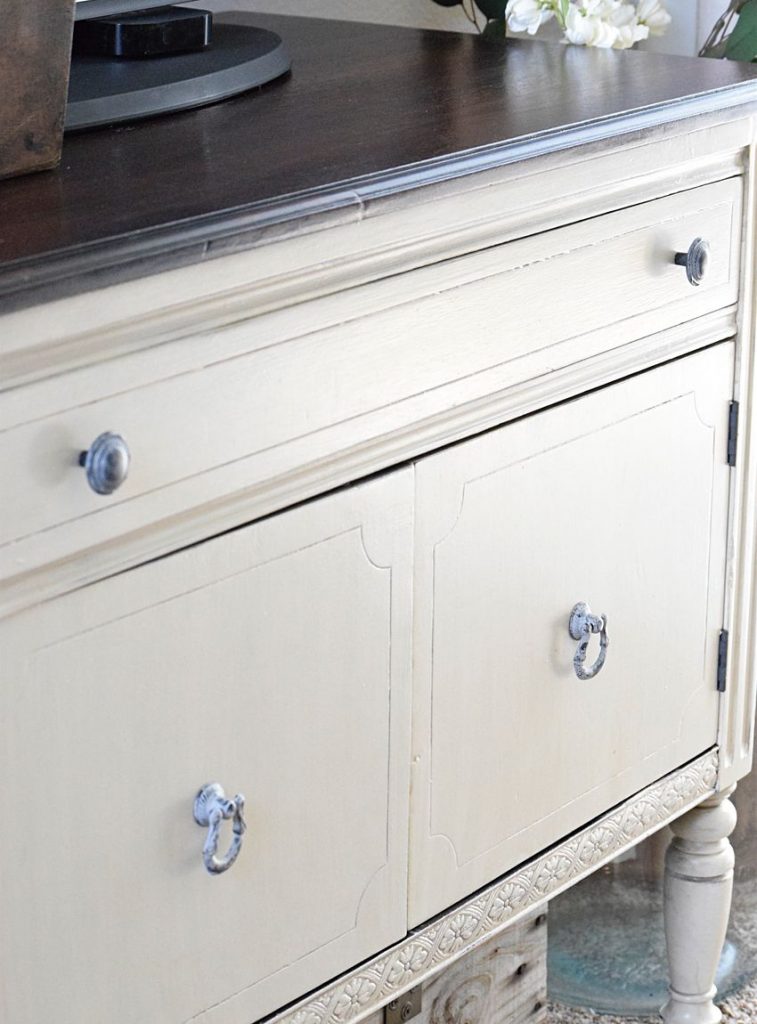
Lastly we sealed the piece once everything was finished! 4 coats were added over the top of the bare wood, and 3 over the paint of the sideboard.
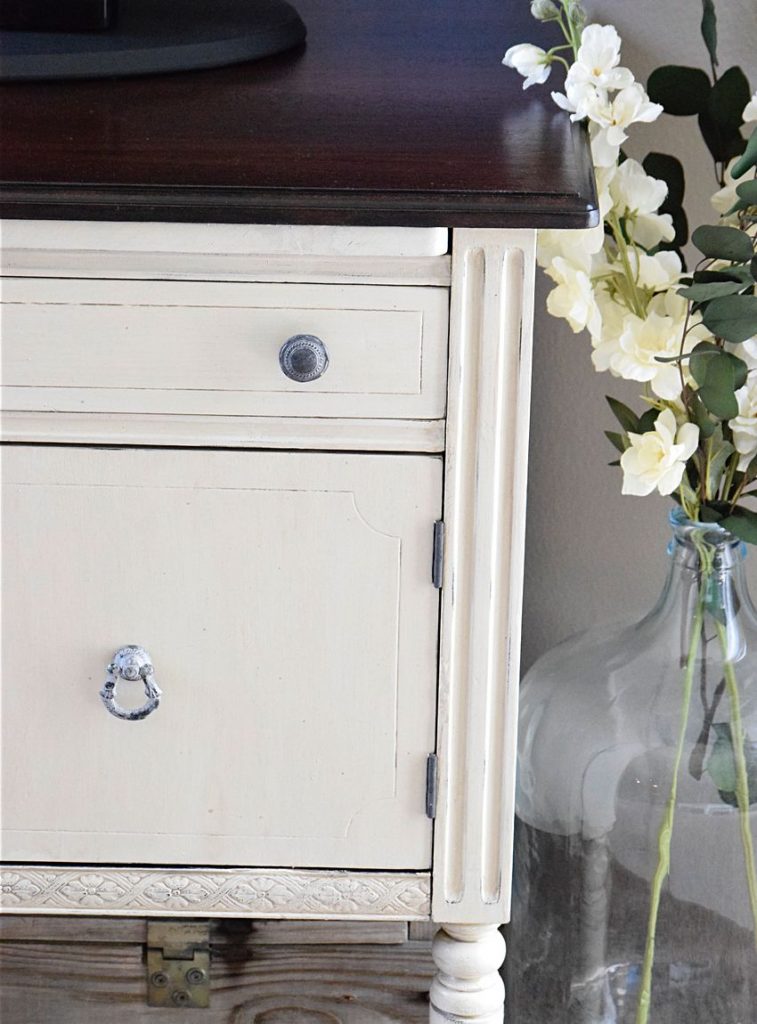
I first styled it with some really fun “new” vintage pieces I had recently acquired from flea markets and an antique mall! I was so excited to find that sugar mold (low wooden item in the front) I have seen Joanna Gaines use them on ‘Fixer Upper’ and just about squealed when I found it! That boxwood topiary is one of my favorite things I switch up around the house all the time. I think I might have to get more… Find a similar cute light aqua vase here.
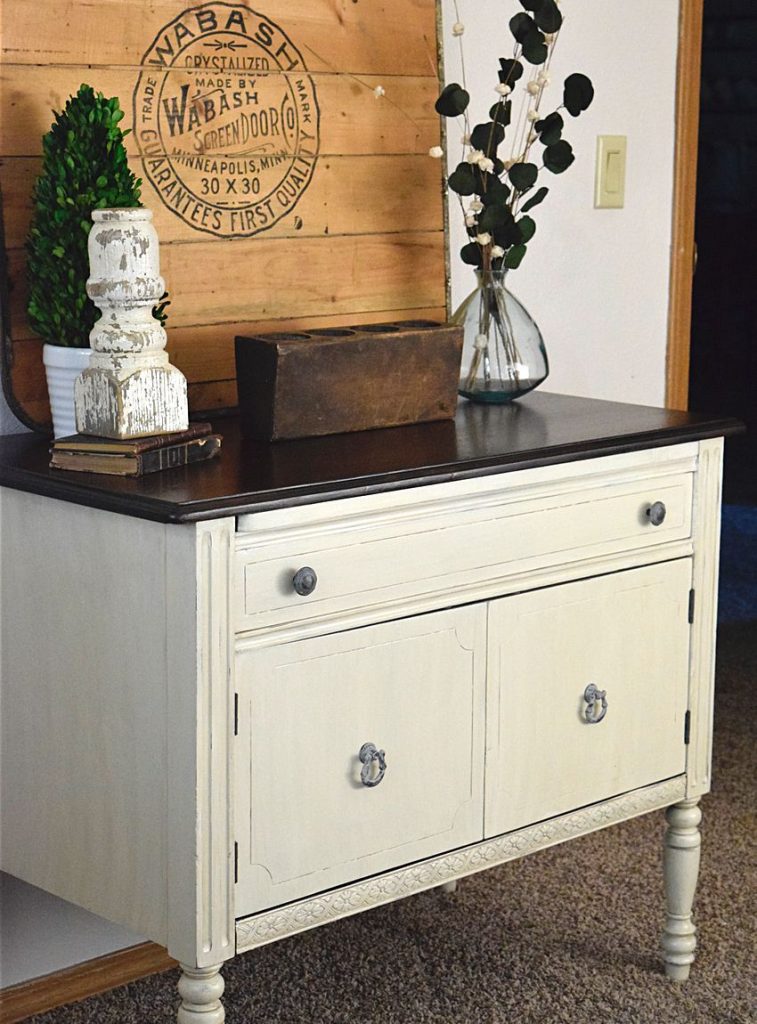
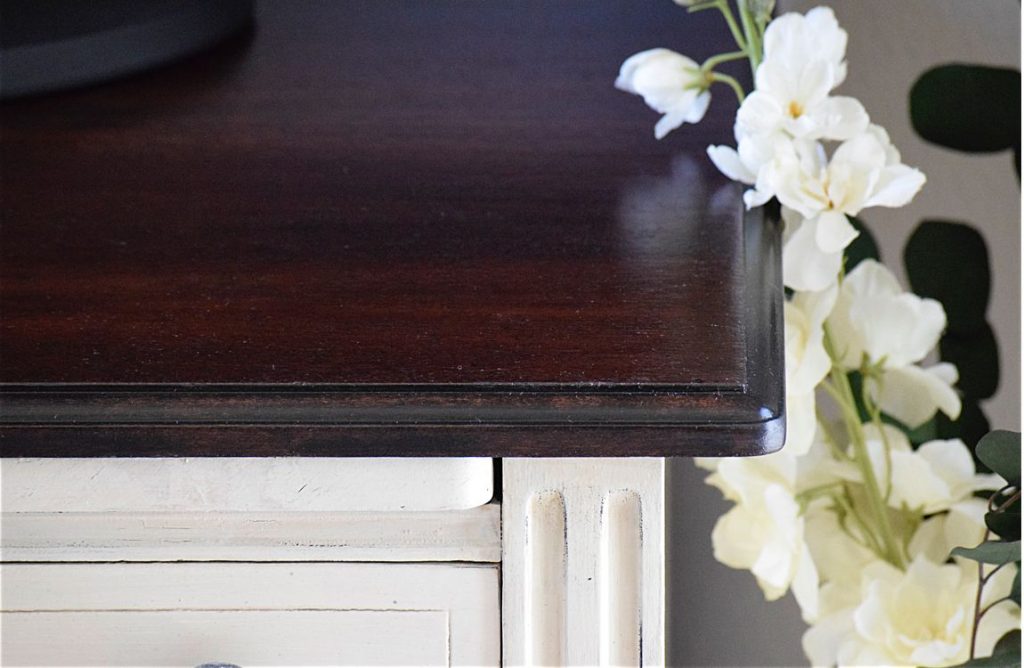
We actually want to use this piece as a coffee bar when we eventually buy a house, but for now it will be used as a TV stand in our living room. We were previously using a very cheap black particleboard stand from our college days and needless to say I was ready for something different!
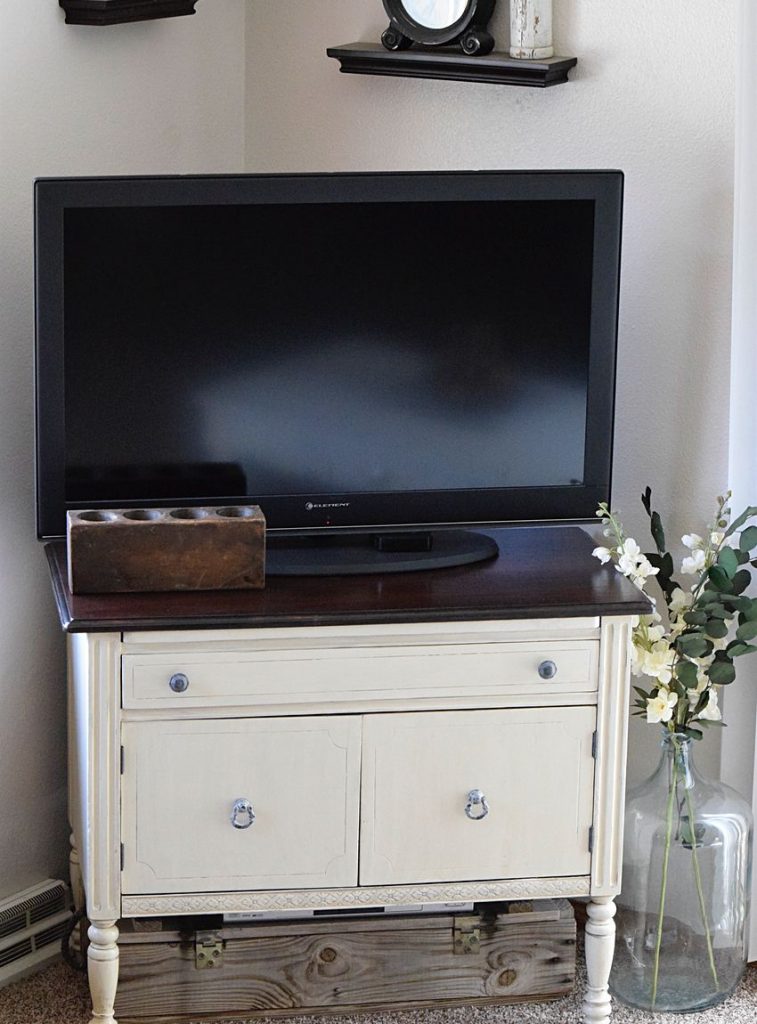
It doesn’t make the best TV stand since there aren’t holes in the back for the cords to go through, but we made it work. I brought in an old box and set it underneath to hide the cords, then set our cable box on top of that so it was still accessible, but less noticeable than being right on top.
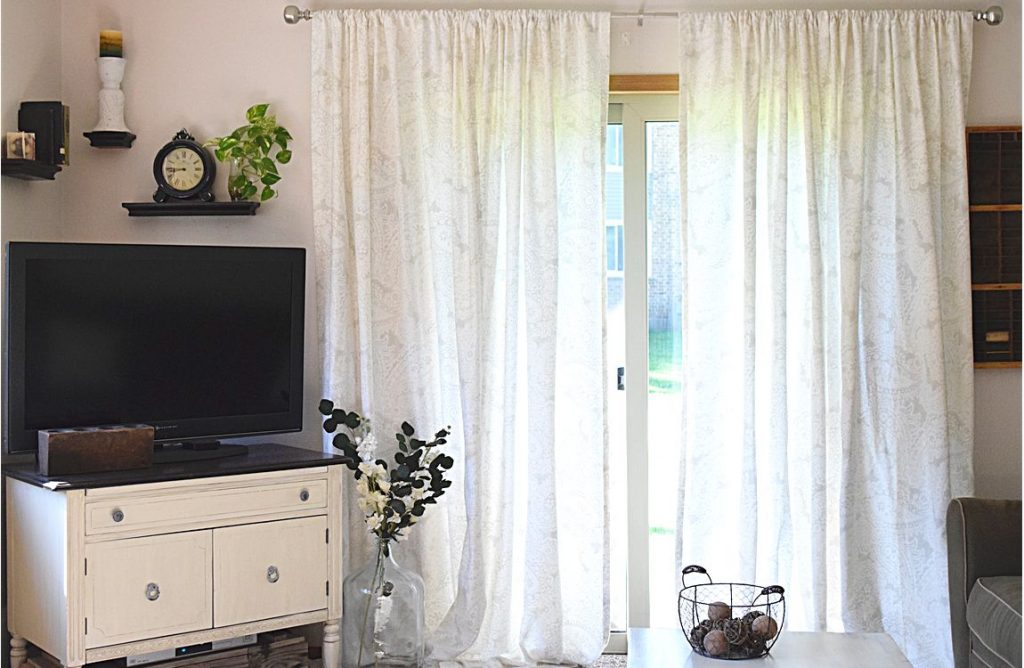
The curtains in the above picture were just recently purchased. Since we have a rental we struggled with the idea of whether or not to take down the sliding panel shades on this door. We finally decided on a neutral paisley patterened style and just absolutely love how homey they make our living room feel now!
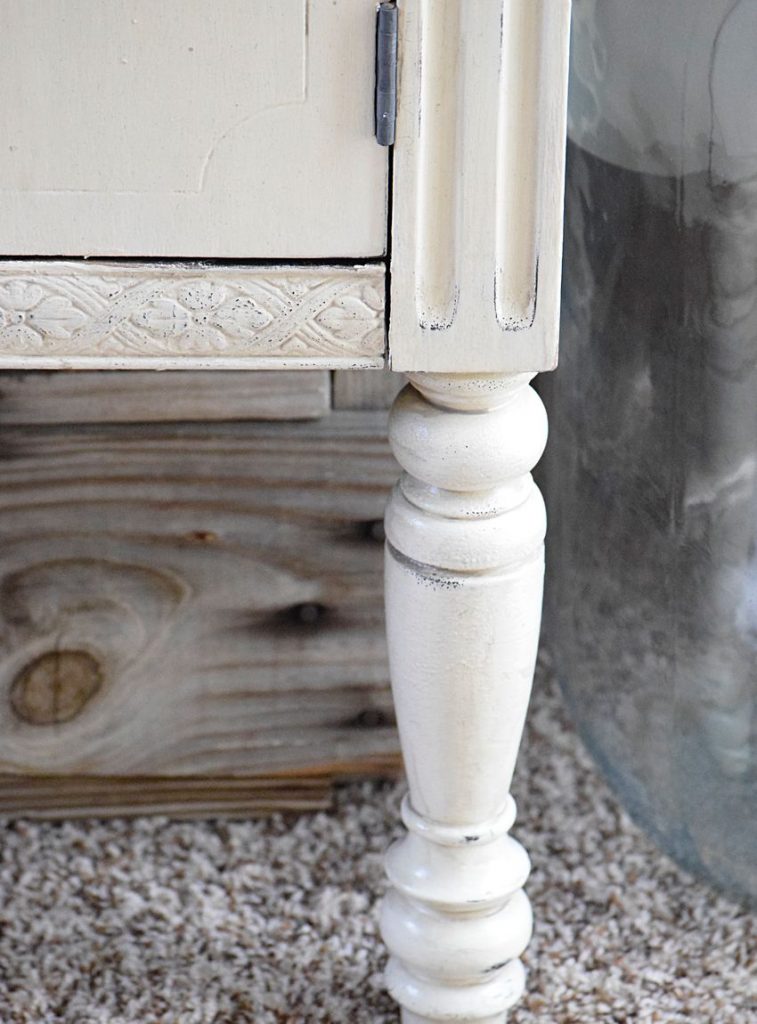
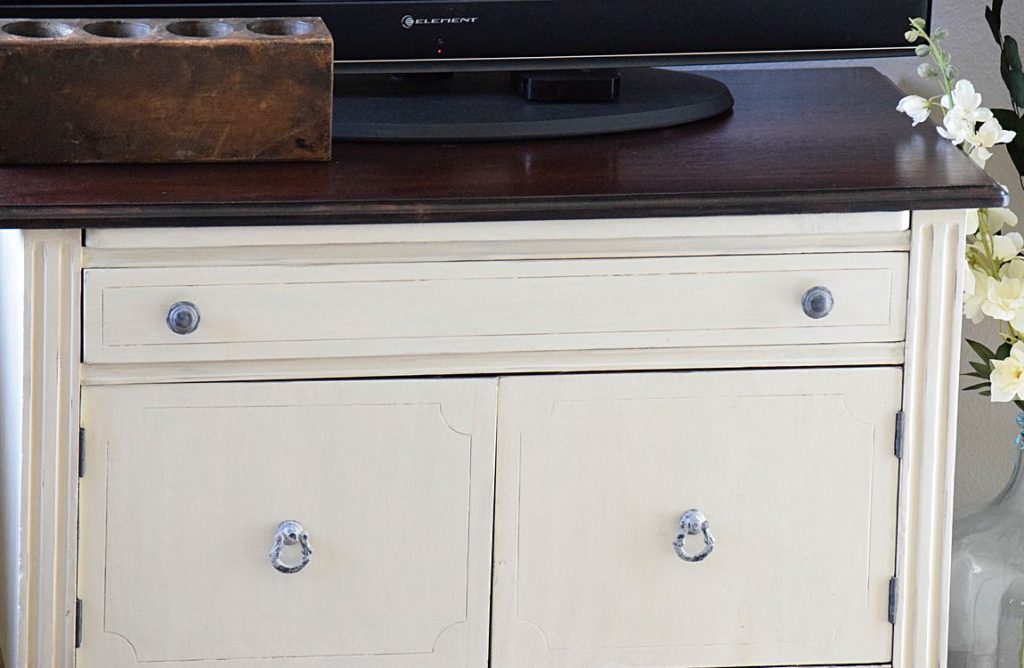
I just can’t believe how beautiful this before and after is. It was a lot of hard work, but I am glad I took the chance to make it beautiful again!

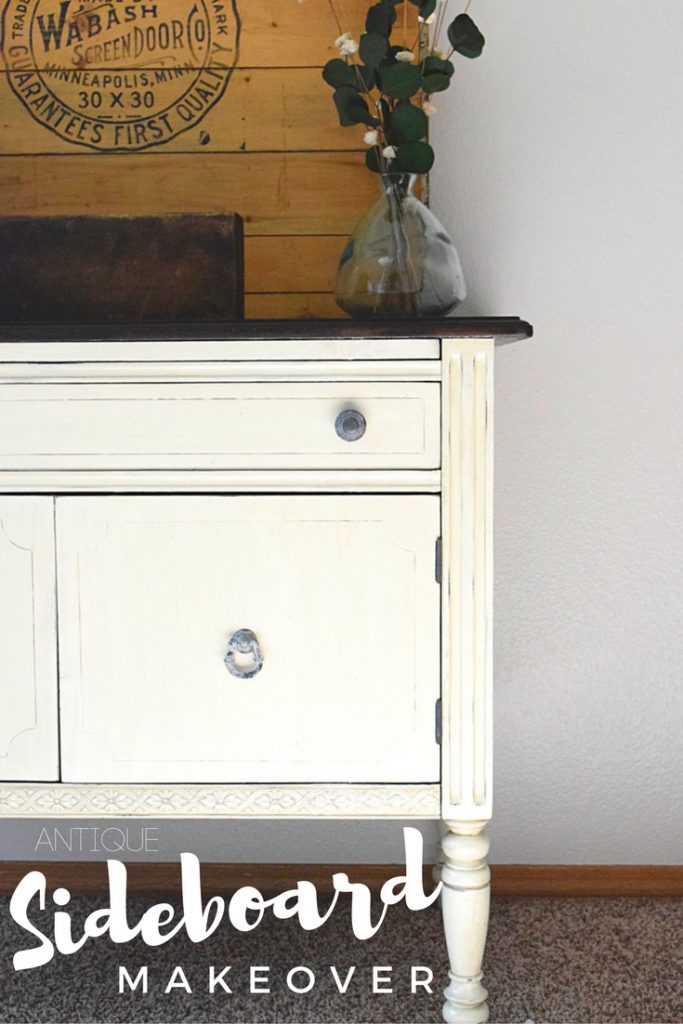
Linking with: A Little Bird Told Me, Link Party Palooza, Remodelaholic, Dishing It and Digging It, Merry Monday, The Creative Gallery, The Scoop, Wow us Wednesday,

30 Best Throw Pillows: In Every Color
8 Home Decor Items to Paint: For an Updated Look



Beautiful makeover! Pinned!
Thank you so much Michelle!
Hi Kristen! I love the dark wood with the lighter base… My favorite look right now! Thanks so much for sharing and linking up at Dishing It & Digging It! We love seeing your projects each week! 🙂
Blessings,
Lori
We are loving that look right now too Lori! Thanks for visiting and for your kind words 🙂
You did a wonderful job bringing out the beauty of this piece. Everything about it is just perfect.
Oh Thank you so much for your kind words. I am so proud of this family piece and glad I could make it look pretty again! -Kristen
That is quite a transformation there. It was a hot mess before and you were able to repair it perfectly. Now it is gorgeous and very elegant. And I really like the idea of putting a box on the bottom to hide the cables. Very smart idea. Pinning and sharing.
Thanks so much for visiting, pinning and sharing Mary! I was pretty apprehensive about the amount of work this would take to fix, but it worked out so well! I am so happy I did it 🙂
Wow Kristen you did such an amazing job with this sideboard, what a transformation. It looks so beyond beautiful!!
Oh my goodness, thank you so much Sabrina! I wasn’t sure how this one was going to turn out. It was totally worth all the hard work though!
Turned out so lovely! Thanks for sharing with us at the To grandma’s house we go Wednesday link party! Hope to see you there tomorrow!
Thank you!