Ladder Shelf anyone can make!
Hey Everybody!
Welcome to another week of the $100 Room Challenge where we are making over Vicki’s downstairs powder room. That’s right, just one month and only $100 to makeover a full room! If you’re joining in for the first time and would like to catch up with the first couple weeks (or jump ahead to the end!) take a peek at those posts here:
Week 1 / Week 2 / Week 3 (You are here) / Week 4 / Week 5
For this week, we started some of our DIY projects we got lumber for last week. We needed more storage for this bathroom as well as better decor, so we decided to create two different storage solutions. A DIY ladder shelf, and a DIY window cabinet. While we began both of them, the ladder shelf was so easy to create, we were able to finish it in no time, and wanted to share that with you this week!
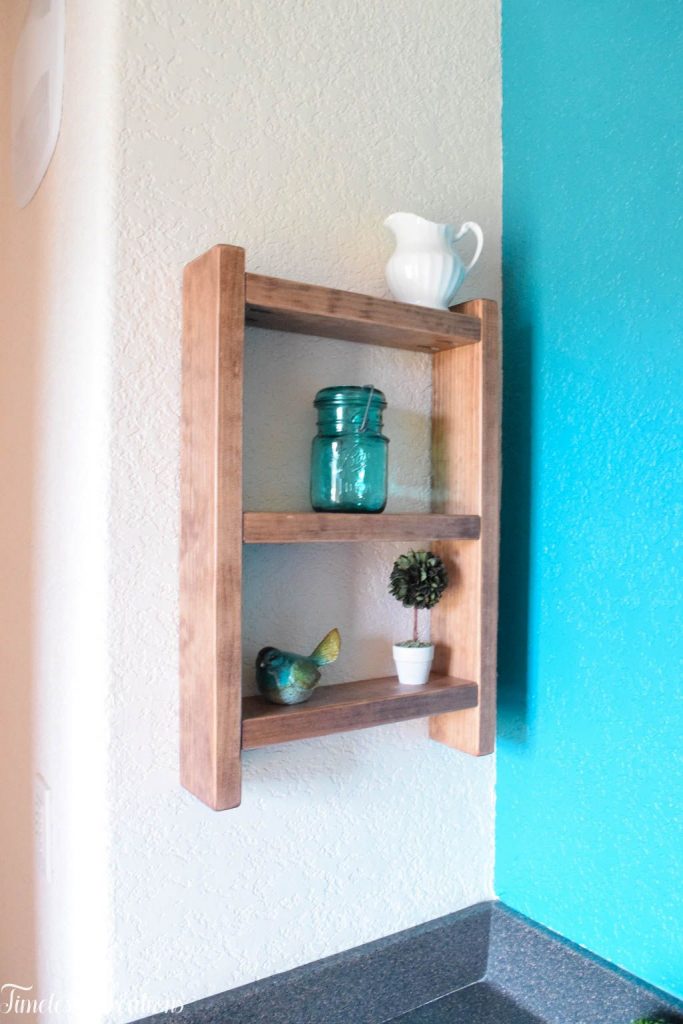
This is a DIY piece that someone who doesn’t do much woodworking at all could definitely do. And it is easily customizable as well. Just choose your width board if you want more depth in your shelves, and make your length cuts larger or smaller depending on the size you want on your wall.
Supplies you will Need:
- 5/4 x 3 x 8 board
- Miter Saw
- Kreg Jig
- Kreg Screws
- Drill
- Orbital sander and sand paper
- Stain (This is what we used)
- Sealant (This is what we used)
We began our ladder shelf by taking our wall measurements and figuring out how big we wanted this shelf to be. (That will determine your length of cuts). Once you know how big you want your shelves, you can make your cuts! For Vicki’s bathroom we cut the side boards to be 21″ tall and the shelf boards were cut at 11 3/4″ to make the total width at 14″.
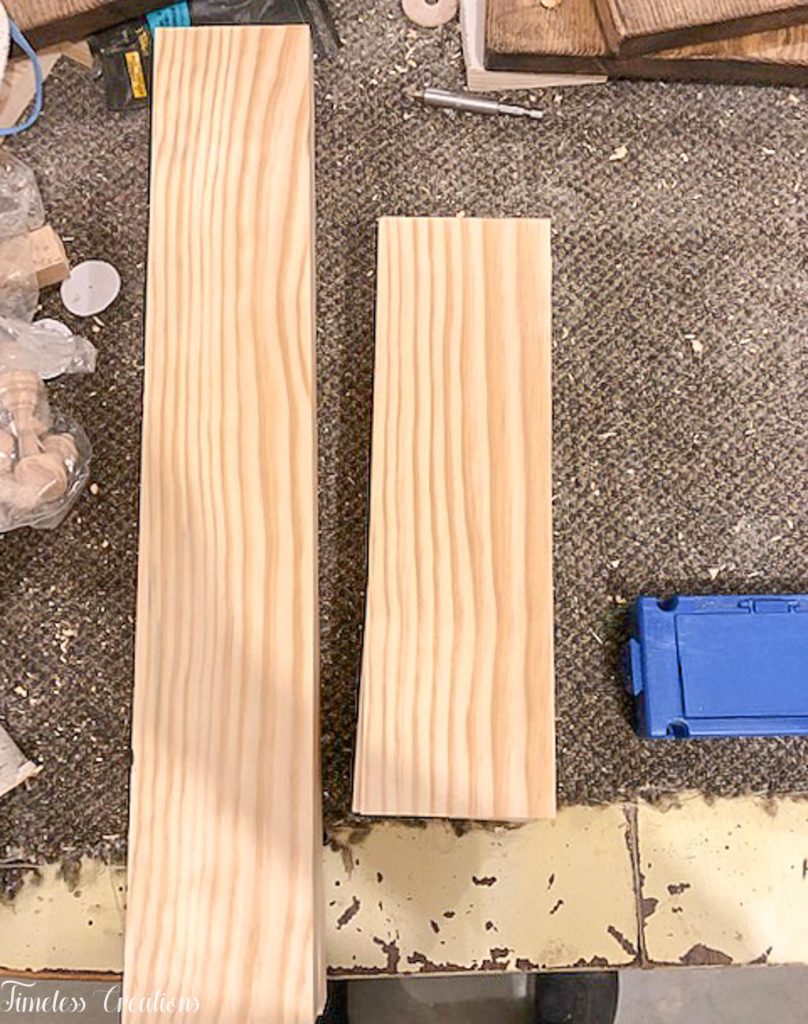
Next we sanded all of the front edges down so they became more rounded instead of so stark and pointy. It only took a little 220 grit sandpaper and the orbital sander a total of about 5 minutes to get all of the edges down.
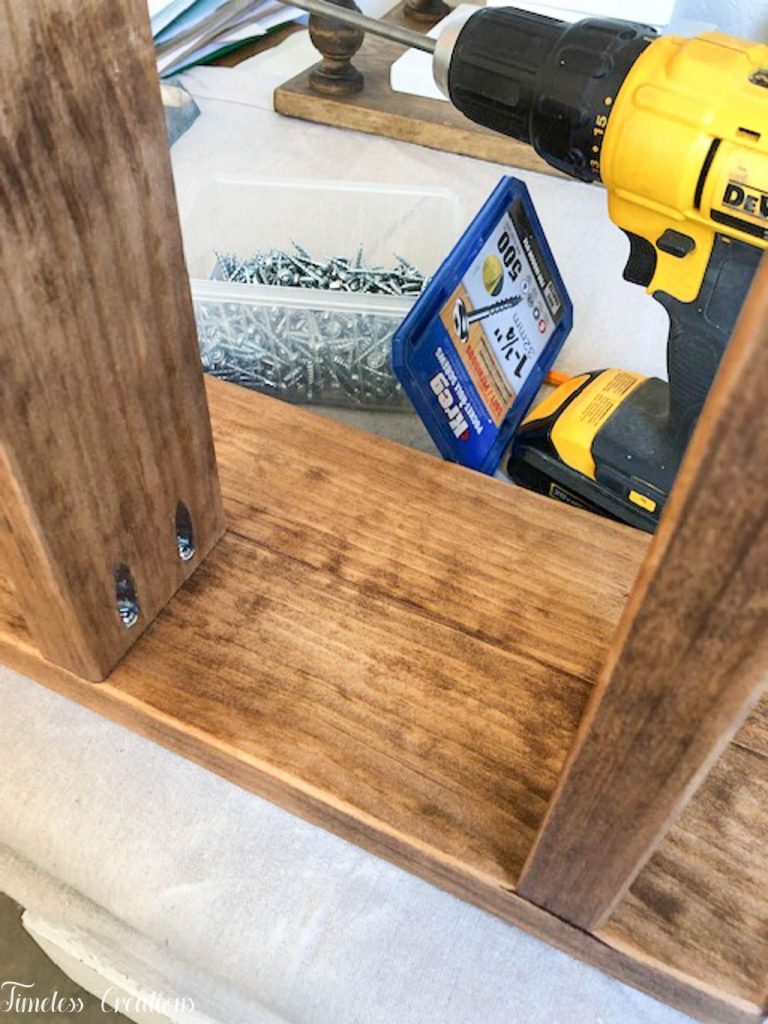
Once that was finished, we drilled two holes in each end of all the shelf boards with our Kreg jig in order to get a very sturdy joint. This will ensure the shelf will hold up very well. The kreg jig is now one of our very favorite tools! It is super easy to use, and helps in so many building projects. There are different kinds of jigs and any of them would work fine for this project since the end result is the same.
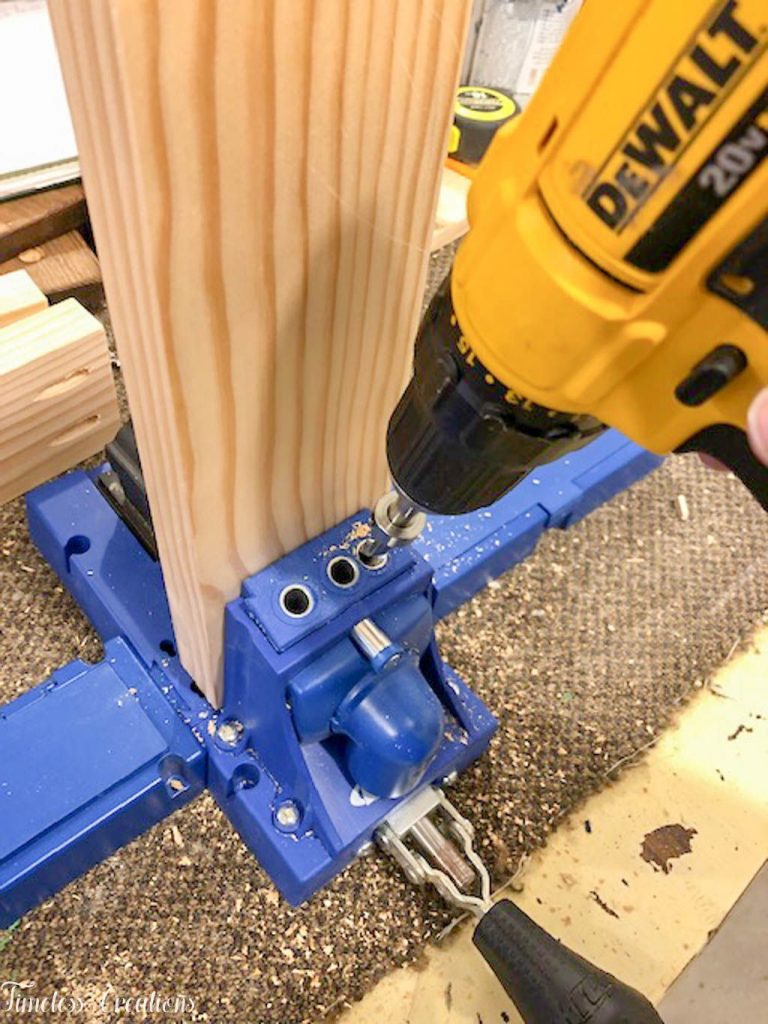
After the holes were drilled we decided to stain and seal all of the boards BEFORE we put them together. We felt this would make it much easier than maneuvering around the entire shelf!
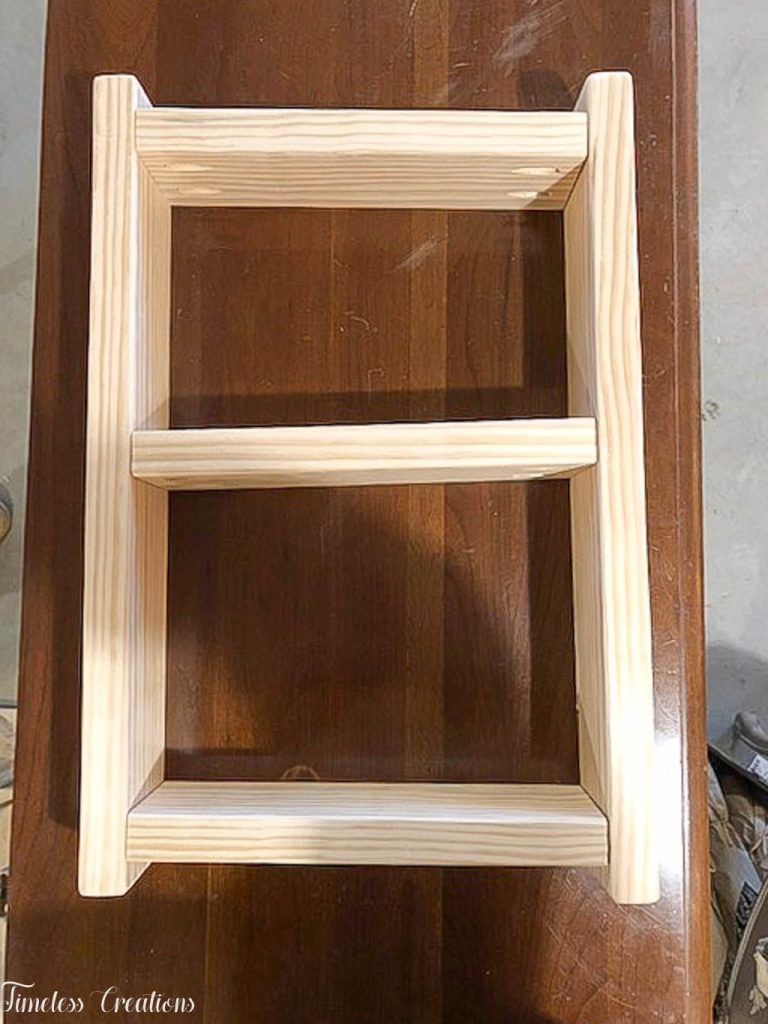
All that was left after the boards were sealed was to put them together. We measured where we wanted the shelves to go and then used our drill and some kreg screws to put them all together. While you could use a clamp to hold all pieces together, we just had one person hold and the other drill. You could cover the screws with kreg plugs if you wanted, but we decided just to leave it for this project.
And that was all! What a super easy DIY project that was!
We really love to create items for our homes since it makes it so unique, is actually solid wood, and is so special. We always feel so good when we complete a project – no matter how big or small! A little smile, maybe a jump, and a high five is always done when we see a project finished!
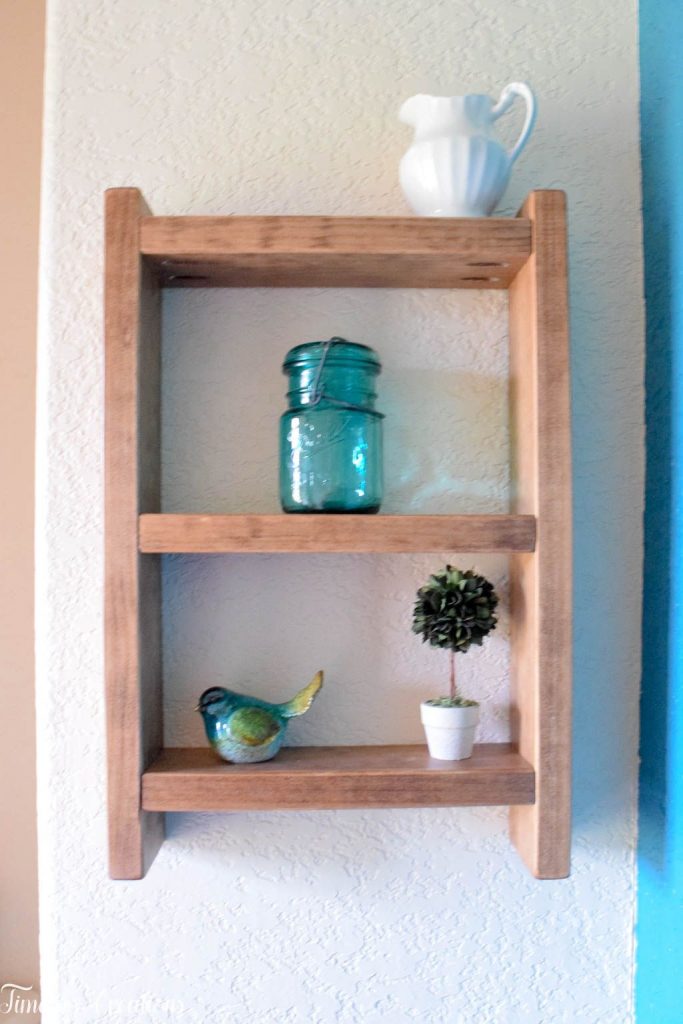
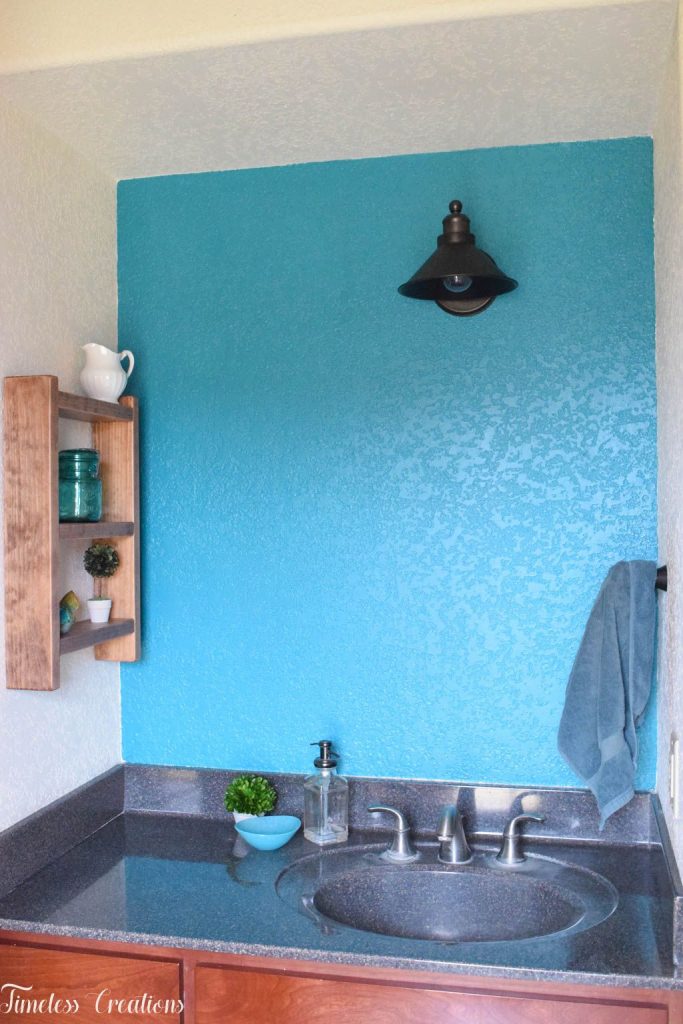
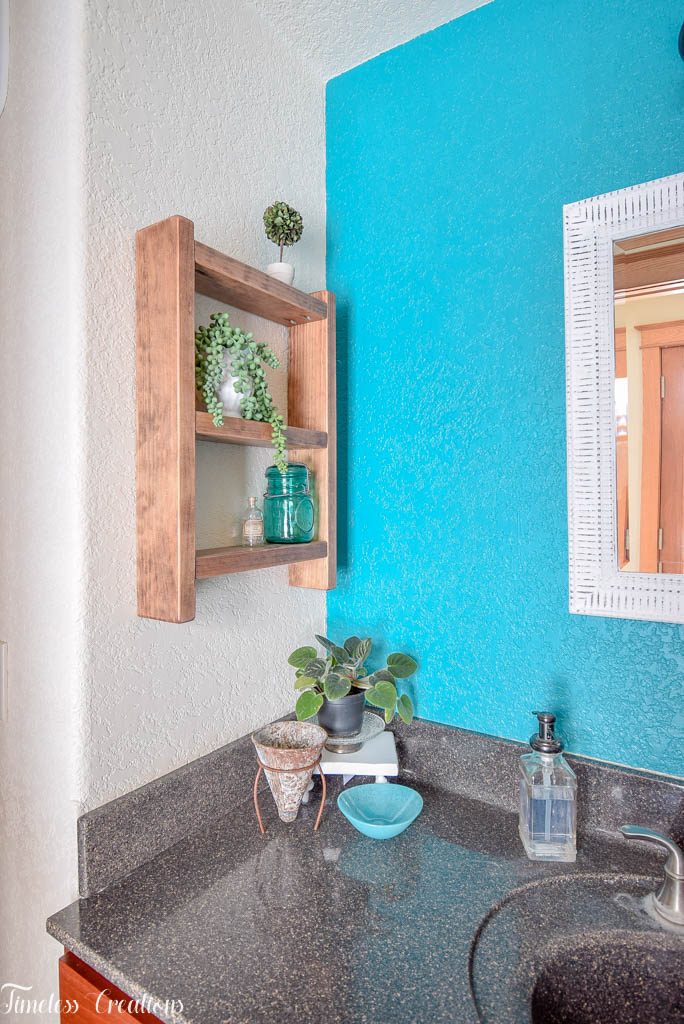
Now you can do your own project shelf too! We still need to decorate this shelf more, we are thinking some flowers need to go up in the vase maybe. And while we weren’t planning on it, we just might make a little wooden sign to go on it too! We will see! As for the bathroom, the new light fixture was installed but we still need to add the new towel hook and a mirror (which we are hoping to find in one of Vicki’s storage closets!
Below are all the rest of the room makeovers for this awesome challenge. Definitely make sure to stop by some (or all!) to see what everyone else is up to. Then join us next week as we shop Vicki’s house to find decor items we can use for this space! See you next week!



Pretty sure the next tool I am asking for is a Kreg Jig. I like this idea especially if you are in need of storage for small spaces.
That little ladder shelf is totes adorbs! It’s like a little miniature version and I want one!
The perfect budget friendly shelves for a bathroom! Great job I can not wait to see your reveal!!
Love love love this DIY! Dying to use my kreg jig. Great progress!
This is the sweetest ladder! I am obsessed with the stain color you chose. So excited to see your reveal!
Very nice, simple project! It looks terrific, and that blue wall color is amazing! Loving the new space!
I love love love this tutorial and project!! It is so cute!!
great shelf! Thanks for sharing at the To Grandma’s House We Go DIY, Crafts, Recipes and More link party. I pinned this to Pinterest! Hope you can join us again next week.
This is such a great shelf. It reminds me of primrose auricula theaters and so now I think you inspired me to make one in the spring. Thanks!
Such an adorable shelf! Thanks for the tutorial, and for sharing on Homestyle Gathering!
I love it, very rustic!