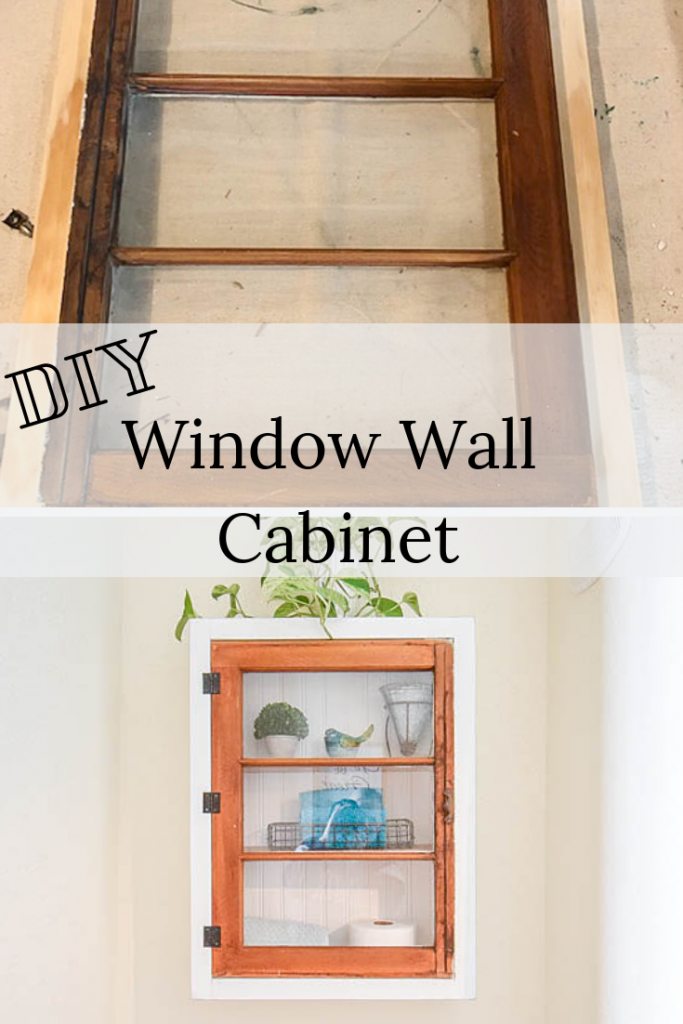
Create this easy Window Wall Cabinet for your own home!
Hello friends! It is week 4 of the $100 Room Challenge and we have a really special DIY for you today! That’s right, this month we have only $100 to completely revamp a single room! We chose Vicki’s downstairs powder room and we can see the end in sight! If you are just joining in, feel free to see this room from the beginning by clicking through the links below.
Week 1 / Week 2 / Week 3 / Week 4 (You are here) / Week 5
We have been working on this cabinet here and there throughout the challenge, never getting a lot of time to completely finish. It isn’t difficult, we have just been strapped for time. But we quickly finished it up yesterday in order to share with you today! Yay!
From the very beginning, Vicki new she needed more storage in this bathroom. As she explained in the first post, the vanity looks like it holds a lot, but in reality only the top drawers works, since the rest of it was built over the basement stairs that come out on the other side of the back wall. Therefore a shelf and this cabinet were MUST’s not only to hold pretty decor, but for little things like hand towels, washcloths, maybe some q-tips or cotton balls.
We actually began this project by choosing the window first. This particular window Vicki picked up a while ago. She was always planning on making it into a cabinet and this challenge finally made us work on it!
Here are the supplies needed for your own DIY Window wall cabinet:
- 1 x 6 Pine Boards (Depending on the size of your window will depend on how many you get)
- 1 x 2 Pine Boards (For face frame)
- Old Window
- Stain
- Paint (We used Annie Sloan “Pure White”)
- Kreg jig and screws
- Kreg Plugs
- Drill
- Saw (We used our miter saw for most cuts)
- Wood glue
- Pine planks (for backing)
- Nail gun and nails
We began by measuring our window and creating the box of the cabinet out of the 1 x 6 boards around the window. We used the Kreg Jig to drill holes in each side of the top and bottom boards to attach those to the longer side boards.
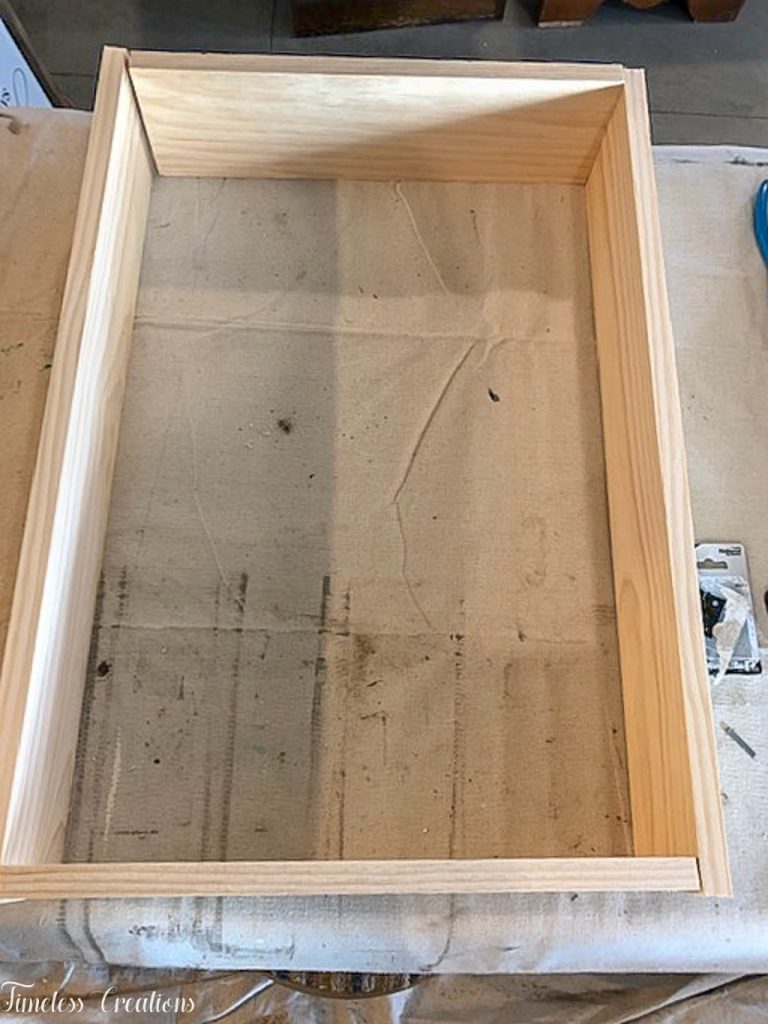
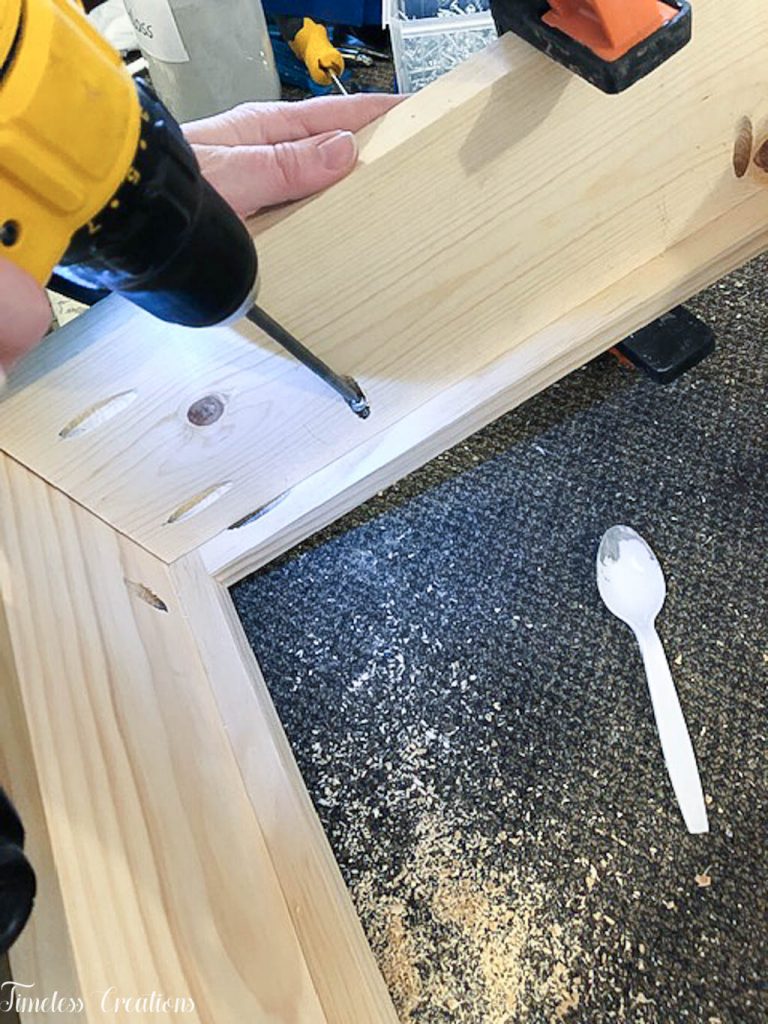
Next we used our Kreg Jig to drill holes all around what we will call the front of the box. This is where you will later attach the face frame and window to. Make sure to drill enough for a very strong joint. We did 4 holes for the long sides and 2 on the top and bottom.
We then re-measured and created a face frame out of the 1 x 2 boards. This will be attached to the box in the front and is what we are using to attach the window to. We added about 1/16th inch to the measurements. This will leave about a 1/16th inch gap all the way around the face frame so when we attach the window it will swing easily and won’t be too snug.
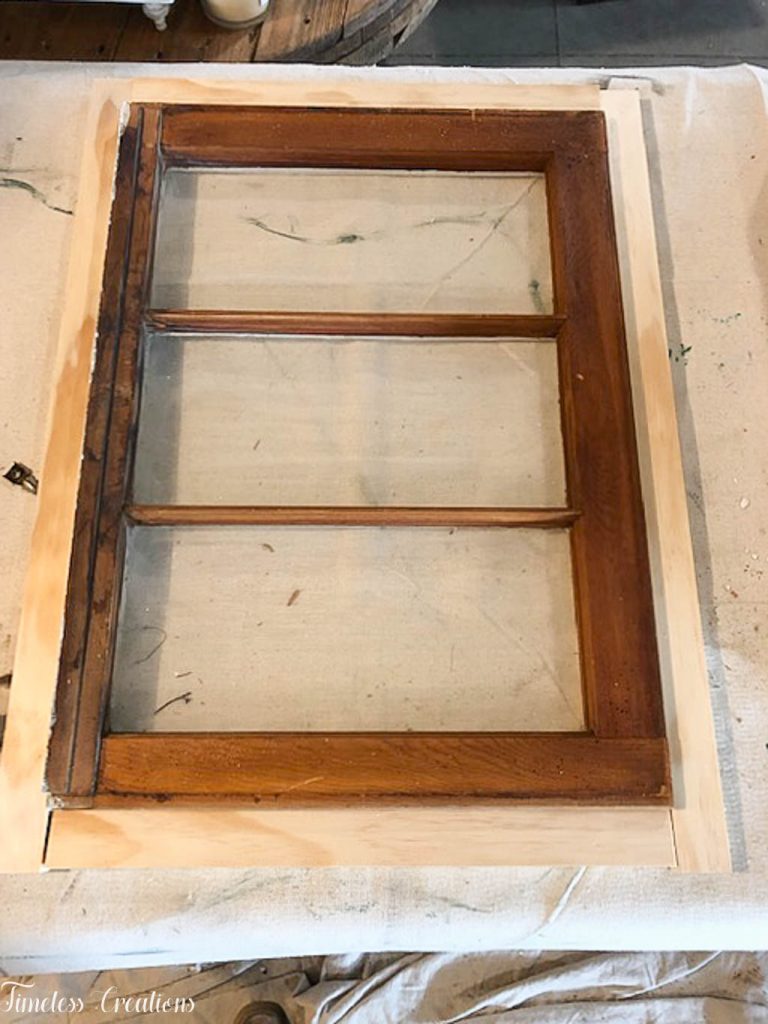
Then we attached the face frame to the box with our drill and kreg screws. After attaching the two pieces we used kreg plugs to cover the holes where the screws go so it was a nice clean finish. All you do is put glue in the pocket hole, add your plug, let it dry, then sand it down so it’s flush.
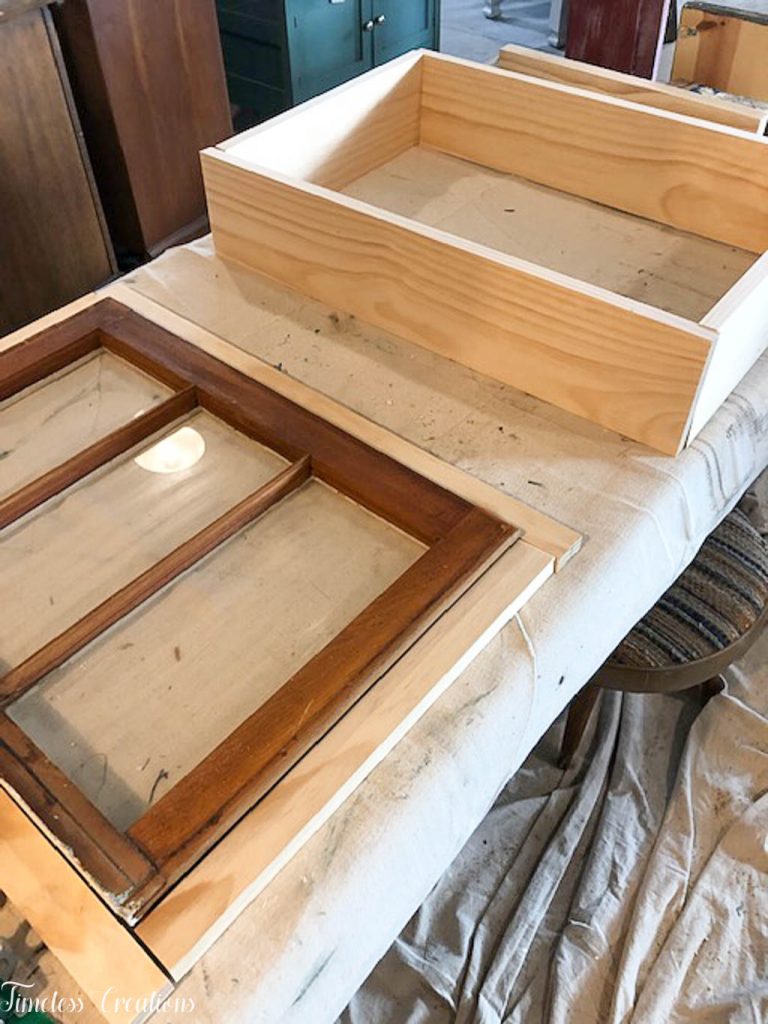
Next we measured the inside of the cabinet so we could cut the same 1 x 6 boards for shelves. This was a bit of a tricky part. Because the depth of the old window was not the same as the 1 x 2 inch boards of the face frame, it goes into the box a bit further. Therefore we decided to cut the 1 x 6 shelves a little bit in order to accommodate for the window. You could go ahead and just buy smaller width boards (Like a 1 x 4) if you can’t rip down a board lengthwise, however, we wanted to get as wide of a shelf as we could so we opted to rip down the larger board.
We then used our kreg jig (Can you tell we LOVE this tool!) again to drill holes in each end of the shelves so we can attach the shelves to the cabinet box.
To make the backing for this box we cut these panels to go top to bottom on the back of our cabinet! These panels are amazing. They are real wood, but fairly skinny depth-wise making them perfect for this cabinet. They go together via tongue and groove and give the cabinet a beautiful planked looking back.
Now came the part where we beautified the cabinet! We stained the entire box, face frame and shelves in the same shade stain. (Find the stain we used HERE). And then painted over the stain on the entire box and face frame. The shelves were stained but left out to make painting easier. We were going for a white and wood look for this cabinet! White outer frame and backing, and then wood for the shelves and the window!
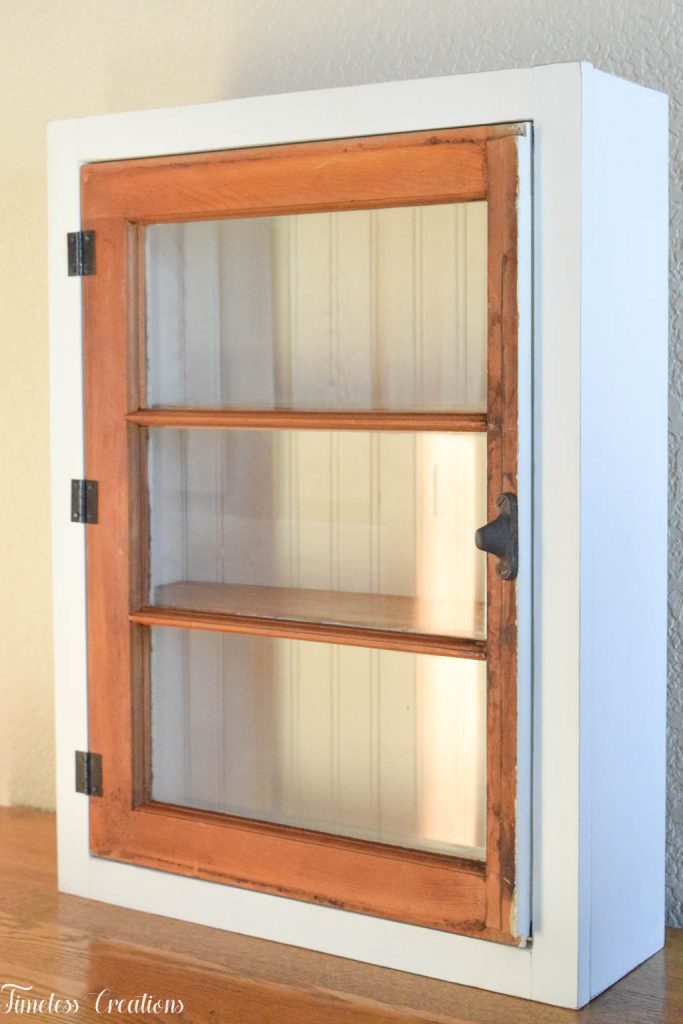
Once everything was painted and sealed we could put it all together. Shelves went in with kreg screws, the window got attached using hinges, and the planked backing was nailed on!
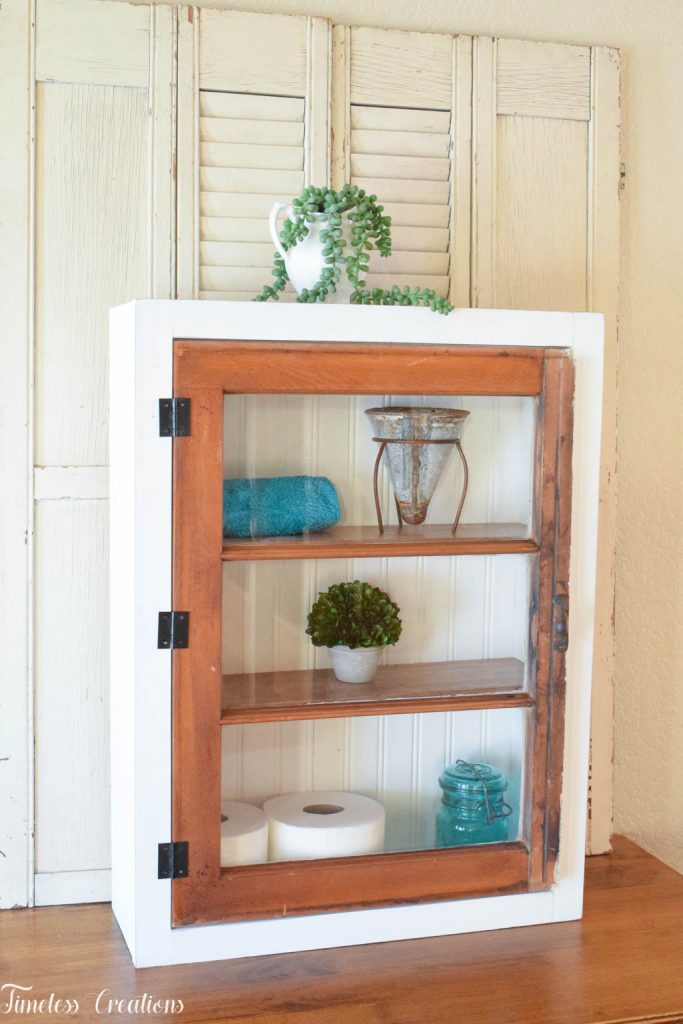
All that is left is to hang it on the wall! Whoohoo! We need a little help to hang it, so we decided to share it anyway even though it wasn’t hung. We plan to decorate it similar to how it is in the pictures. But you will have to wait to see the final result of it in the bathroom!
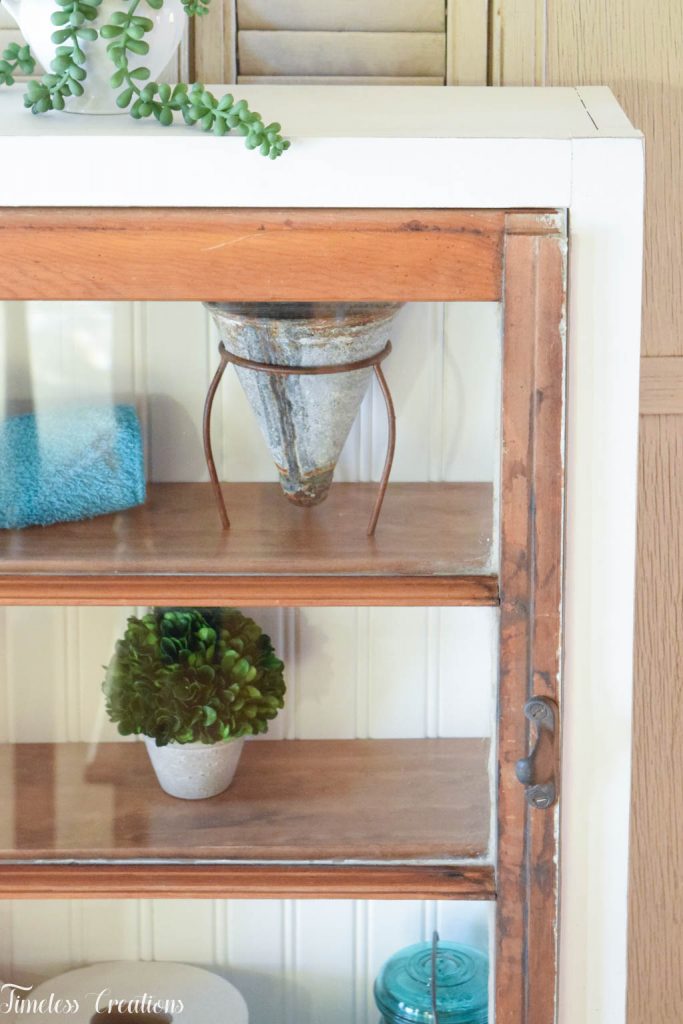
We may be a little biased…but we think it will be absolutely gorgeous in Vicki’s new powder room! We just need to put a few little things back together and get the bathroom fully decorated and we are ready for the reveal next week! We can’t wait to share the entire space with you!
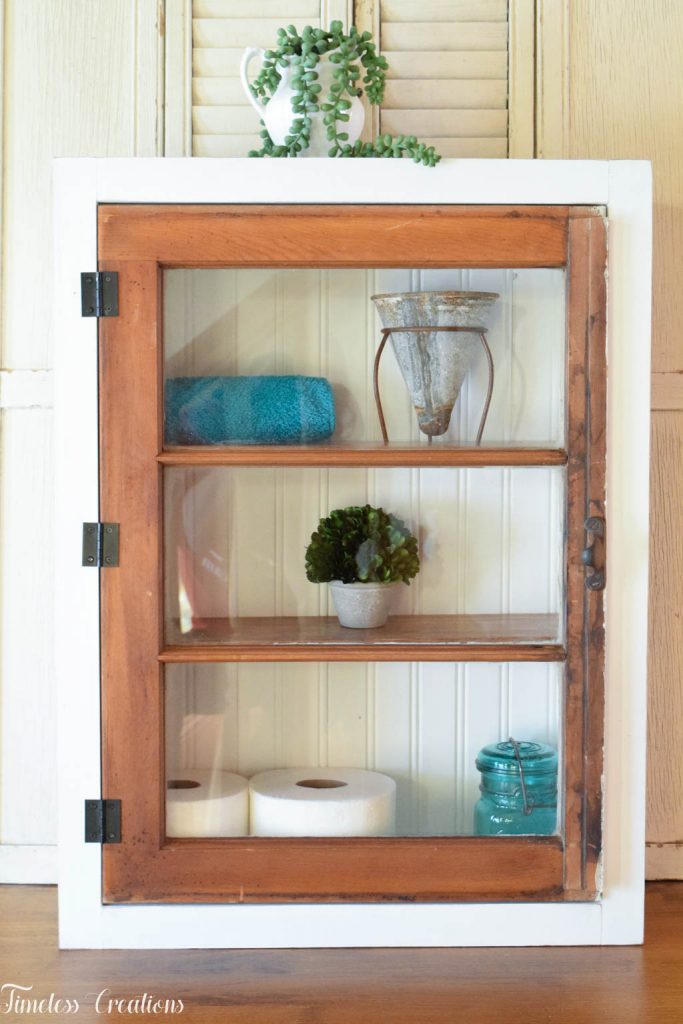
Don’t forget to check out how everyone else’s room is going by clicking through the links below. And stop by next week to see the reveal!



What a great way to add some extra storage! Love the two-toned look!
Such a fun and creative way to reuse a window! Looks beautiful and functional. Looking forward to the reveal!
Love the rustic storage unit. Be cute in a bathroom to replace the ugly constructive grade cabinet we have (wink). I’m wanting one of those kreg jig’s. Great tutorial.
Oh this is so pretty! Love that you kept it rustic looking.
This turned out so cute! Now I want to go out and find an old window to make this!
Another nice shelf! Hope to see you next week at Homestyle Gathering!
Love this! Thanks for sharing at To Grandma’s House We Go DIY, Crafts, Recipes and More Link Party. I pinned this! Hope to have you join again next week. Have a great day!