Advanced painting techniques using Miss Mustard Seed’s Milk Paint
Hey everyone! We have a fun new tutorial for all those avid furniture painters out there. Or for those of you who have been following us but are now ready to try something new. It is all about using a resist between two coats of paint so you can reveal the under layer color in a controlled fashion. For this project we used Miss Mustard Seed’s Milk Paint products which we are proud retailers of!
These little washstands are so versatile and cute! We absolutely love to experiment our colors or techniques on them because they are perfect to try a bold color or a chippy finish on. They would then be a perfect small statement piece to use virtually anywhere in the home. I personally have a deep teal color washstand in my entryway!
We began by prepping our piece for paint. (See our tips for Prep Work HERE).We wanted to make sure our piece didn’t get too chippy since for this technique we wanted the first coat of paint to show through, but only in the spots we wanted. After prepping, we chose the color “French Enamel” as the first coat. Miss Mustard Seed’s Milk Paint palette is absolutely beautiful. There are many different shades of blue and “French Enamel” was a brighter shade.
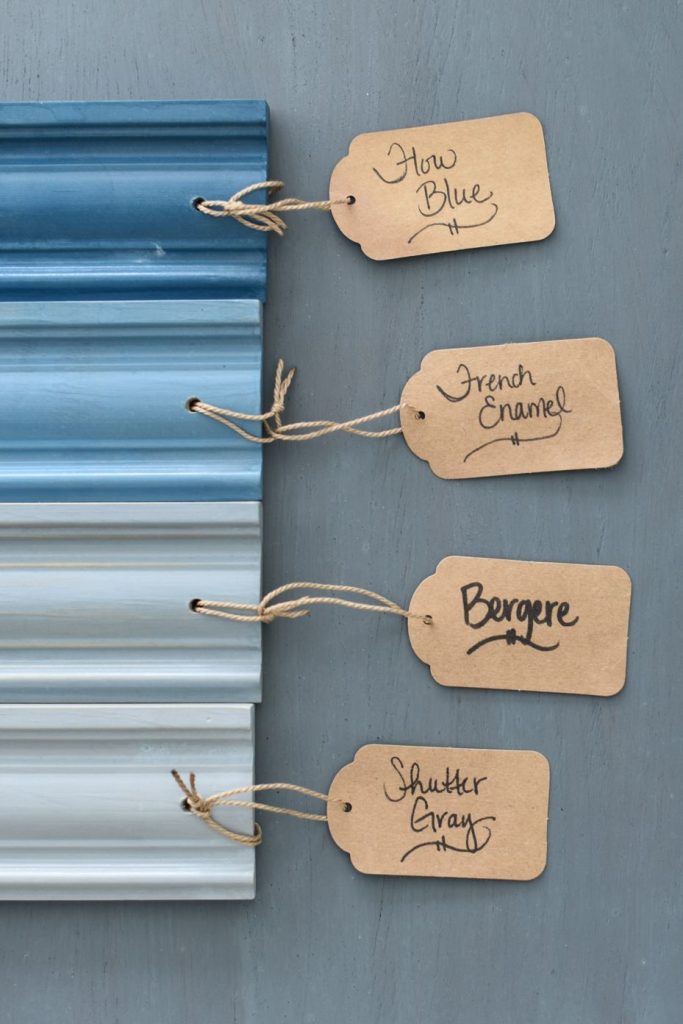
(Look at those beautiful blues! Aviary is the background color)
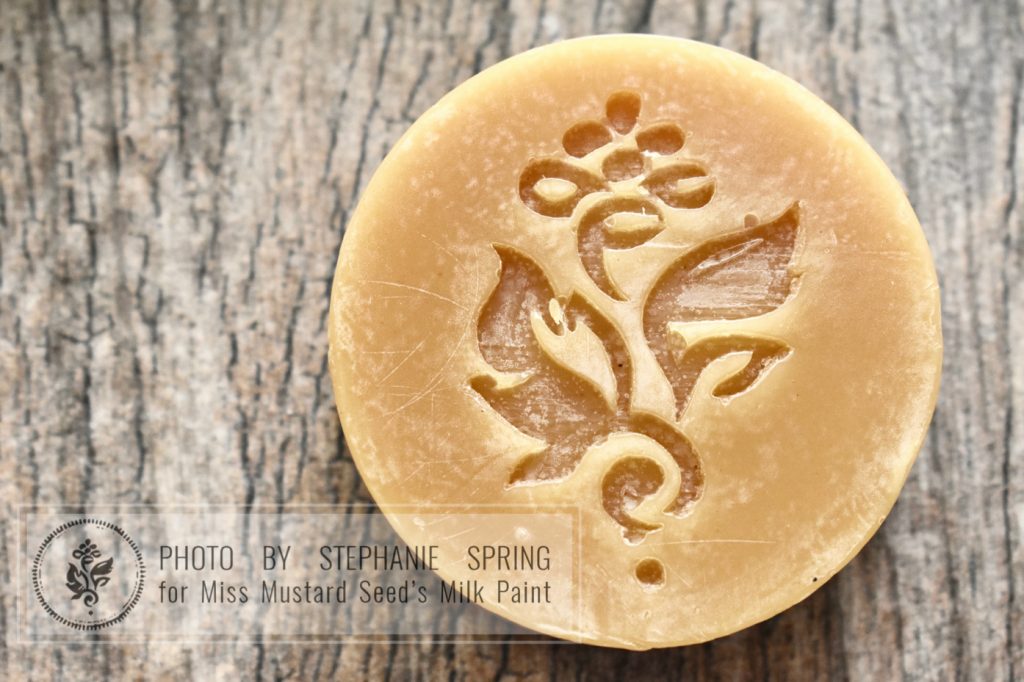
After the first coat of “French Enamel” was applied and dried, we took the wax puck and rubbed it all over the edges of the piece OVER the coat of paint. Rub it anywhere you want the under layer to show through. We wanted to keep it pretty natural by rubbing the wax over areas that were likely to be touched by hands for a time-work look. All along the edges of the top, along the drawer fronts, the door front, the edged on the sides and feet. Using a resist is necessary in order for the second coat of paint NOT to adhere to the first in certain areas. Milk Paint is very absorbent!
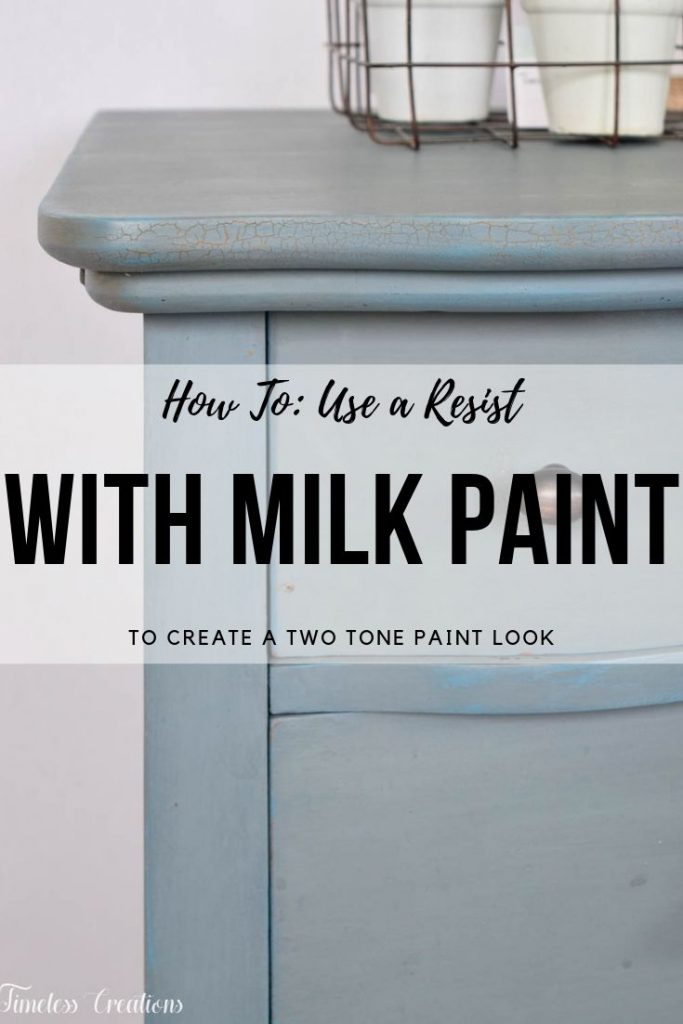
The next step is to paint your second coat of paint in a different color! For our second coat we chose the blue color “Aviary”. That is one of our favorite colors! It is a beautiful dusky blue which muted the brightness of the “French Enamel”.
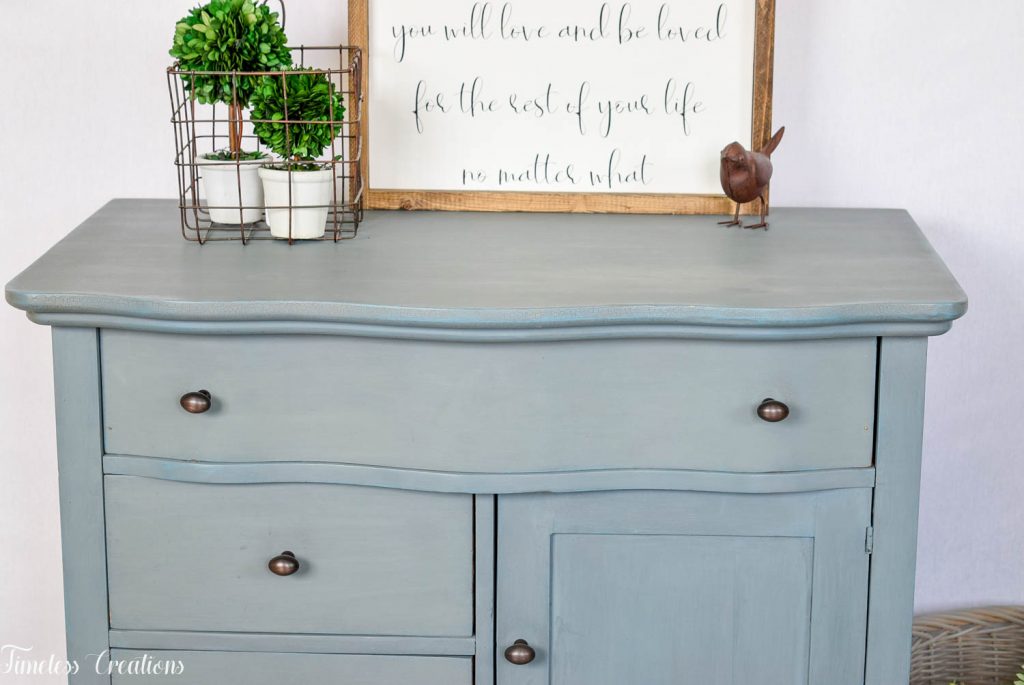
Once the second coat is finished the next step is to sand the piece. We always sand after painting to get the piece super buttery smooth, but when you sand after the wax puck resist technique it will take the second coat of paint off where you used the wax. It literally just prevents the second coat from sticking in those areas you want the under layer of paint to show through.
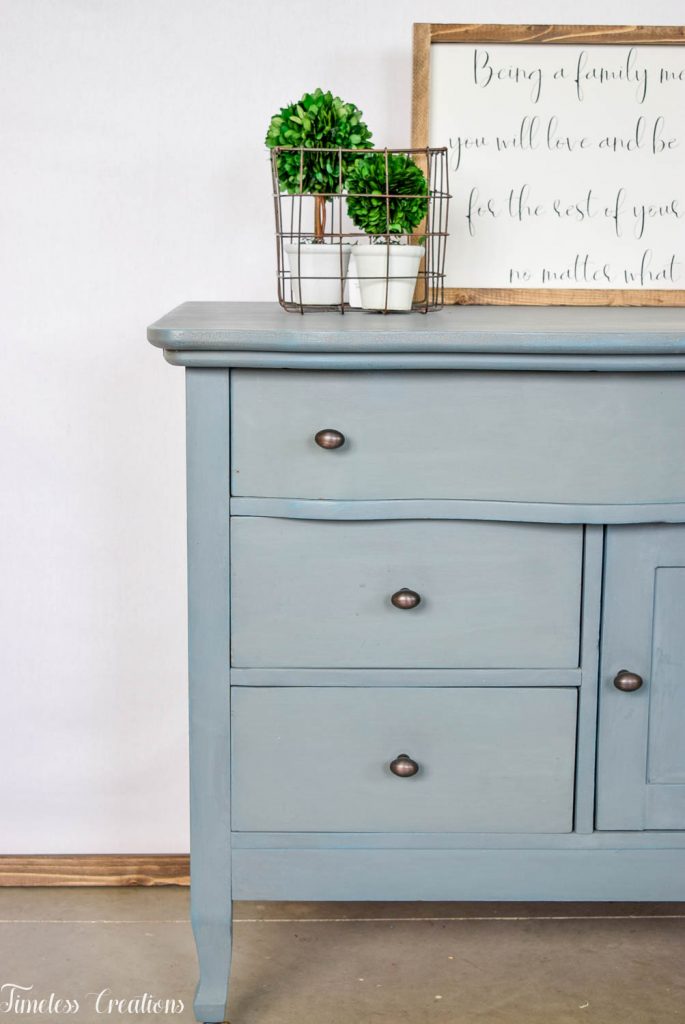
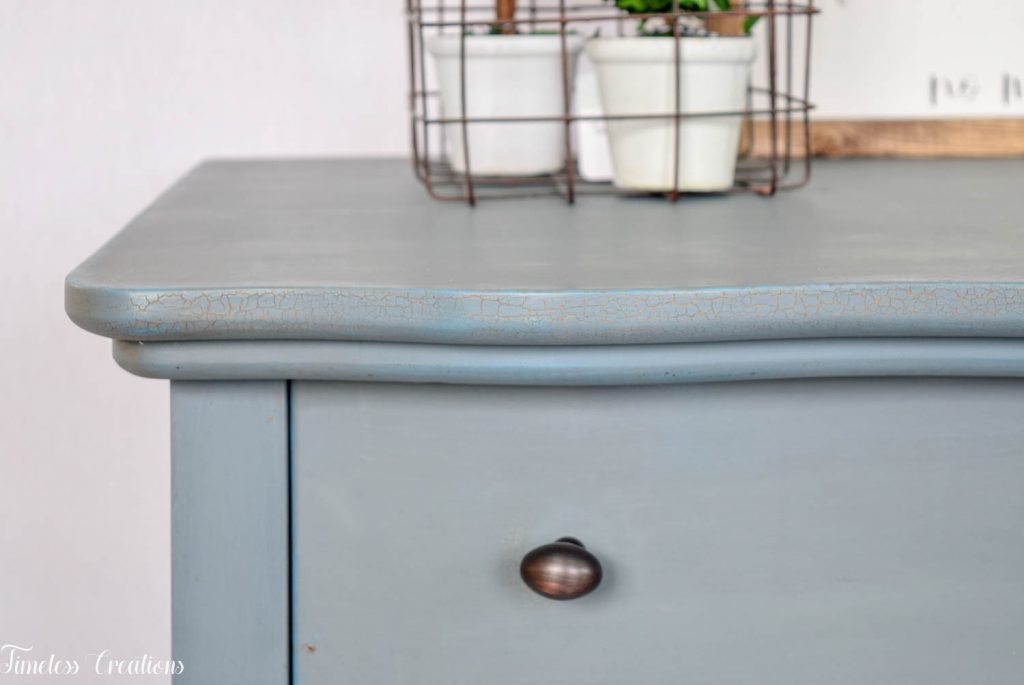
Don’t sand too much in one area or you could take both coats of paint off and reveal the under layer of wood. Or go right ahead and distress down if that is the look you are going for! We were fortunate enough to have some of the paint finish to crackle along the top edge which really added to the time-worn feel we were going for this piece! When unpredictable things happen with milk paint the result can be pretty fun! We usually just embrace the chippy or crackle effect.
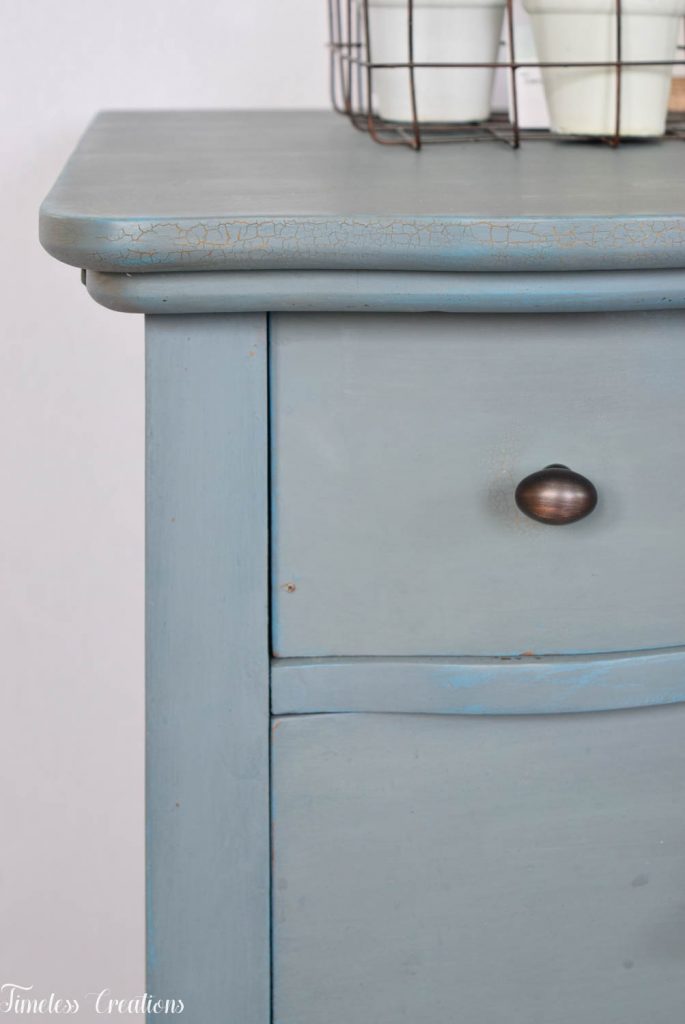
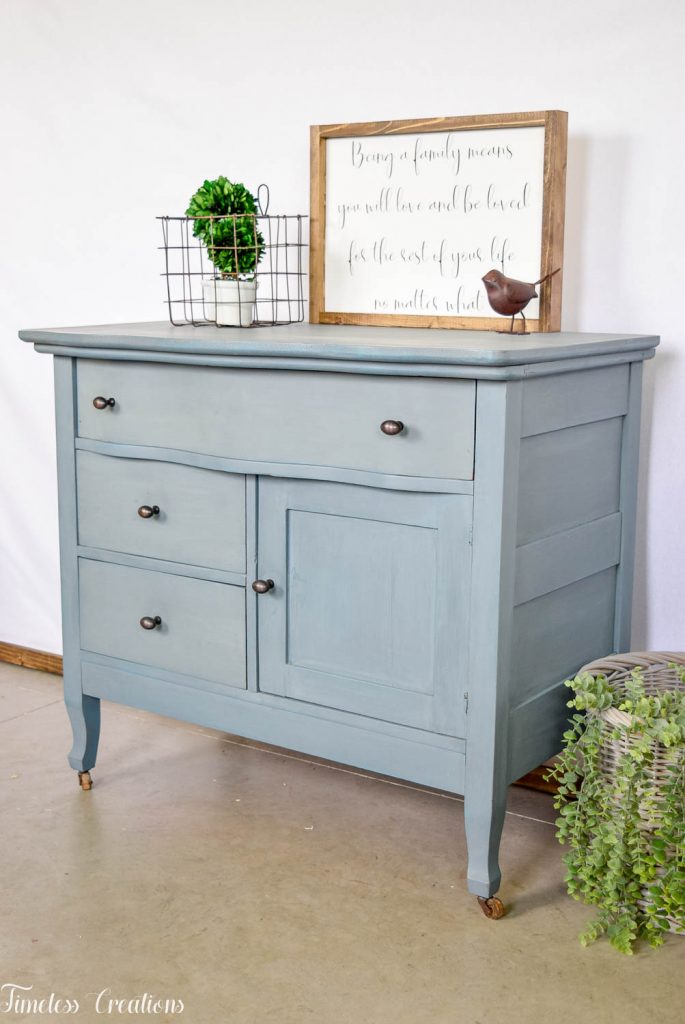
Once sanding was finished and we had achieved the look we wanted we decided to seal with hemp oil to really bring out the beautiful colors. Hemp oil is my new favorite sealer, especially when using deeper or vibrant colors. It really brings out the rich luster of a bold color.
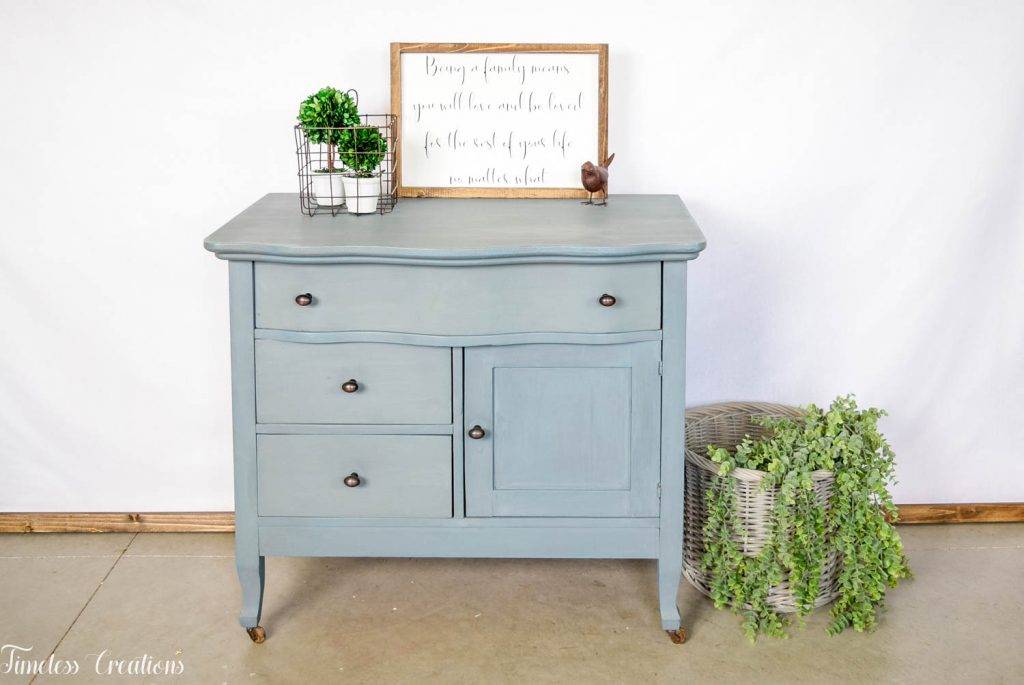
And that’s all! While using a wax puck as a resist is considered an advanced technique, it is fairly simple to complete. And it can achieve some really beautiful results! This piece sold not too long after listing it for sale, so I feel like we need to try this technique on another piece!
Products Used: Wax Puck / MMS Milk Paint “Flow Blue” / MMS Milk Paint “Aviary” / Hemp Oil



Leave a Reply