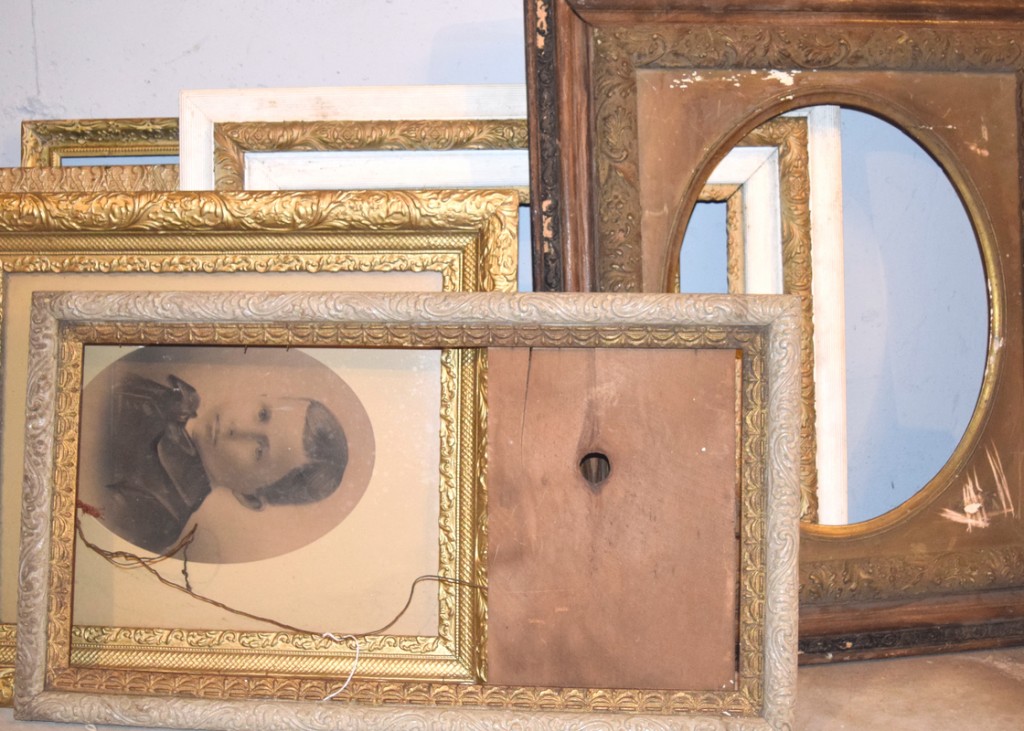
About a month ago we ended up at an antique auction nearby and got the chance to snatch up quite a lot of deals! First of all, I had never been to an auction before where I was seriously bidding on items, and I will tell you, I was a bit intimidated! They went so fast! Luckily Vicki was confident and was able to pick up my slack! That day we picked up around 10 medium to large antique frames that had all these moldings, layers and ornate detail for just a few bucks! It was a steal.
I chose a medium frame with lots of detail to tackle first and found inspiration from Donna at The Decorated House who has a great tutorial about how she created depth on her frame.
When picking up items from an auction always start by cleaning them up first, usually they are items that have been packed away in somebody’s attic for a long period of time! We just wiped it with a damp rag. If there are imperfections you can choose to embrace them and paint anyway, or get a mold kit and make your own plaster pieces to add where parts are broken. (watch for future posts about fixing a frame)
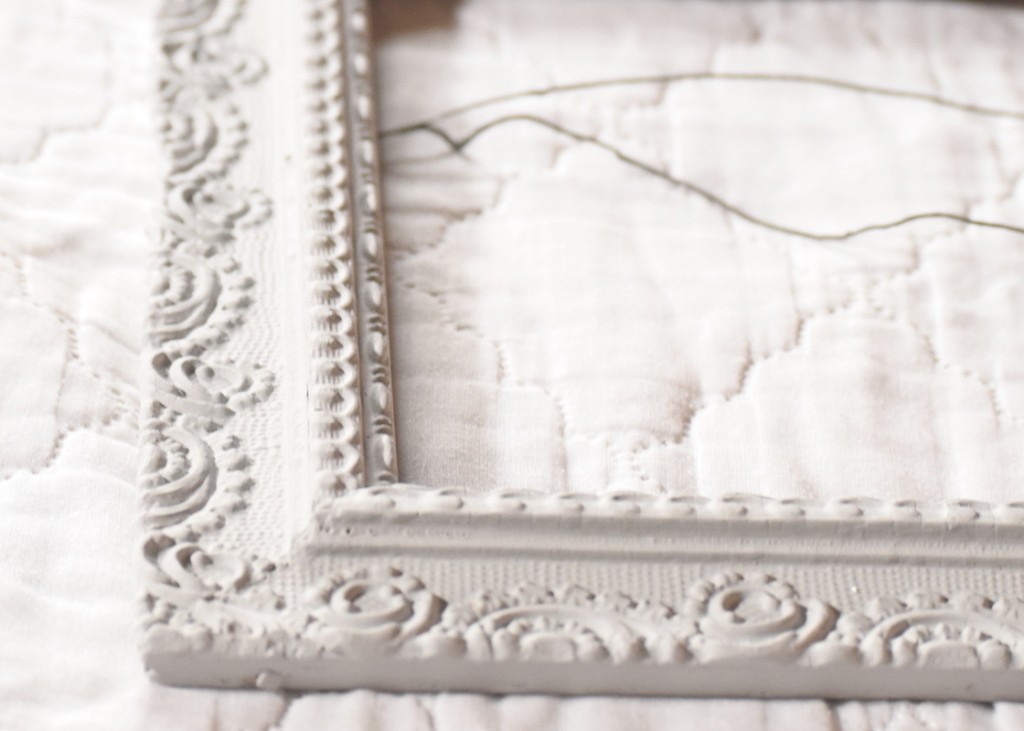
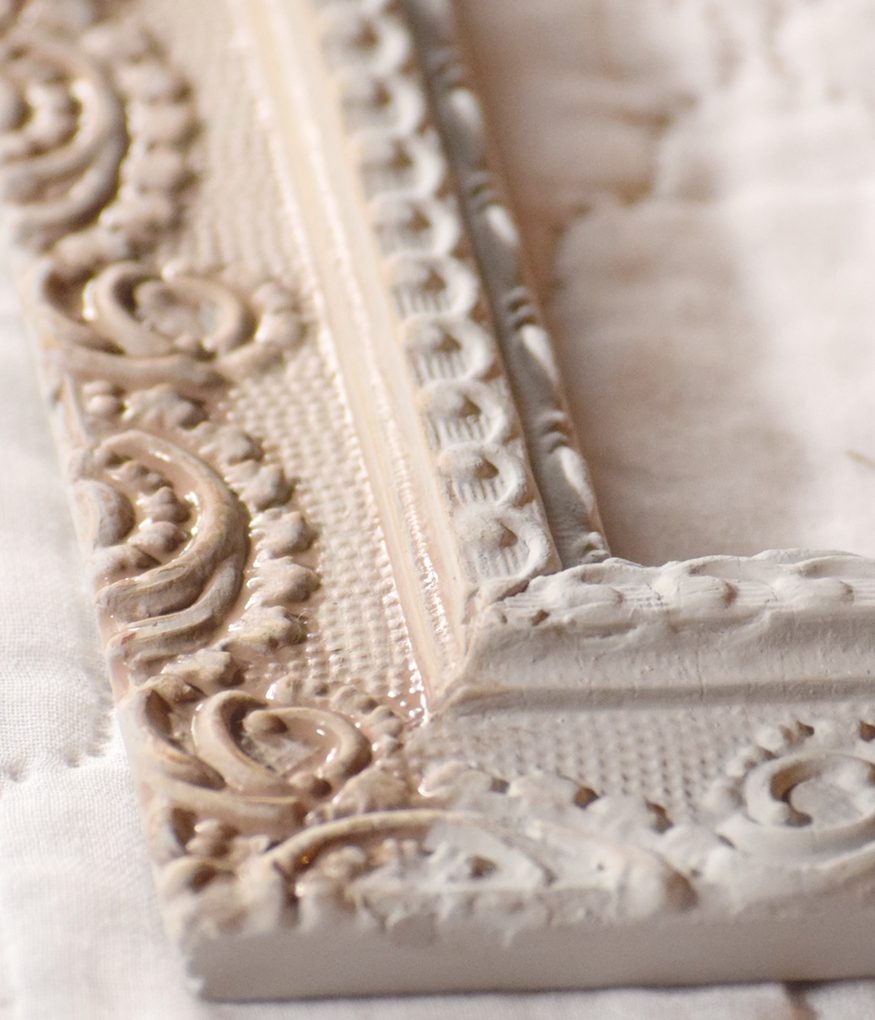
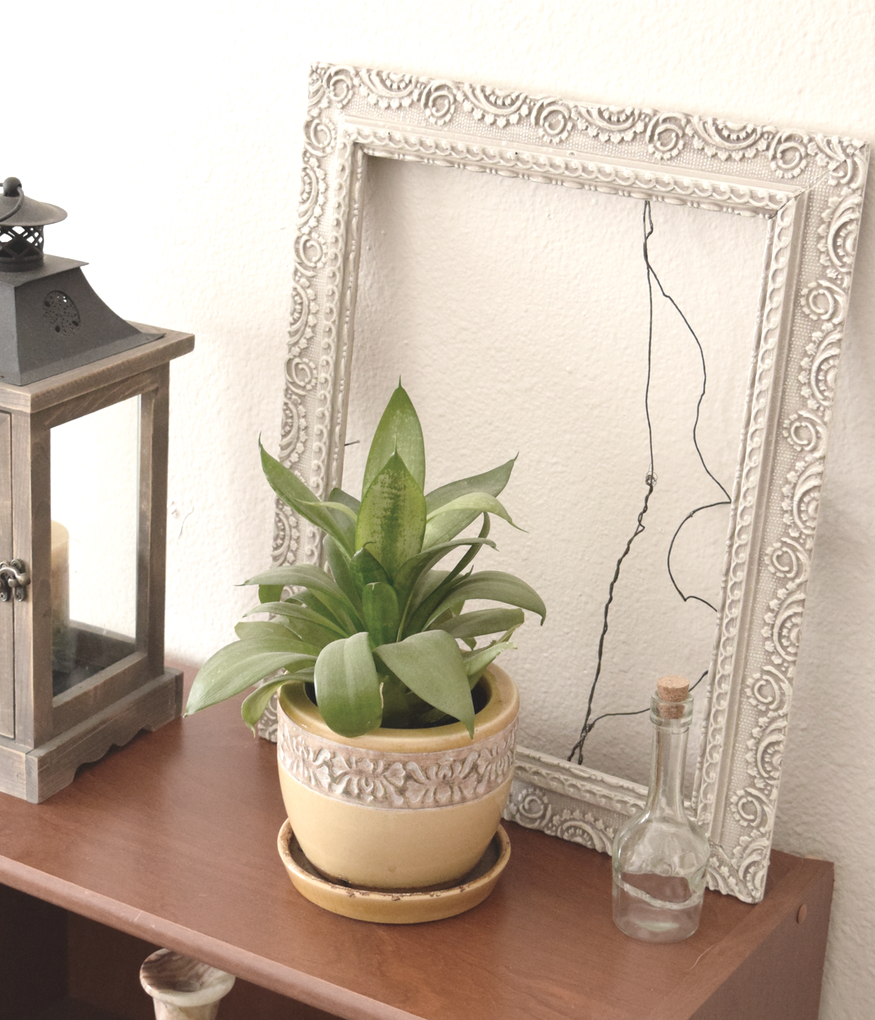
Next we began by painting the entire frame with a base coat of Paris Grey by Annie Sloan. We made sure to get the paint into all the crevices so whatever we put over the top would all look the same.
For the next step we decided to utilize a “wash” over the entire piece to give the frame depth. A wash is basically watered down paint. We like to use washes because it is very easy to work with, so we decided to use Paris as a base and mix in a dark brown (we used “Truffle” by Waverly Chalky Paint which you can find at Walmart!) then added a bit of water. You can make the wash as dark or light as you want. We then grabbed a small sponge brush and brushed the wash over the entire frame, making sure to get it in all the crevices. Wipe off with a clean rag after applying an entire side of the wash. We wiped off all the high, raised parts of the frame and left the wash in the crevices to dry. Because this paint is very watered down it can take a while to dry, we let ours sit overnight.
For your convenience in locating products we have used, this article contains affiliate links. All products are items we use ourselves and have formed our own opinions on. For our full disclosure go to our “Disclosures” page.
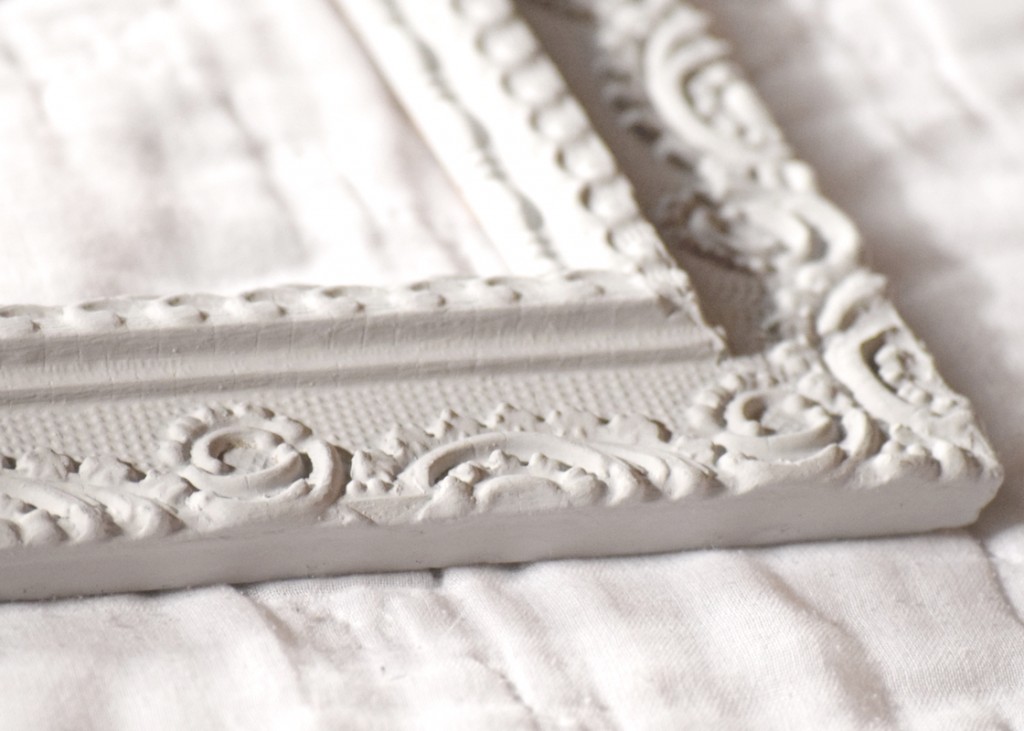
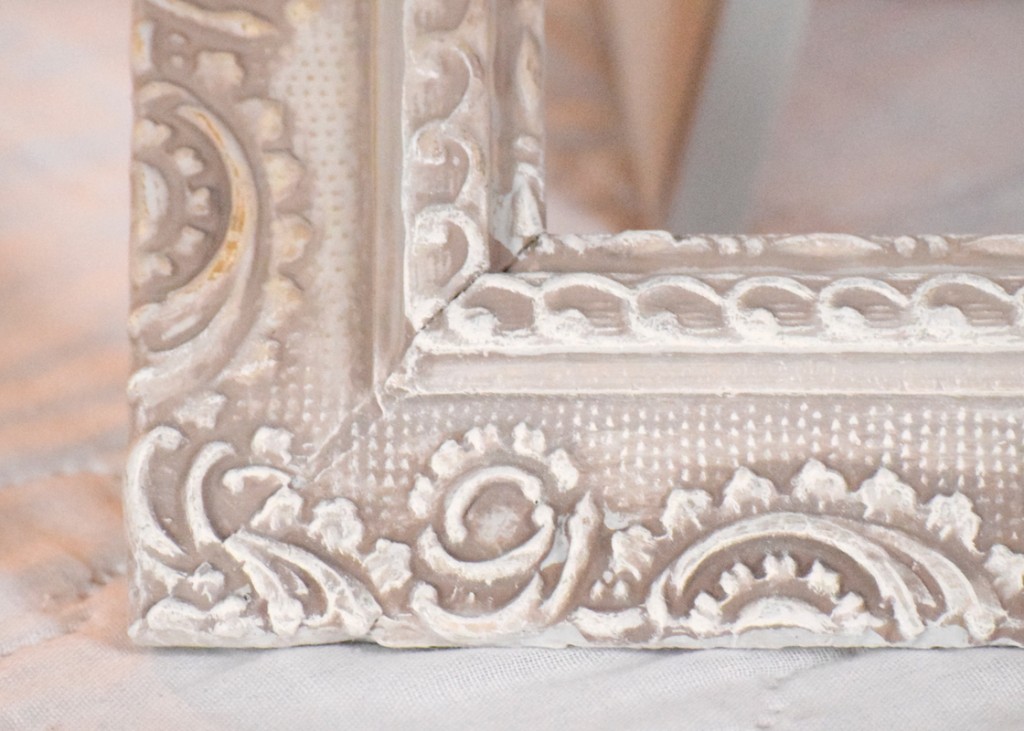
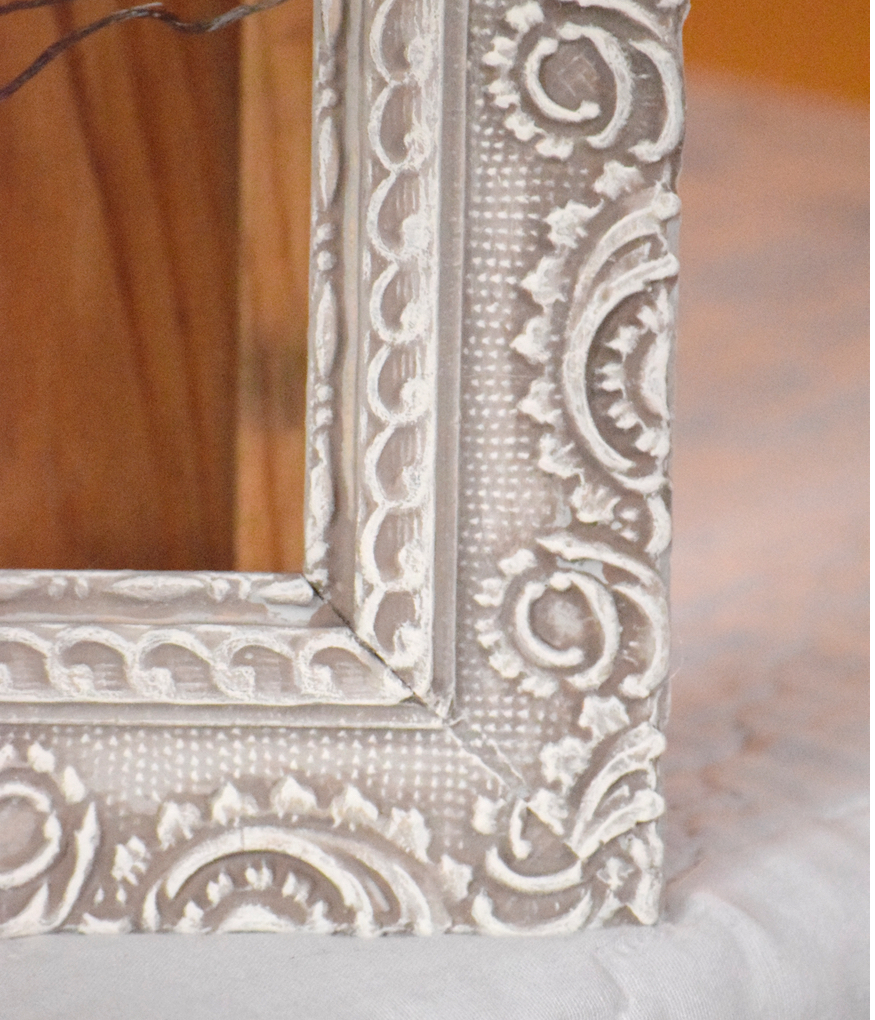
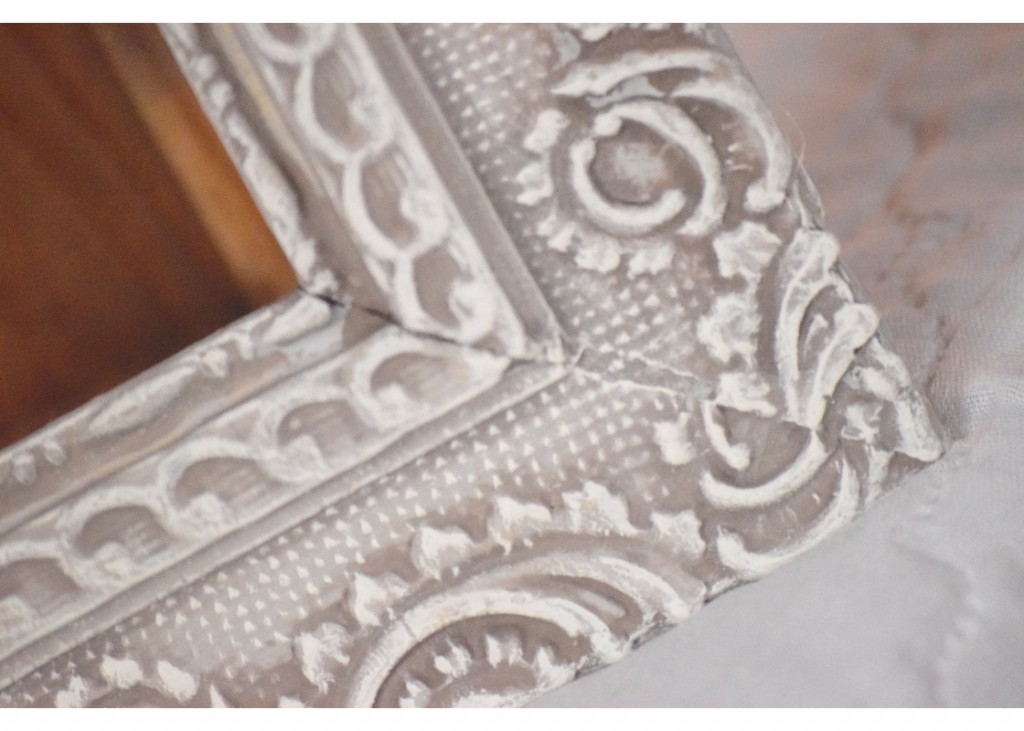
After the frame is dry we went back with Old White by Annie Sloan and dry brushed to highlight the raised, ornate parts! To dry brush, we took a smaller 1.5″ Purdy brush, dipped it fully in the paint(to begin) but pretty much unloaded all of the paint back into the can. Then we took a paper plate and brushed off any excess paint. You want to make sure the brush is almost “dry” otherwise your paint will glop on in places you don’t want. After wiping off the excess go ahead and brush over those raised pieces, or any parts you want to highlight! We always do edges as well as ornate parts.
We love how you can see all three colors in this picture, and that the frame just keeps getting more and more depth as we dry brush around the raised parts.
After your dry brushing is dried you can then seal your frame with wax. We used Minwax Finishing Paste and smooshed it into all of the low and high parts. If you wanted even more depth or color you could tint your wax or use a dark wax as well.
There are so many different ways to update your old picture frames and all are very easy. Whichever look you want to achieve, a lot of times it works best to grab a practice board to begin so you can make sure the look is how you want it to be.
More you may also love…



[…] Full instructions here. […]