I think wreaths are one of my favorite DIY decor items to create! They are so simple, you can customize them to be exactly what you want, and wreaths can be used virtually anywhere. (See our post about all the places to hang a wreath that’s NOT on the door!)
For this fall, I decided to make a set of mini wreaths that I can add around my dining room/kitchen area. I have been in my home for 2 years now and still don’t have enough seasonal decor for my liking, so I try to add to my decor stash each year. I’m sure later this could become a problem of me having TOO much, but I think I am a few years away from that at the rate I’m going right now!
To make my mini fall harvest wreaths you must first gather your supplies:
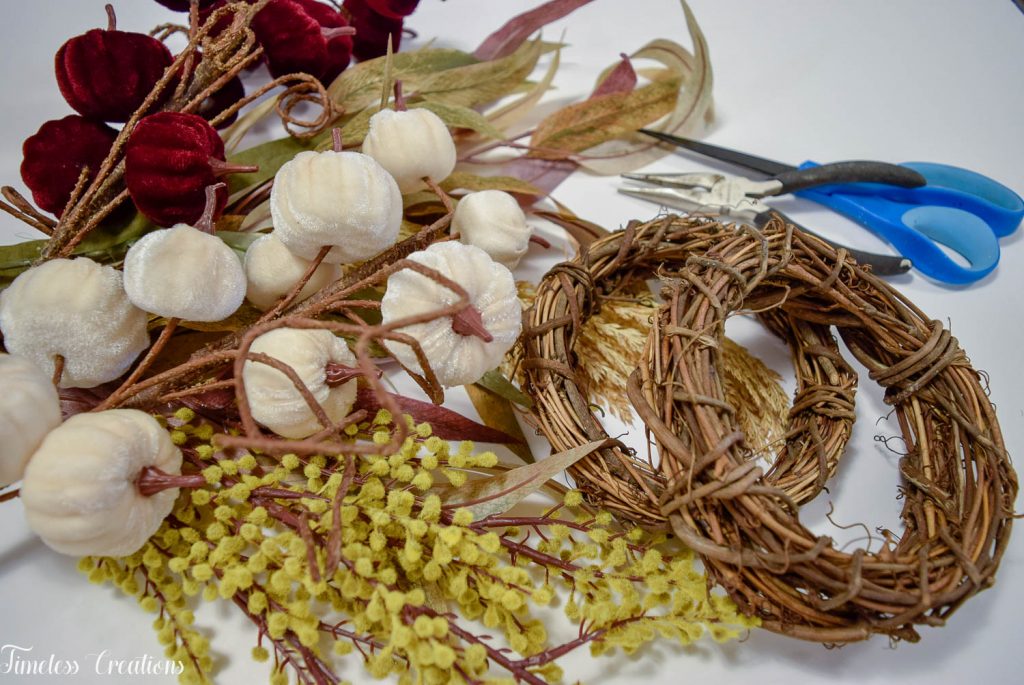
I always choose my florals by literally walking down the floral aisle and just grabbing items that catch my eye. Sometimes it takes a couple round trips, but I am always on the look out for complementing colors, different sizes and different textures. That is what makes up great wreaths.
I usually put a few in my cart and after looking I gather them up like a bouquet to make sure they all look good together. At this point I can usually tell if I need to put a few back, or find some other kind of texture. And the grapevine wreaths are my very favorite to use! If you are on a budget, you can add florals to just half of the grapevine wreath form and call it good!
That is what I did for these wreaths – I literally only used one of each of those stems for all 4 of these wreaths. Isn’t that neat?
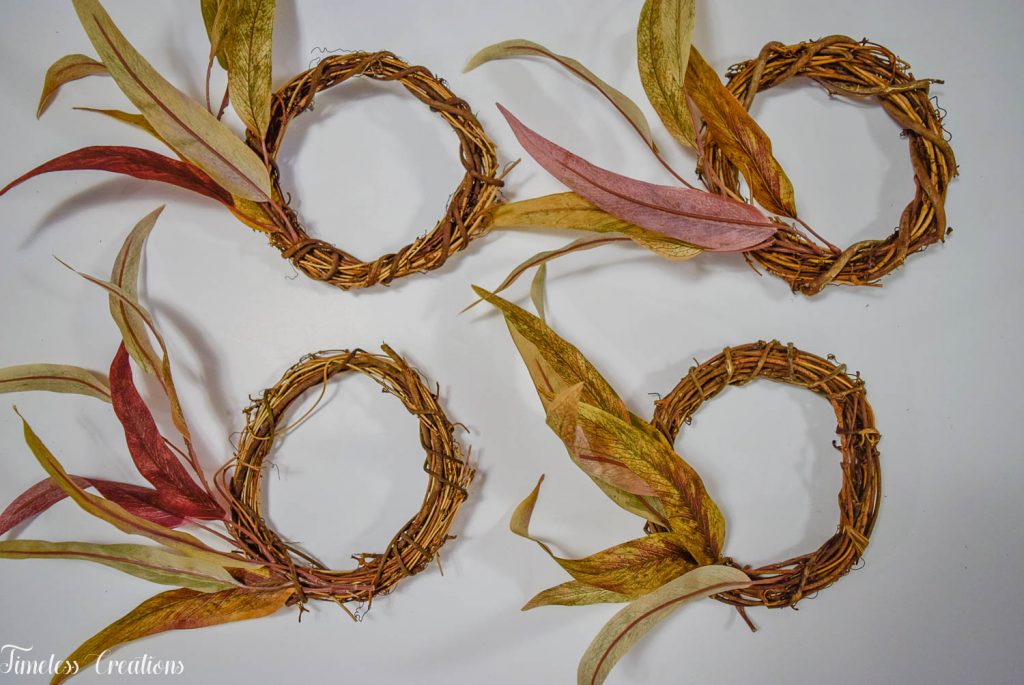
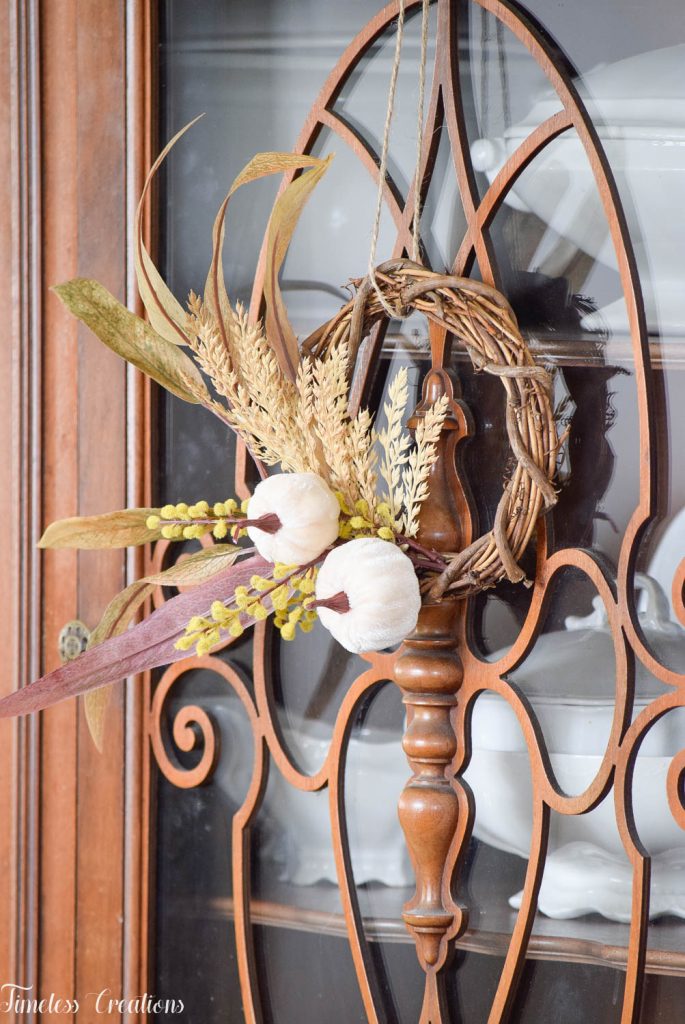
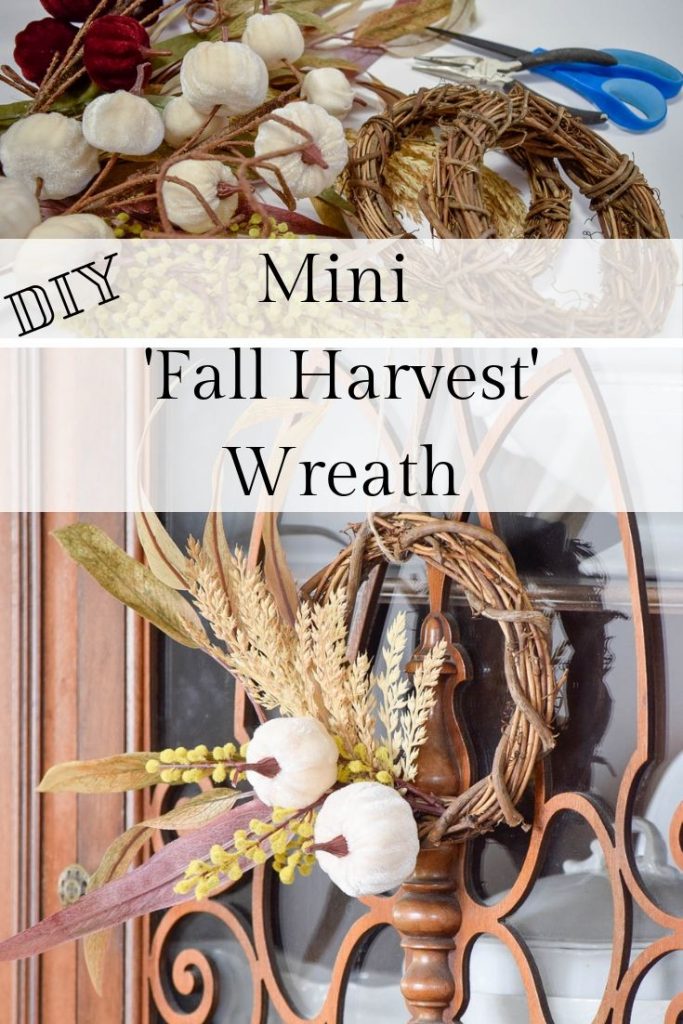
When putting them together I usually start with the largest stem, or the one I want to wrap around the larger area. In this case that was the large maroon and gold leaves. Next I cut up the fuzzy mimosa branch and placed that over the leaves for a great contrast in texture and color.
You may have noticed I didn’t mention any kind of adhesive when putting the wreaths together. I don’t use glue on mine because then it leaves me with the freedom to change them up if ever I wanted to. While you certainly can glue the florals in, you don’t have to if you tuck in twist them in securely. (If your wreath is going outside, however, you might want to take the extra precaution of gluing or wiring them in.)
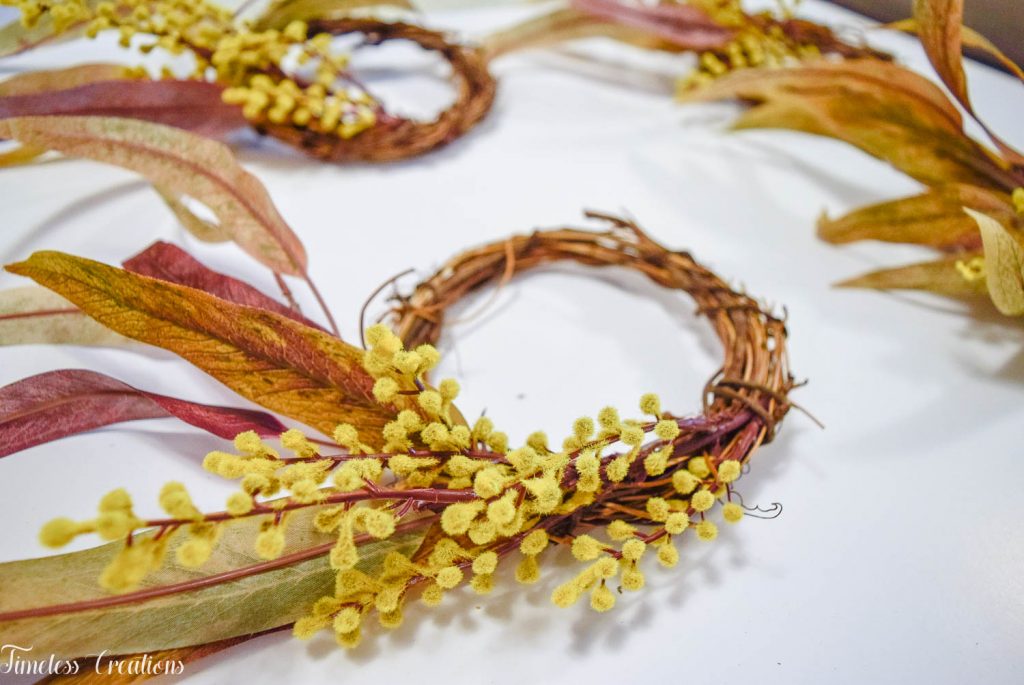
Lastly I added the wheat shoot and the two mini velvet pumpkins that came on a large stem to each wreath. And Ta-da! I’m loving my new mini fall wreaths! They add in just enough fall color without being overwhelmingly orange or reddish in hue.
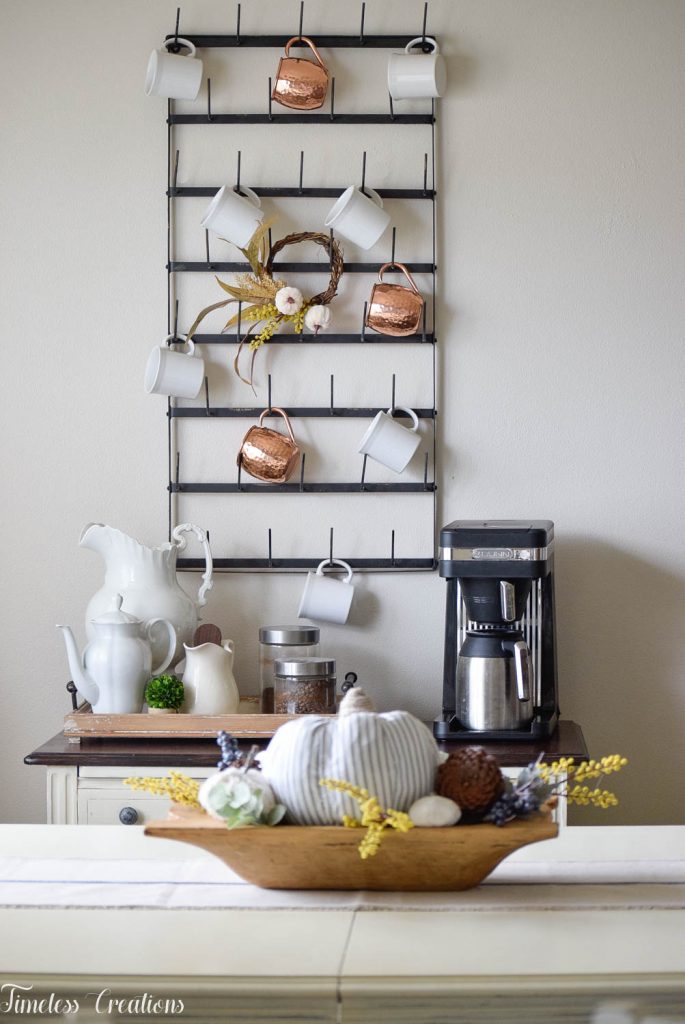
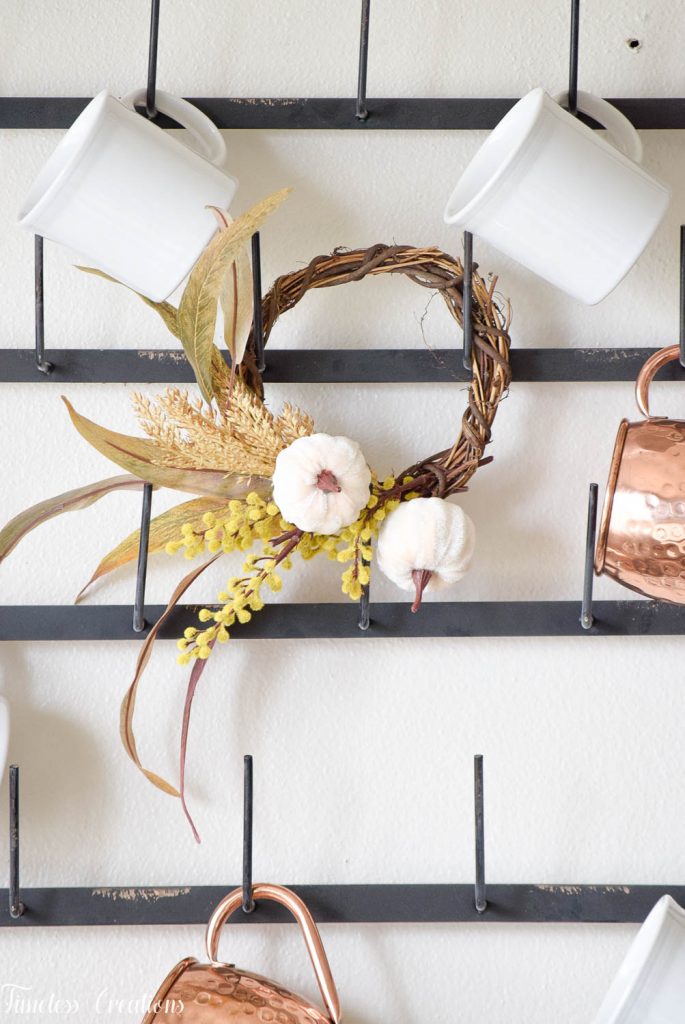
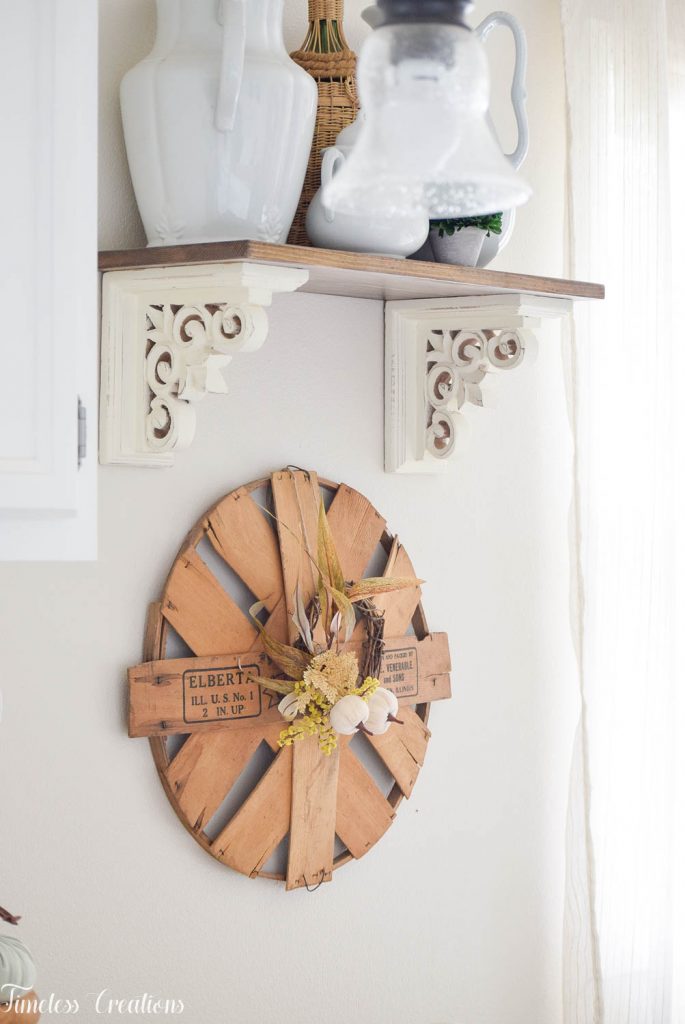
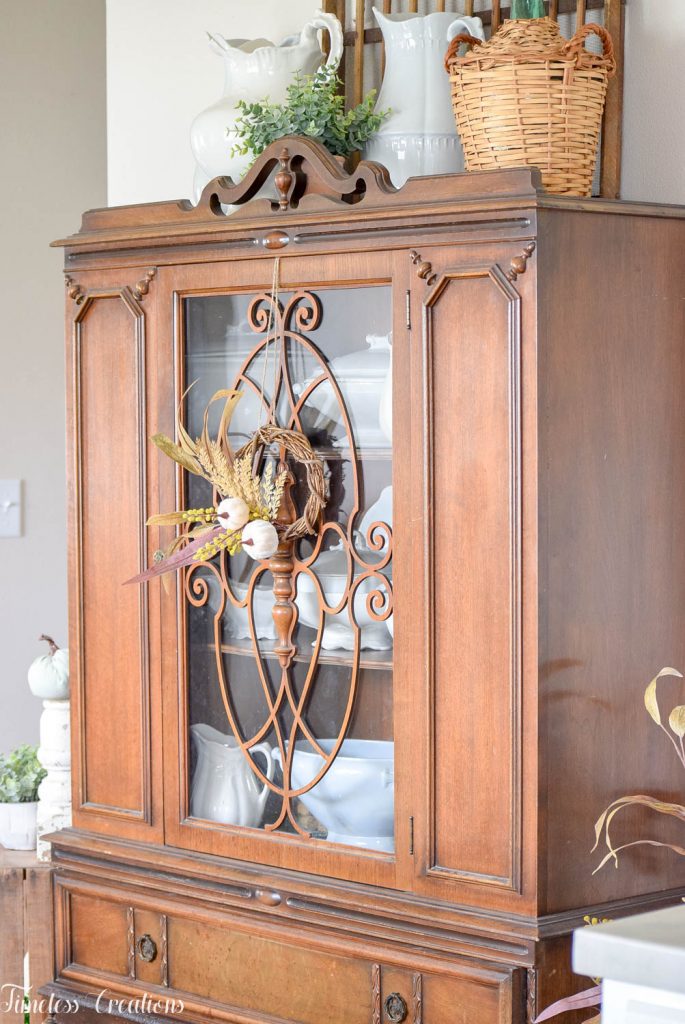
I added all of them into my eat-in kitchen area. One on my new china cabinet, one over a cupboard door, one over an apple basket cover under my shelf and one on the metal coffee cup hanger by my coffee bar! I love adding wreaths over things – like architecutral pieces, antique pieces, wooden items, cabinet doors, the possibilities are seriously endless. I would love to have some go over my dining room chairs to spruce those up, but they would constantly be torn down by my 2 year-old, so that wouldn’t work!
Again, go take a look at our post about where to hang a wreath around your home that is NOT on a door! There are so many beautiful inspirations from fellow bloggers who have found creative ways to display wreaths! And enjoy making your very own fall harvest wreaths!



[…] we added in some leftover fuzzy mimosa branches we purchased for our mini fall harvest wreaths we made. This way our centerpiece will tie in with our wreaths! We opted not to cut the stems off […]