So typically Vicki and I lean towards the cleanness of a neutral color pallet when we are painting furniture, but for this project we decided to do something a bit different!
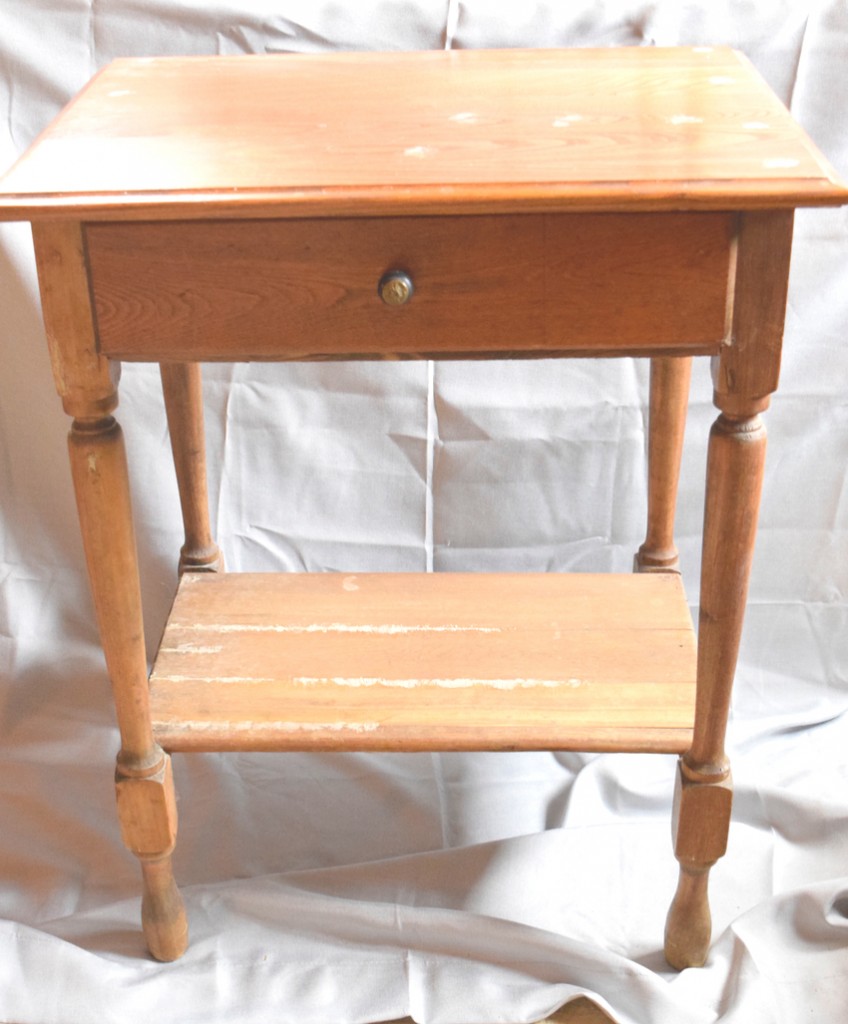
By the way, if none of you have ever been to an auction before I suggest finding one in your neighborhood and trying it. We have gotten so many steals from auctions lately, including this small table!
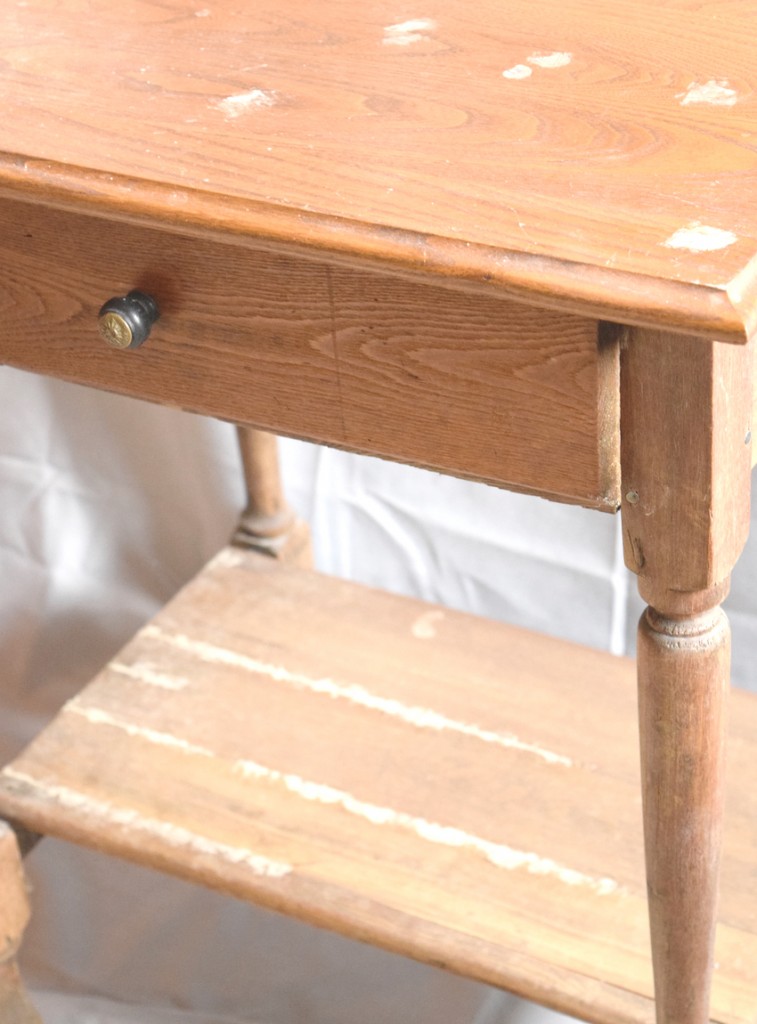
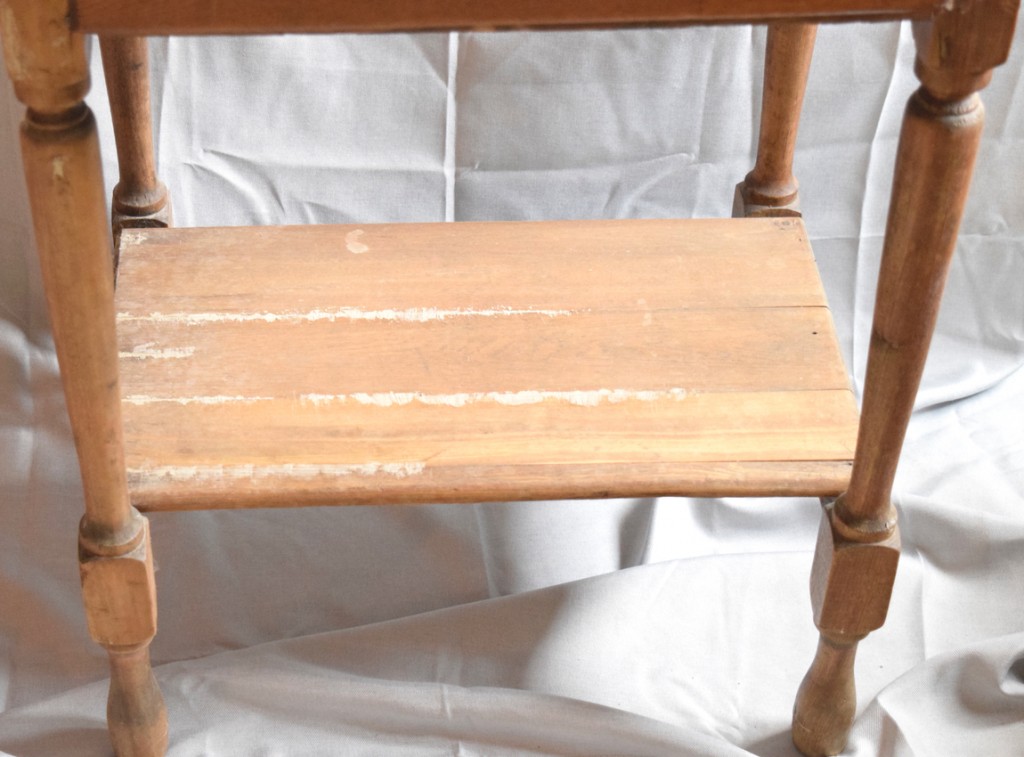
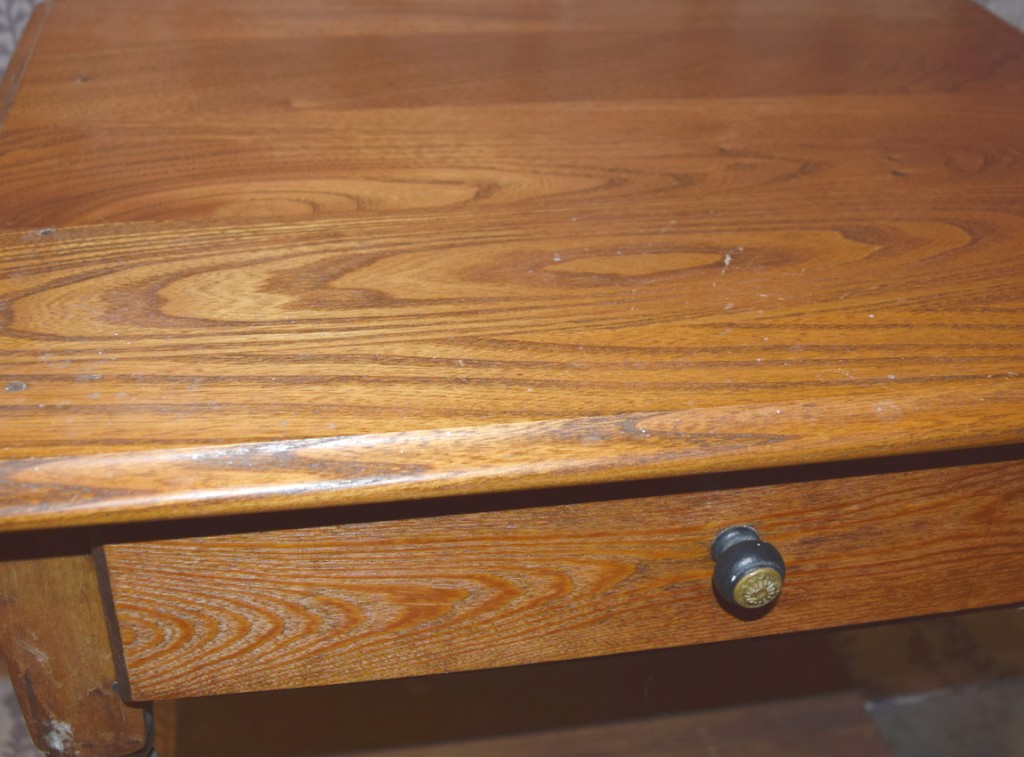
Yes, this particular one was in very rough shape which included cracks everywhere and a rough finish, but it was sturdy and we knew we would be able to fix it.
For your convenience in locating products we have used, this article contains affiliate links. All products are items we use ourselves and have formed our own opinions on. For our full disclosure go to our “Disclosures” page.
It took quite a lot of our favorite wood filler to correct all the cracks on this piece but it definitely worked! I used a putty knife for most of it, but for the very small, fine cracks it was easier to just use my finger. (Just make sure to wipe your finger off a lot and then wash it.)
After the filler was dry we took our medium grit sanding block and sanded the entire piece. After that, we checked the wood filler spots in case we needed to apply more since it is prone to shrink up. Sometimes you will need to add a 2nd or maybe even 3rd layer before painting, but don’t forget to sand again.
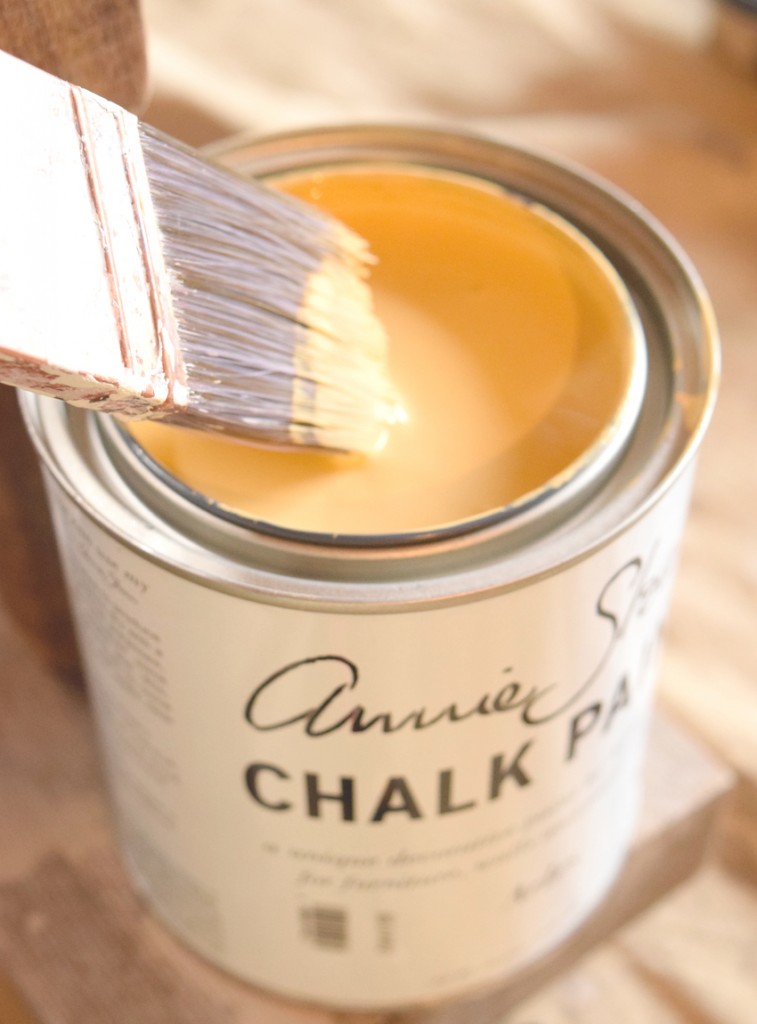
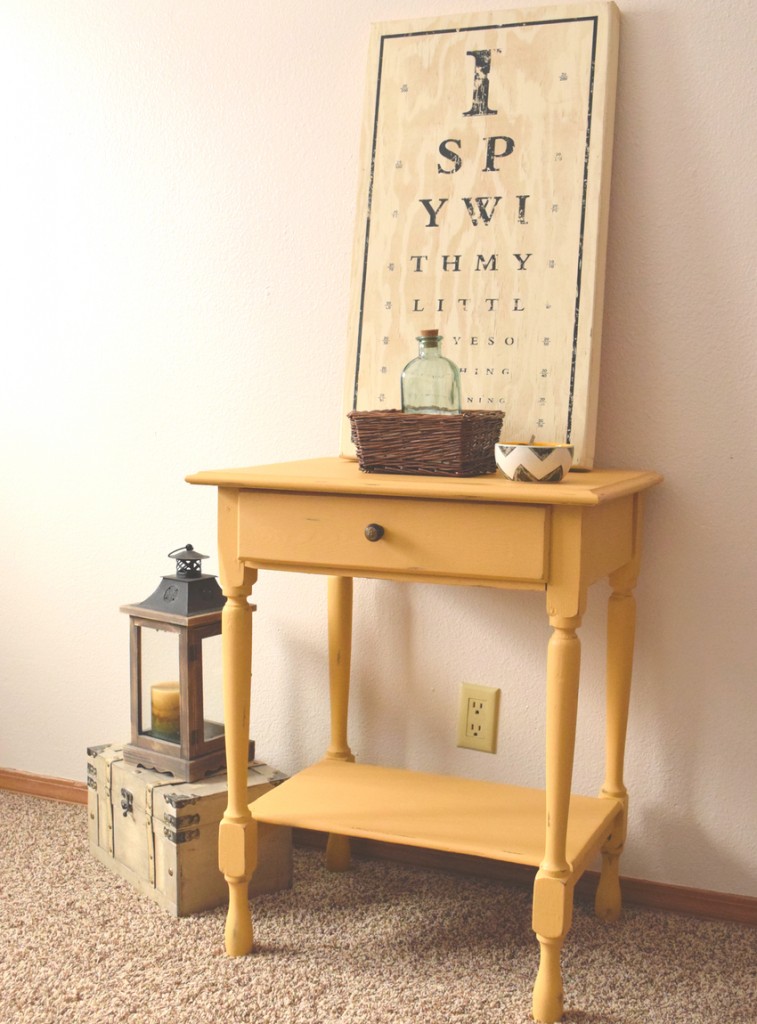
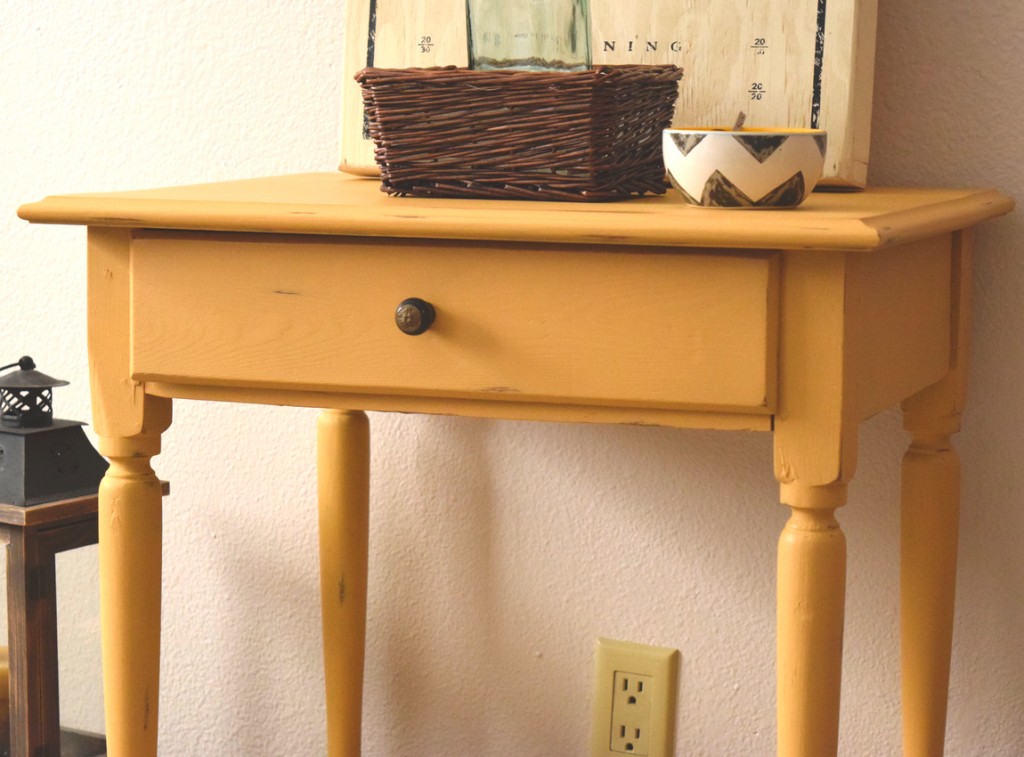
For this table I pictured it in a mustard yellow right away and ordered a can of Annie Sloan’s “Arles” specifically for this piece! I was so excited to try a bright color and do something different!
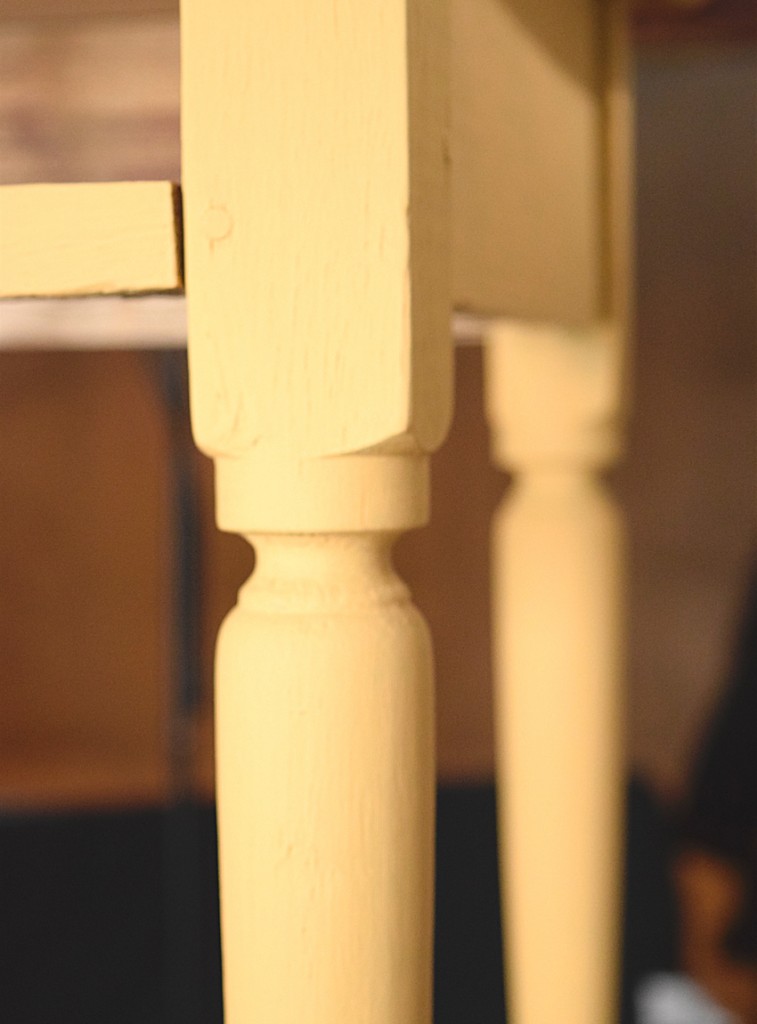
I applied 2 coats to the entire piece, but did a watered down 3rd coat on the table top, drawer, and bottom shelf just to make sure it was covered completely.
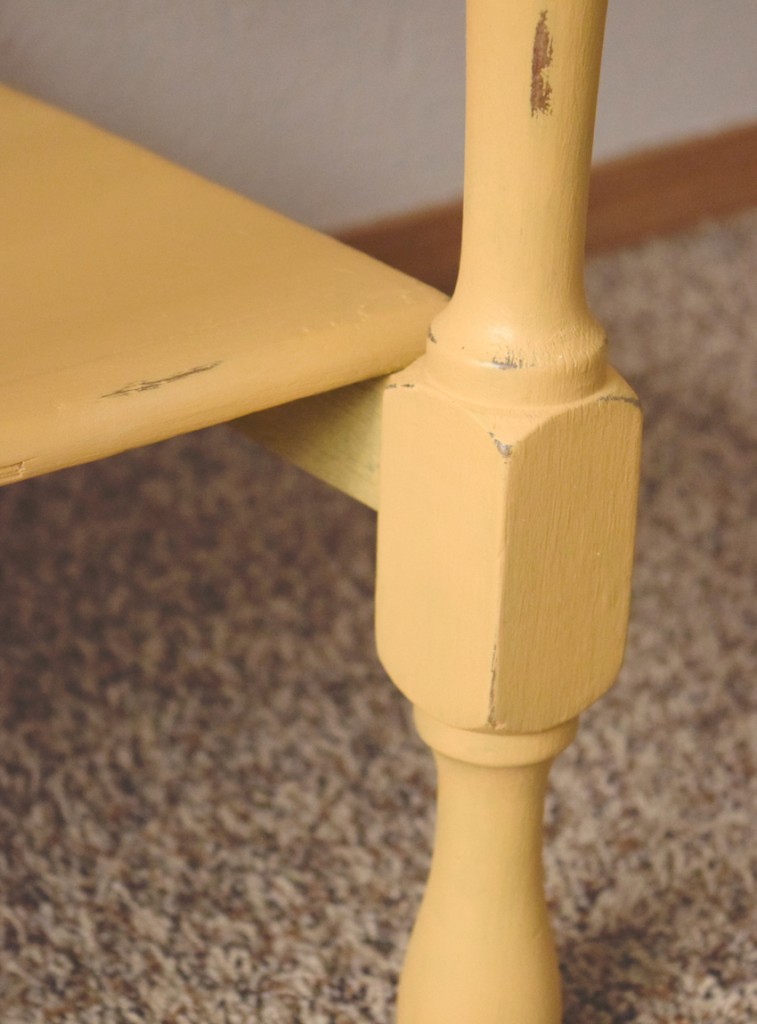
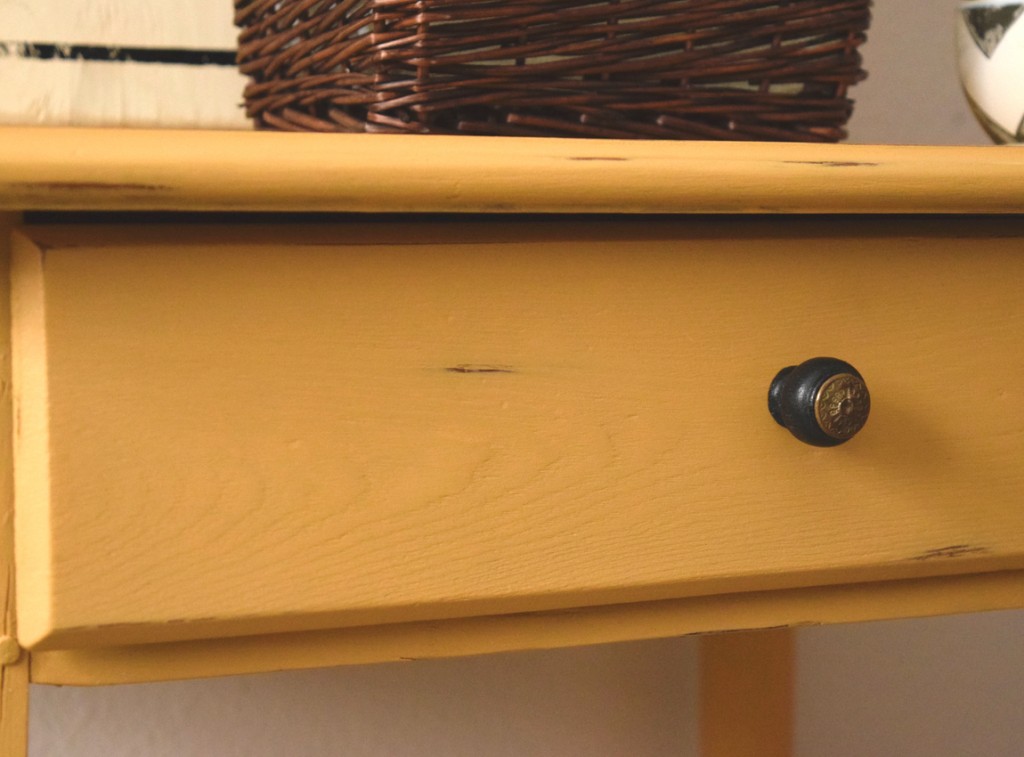
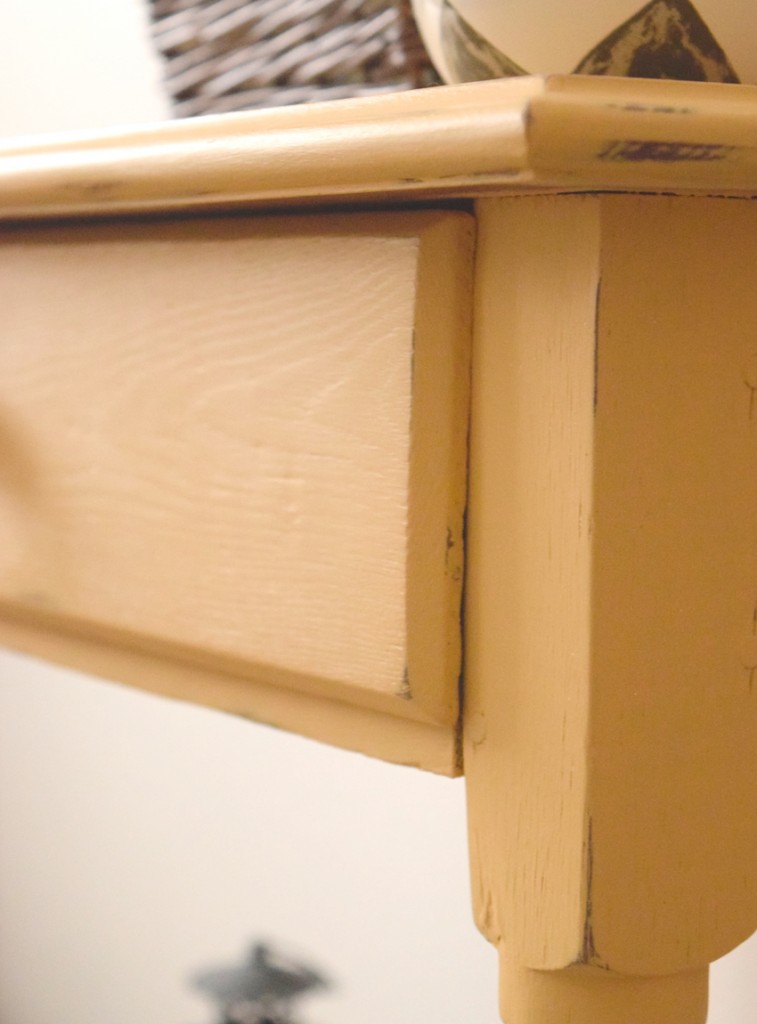
Next was the fun part! I decided this rustic piece needed some distressing to finish it off! Once the final coat was completely dry I took a fine grit sanding block and lightly distressed the entire piece, mostly around the corners and edges.
The wonderful thing about working with Annie Sloan Chalk Paint is that it distresses so well! You don’t need much pressure or arm strength to create the look you want.
This piece was then finished with Furniture Wax. Adding the wax not only gave the piece a protective layer and nice sheen, it also enhanced the color very beautifully. I applied two coats for the top and bottom shelf just for added protection.
A lot of people like to pair the Arles with dark wax after their clear wax to give it an antiqued look. I toyed with that idea for a while, but after looking at the finished product I really enjoyed the bright color of this table so I decided to leave the pure yellow on the piece.
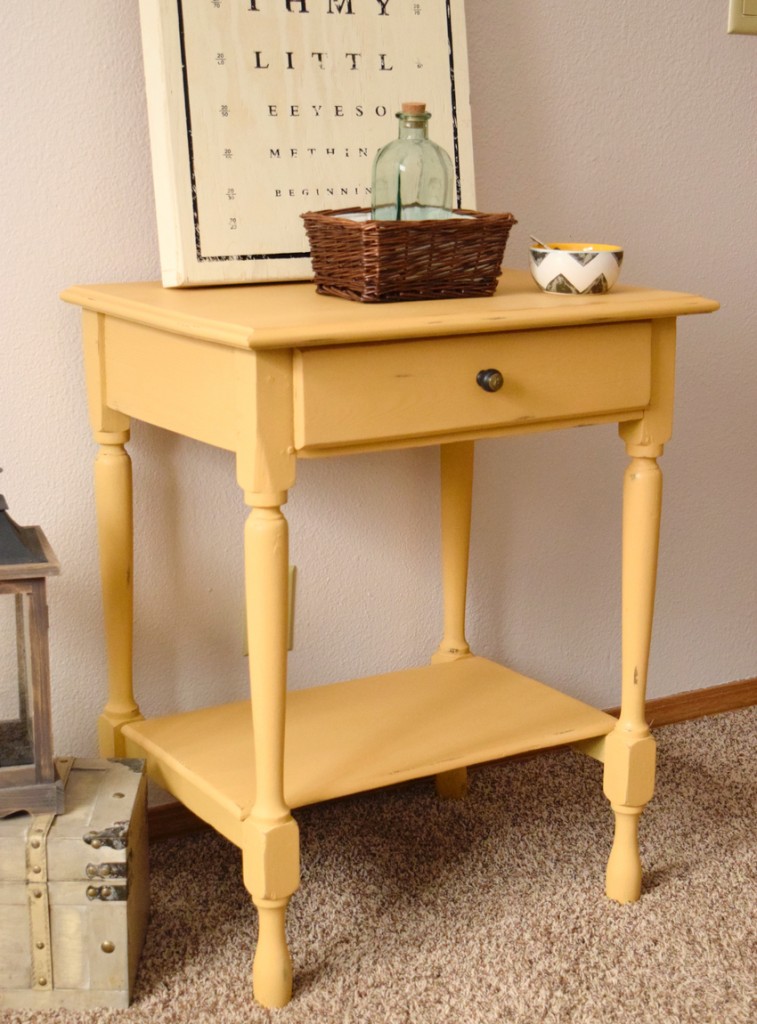
How cute and fun is this little table?! It was definitely given a new and improved life and will be a great statement piece for virtually any room!




I love that yellow you chose! We would love to have you join us at the to Grandma’s house we go link party!
Thank you! We will make sure to add this one to it 🙂
It is so refreshing to see a yellow table. I think of it as such a bright, happy color. The table looks perfect.
Thanks Debra! And this yellow is the absolute perfect color!
Thank you for sharing with us at the To grandma’s house we go link party! Pinned!
I love that colour! It’s so warm and happy looking and the little side table turned out perfect!
Thanks so much Katrin! We loved the color too!
This table is the perfect size for an accent in your home. I admire how you repurposed to make it charming again!
Thank you so much Brooke!
Lovely makeover. I love the color. Thank you for sharing at the Snickerdoodle Create~Bake~Make link party.
Thank you Sharon!
Your painted creations are amazing. The finish looks vintage. Thanks for sharing at Monday Social.
Thank you Katie!