Hey all! Welcome back to Week 4 of the One Room Challenge over at Kristen’s house where we have started to makeover the laundry room / mudroom area. The first couple of weeks brought about a new coat of paint on the walls as well as a folding table makeover made from a vintage drop leaf table. And now this week we got another significant project finished!!
If you missed out on any of the previous weeks see them by clicking through the links below:
Week 1 / Week 2 / Week 3 / Week 4 (you are here) / Week 5 / Week 6 / Week 7 / Week 8
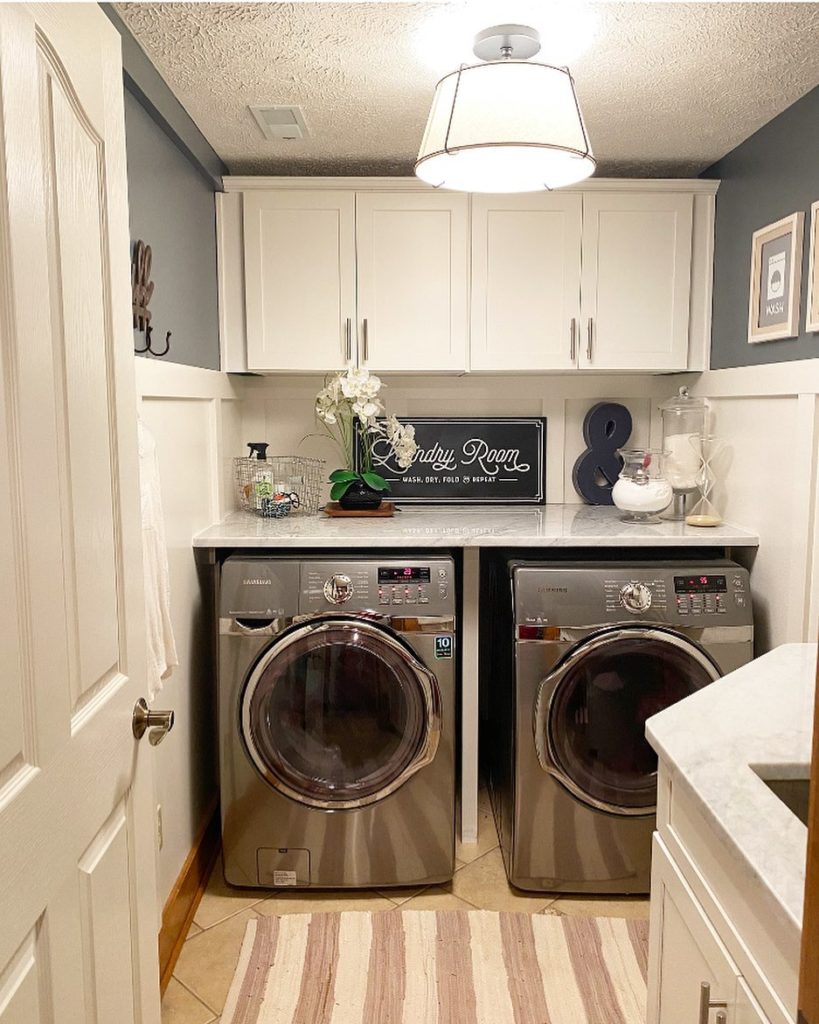
Back in Week 2 after we finished the aqua wall paint, I kept walking through the laundry room and thinking it didn’t look quite right. I had thought about the idea of adding some sort of wall treatment, but wasn’t convinced on if we should add shiplap (like in my previous home) or board & batten, or something else. So I debated it for a while, going back and forth in my mind on what to do, until I saw an inspiration photo on Instagram of a blogger who had white board & batten in their laundry room with their wood trim along the bottom!
Source: Andreak_covelladesigns
See that little peek of wood trim on the lower left hand corner – that was my deciding factor. I didn’t want to paint my oak wood trim (and neither did my husband!) so once I saw that it really looked fine to keep the trim it’s original stained look with white board and batten I was sold on the look!
That was our project for this week. We got some lumber, borrowed the nail gun from the store, bought some new paint and went to town with our wall treatment!
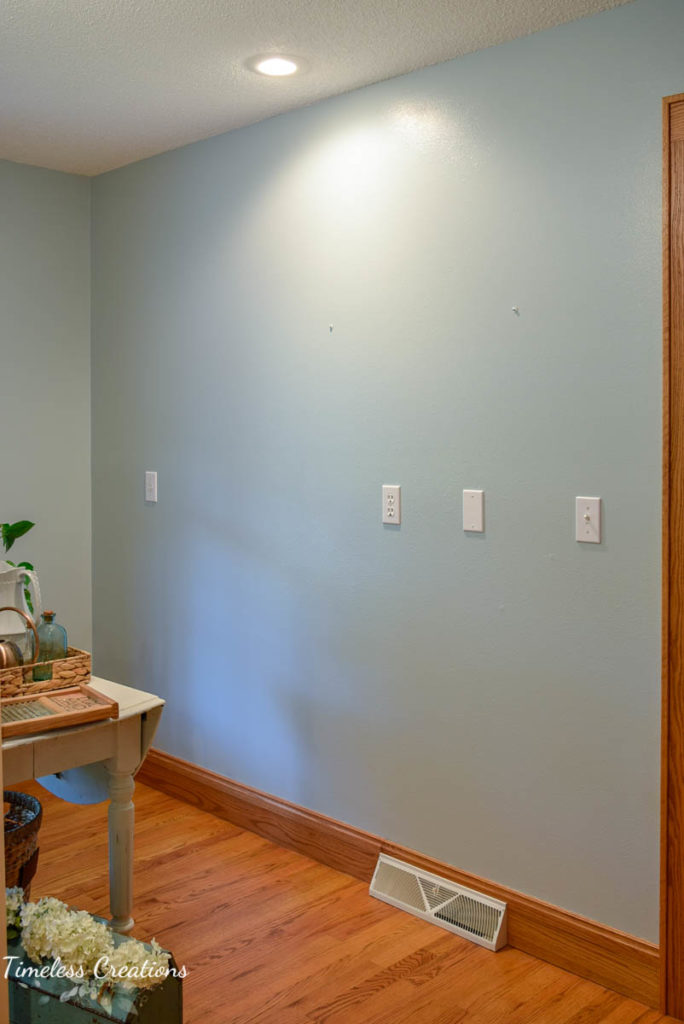
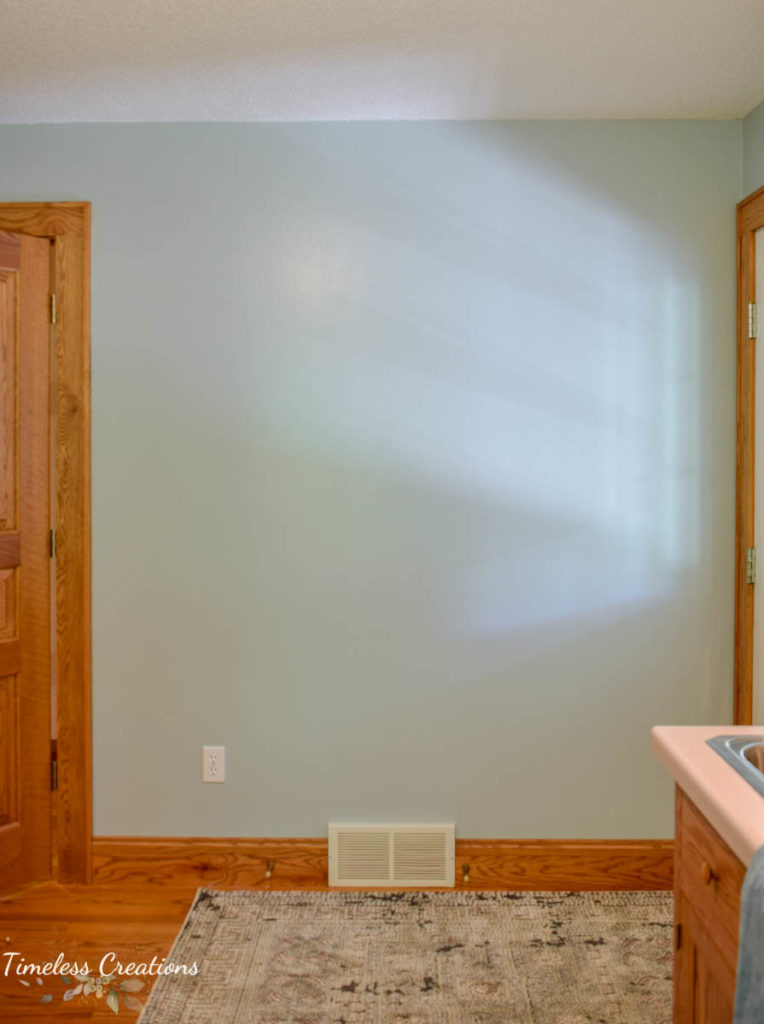
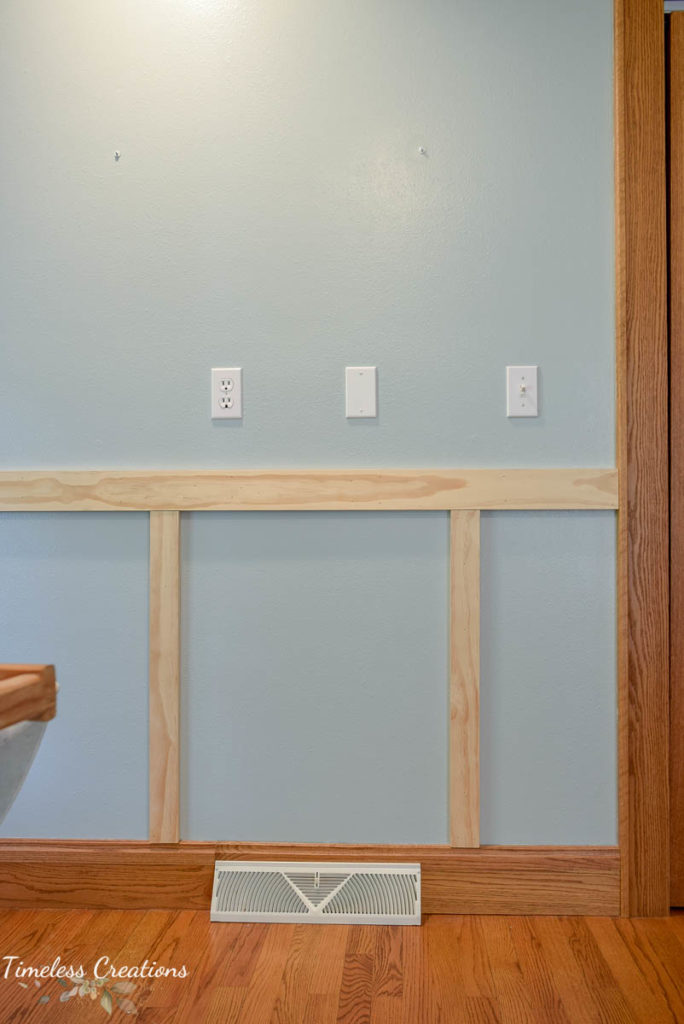
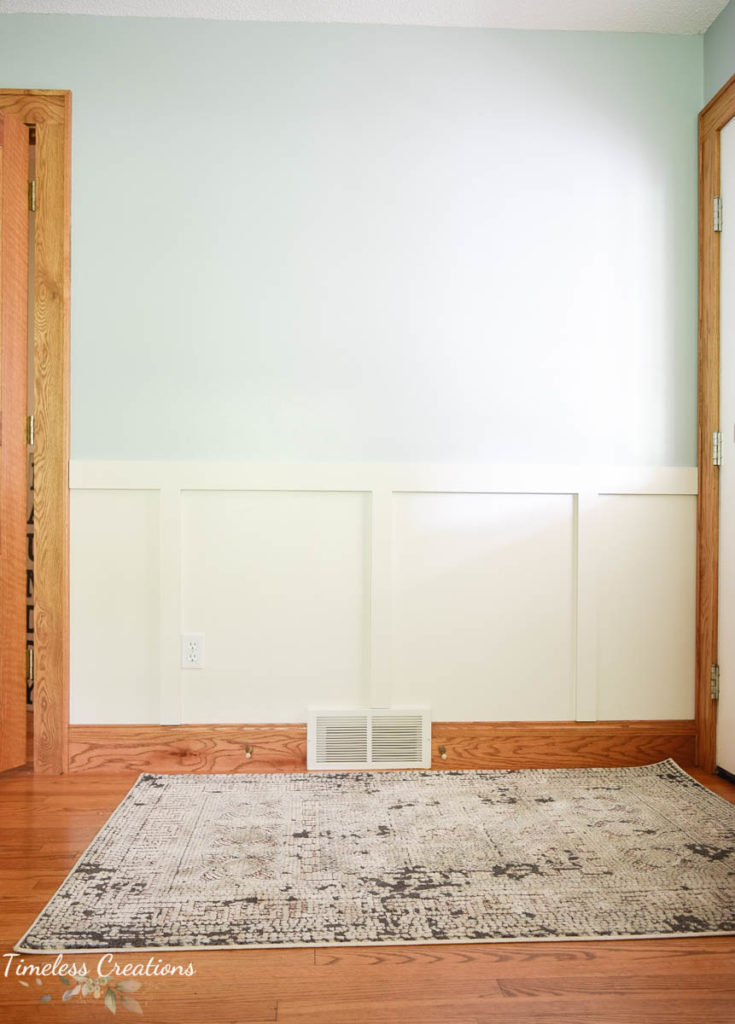
Here are the walls before
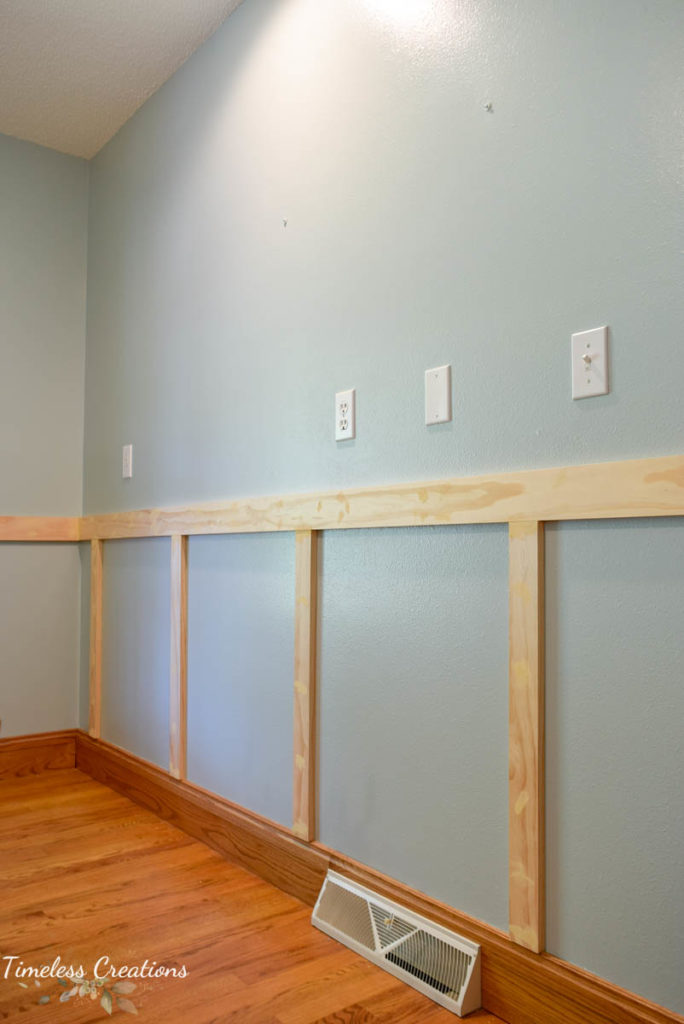
There are so many tutorials on how to do board and batten online, but you really need to decide what works best for YOU. We decided we wanted to keep it very simple and did not want it to go too high on the wall.
We used a 1 x 4″ board for the top “rail” and 1 x 3″ boards for the vertical areas. We cut it down to size then marked where we wanted the top of the board to be then used a long level to make sure it was correct. You definitely need one other person to help you hold your boards for leveling. It just makes it waaayyyy easier on yourself.
Once your top board is level and your extra person is holding the board in place you can then nail it down! We made sure to hit the studs when we could and nailed it in between as well.
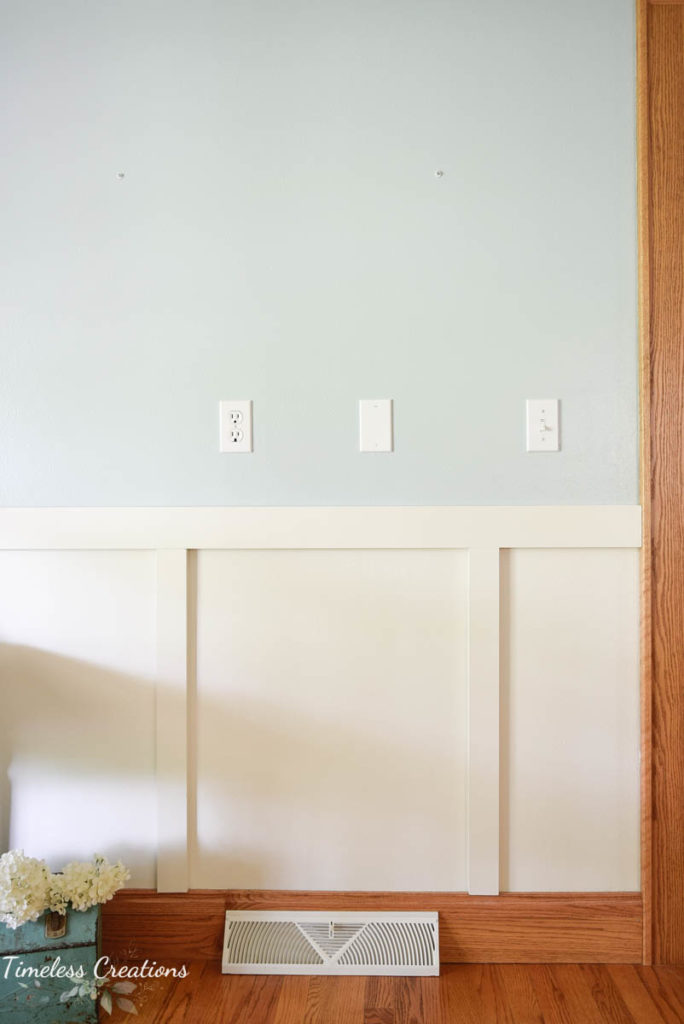
To make the seams flawless and to hide the nail holes we used wood filler and then sanded it down once dry.
Then began the painting…while painting is super easy to me, it was a lot of edging I had to do for this wall treatment! It also didn’t help that I had JUST painted all the walls aqua a couple weeks ago!
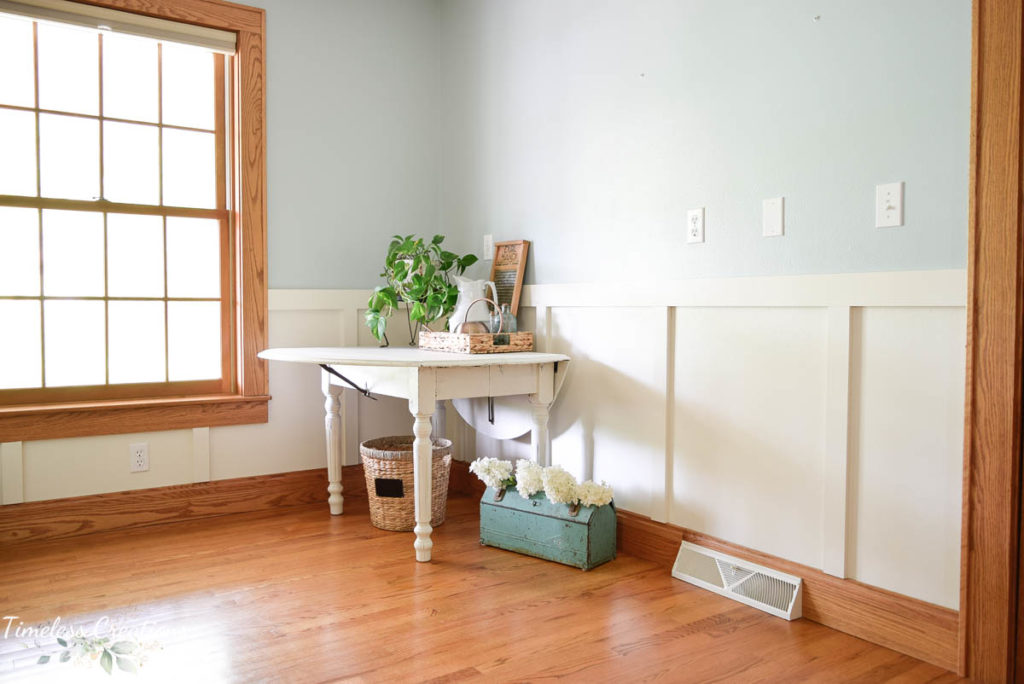
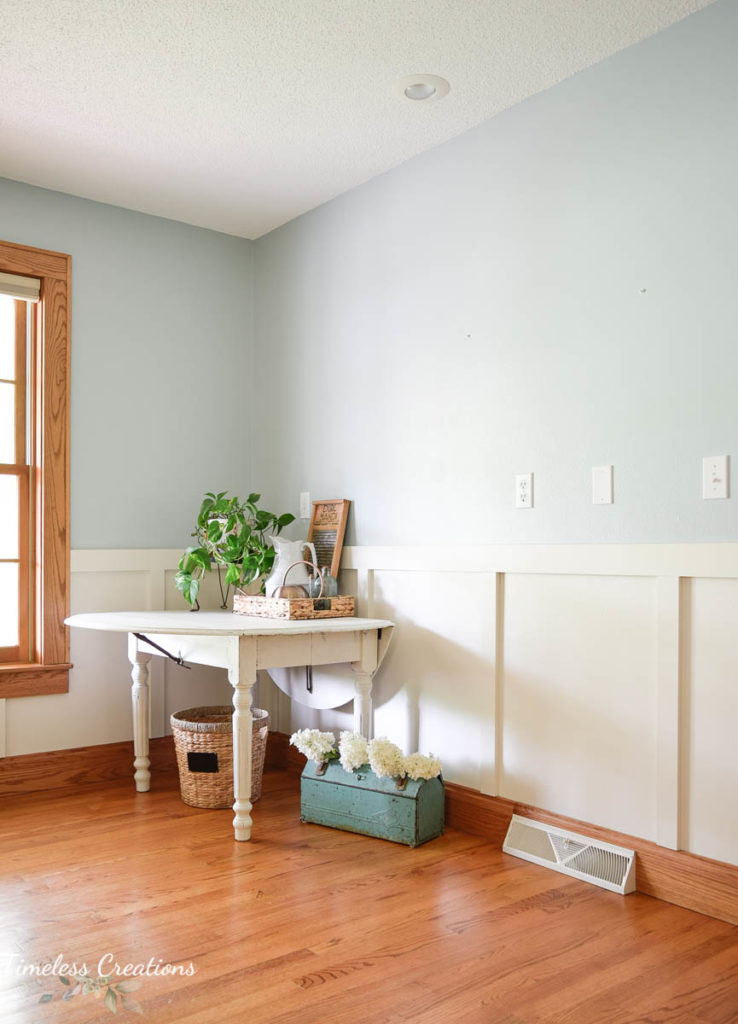
But anyway, I am SO glad we decided on doing a simple wall treatment in this room. I feel like it just pulls it together and gives the room just a little more “oomph”. I am very happy with the decision.
I did put my little folding table back in its corner directly across from the dryer. I definitely have some serious decorating that will need to happen in here. I am currently debating what should go on the walls, but I do have time before any decisions need to be made.
I still have plenty of projects that need to get done to complete this room makeover – painting the cabinets is next! Another big project, but one I have been looking forward to! So stay tuned to see how this room comes together in the end, we can’t wait to share.



This looks great! I love the character it adds. Very nice!
Loving the board and batten look!
That looks fantastic! I really like warmth of the combination of colors and finishes.
I love the board and batten. It adds such texture to a room.
Board and Batten is always such a good choice for the home it classic and never goes out of style plus is adds instant value.
It’s been so fun following along on this space !
Love it! The board and batten was definitely a good choice!
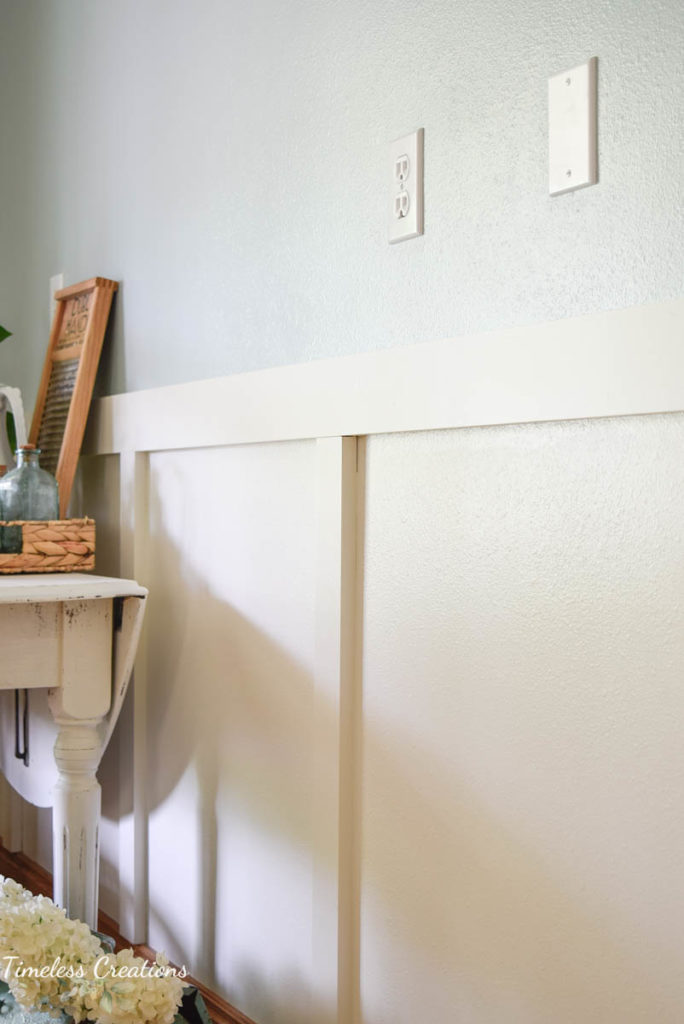
Could you share a close up shot of where the boards meet the oak trim? Are the boards thicker than the top edge of the trim?
I am wondering the same thing. Also how wide is the base molding?
Thank you Joanne
I am curious how wide is your base molding? And did you do anything special to the boards that meet at the base molding?
Thank you in advance – in the middle of a project now! 🙂 Joanne
Hi Joanna, the base molding is not very wide, it is also tapered at the top so my board and batten boards aren’t completely flush with the base. But it doesn’t bother me one bit. You could try to find some other kind of plain trim work or moulding that is skinnier or rip down a board as well. But for my wall treatment I just used easy 1 x 3 pine boards.