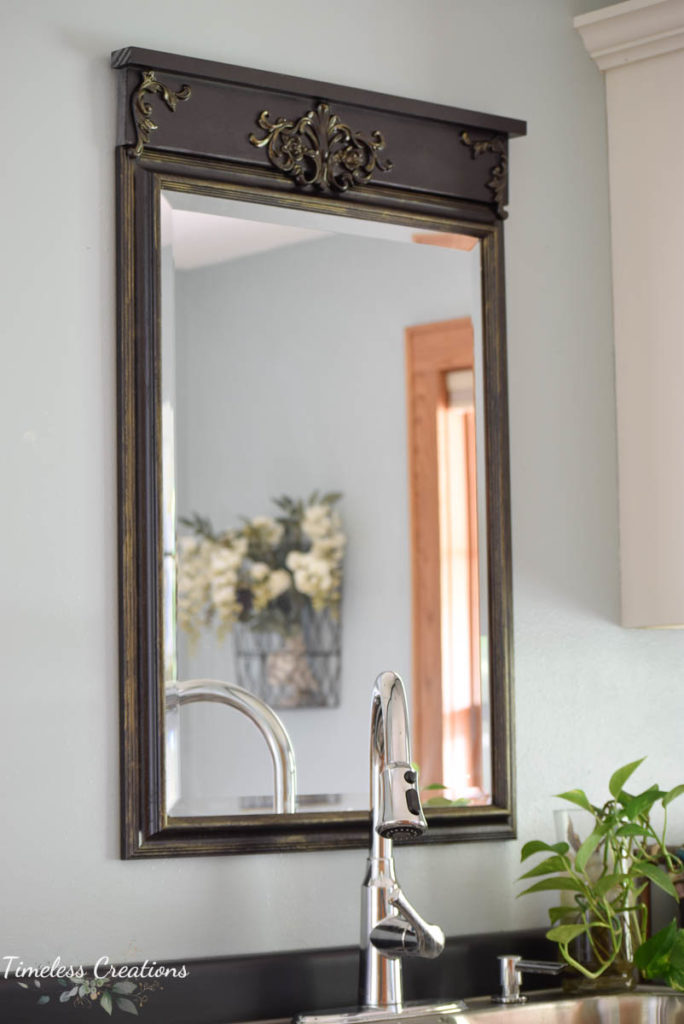
Hey All! We just finished up our Laundry Room Makeover over at Kristen’s new house a couple weeks ago, but we didn’t have time to share how we got the look on her plain mirror that was hanging above the sink. We just had to share so we are here this week with a fun tutorial on how to create a Trumeau style mirror.
A trumeau mirror is just the fancy way to say a pier mirror. But they typically have a decorative panel above or below the actual mirror. Some more fancy and decorative than others. My goal was to take my plain wood mirror up a notch and we loved the idea of creating a trumeau style mirror.
The actual steps to creating this faux trumeau mirror are really quite simple! Here is what you will need:
- A Mirror
- Wood (can be as wide as you want it!)
- Wood Glue
- Sander
- Flat metal plates
- Wood Fill
- Decorative Decals
- Paint
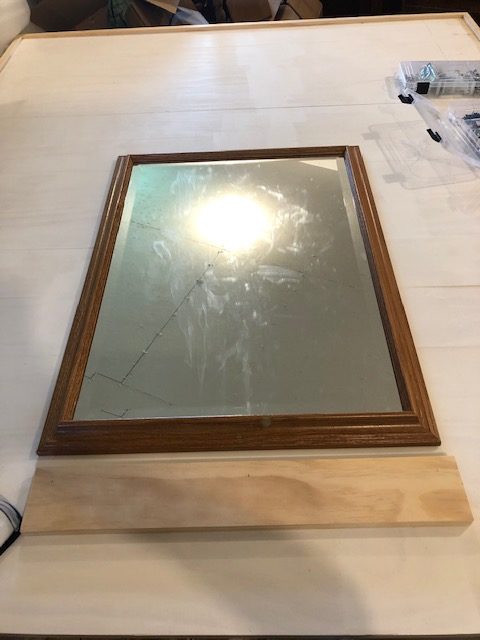
Start by coming up with a plan. I am a very visual person so I had to actually hold up my wood boards to see what width to go with. I ended up using a 1 x 4″ pine board and a 1 x 2 ” board for the top trim area. I cut them down to the length I needed to fit across the top of my mirror and then sanded them smooth.
Next I measured out where I was going to put my small flat metal plates to attach the board to the mirror frame. Once that was measured out, I added wood glue to the edge of my 1 x 4″ board that was going to be next to the mirror frame. You may need an extra set of hands to help you hold your board in place while you screw in the plates. I used one plate on each end and one in the middle.
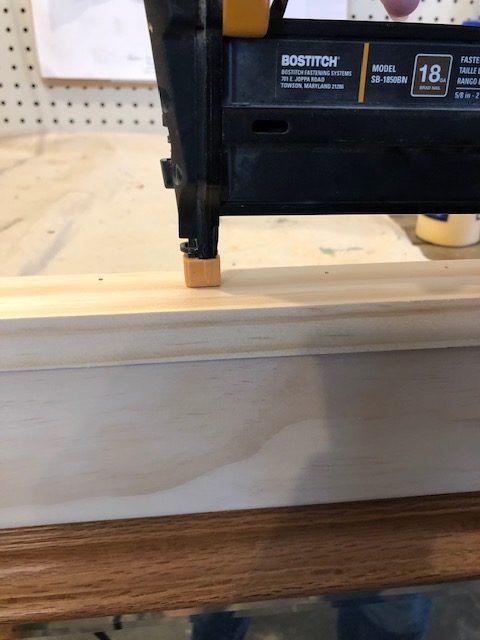
One that is dry you can glue and nail on the top 1 x 2″ board for the trim piece. This board just helps to make the mirror look finished at the top, but you wouldn’t have to do it if you just wanted it flat. I used our handy nail gun to attach it and then fill in the tiny holes with wood filler so it looked smooth.
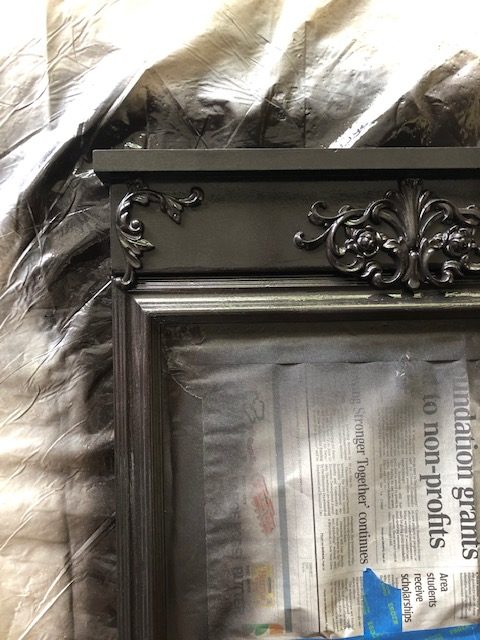
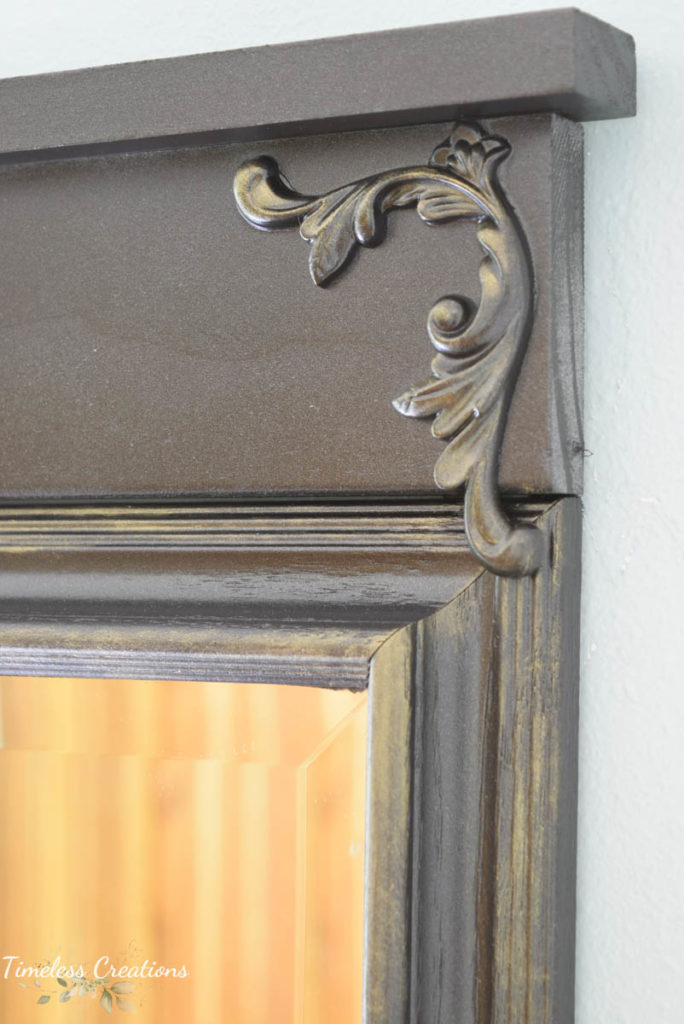
After the boards are attached you can begin attaching your decals! There are so many different decals out there – it’s crazy. You can use wood ones, plastic ones, clay ones you make yourself from moulds. The ones I used were purchased on clearance years ago so I don’t believe they have them anymore, but I found a ton of neat decorative decals HERE. I attached mine with wood glue and used full quarts of paint to hold them in place while the glue dried.
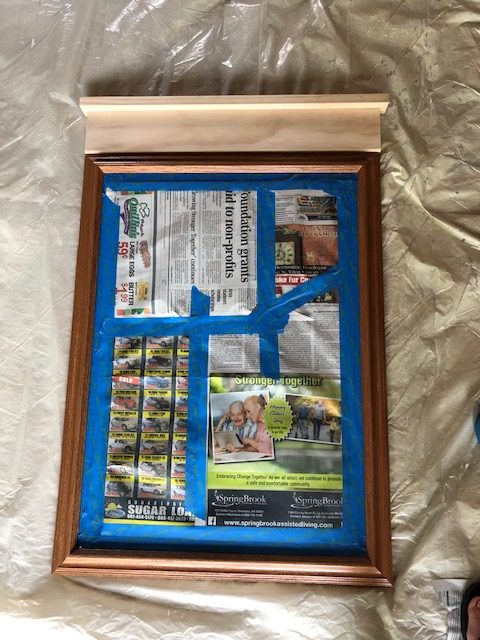
After getting everything attached together it was time for paint! I decided to go dark to match my cabinet handles and some other decor I had planned to put in my laundry room, so I spray painted the entire thing in Oil-Rubbed bronze.
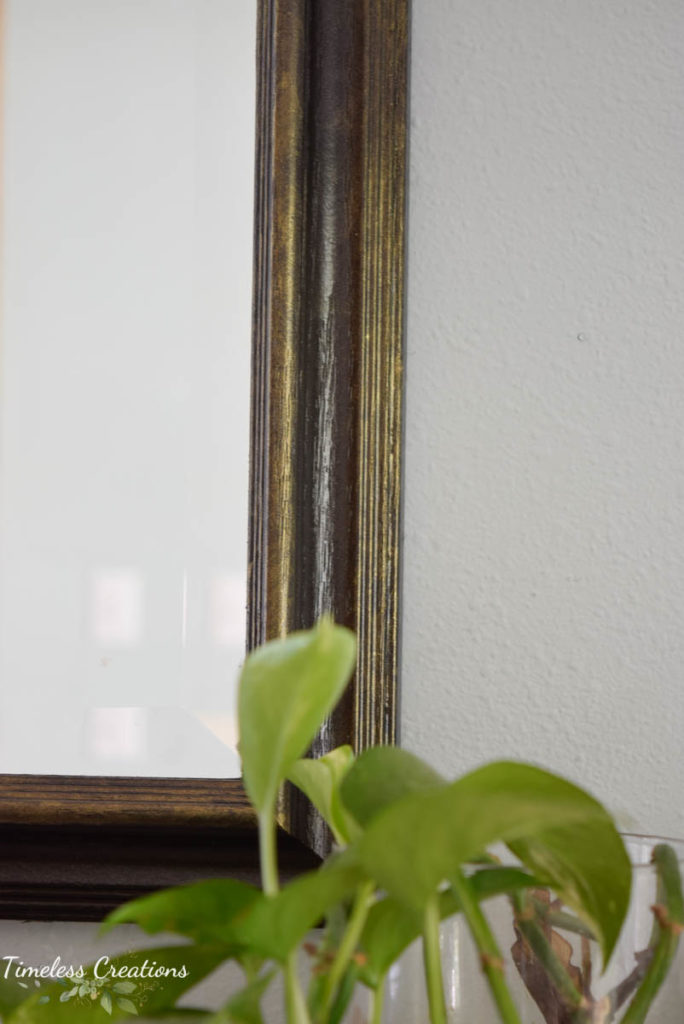
Once dry I wanted to highlight some of the raised details to really bring them out. So I grabbed some of our Fusion Mineral Paint metallic paint in “bronze” and used a small brush to swipe some of the bronze on the details. I didn’t do it absolutely perfectly, but put a little more on in some spots and less in others.
Once I was satisfied with the bronze the mirror was complete! You could do so many different kinds of finishes on mirrors though. Seriously the possibilities are endless. Adding details like this one allows you to do some really neat faux finishes, like texture, layers, glazing, metallics – whatever you can come up with!
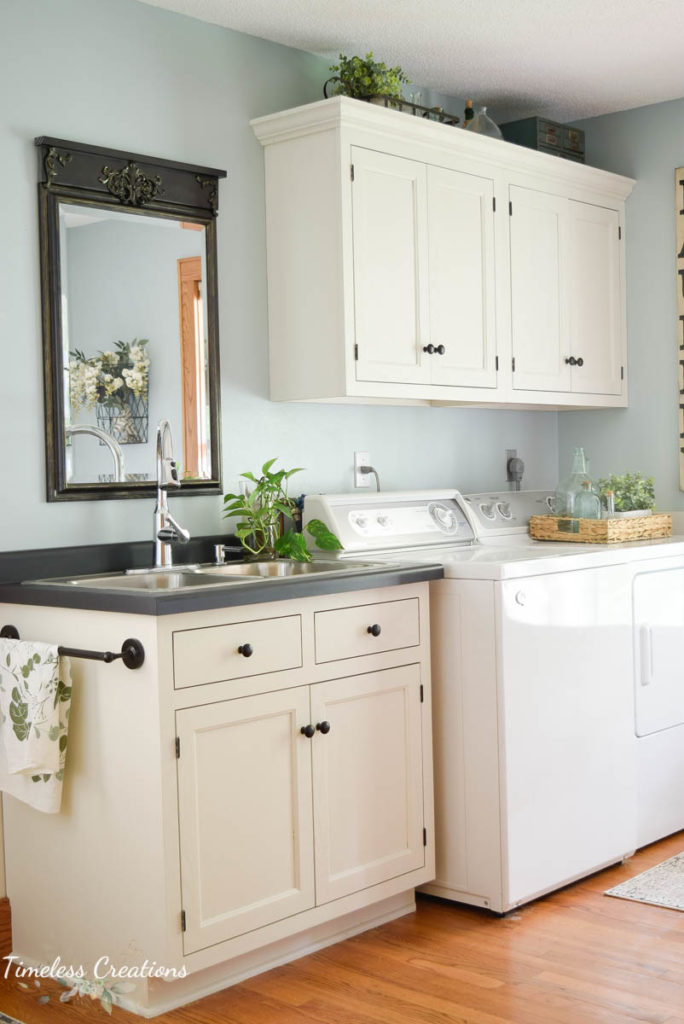
And I am really loving it above my laundry room sink now! It brought a little bit of elegant detail to the room and tied in nicely with my other dark accents.
Sources:
Ornate Furniture Decals / Bronze Metallic Paint / Spray Paint / Metal Plates / Wood Glue / Wood Fill
To see the full Laundry Room Reveal at Kristen’s new home click through HERE.




Leave a Reply