I absolutely love antique malls…who else is with me?! I think half the fun of antique malls, flea markets, and garage sales is the thrill of the hunt. I am definitely not afraid to get down and dirty and dig for great finds. I even enjoy haggling for a better price sometimes when its appropriate.
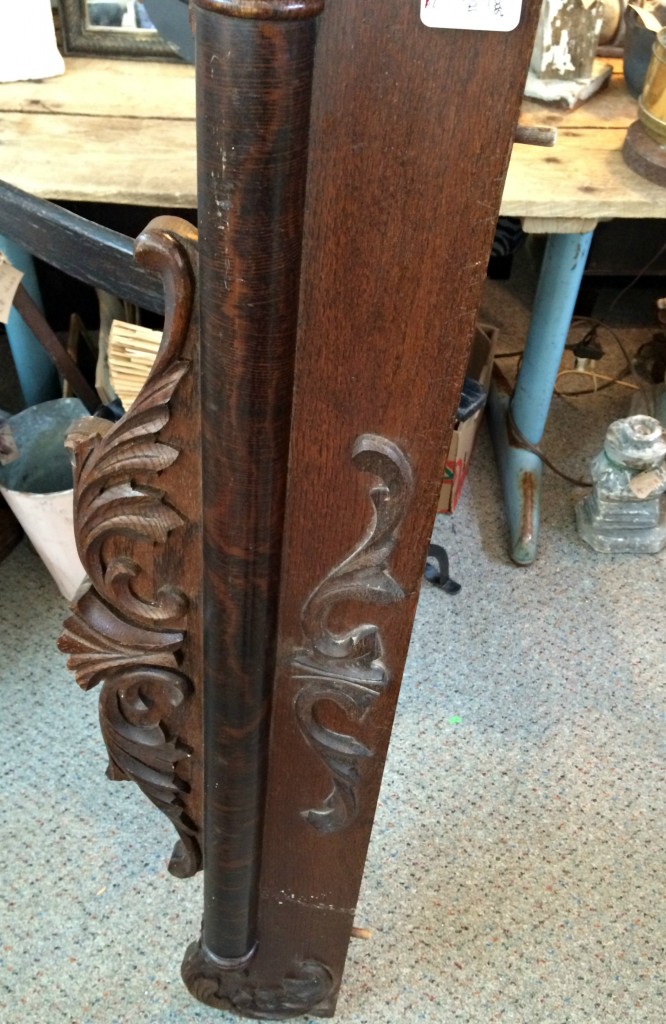
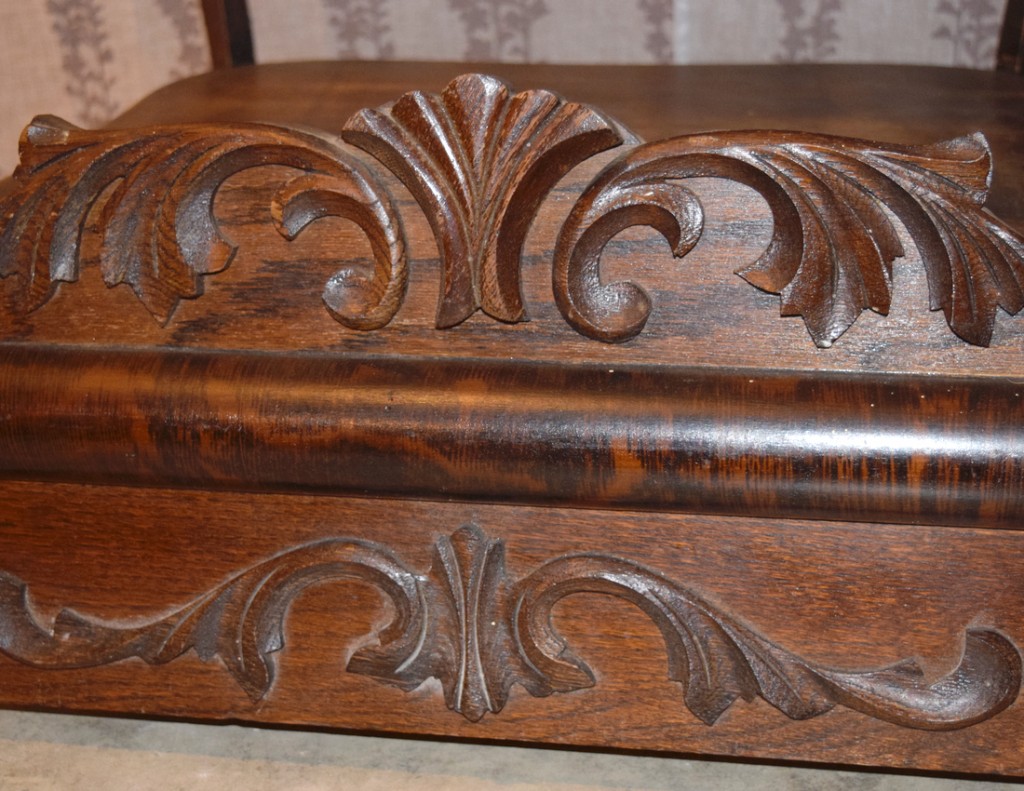
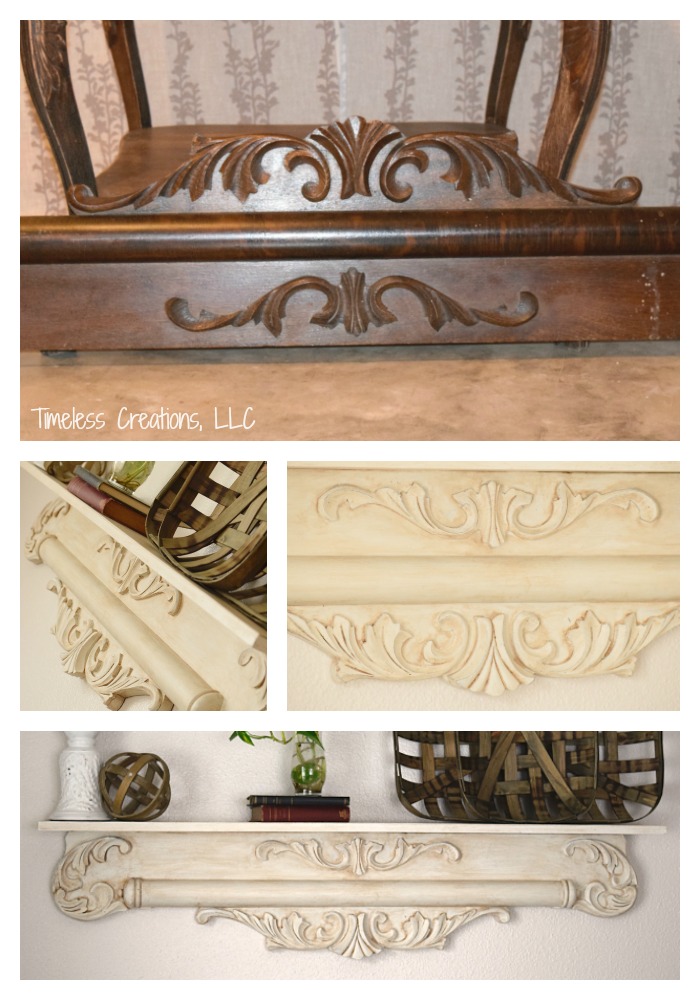
Last fall while I was visiting some friends in St. Louis, I went to a fun antique mall that I had never been to before while living in the city. I enjoyed wandering down all the aisles and seeing the different vendors styles and tastes. While there I found quite a few fun finds, but unfortunately I didn’t have room for it all. (I definitely should have brought the SUV instead of the small car!) What I did pick up though, I bought for decor for my new apartment. One of my favorite finds was this old dresser pediment that was stuck in a corner. I knew I loved it as soon as I saw it and when it was the right price I couldn’t help but purchase it!
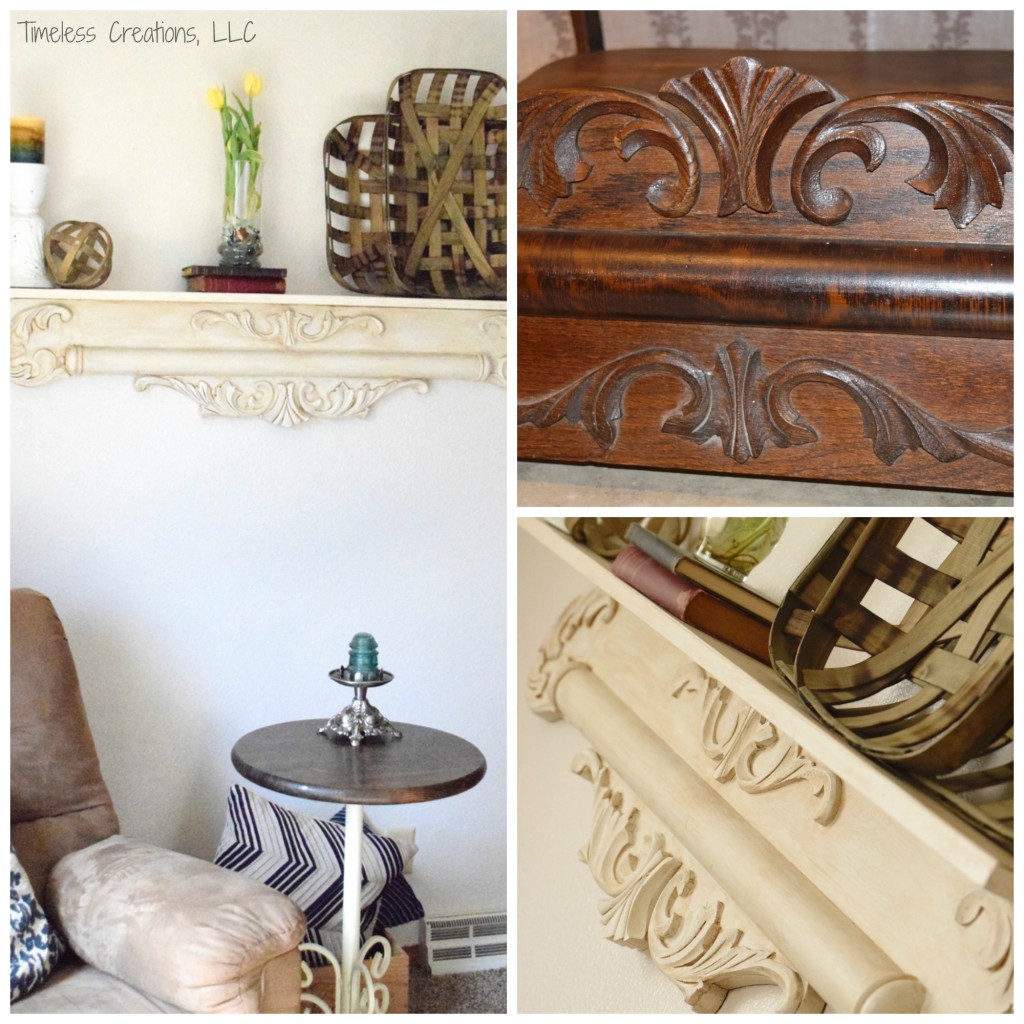
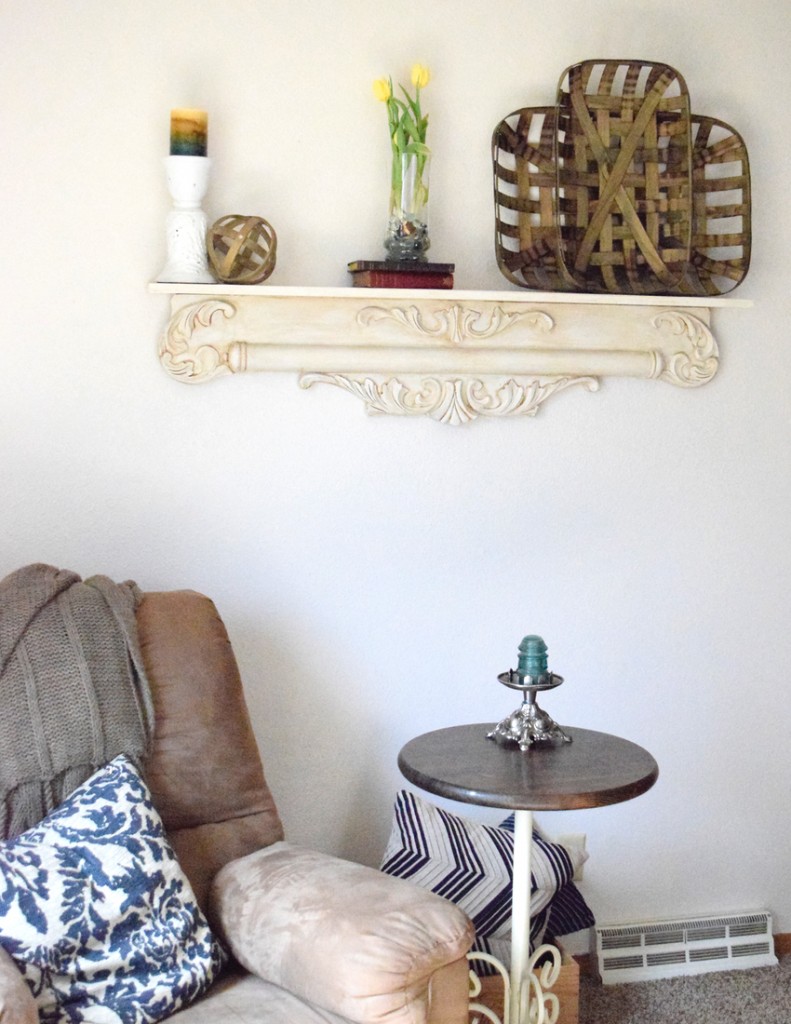
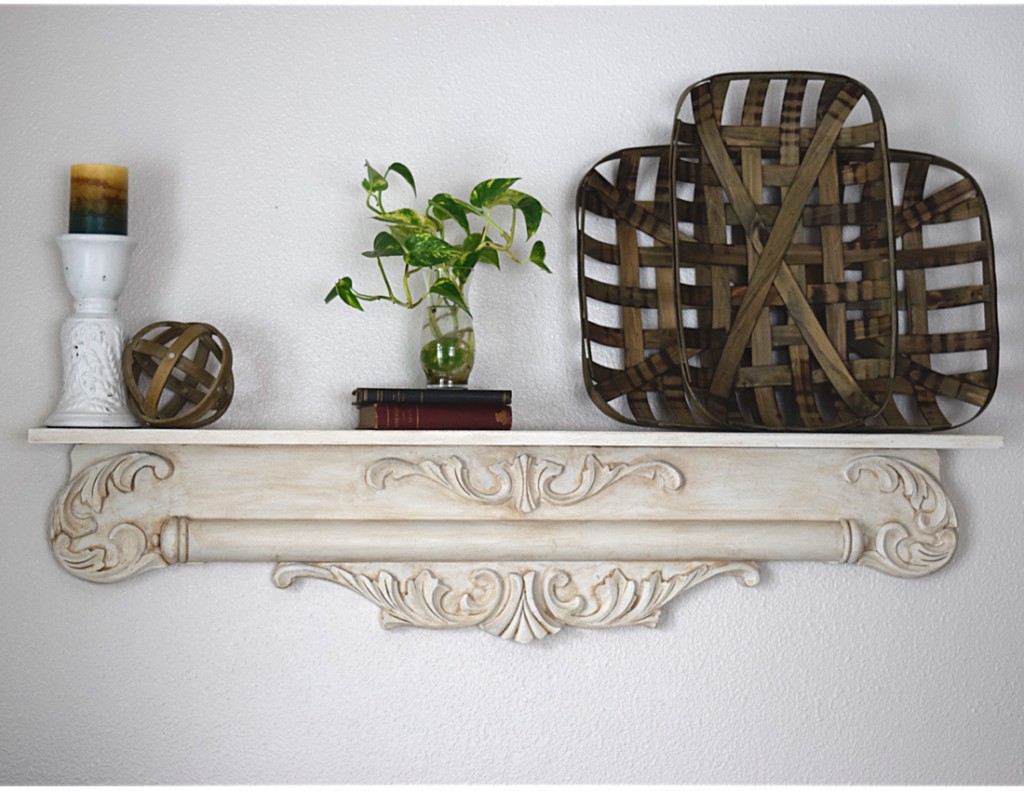
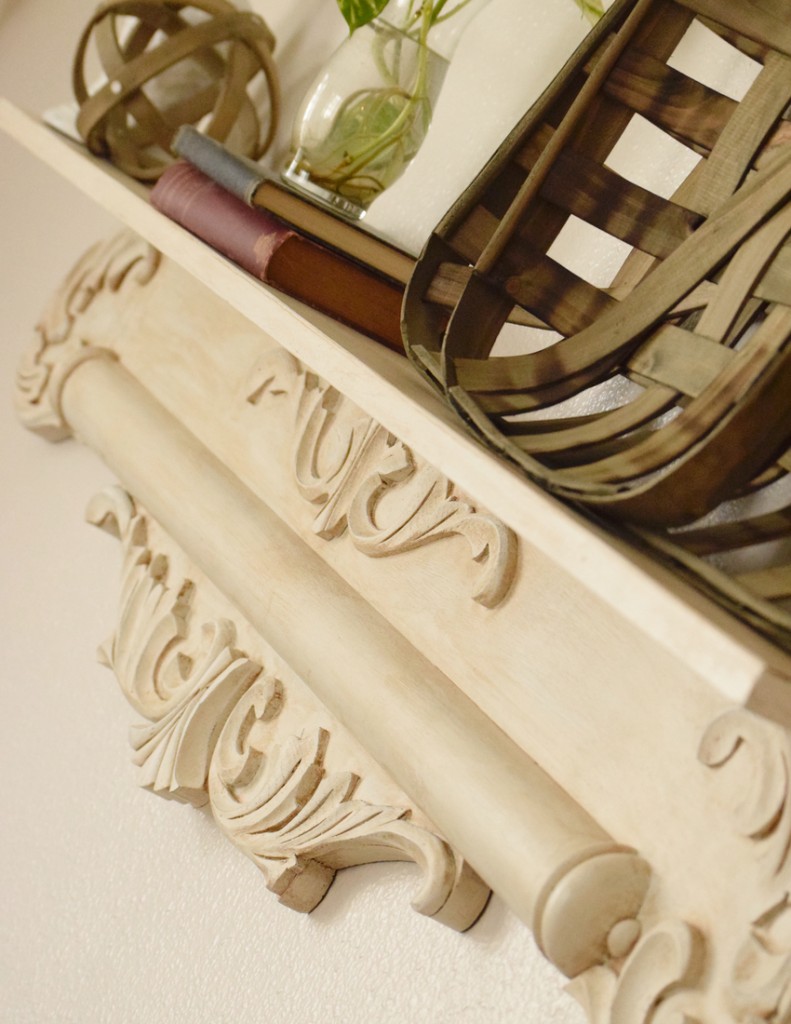
Right away I had the idea of turning the pediment upside down and adding a board to the previous bottom to use as a shelf. I could just picture it on the wall above my couch in the living room!
For your convenience in locating products we have used, this article contains affiliate links. All products are items we use ourselves and genuinely recommend. If you make a purchase after clicking, we will earn a small commission at no additional cost to you. For our full disclosure go to our “Disclosures” page.
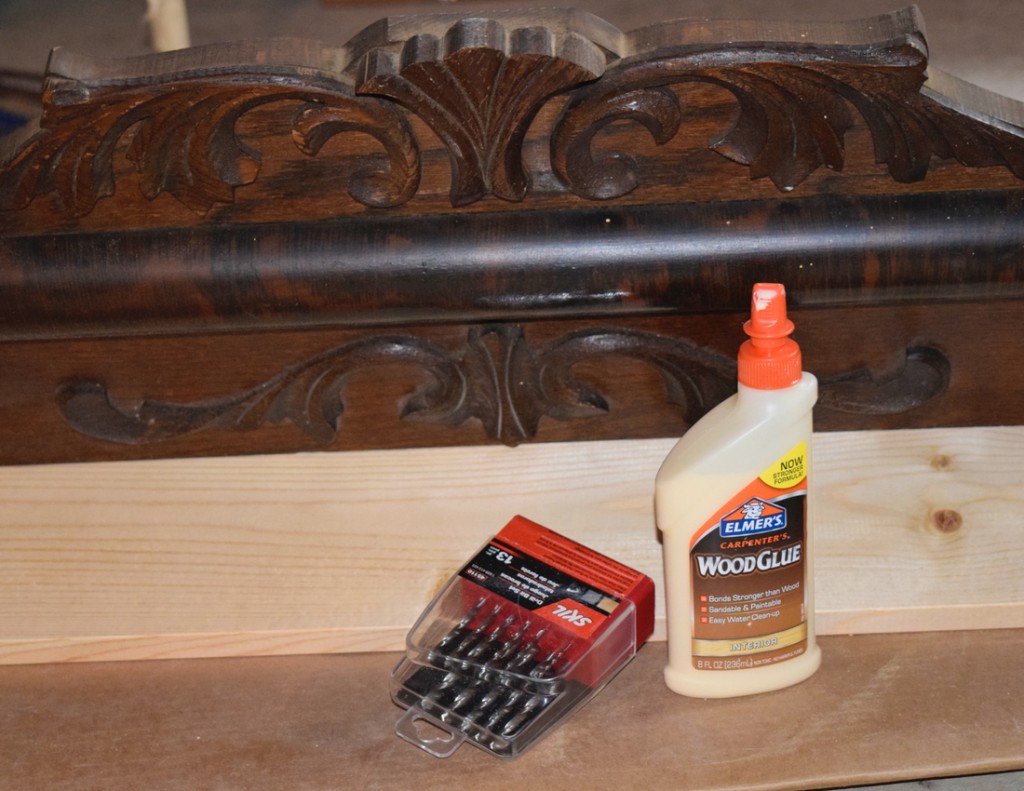
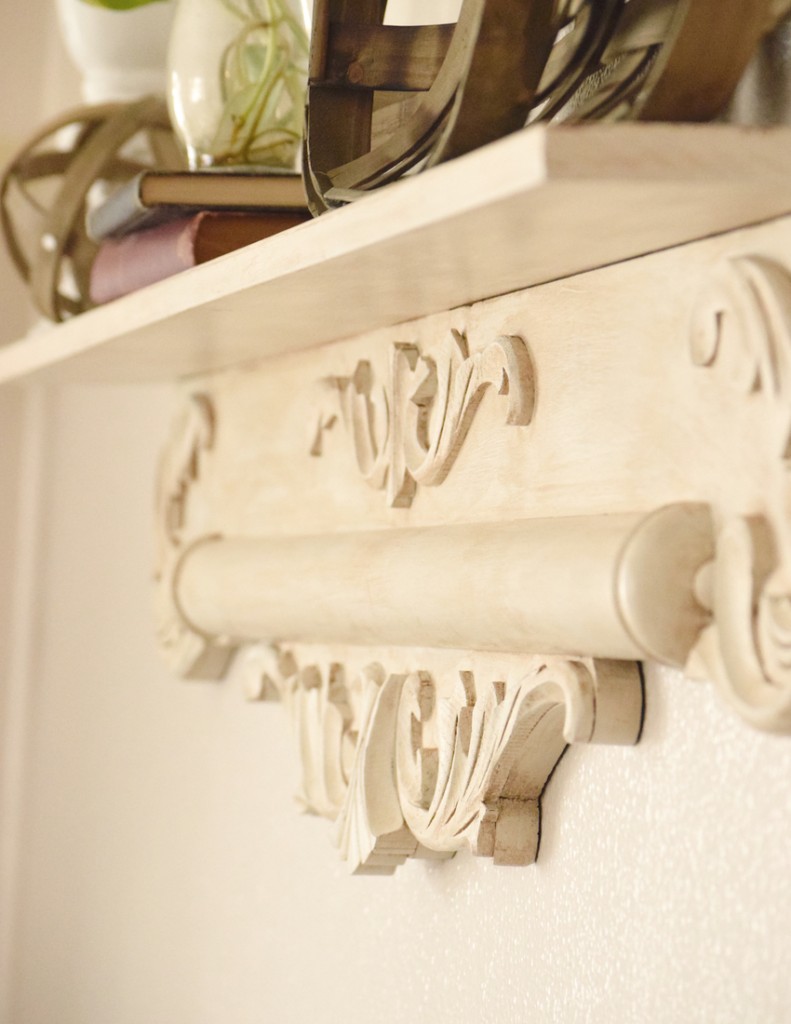
It was easy to go grab a 1 inch by 8 inch pine board from our local hardware store (who, after asking, cut the board for me as well!) This particular pediment still had the dowels in the bottom where it was attached to its previous furniture piece. Instead of getting rid of those, I decided to utilize them by drilling holes in the board to fit the dowels into. I added some wood glue into the holes and all along the board where it would meet the pediment. I then used some clamps to get a tight fit while the glue dried.
Tip: Make sure to wipe down any glue that squeezes out or you could get some funny drip marks that won’t go away!
After adding the board all it took was some paint to spruce up the shelf! I did make sure to clean and sand the pediment to ensure proper adhesion of the paint, as well as rounding out the corners and edges of the board just a bit so they weren’t so stark.
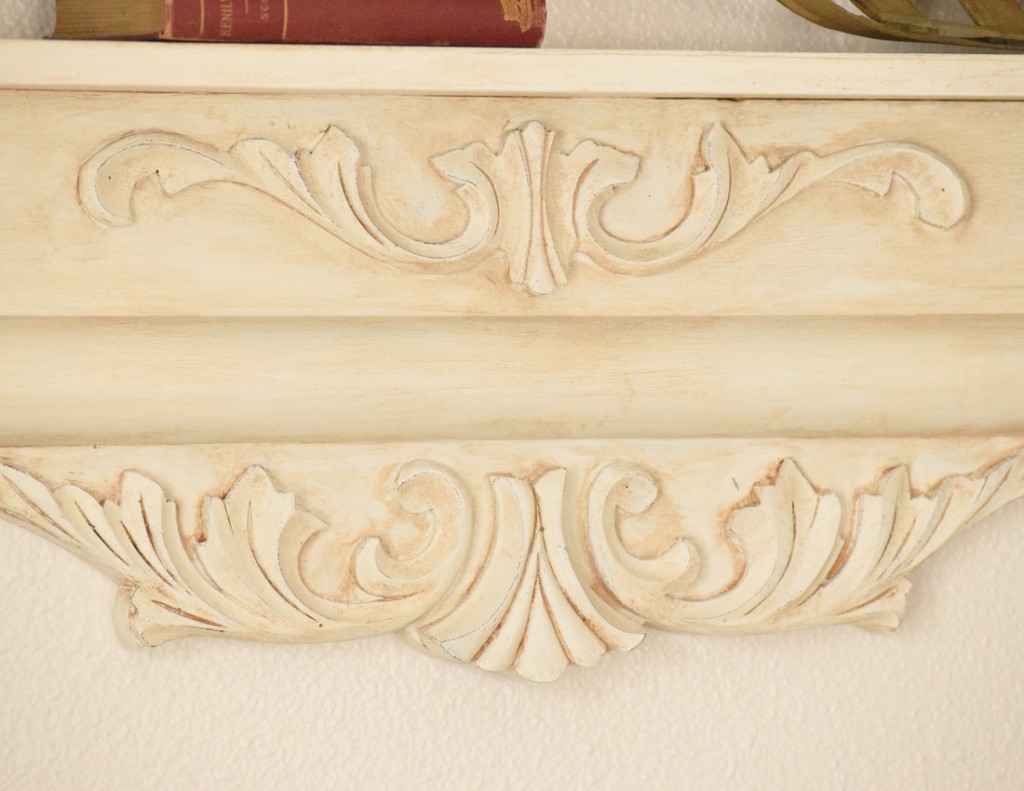
I got to try a different paint for this shelf too. We had used Rustoleum’s “Chalked Paint” on a previous coffee table but this time we got to use the brand’s color-Linen White. I thought the color was fairly close to Annie Sloan’s Old White, which is one of our all time favorites. Two coats were all that was needed of the white base, but I didn’t want to stop there. It needed a little extra something…which just happened to be dark wax! I wanted to bring out the lovely details in this piece by smushing the dark wax into all the cracks and crevices to give depth.
Tip: Make sure with all dark waxes, you are adding clear wax first! Apply the clear wax and once that is dry go ahead and add your dark wax. Buff at the end of both waxes.
The dark wax was also buffed all over the entire shelf to give it an antiqued look. After the wax, I also wanted to add a bit of shabby chic to the piece which I did by very lightly sanding the top edges of the details.
And the great thing with wax, it’s not only an extra step to give it a wonderful antiqued look, but it’s also the sealant, no need to add anything else.
I am so ecstatic how this pediment-turned-shelf ended up! Architectural pieces are my very favorite to decorate with, and I feel like I really found a gem at that random stop at an antique mall.
More you may also love…



Leave a Reply