Last week I got the itch to start some crafting!
As a blogger and a store owner we start thinking about fall and holiday a lot earlier than most people. We have to plan what we want to carry and this year, it made me really excited for fall! So much so, that when I had an afternoon off, I decided to run over to Hobby Lobby to see what was new for fall to make for my own home!
This post contains affiliate links for your convenience in finding products we love. If you purchase through our link we make a small commission at no extra cost to you.
So my daughter and I roamed around the faux flower aisles looking at all the new items! Emme found some beautiful flowers – and like any other 14 month old, tried to snatch the flowers off the stems.
My strategy to picking out new flower stems (besides keeping them from little fingers!) or items for wreaths is to give the floral a once-over before I even pick anything up. This helps me to really look at everything out there, and come up with my favorites. I can then go back to what I really liked, without getting overwhelmed with too many in my cart.
After looking around first, I went back to my favorites and started gathering! I always love hydrangeas and feel like I can’t go wrong with three large flowers as my focal points. Next I grabbed these tiny budded flowers in different colors and choose the maroon and green ones to use in the background. I am really liking maroon for fall this year and feel like incorporating it everywhere!
Then I found those adorable little yellow topped buds and knew they would bring a nice pop to the wreath! I just loved those as soon as I saw them! After I gathered my favorites and saw them together in my hand I knew they complemented each other well. From large flowers, to medium and then small buds I would be able to layer these nicely.
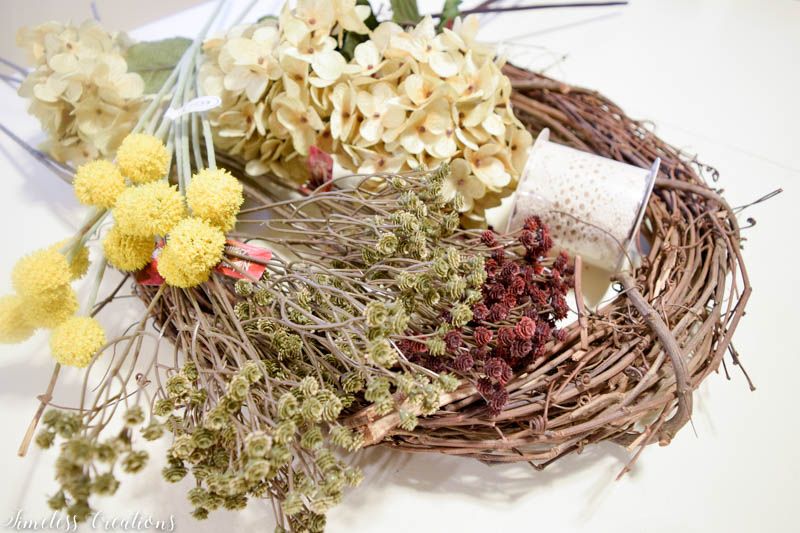
Here is all you will need to create your own wreath:
- Yellow Buds
- Cream Hydrangeas
- Small Maroon buds
- Small green buds
- Wreath Form
- Vintage Style Ribbon (Similar)
- Wire cutter
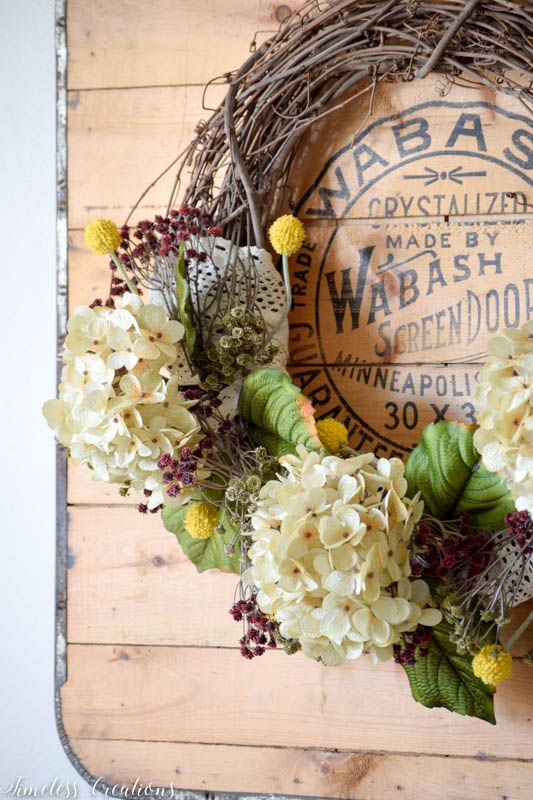
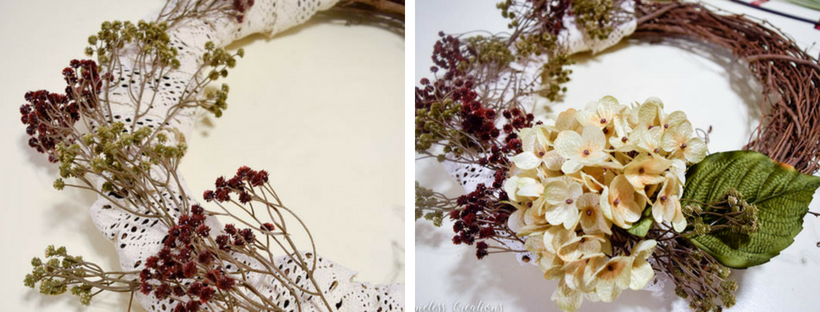
I began my wreath by wrapping the crotched style ribbon around the bottom half of the wreath form. Then I cut out those tiny maroon and green buds to go in the background. I put a bunch back there for a good base, going every which way.
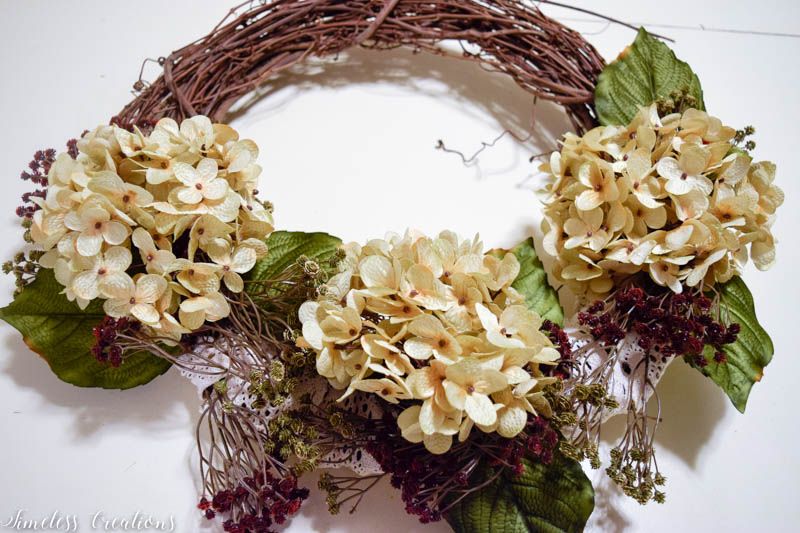
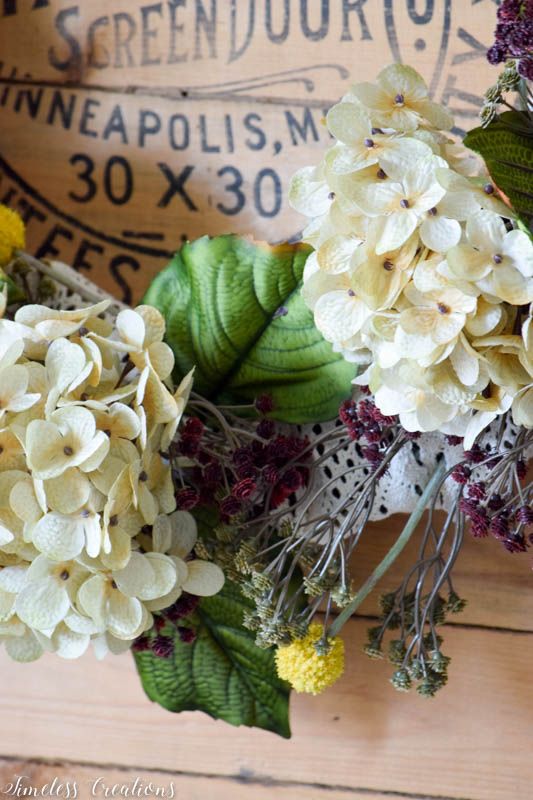
Then I cut the hydrangeas down to stick in at different intervals. When making a grouping like this – it’s always good to go with odd numbers, 3 or 5 etc. always looks better.
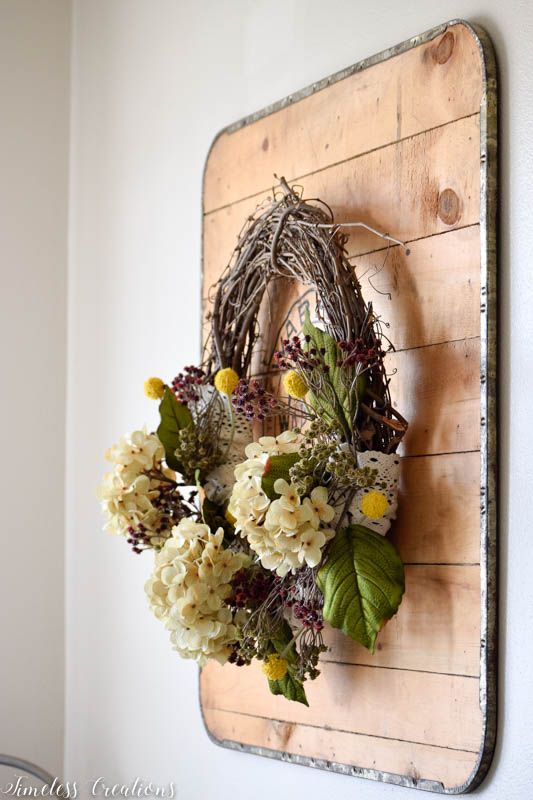
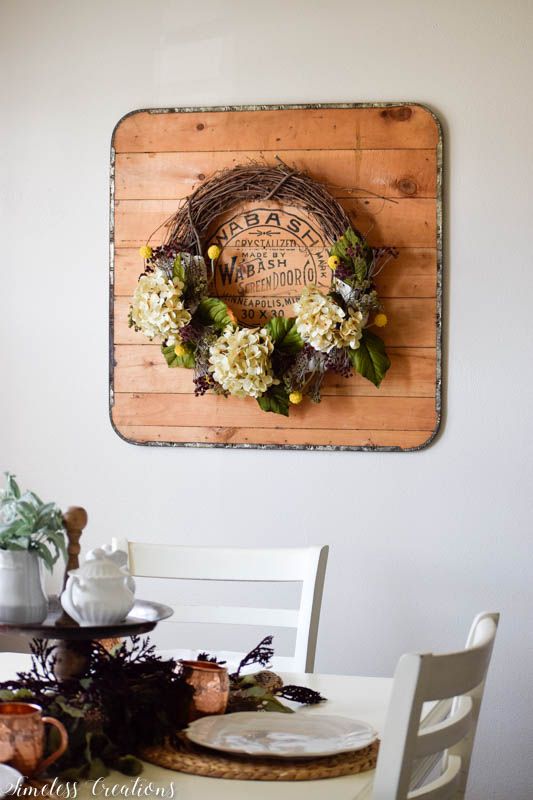
And last, but not least, the bright yellow ball buds for the end! I wanted to save these until the end to see where I needed the pop of color.
If this wreath would be going outside, or on a door, you would probably want to hot glue everything down. However mine was going to be inside so I just kind of wound everything in amongst the grapevine.
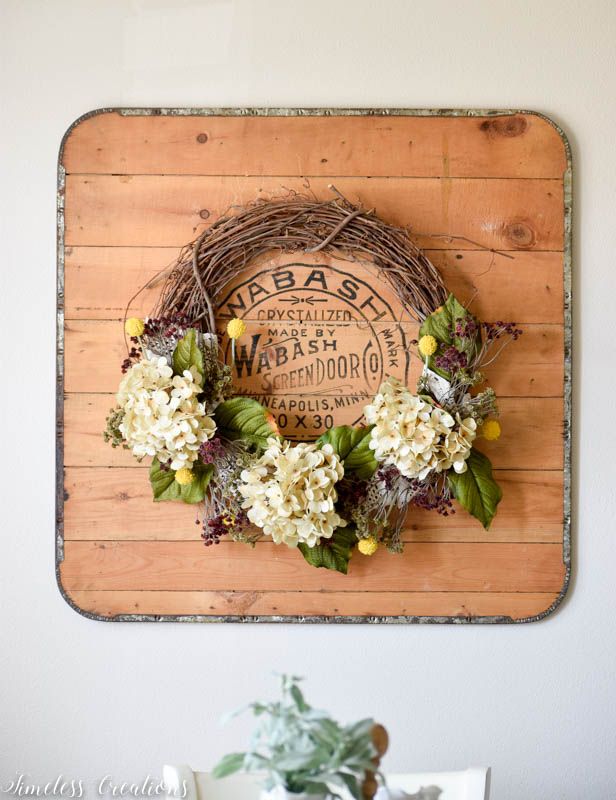
After about 15 minutes of cutting and placing my wreath was finished! Pretty simple hey?!
Fall is one of my favorite seasons to decorate for! I hope I have inspired you to create your own beautiful items. Know that it isn’t too hard and you can have fun with it!


This is a wonderful tutorial on how to make a wreath. It looks so pretty. Thanks for sharing at the Snickerdoodle Create Bake Make Party.
So very beautiful and great tutorial! Thanks for sharing on To Grandma’s House We Go!
This is a stunning wreath! Thanks for sharing at #HomeMattersParty