Hello! Once again we are sharing some awesome tips and tricks for creating unique looks to your furniture painted with Fusion Mineral Paint.
We recently did a huge update to an antique vanity we estimate to have been made in the late 1800’s to early 1900’s. It was just so adorable! It was really well built and made of solid wood, but along with old and previously loved furniture, there were some issues to it. Nothing we couldn’t handle of course, but some veneer problems and small dents needed to be fixed so this piece was slated to get paint from the get-go. We were thrilled that all the drawers worked perfectly and the curved mirror was something you don’t see often.
Here is the before of the vanity:
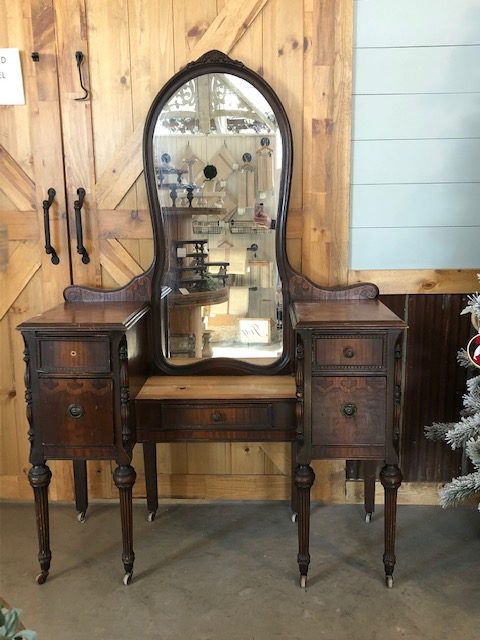
We chose a beautiful color by Fusion Mineral Paint – (that we sell online and in our store) which is our go-to paint. The color is called Homestead Blue, which all on it’s own is an absolutely stunning blue color, but we decided to take the blue just a little bit further with some other techniques that we will be sharing with you all today!
Fusion Mineral Paint makes all kinds of different products to really create a “one-stop-shop” where you can get just about everything you need from start to finish for a project. Not only is the paint super easy to work with, but it comes with a built in topcoat that doesn’t necessarily need an extra top coat if you don’t want it. You can paint and move on!
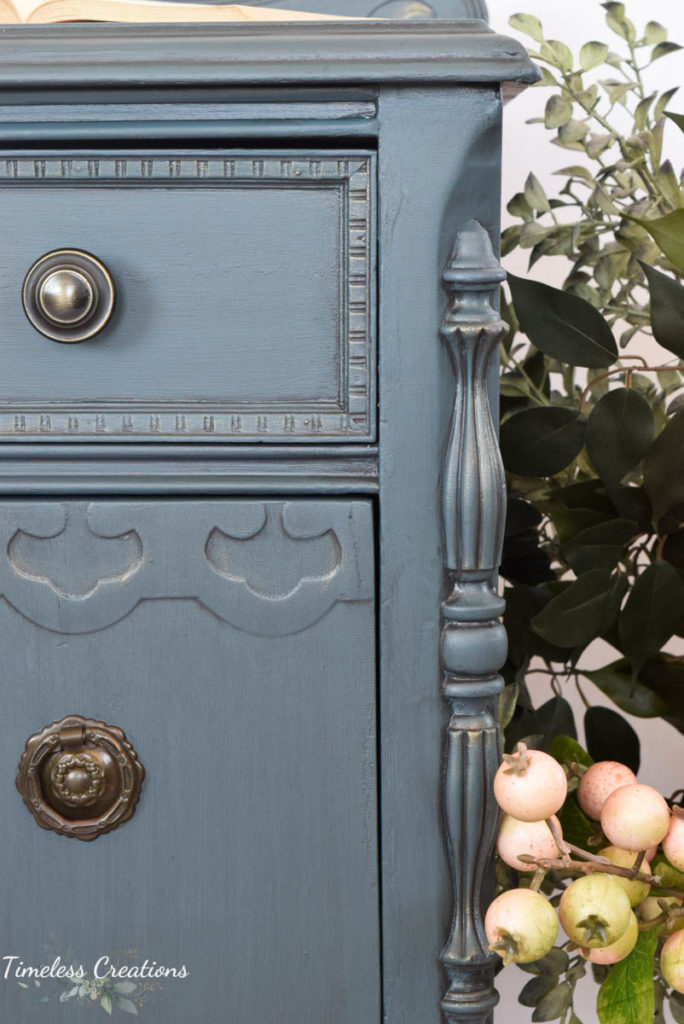
What really made this vanity special was the extra steps we took to add the depth and dimension to the original blue color to bring out the details and deepen the color just a bit. We did this by adding a glaze over the top after letting the paint dry for a full 24 hours.
Fusion’s Clear Glaze to be exact. The glaze is a product that is put over the top of the paint to get a different look, it has a long “open” time which means that you have some time to work with it before it sticks and dries. It comes in an already tinted “antiquing glaze” which is a nice espresso brown color. It also comes in a “clear glaze” which is tint-able by simply adding a little bit of paint and mixing them together.
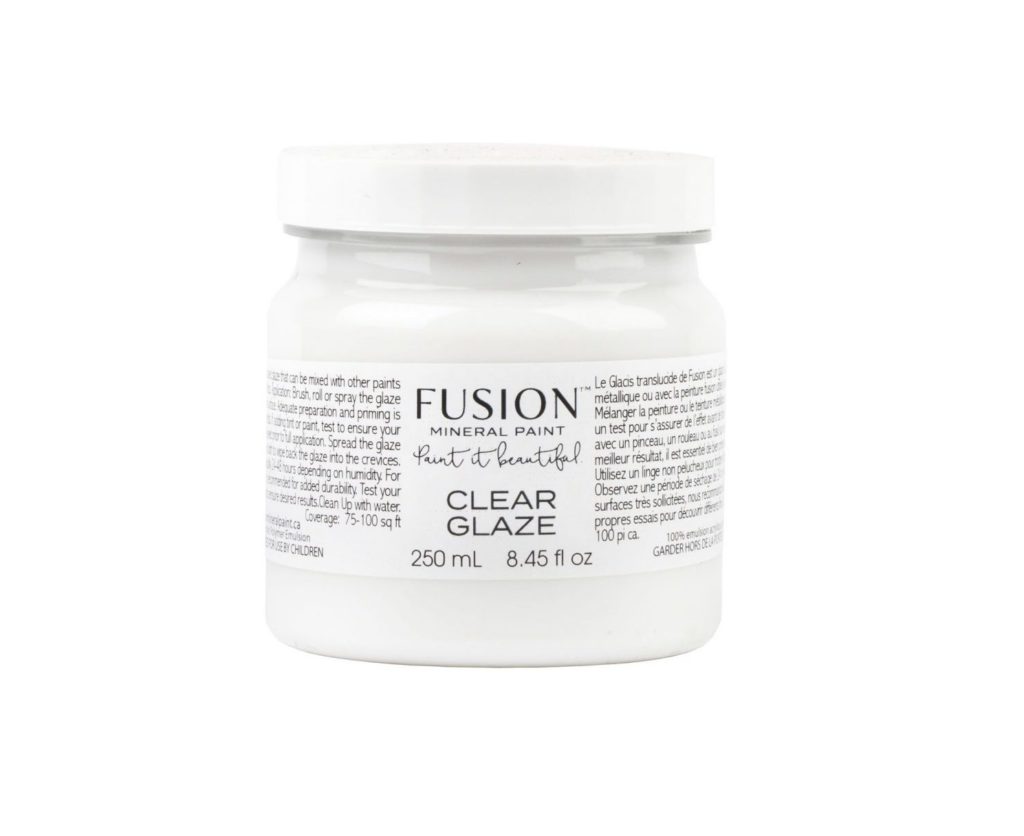
For this vanity we took about 3 parts clear glaze and mixed about 1 part of Fusion’s paint in the color “Ash” to a plastic cup and mixed them together to create a charcoal tinted glaze. We always use a plastic cup and plastic spoon to mix them together so we can just toss them out when finished instead of cleaning.
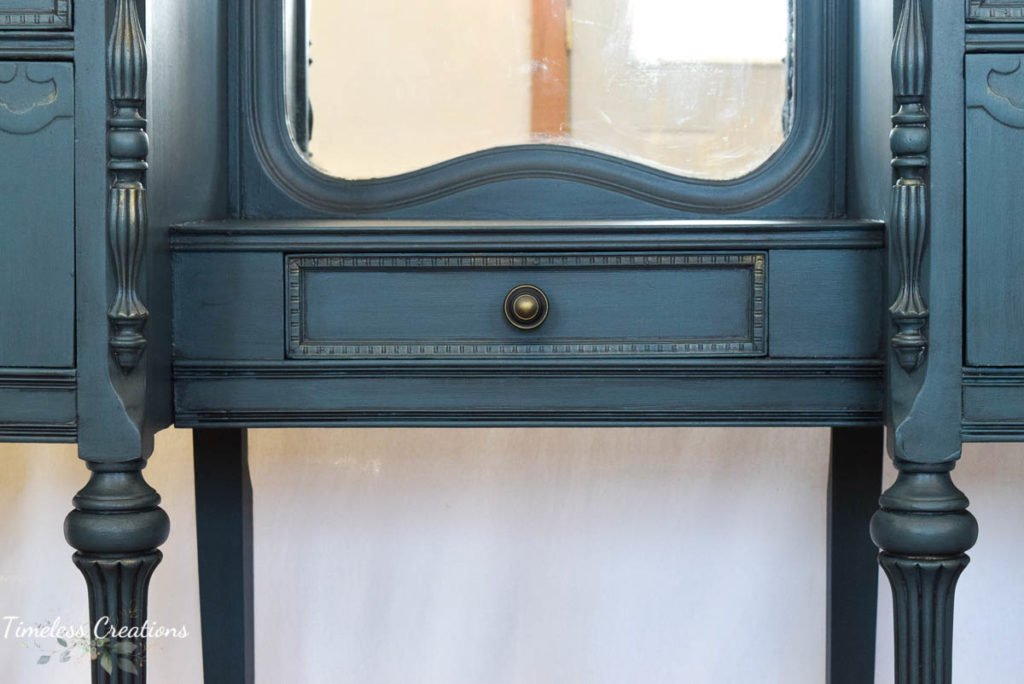
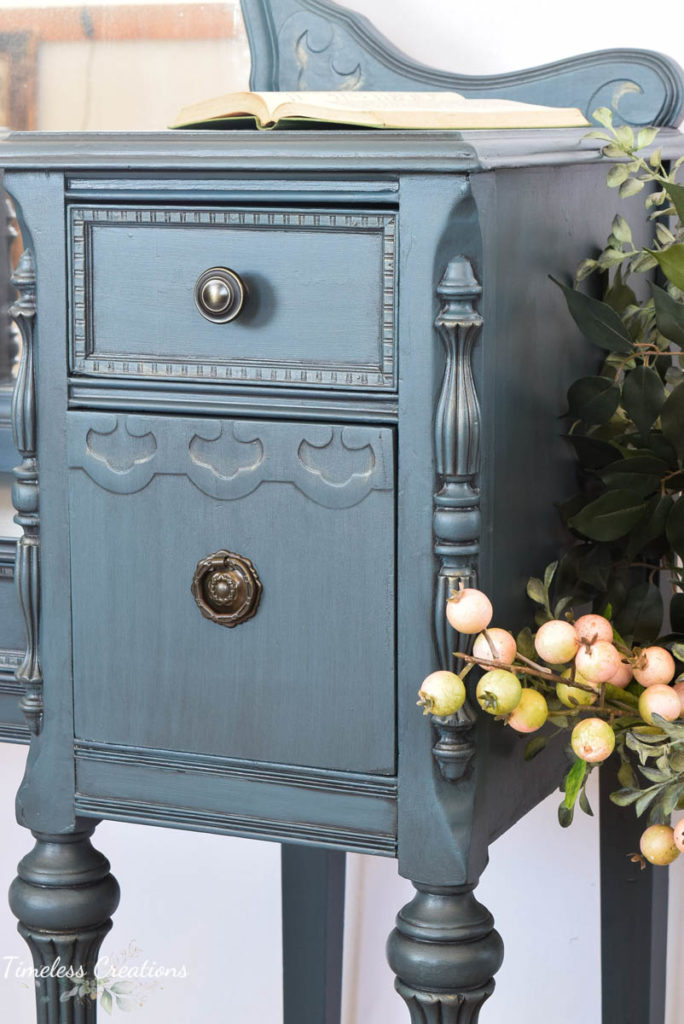
We then brushed the glaze on – working in small sections like a side panel or one drawer, and then immediately wiped the glaze off with a clean, lint-free rag. When doing large, flat areas make sure to wipe in long swipes from side to side so you don’t get weird designs in your glaze. You can leave as much on (or as little) as you wish! When glazing detailed areas make sure to get your brush bristles into every nook and cranny and wipe away the high parts, so all the glaze can stay in those lower areas which really makes your details pop.
We have a great Facebook Live video we created when glazing a coffee table that walks you through all of these steps we just mentioned. Find that video (and give us a “Like”) by clicking through HERE.
But we didn’t stop there! Once the glaze was completely dry we dry-brushed on some Metallic paint in the color “Bronze” to highlight the details even more. It brought a little bit of vintage/aged gold color to the high areas of the details to accent them and add a little shimmer. It went so nicely with the hardware and really added some pizzazz to this antique vanity!
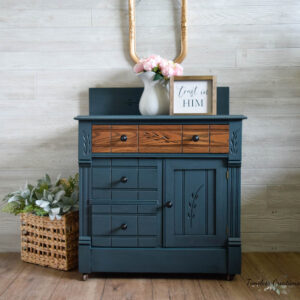
And here is the Antique Vanity fully completed!
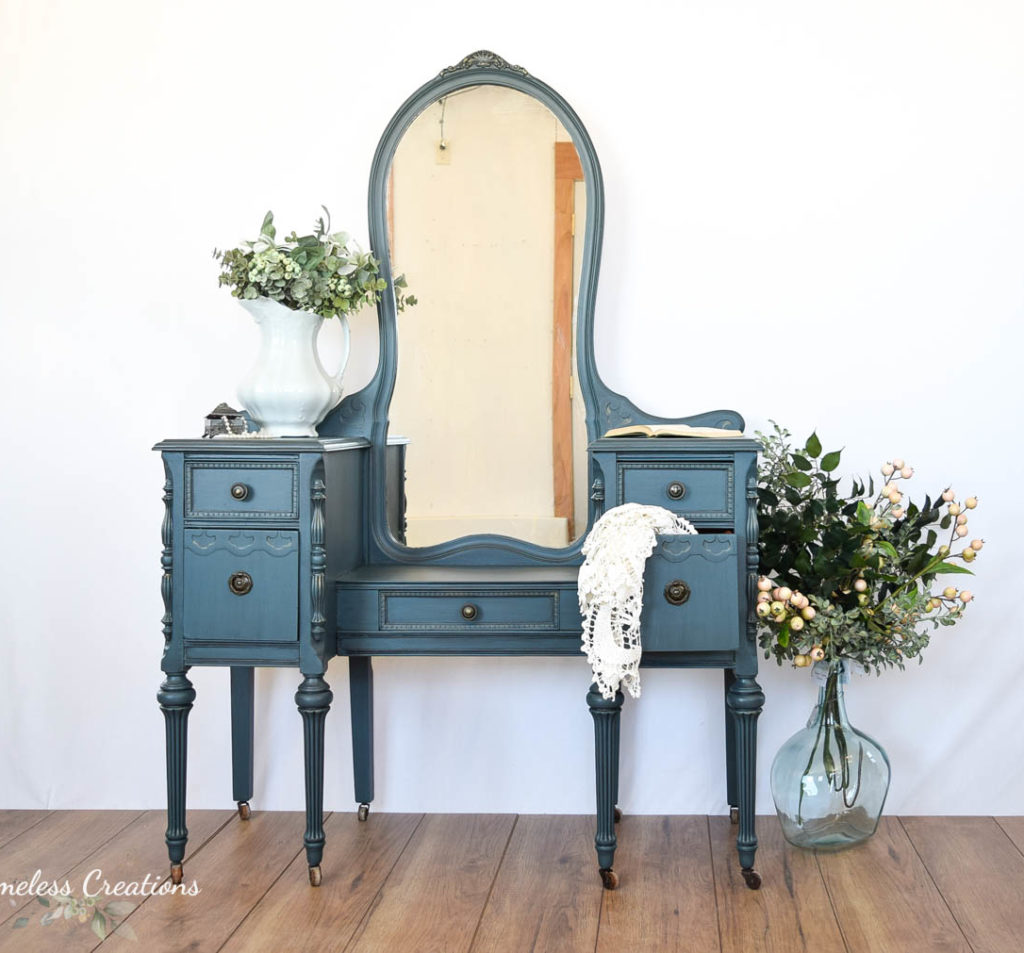
Once the entire piece was dry we did seal it with a poly like product that Fusion carries called “Tough Coat”. Glaze always needs to be sealed as it can wipe away over time.
Once sealed you can enjoy your updated “new” piece! Using glaze is a fun technique to really help you achieve some depth and dimension in your detailed furniture piece. This piece didn’t last long in our store before being snatched up by a happy customer. And we have many plans to use this technique with these colors again as we love it so much!
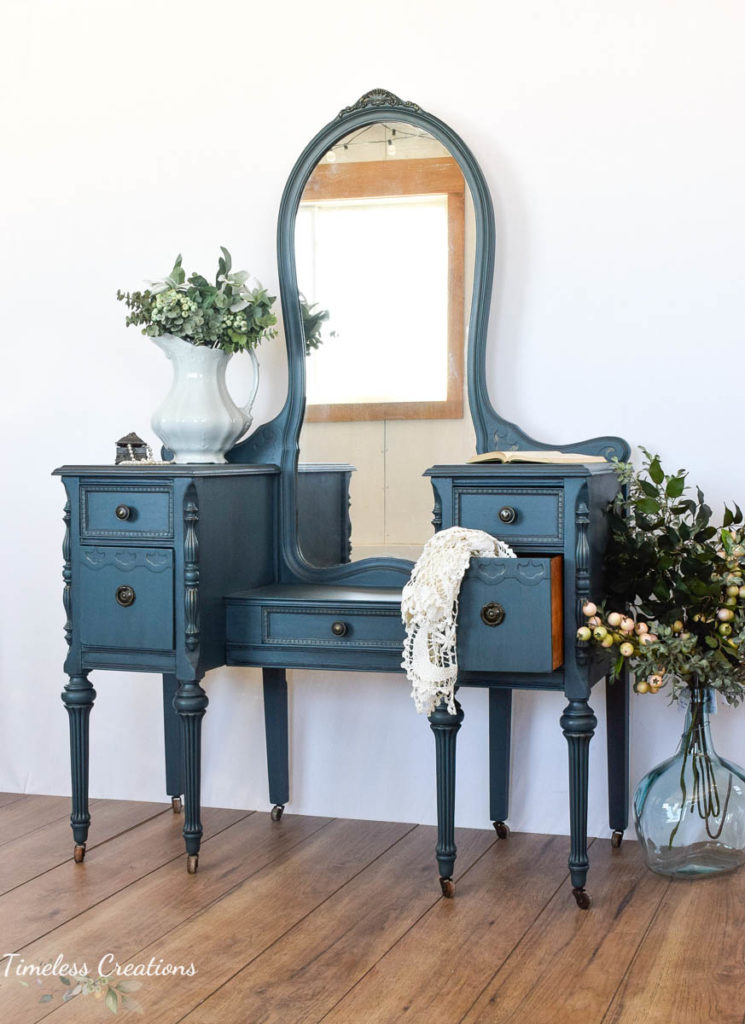
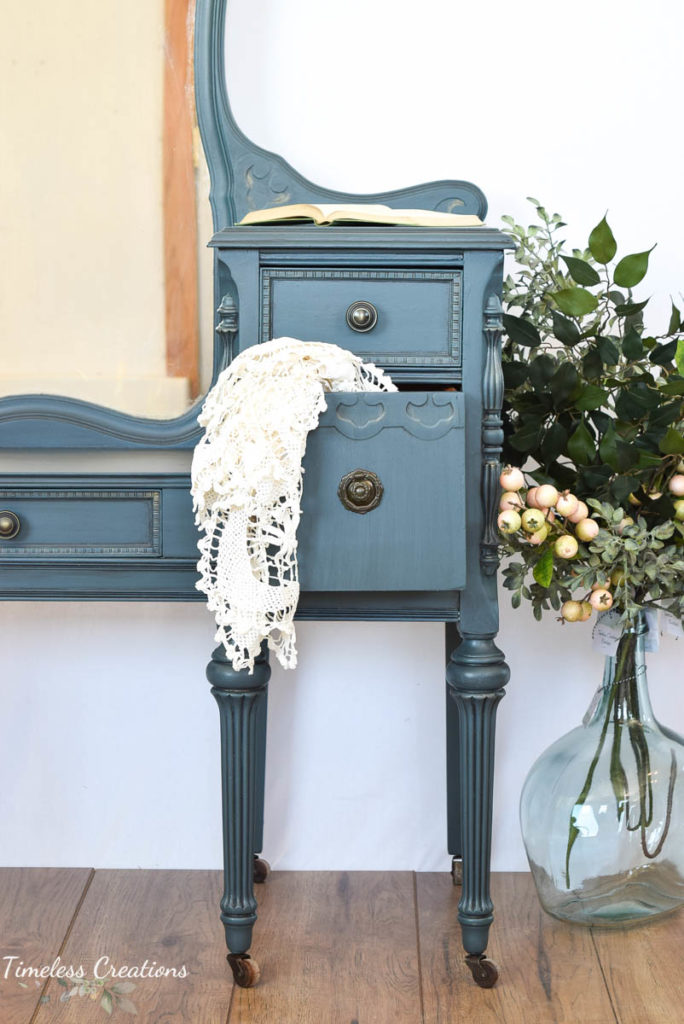
Products used: Fusion “Homestead Blue” / Fusion “Clear Glaze” / Fusion “Ash” / Tough Coat / Metallic Paint in “Bronze”




Are you selling the vanity?
If so can you please get in touch with me
Hi Neil, This Vanity has sold already. Thank you so much for your interest!
Approx how much could I ask for a piece like this , I have one similar in great condition , wish I could send a pic . I do t do many pieces , retired , but with cost of food etc , we can really use a little extra income and I have painted pieces before but not this large . Thank you , last question , can I just use dark wax to get same effect ?
We have been selling Vanitys like this for around $600-$650. Depending on the age and the finish. It does depend on the market in your area. We have sold these around our small hometown but they do sell for higher on a place like Etsy. But then you may have to ship. If you are listing a piece like this on Facebook marketplace they go for a lot lower. maybe around the $300-$400 range.
You absolutely can get a look like this with a dark wax, it is just a lot more subtle. We have done both with success! Good luck! IF you need any Fusion Mineral Paint Products we hope you keep us in mind. We ship anywhere in the US. https://timelesscreationsmn.com/product-category/fusion-mineral-paint/
I love how it turned out. I bought a veneer vanity similar but trifold mirror, and think this will be smashing on it. Did yours start out with wheels or were the wheels added? I bought all the recommended paints, and some extra to paint the next piece the ash gray. It all will go super in the color scheme.
Hi Jan,
Thank you so much for your order! Ours sure did start out with the vintage castors and we decided to keep them on. Good luck with your own vanity – it should look amazing, this is one of our favorite looks!