Sometimes your furniture makeover plans don’t quite happen the way you want them to!
I am a sucker for these Jacobean style pieces that have just gorgeous details, turned legs – just all around really pretty pieces. I actually have a Jacobean style hutch front-and-center in my dining room. It has those beautiful legs and pretty details. (Check out that post HERE)
But take a look at the before photo of this piece – has great potential right?!
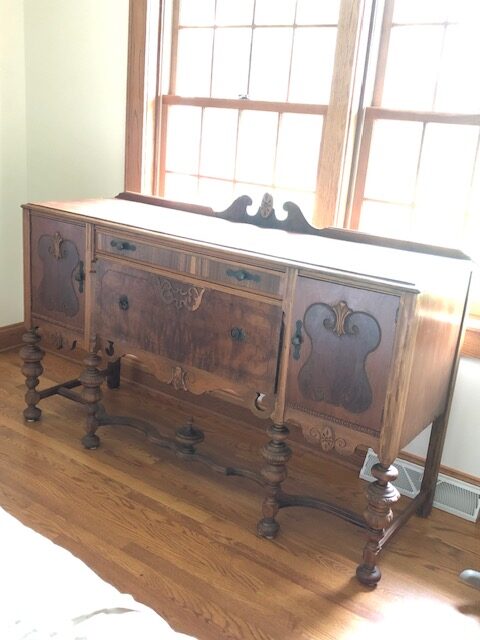
We purchased this buffet locally, brought it back to Kristen’s house as our storage room was full and there it sat for awhile. I didn’t really have the time to work on it right away and I thought I would save it for a “wow” piece in our new store that was being remodeled. But as it sat in my first floor guest room I began to notice that it wasn’t quite what it seemed. Not in a bad way at all! It was just as I began to really look closely at it, it had way more fixing to it than I originally noticed!
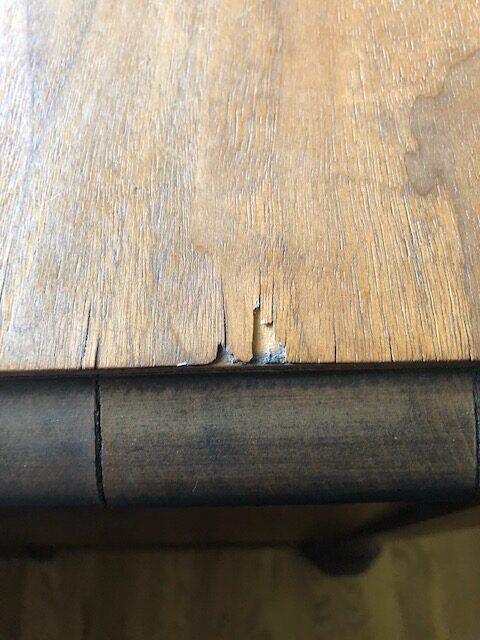
It looked like it had been “refinished” at some point. It had some missing veneer I hadn’t previously noticed as well as a very poorly repaired leg. My goal for this piece was to save some of that pretty veneer in some spots so I could do a two tone – wood and white look like we have previously done. BUT, as I started to take it apart I just kept finding more and more wrong!
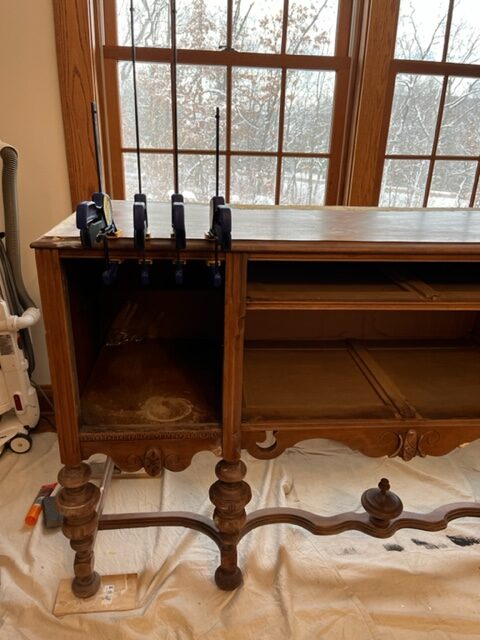
I started by filling in some missing veneer-which was way more than I first thought. Then began to repair that poor leg. I had to completely remove a section of the leg and re-glue it so it lined up better. But there was still some parts missing so I filled it first with some Kwikwood and then with some more malleable Elmer’s wood fill to smooth is out.
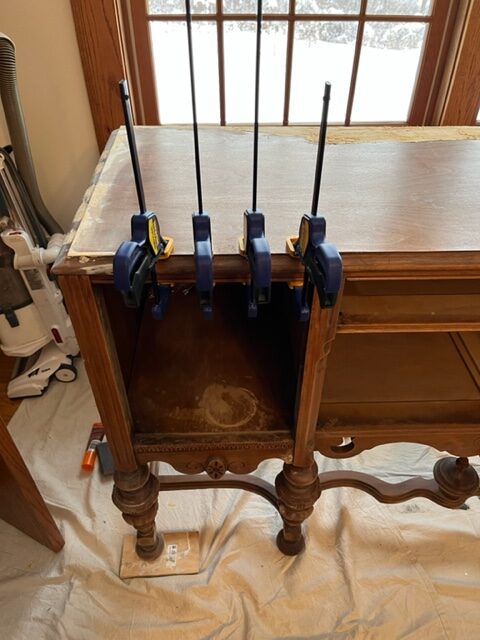
(In the above photo, you can see all the fill and gluing I was trying to accomplish on the top)
My biggest issue came after I removed the back piece at the top. I found a rather HUGE bubble towards the center back where the veneer was completely loose! I tried to re-glue what I could reach but the bubble was just too large and after some frustration I removed a huge chunk off the back of the top. I thought I could fill this area with wood filler and be done with it, but after smoothing it out and putting the first coat of paint on it, it STILL didn’t seem to look right! I was so frustrated.
I tried some more paint after smoothing it again , but then the veneer kept bubbling further with each wet coat of paint I would put on. At this point I did what I could to try to salvage it but it just wasn’t coming out right so I stepped away. We then actually moved this piece from my home to our new store space before our grand opening while we had the use of a U-haul and two strong men to help load and unload.
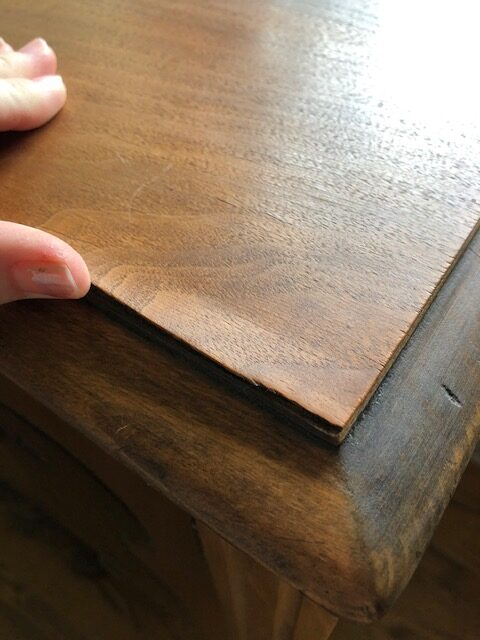
In our new store space was when Vicki was able to take a look at it and come up with a solution for that rather humongous bubble problem. Vicki really does come up with some of the best last minute solutions – I really don’t know how she does it! But we had a large unfinished pantry cabinet side panel sitting in our store that we were planning on using on our custom checkout counter. She took one look at that and said “You should just use this – glue and nail it down over the entire top”. That would fix the large bubble area without completely removing the entire solid original top! It was a solid sanded oak panel that you use for oak kitchen cabinets – but it was thin! So we cut it down to size (with the help of my dad on the table saw) glued and finishing nailed it down – voila! it was perfect! We filled in the nail holes and a couple of coats of paint later it was finished!
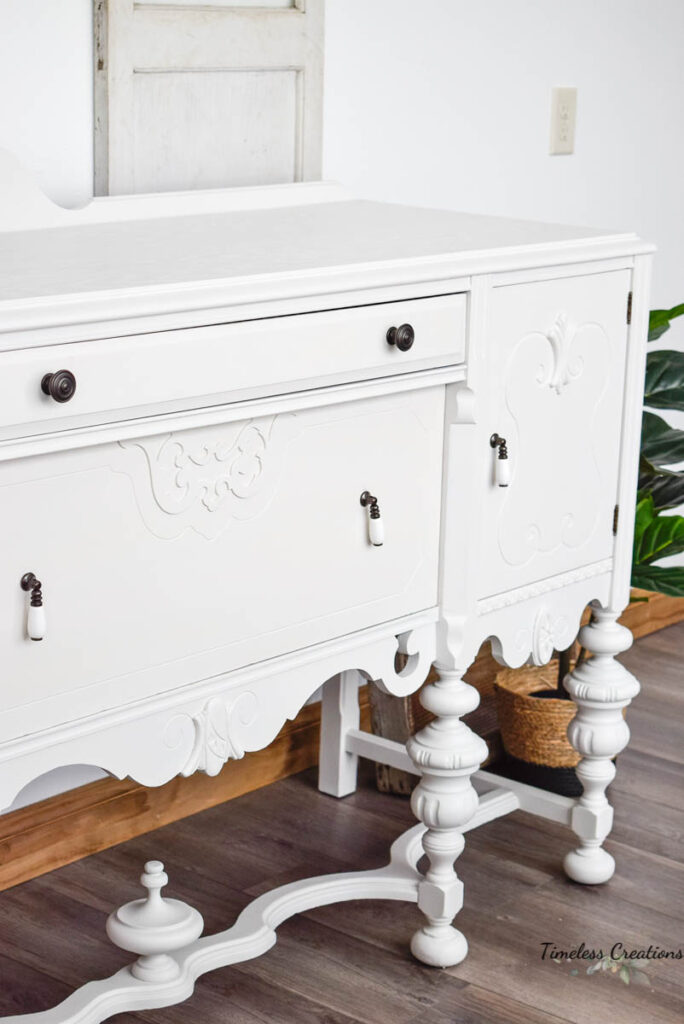
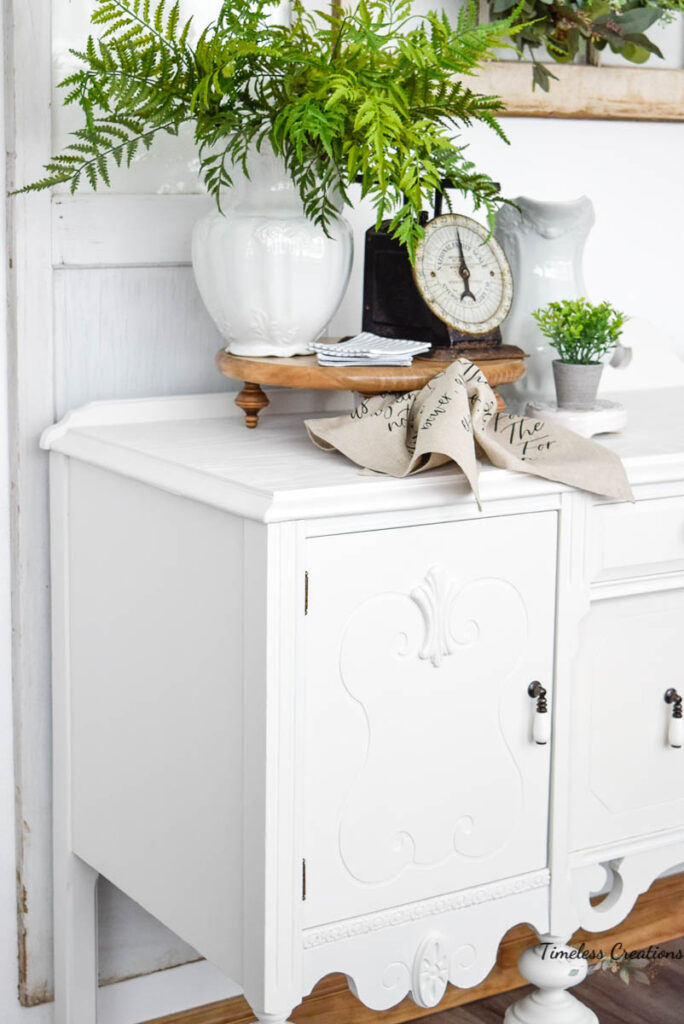
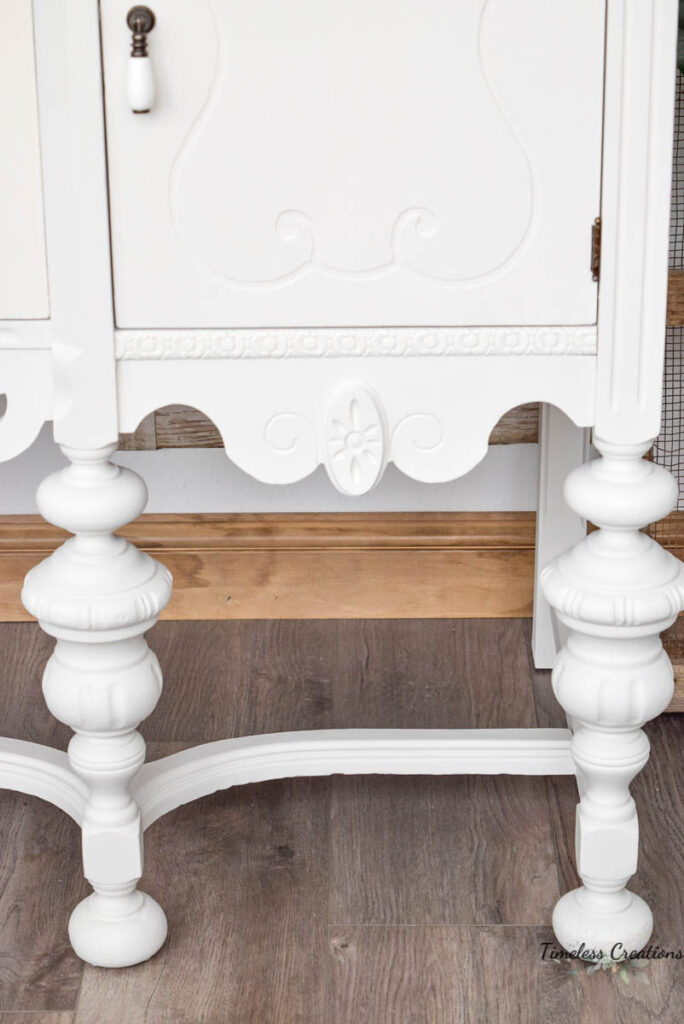
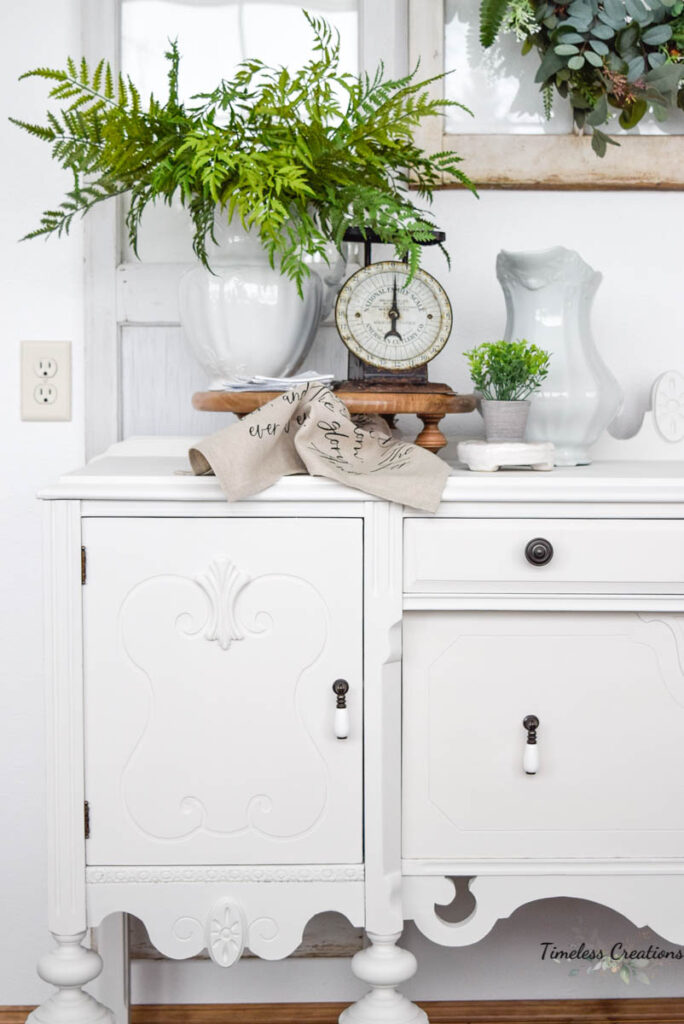
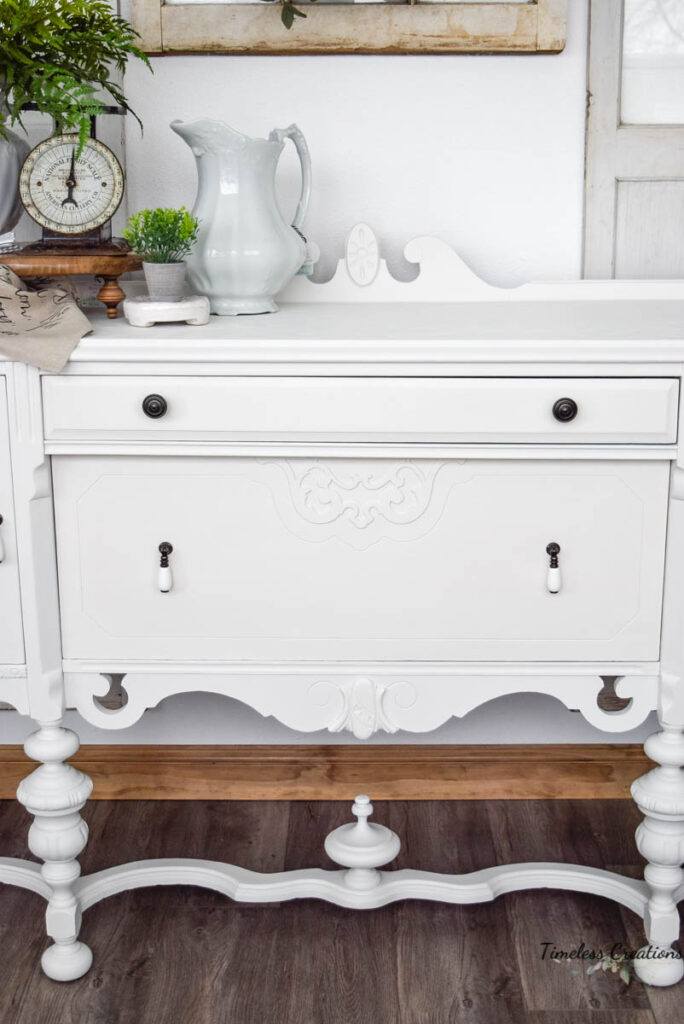
You can’t even tell that we added a super thin panel over the top of this piece! That’s how well it worked!
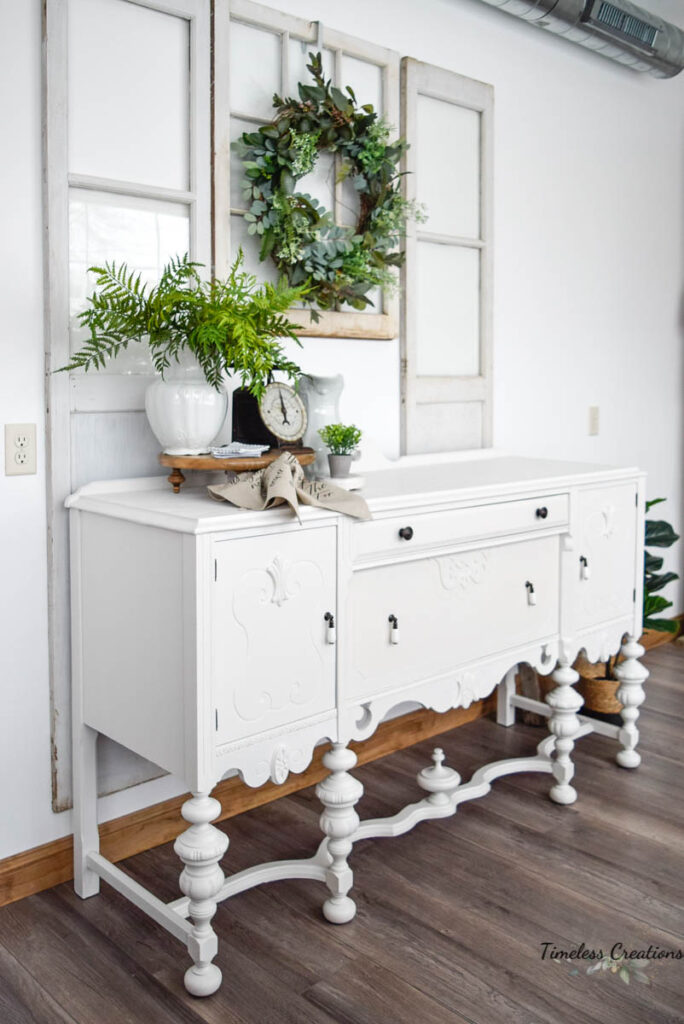
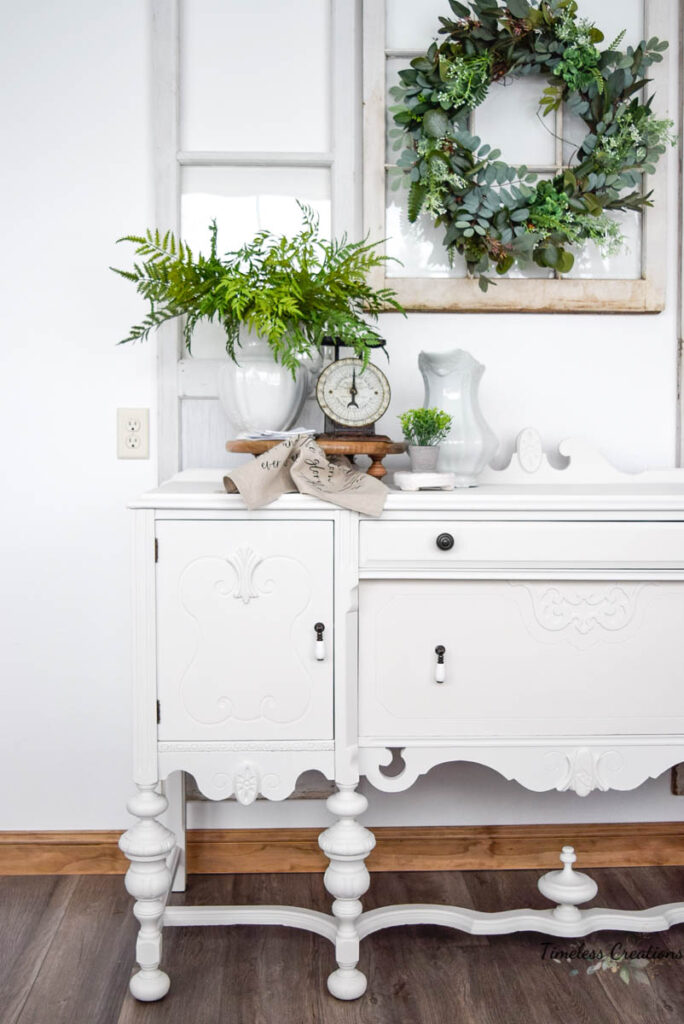
Sometimes what you think is going to be a really easy finish turns out to be a frustrating one. And one of the best ways for us to fix problems we encounter is for a fresh pair of eyes to take a look at it. We work really well that way together. When one of us gets stuck we can usually count on the other person to bounce ideas off of or come up with a fresh idea! It’s also sometimes hard to determine exactly what is wrong with a piece by looking at it quickly at the sellers house or at a flea market. Usually though, you can come up with alternative solutions – even if it wasn’t quite what you originally planned!
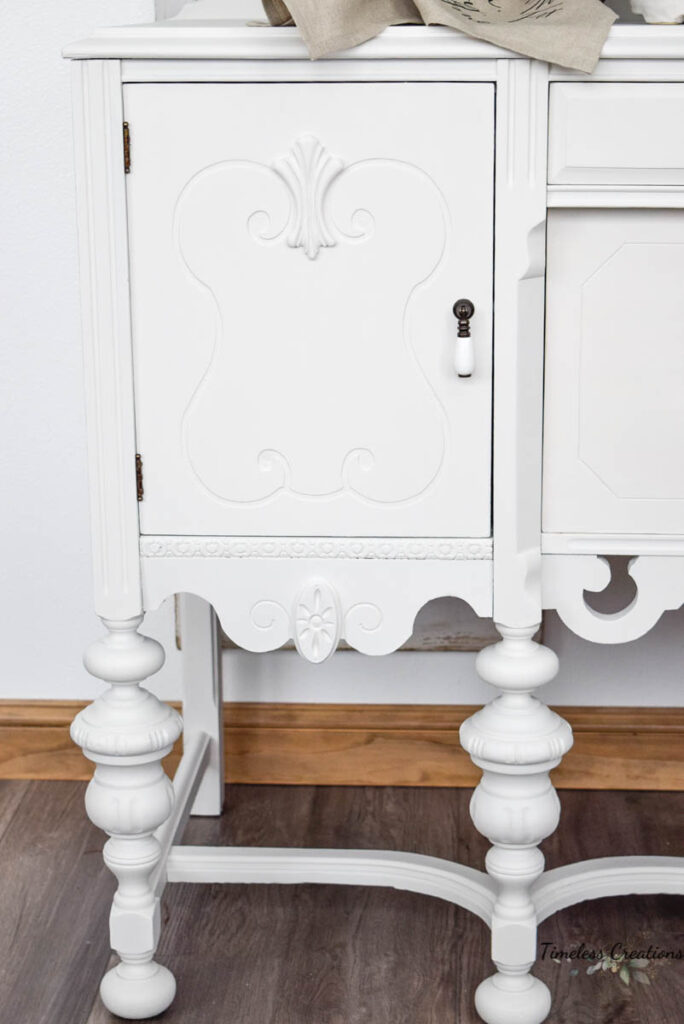
We painted it in my new favorite white color – “Victorian Lace” by Fusion Mineral Paint. We carry this furniture paint in our store and on our website as we love it so much and tend to use it on almost all of our furniture pieces. This white isn’t the purest white of the line but is a perfect blend between warm and cool white but is still on the brightest white spectrum.
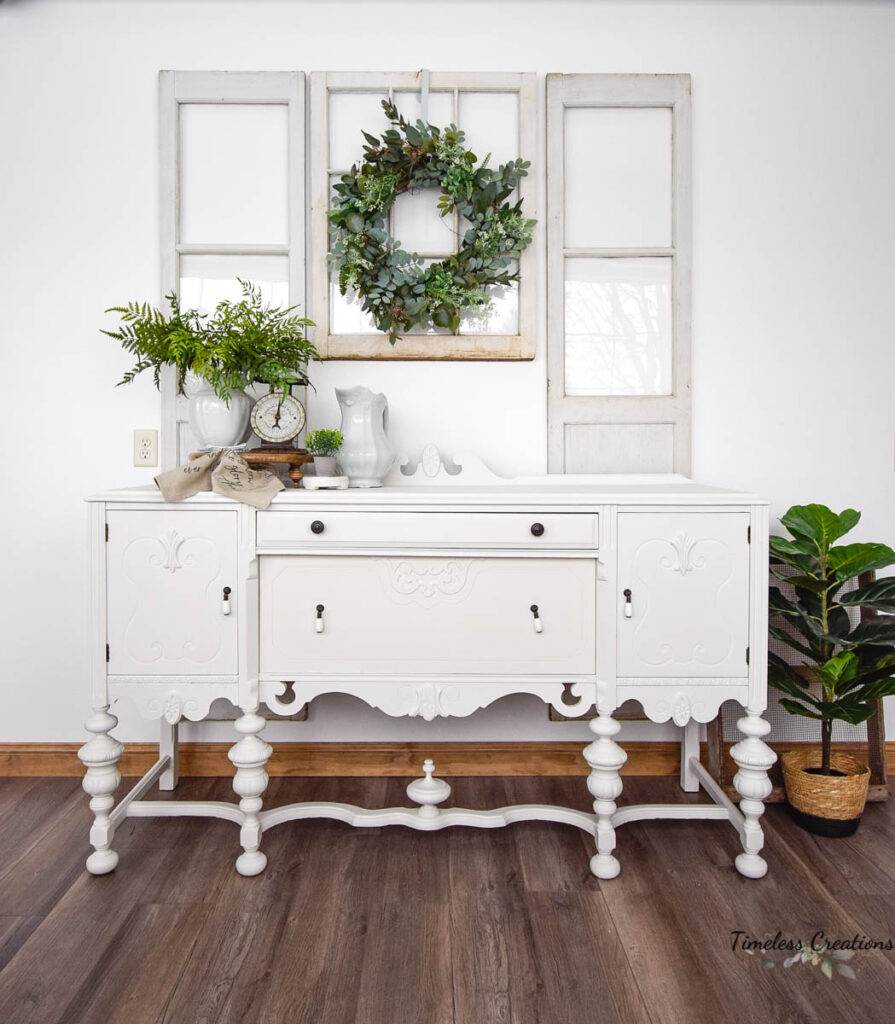
SOURCES: Fusion Paint “Victorian Lace” / Wood Filler / Wood Glue / Kwikwood / Furniture Cleaner “Fusion TSP”
Kitchen Cabinet Pantry Side Panel (used for top)
Check out more Fusion Mineral Paint colors HERE
I am so happy to be getting back into the sharing with you some of our furniture makeovers! I have missed this part of working and look forward to catching up with all of our most recent furniture makeovers and some fun decorating and makeover stories soon too! Stay tuned for more!
If you haven’t seen the blog post all about our new Boutique remodel go check that out HERE!



Leave a Reply