Hey all!
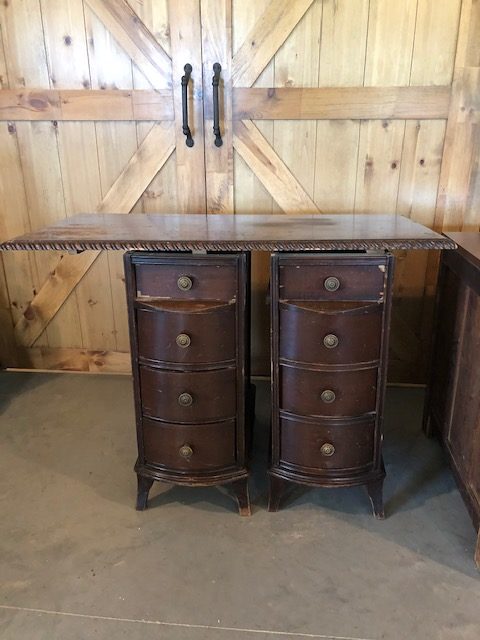
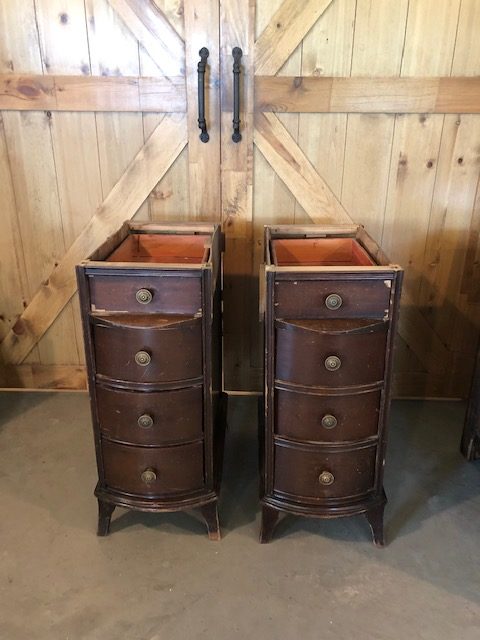
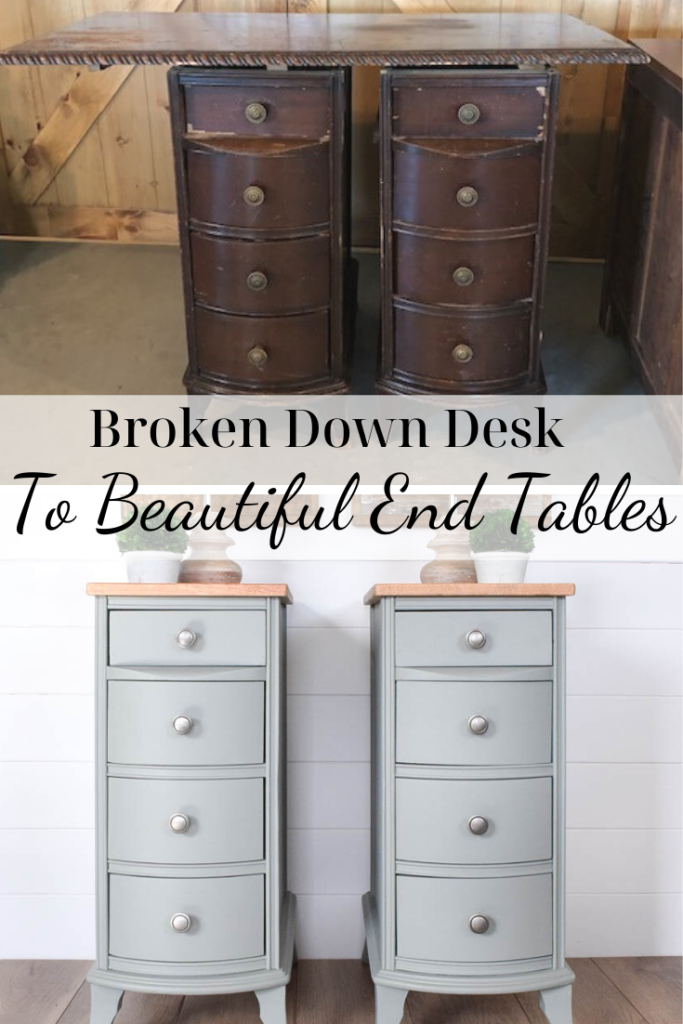
We had to share this gorgeous makeover with you for so many reasons – 1. it has a funny story to it, 2. we were able to create two completely unique furniture pieces from one original and 3. we used a new-to-us color that is turning into a favorite! Just look at this before…
But let’s start off with the hilarious story that happened just a couple months ago… Like most of you, we source our furniture from many many different places, one of those being Facebook marketplace. It is our least favorite source, but there are often fabulous pieces of furniture on there. This particular one was from the marketplace and while it looked like it was in rough shape, we didn’t think it would be a problem. After meeting up with the couple we were buying it from, they were extremely helpful in taking the desk out of their truck and even loading it into our SUV. We were very thankful for them and thought it was one of our easiest pickups ever! Normally we inspect pieces much closer, but this was the first piece we went out to get after COVID-19 hit our area and we were trying to stay away from others as much as possible. We just quickly asked how all the drawers worked and if there was any major damage while they got it out of the bed of their truck. After saying it was “fine” we just allowed the other couple to completely load it up so we could get back home right away.
Well, once we got back home we realized why they were so “helpful” in loading the desk into our car and why they left so quickly after getting paid. We went to pull the desk out of the car and took one step and one side completely broke away from the other! Literally, Vicki was holding one end and I had the rest of it with the top hanging off! The top wasn’t screwed on at all on one side and the aprons completely separated from that side! We were stunned for a quick second and then of course we burst out laughing! It’s not often we completely pull a piece apart!
We were disappointed that we didn’t look this one over well enough to determine it’s shape, however, we really didn’t care because it made our work so much easier! Little did that dishonest couple know we were going to take this desk apart anyway! It worked out for us in the end as it was short work to finish taking it apart.
We separated each end and the top completely to create two side tables complete with lots of storage. The plan was to create new tops for these and reuse the solid wood top of the desk to create a unique coffee table!
Even though the desk was half apart when we took it out of the car, it still took a while to get each of them perfect for paint. There weren’t any major items to fix, but quite a lot of scratches to fill. We always strive to get the best finish we can unless it has some awesome character we want to emphasize. But with these we wanted a smooth finish.
Once all those tiny scratches were taken care of we needed to prime the entire inside and outside of these because they were mahogany and we new from past experience that if you don’t seal in all that redness it will bleed through your paint. We ended up doing two coats of the BIN primer with Shellac. (The shellac in your primer is key to stop bleed – through. No other regular primer will seal it in)
See how red the insides were in the photo below? All of that would have bled through really bad. That is how you can tell you need primer.
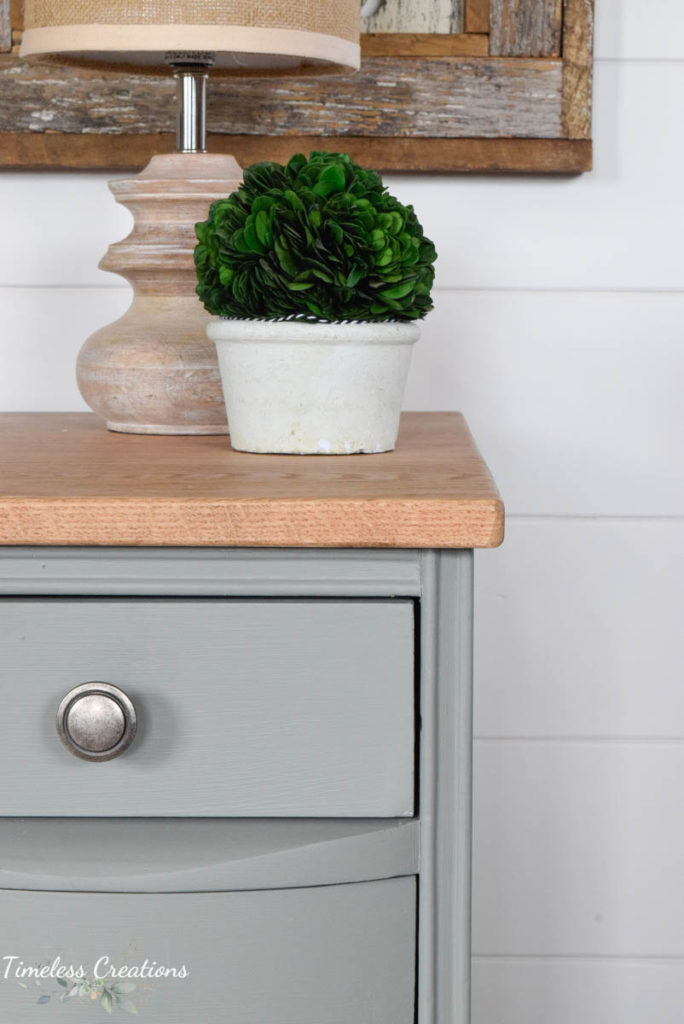
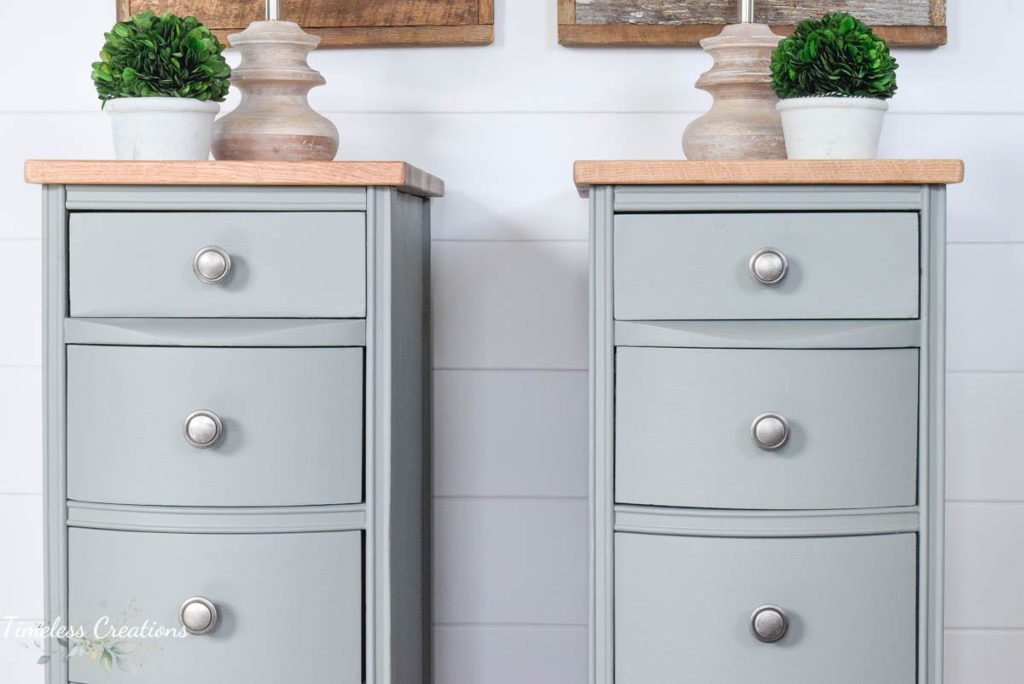
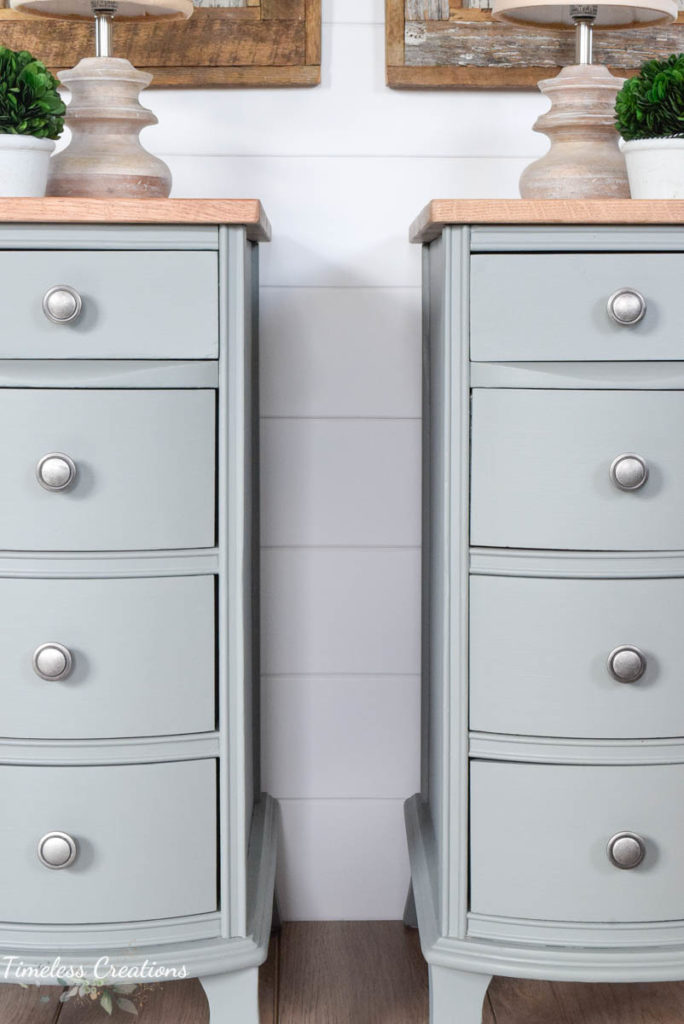
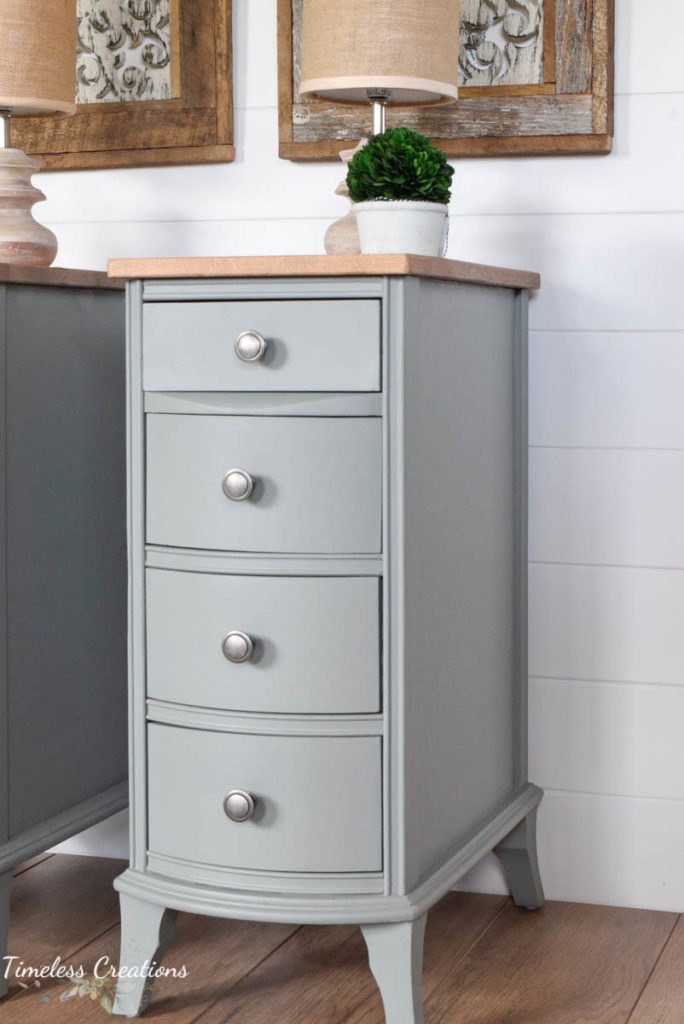
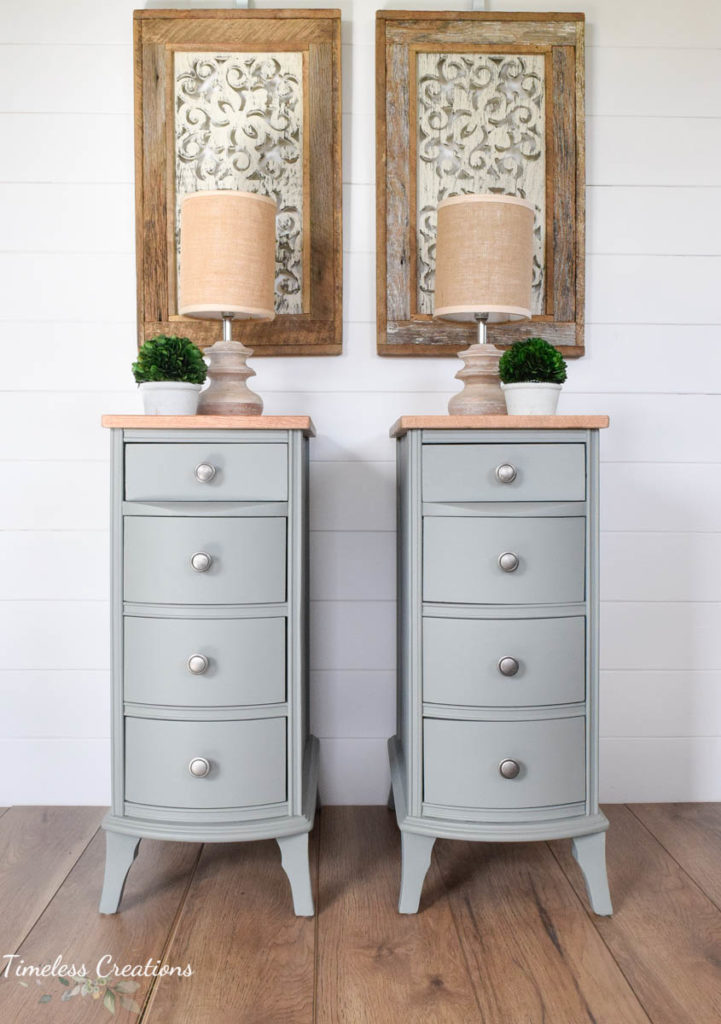
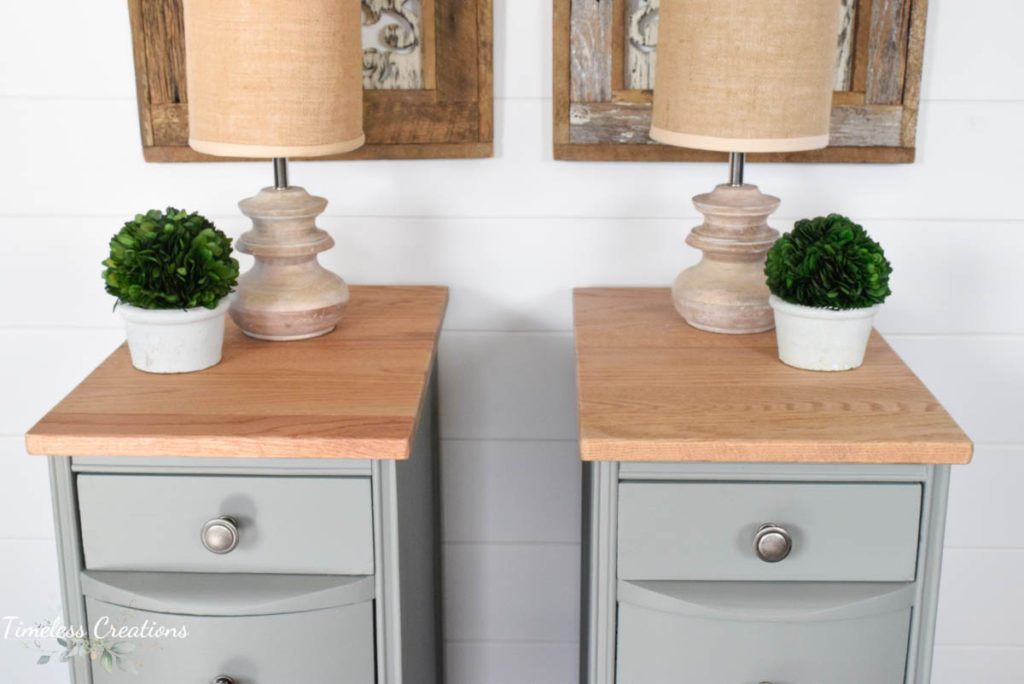
Two coats of Fusion Mineral Paint in what is our current favorite color called “Sacred Sage” was next. A chameleon color, where it looks more gray in some light and more sage green in others these two side tables got an entirely new look! And to top it off, new oak tops were added by cutting down an edge glued panel you can get from most big hardware stores. It was an easy solution but still a high quality wood. We sanded down the edges, stained them a light color to complement the sage and screwed them down to the top of the tables.
And we now have fully fixed and absolutely gorgeous new nightstands for the bedroom or side tables in the living room. They turned out so great that it’s crazy to see their humble beginning.
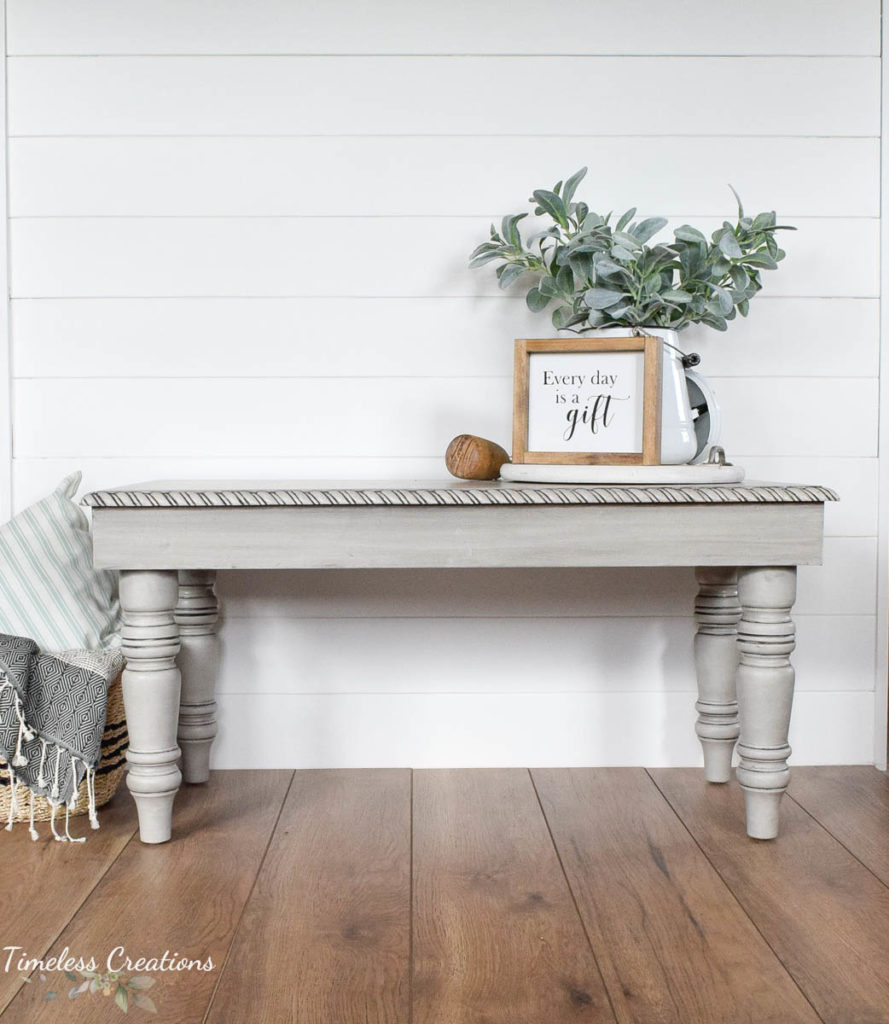
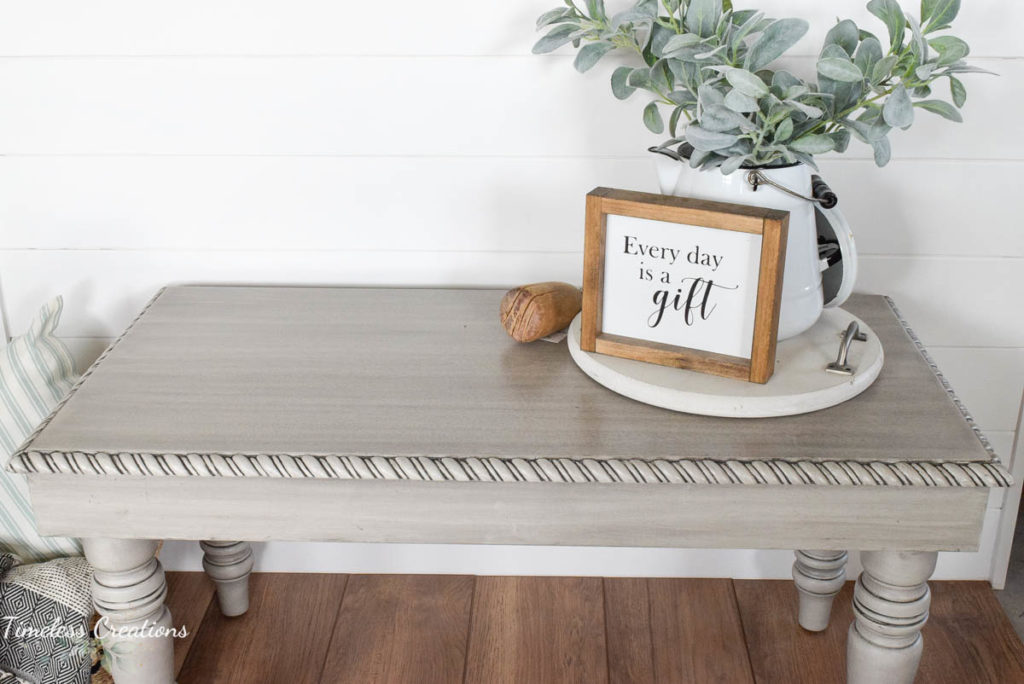
And look below to see how the top turned out! We already had the pretty turned legs we had previously purchased from a flea market and it was quick work to cut out an apron and attach the legs to the top. Because of the pretty rope detail of the table top and those turned legs we decided to do a fun glaze technique to really enhance them. (See how we glazed this table HERE on our Facebook page or read exactly how to glaze HERE).
This coffee table was super fun to create too. And look at how different it looks! It was a scratched up top that we were able to sand all the way down to create a new look. The glaze brought out the details just perfectly on the legs and the rope, but it also went into the grain of the top just beautifully as well! We did end up sealing this table with tough coat after the glaze had dried since coffee tables are frequently wiped and used a lot.
We hope you love seeing before and after’s of furniture makeovers just as much as we do! We have many more we wish to share with you!
Products Used: BIN Primer / Sacred Sage / Goddess Ashwagandha (Inside of drawers and base color of table) / Clear Glaze / Ash (mixed in the clear glaze)



[…] time. While we love taking something broken down and completely revamping it (See an example of a broken down desk post here) it is a nice breath of fresh air to get a piece that doesn’t need much prep work or fixing! […]