A while back, I was wishing for a place that I could set up my portable sewing machine. I was tired of dragging it out of the closet every time I wanted to sew up a new pillow (check for this post in the near future!) or other project.
For your convenience in locating products we have used this article contains affiliate links. All products are items we use ourselves and have formed our own opinions on. For our full disclosure go to our “Disclosures” page.
I had mentioned to a couple of people that I was looking for a good sturdy desk to use for my sewing table. A few days later, I heard of a neighbor who had an old desk just sitting out in her shed and she was looking to get rid of it! I went right over and took a look at it – it needed a little TLC, but was good and sturdy and well-built. The best part was, it was free!
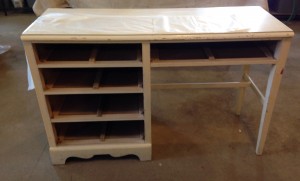
The only repair needed was on one leg in the back where a piece of laminate was peeling up a couple of inches. The drawer fronts and desk top were covered in white contact paper (the old, sticky version!) as well as several children’s stickers. While the knobs were serviceable, they weren’t quite what I envisioned.
First step – removing the hardware and drawers from the desk and peeling off the stickers and contact paper. Second, was washing the desk with a good solution of warm, soapy water with a little white vinegar in it to remove any sticky residue.
Next up was fixing that back leg. I cut off the peeling laminate – it was jagged and part of it was missing and thus not a good option for simply gluing it back down. I opted to cut off the laminate up to the point where it was loose. I purchased a roll of wood laminate at a local home supply store, cut off a piece to fit the desk leg and glued it in place with wood glue. I clamped the laminate piece and let it dry overnight. I then filled in the tiny crack between the new and old laminate with wood filler, allowed it to dry and lightly sanded to smooth it out. The desk was ready to paint!
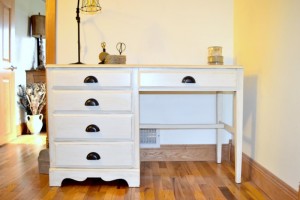
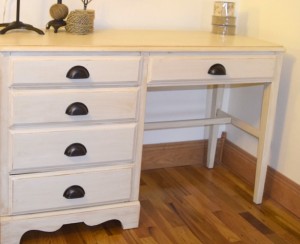
I decided to paint the desk using some leftover paint from my kitchen, which is a creamy off-white. I painted the desk with two coats of the paint, allowing it to dry completely between coats. After the second coat of paint was dry, I brushed with a dark brown glaze and immediately wiped off with a soft, cotton rag (an old T-shirt works great for this!). I brushed on three coats of Polycrylic, allowing it to dry completely between coats. Then I added newly purchased cup pulls in an oil-rubbed bronze finish to complete the project. 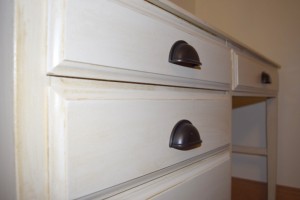
Voila! My new sewing desk!
I hope you enjoyed learning about my new desk, check back in for other similar How-To articles!
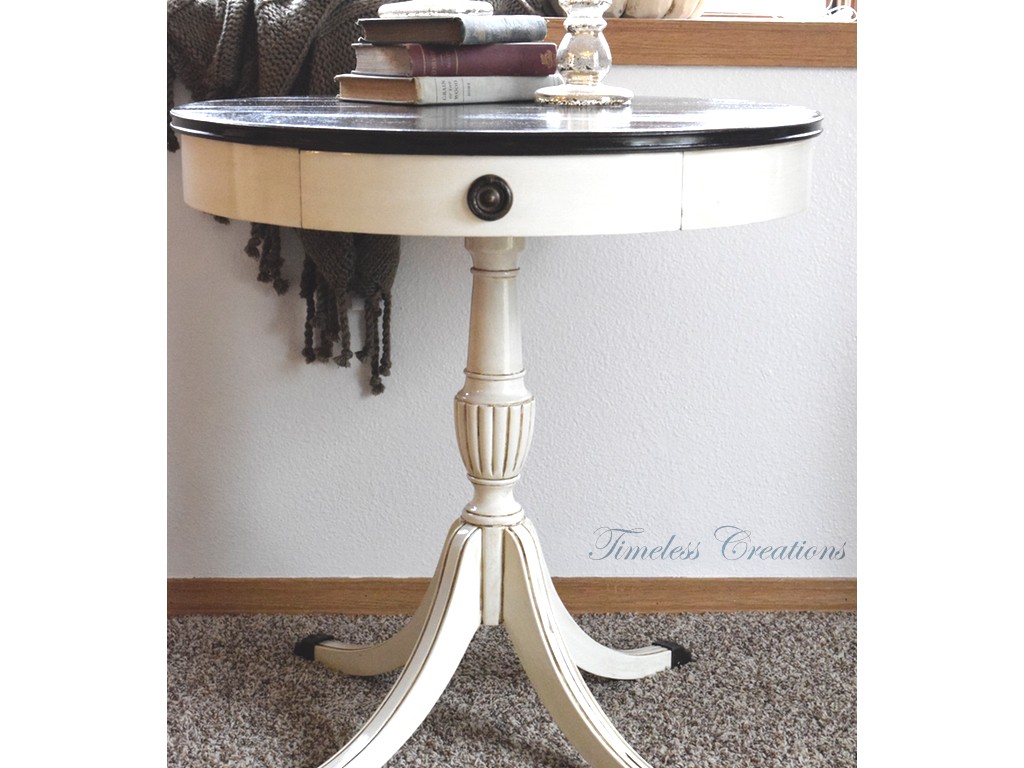
If you liked this post, we also did a similar look on a Drum Table
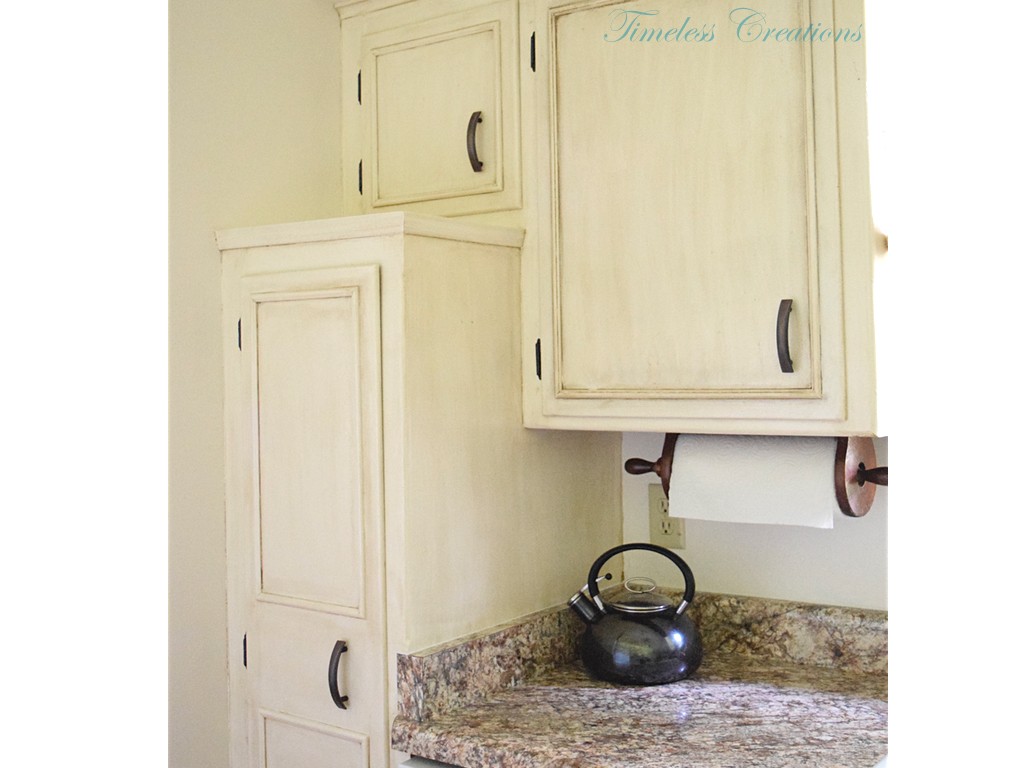
And these Kitchen Cabinets



Leave a Reply