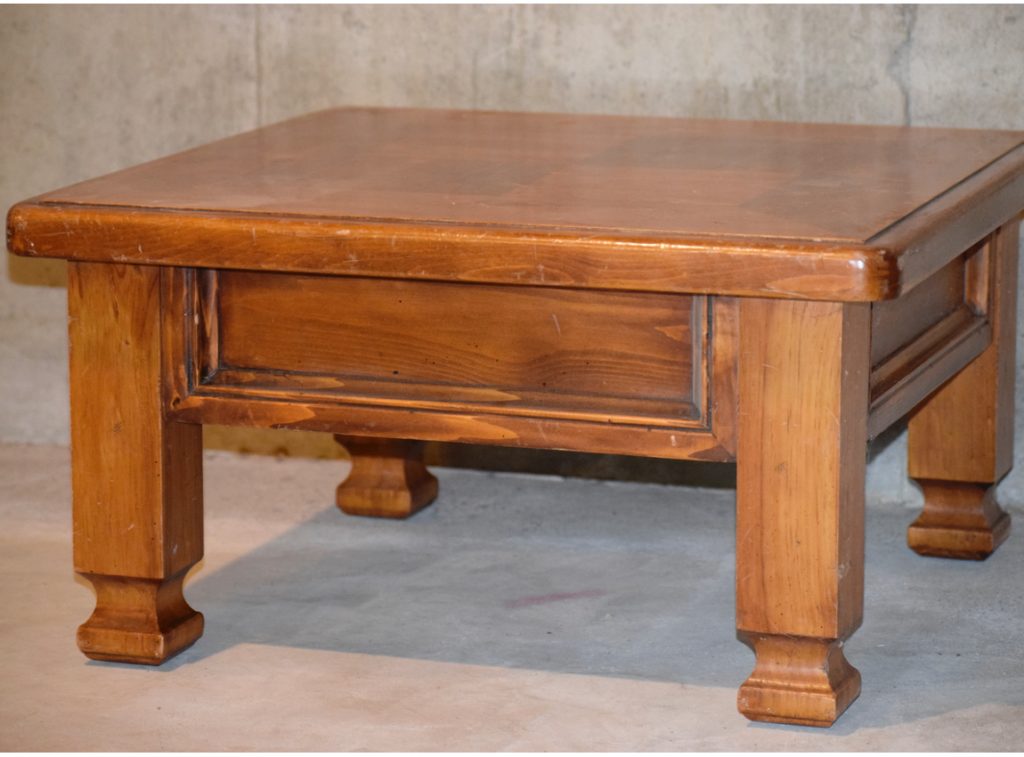
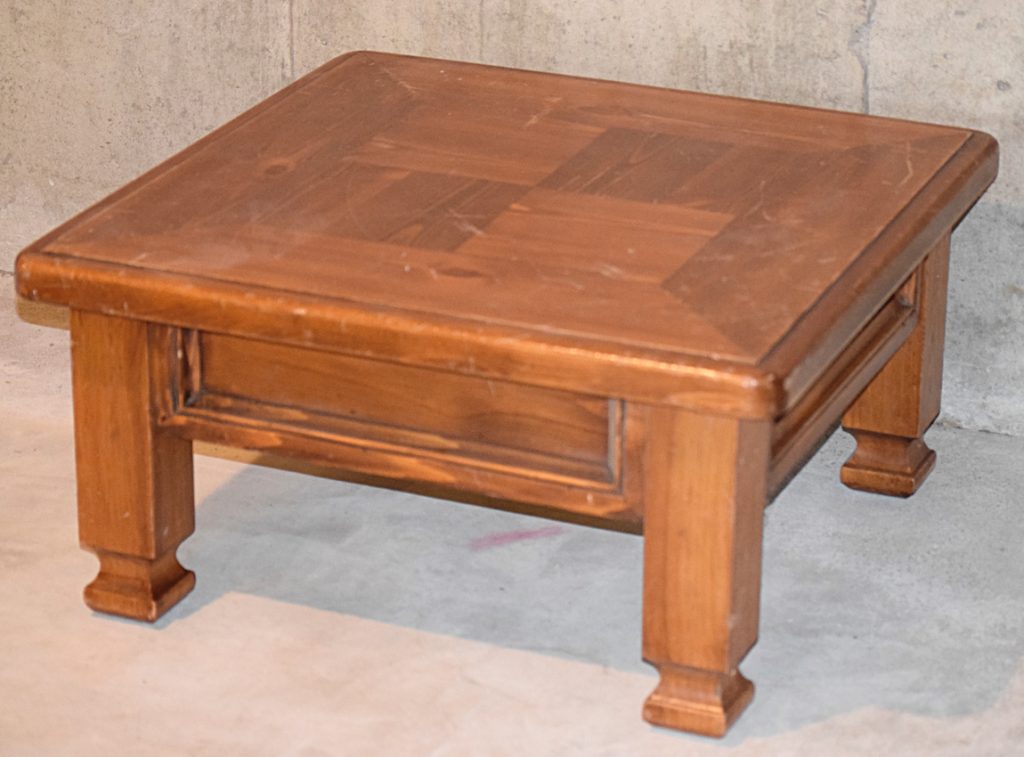
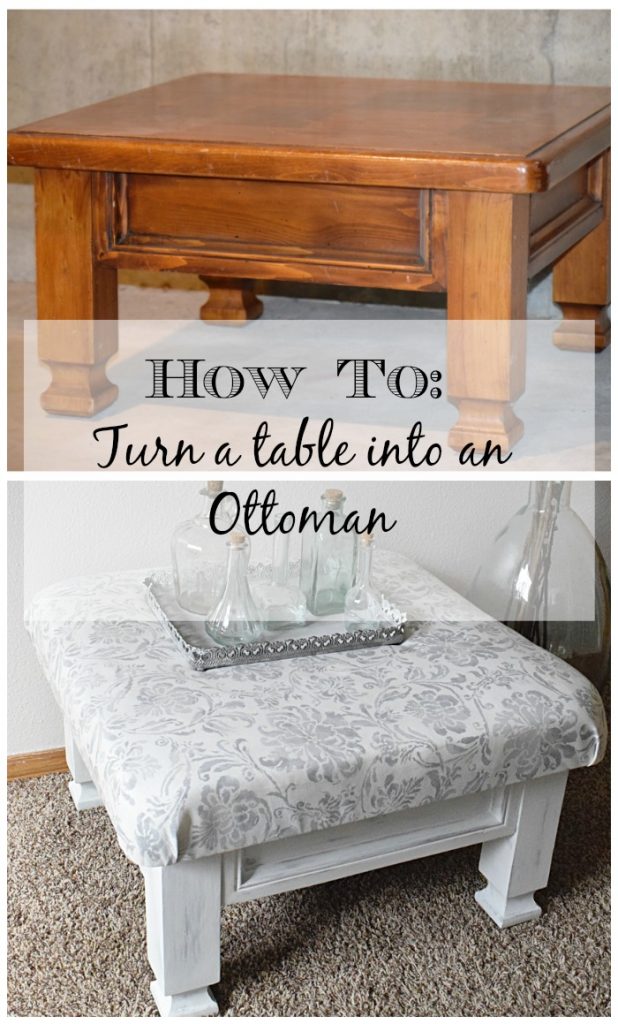
So here is a really fun and easy project for those DIY’ers out there! Do you have an old coffee table or end table that just isn’t cutting it anymore? Maybe you found a thrifted small table like we did that just does not work well as a table at all. We loved the chunky looking legs of this table but not the honey oak color of it. It was also a really awkward size for a table being really short for both a coffee table or end table, but we definitely saw the potential of what this could become-an Ottoman!
For your convenience in locating products we have used, this article contains affiliate links. All products are items we use ourselves and genuinely recommend. If you make a purchase after clicking an afiliate link, we will earn a small commission at no additional cost to you. For our full disclosure go to our “Disclosures” page.
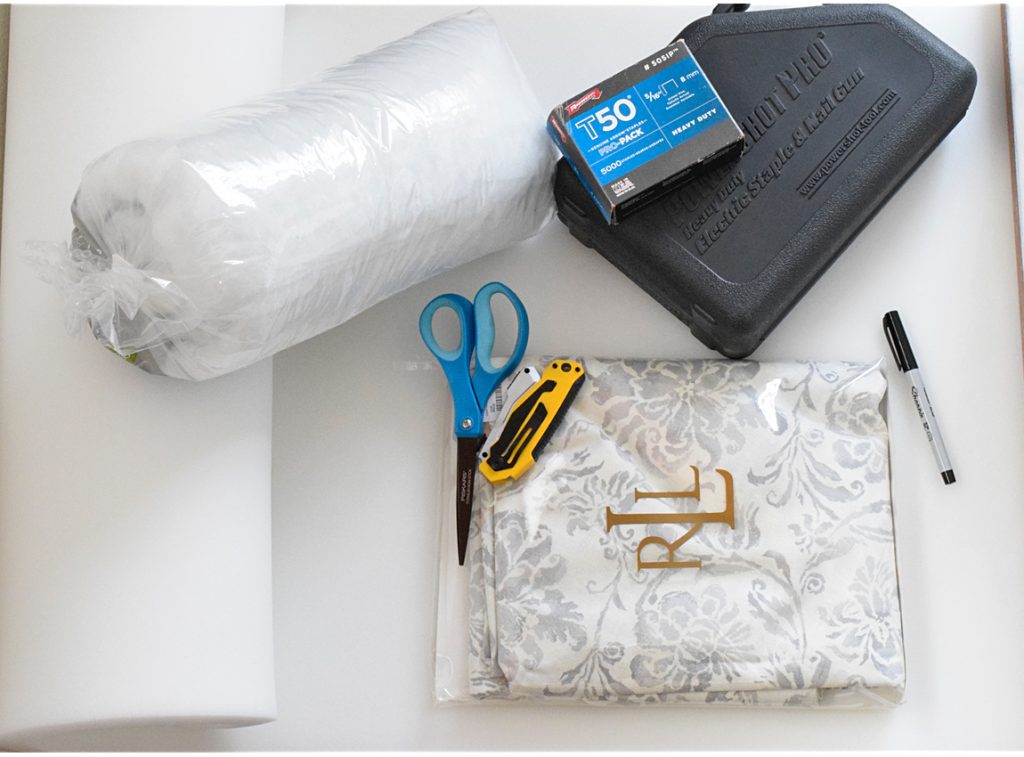
We knew that this ex-table was going to need some paint and some beautiful fabric to transform and restyle it. If you want to try this DIY project here is a list of items you will need in order to begin.
- Chalk paint (we used Rust-oluem’s Chalked Paint in “Aged Gray” and “Linen White“)
- Damp paper towel
- Sealant Wax (We use Minwax Finishing Wax)
- Wax Brush
- Fabric (Ours was a tablecloth from HomeGoods! Think outside the box and be thrifty 😉
- Staple gun
- Staples
- Upholstery Foam
- Upholstery Batting
- Fabric Scissors
- Marker and Utility Knife (used to mark the foam and to cut it)
The first step for any project is your prep work. Wash the furniture piece down, fill any gouges or holes with wood filler and then sand. Luckily for us, this piece only needed to be washed down and lightly sanded for better adhesion of the paint.
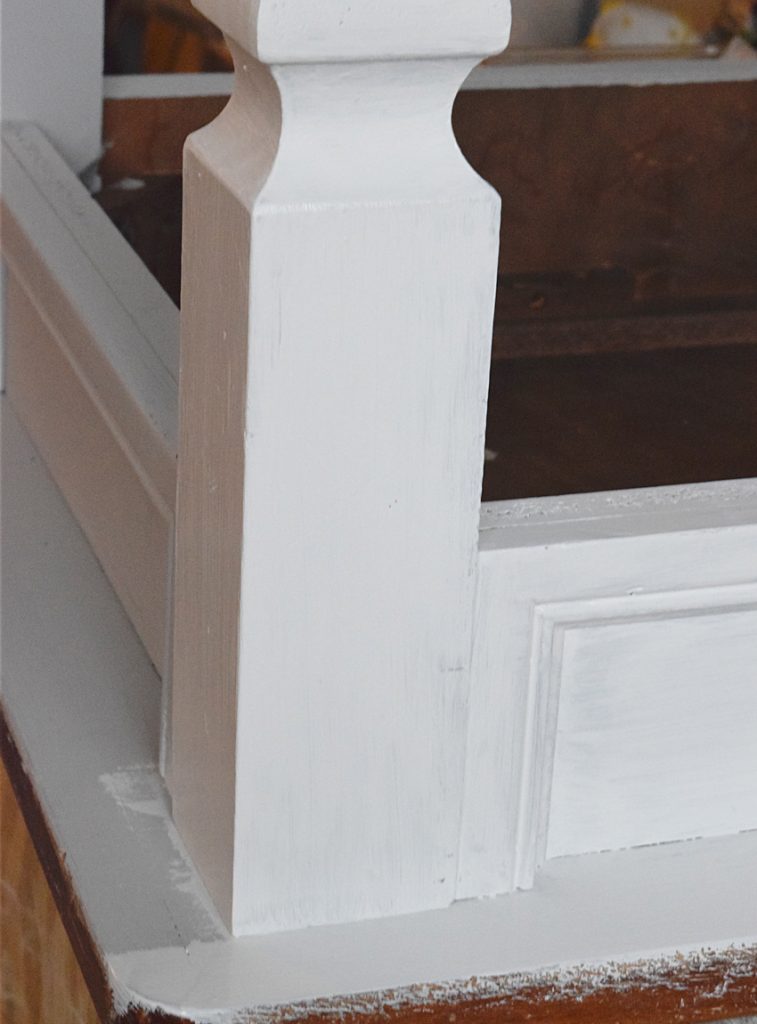
To get this look with your paint we first painted the legs with one coat of the Rust-Oleum gray. Let that dry and then apply your white paint over the top of all the gray painted parts. (Don’t worry about painting the top of the table since you will be covering it anyway!)
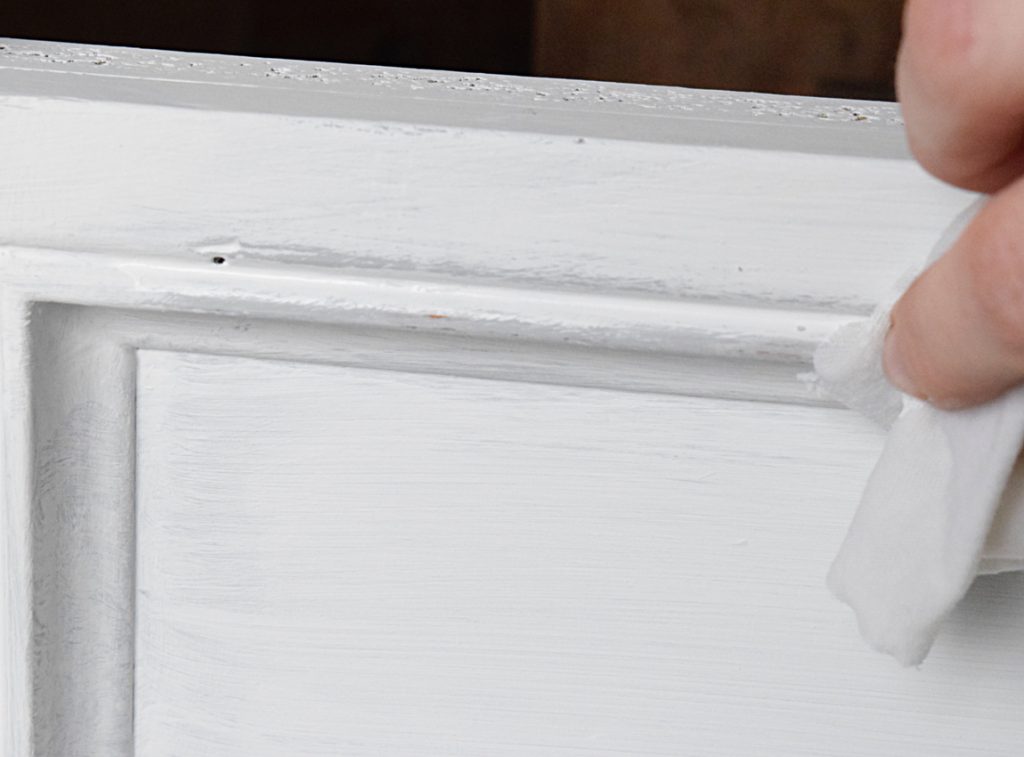
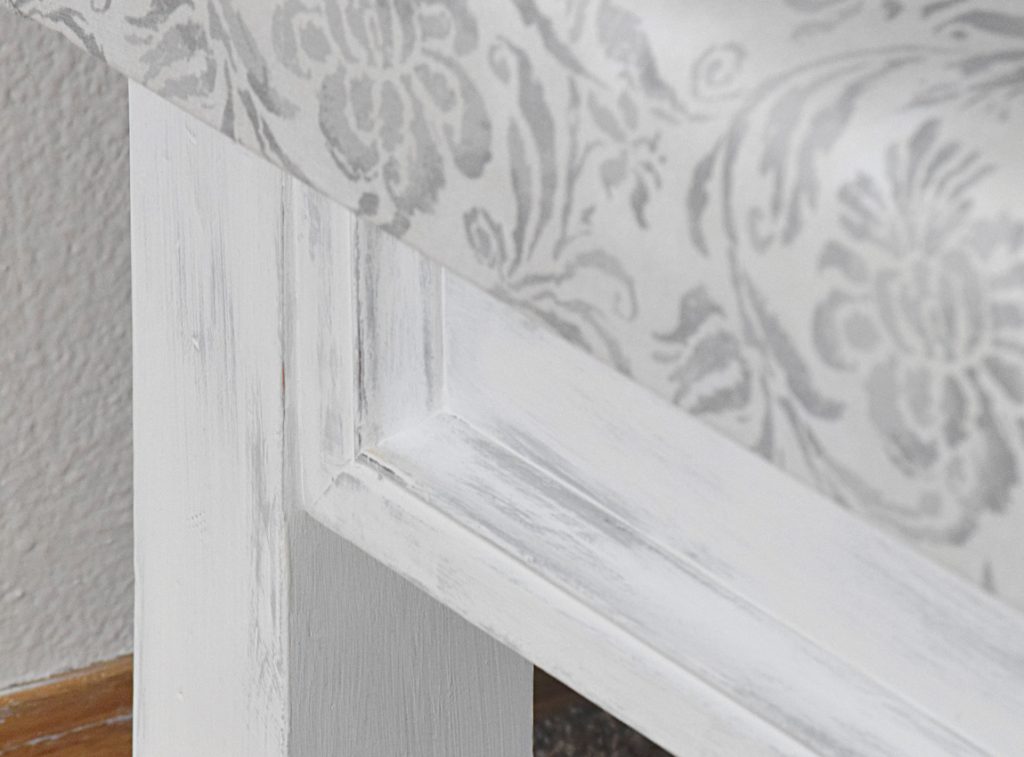
Once you have applied all of the white paint go back to where you began and take your damp paper towel or cloth to start wet distressing your paint. By wiping the semi-dry white paint away you uncover that gray paint from underneath.
We liked using a wet paper towel since it gives the distressing a bit of a softer edge to it compared to distressing with sand paper. Concentrate on the raised edges and corners and then in certain spots you can take away from the center. Your distressing doesn’t have to be perfect or symmetrical on each side. Give it some character!
Tip: We were able to wet distressed the first two white painted sections, but then allowed the last two to dry for a couple minutes since the paint was still quite wet.
Once all of your paint is dry you can seal your piece with your wax using a wax brush or a lint free cloth. When your wax is applied and has dried (about 10 minutes) buff the piece using a different clean cloth.
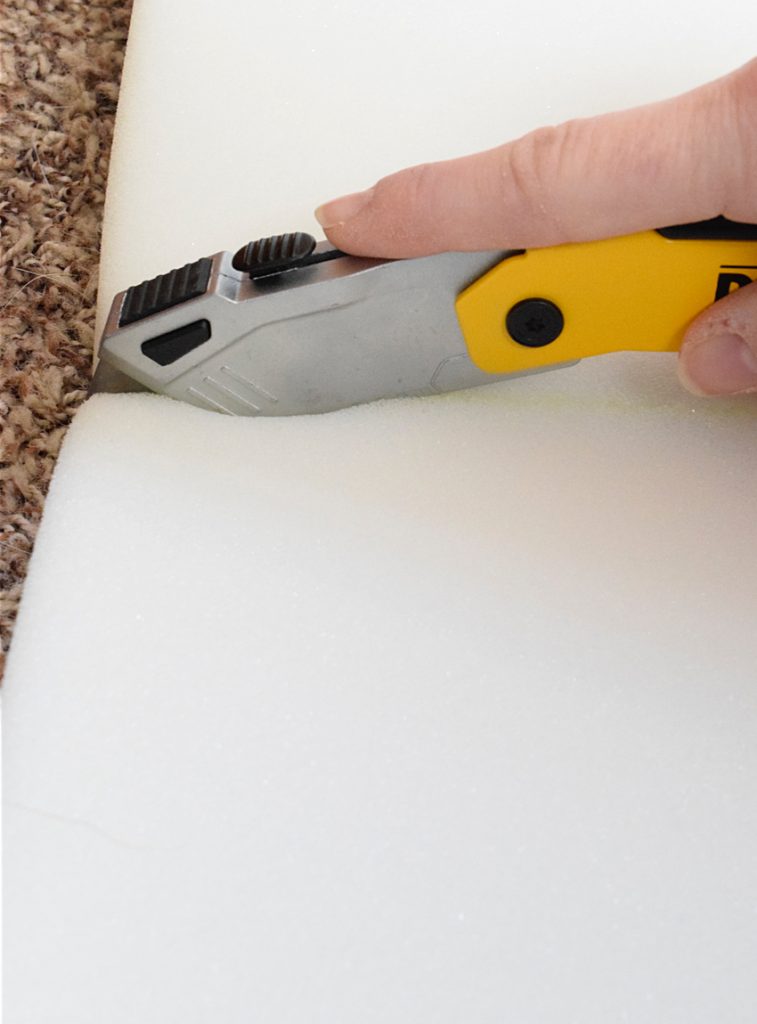
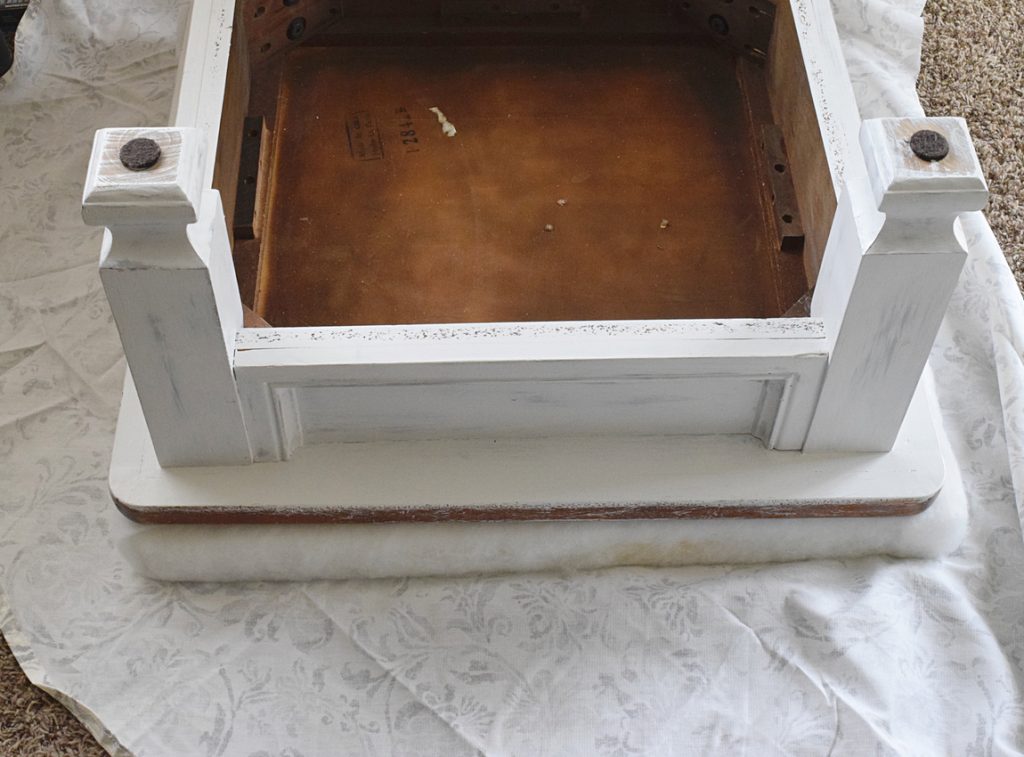
Now you are ready for some upholstery! This was actually really easy to do, don’t ever be afraid of adding fabric to any of your wooden pieces when all you have to do is staple it down. The first thing you have to do to make the cushion is to purchase some foam and then cut it to your furniture piece’s dimensions.
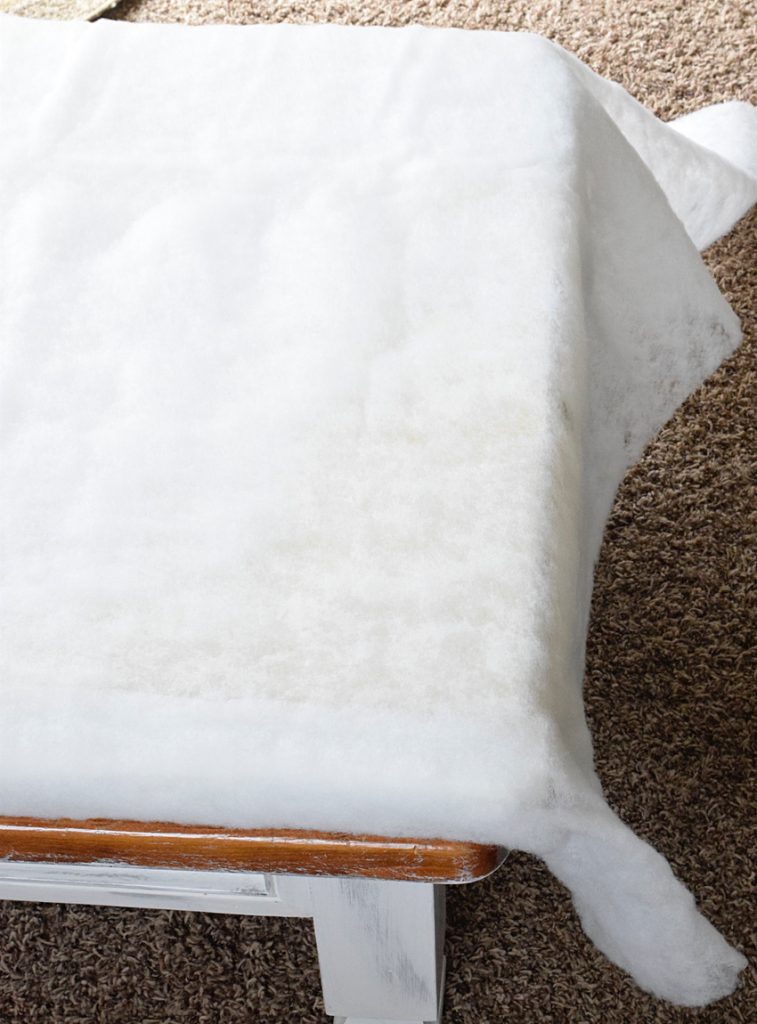
I used 2 inch thick foam and once cut, wrapped it in some polyester batting.
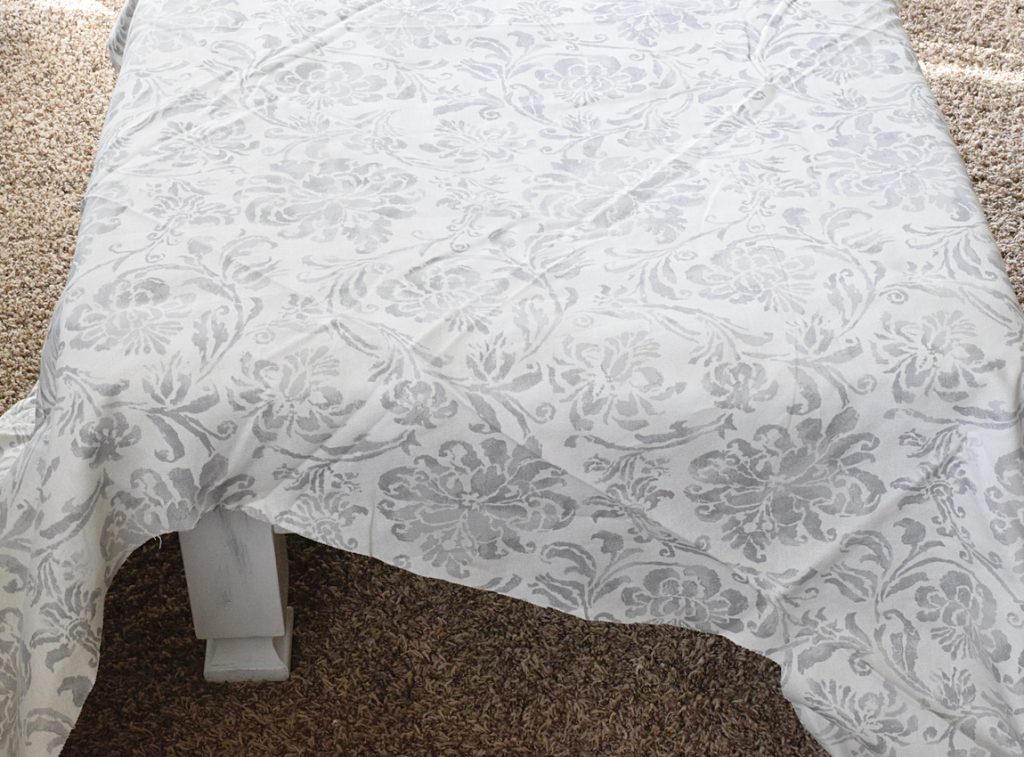
Then, lay the cushion on top of your table or bench and arrange your fabric over the top. Keep in mind, if your fabric has a pattern to it, lay the pattern in the direction you want it to go.
Next go ahead and flip the entire thing over so your fabric is on the bottom. This will make it easy to cut.
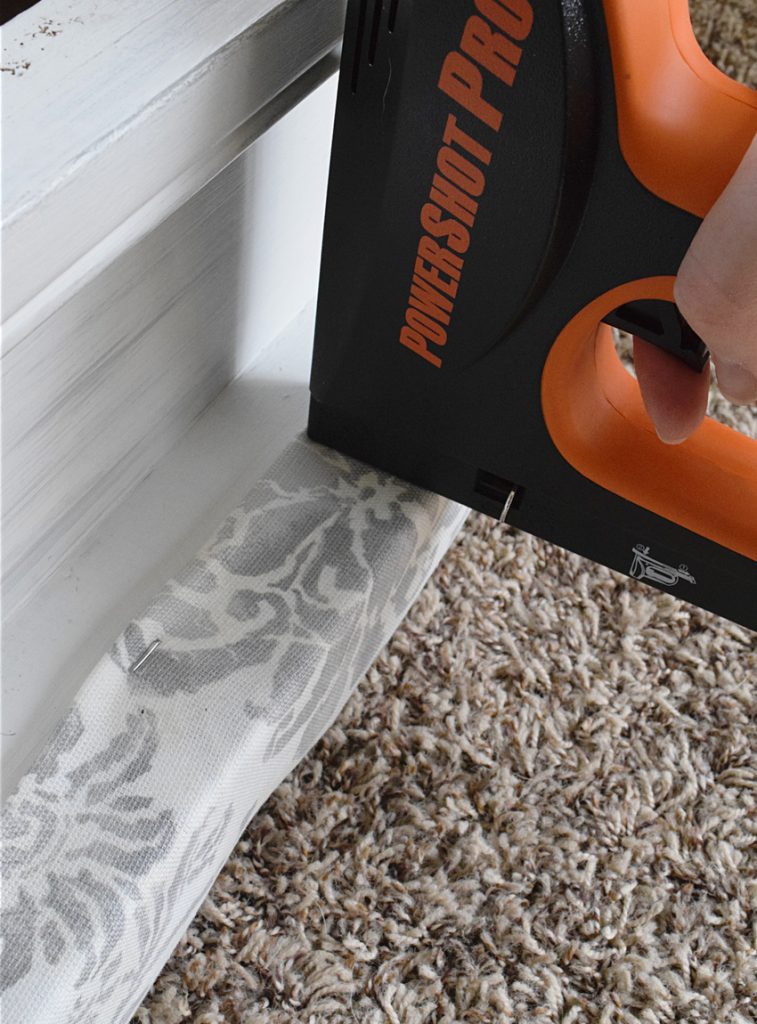
Once your fabric is cut you can start your stapling! Begin by folding over the edge of your fabric on one side and stapling it in the middle. Go to the opposite side, pull your fabric tight, fold over the edge to make it clean, and staple that middle.
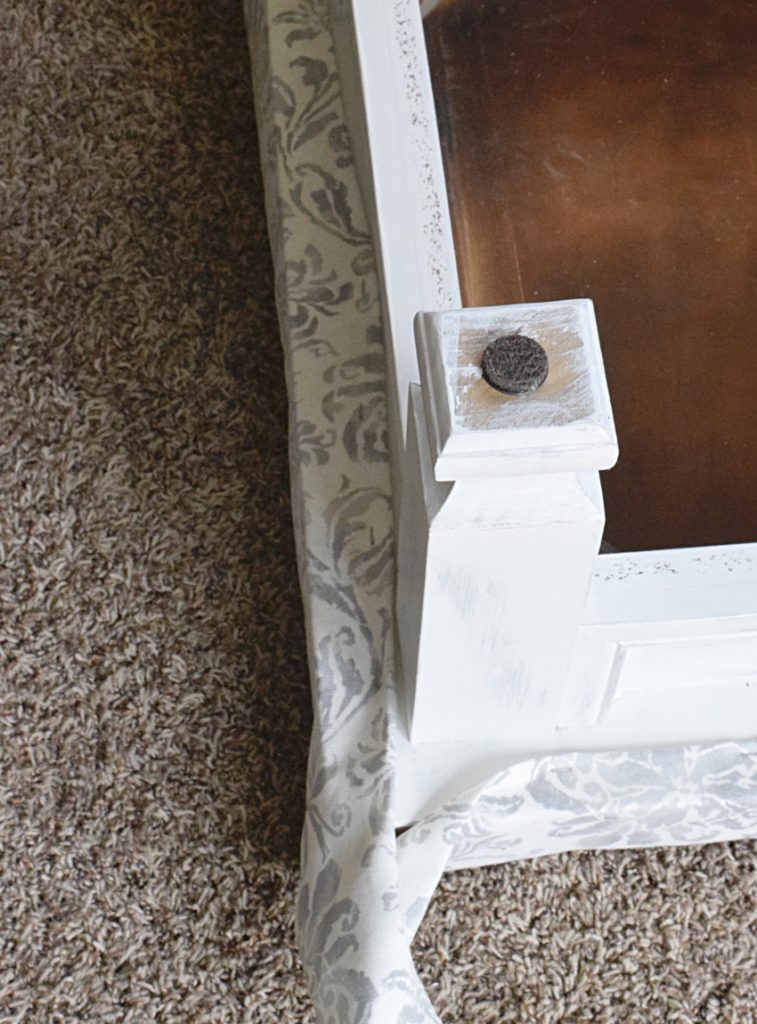
Follow the same steps to the last two sides. You now have a great starting point and can continue stapling from the middle out. (I stapled about 2 inches apart to get the fabric situated how I wanted it and then went back and stapled in between the staples for extra hold.) Once all of your sides are done, you should have extra fabric sticking out at your corners.
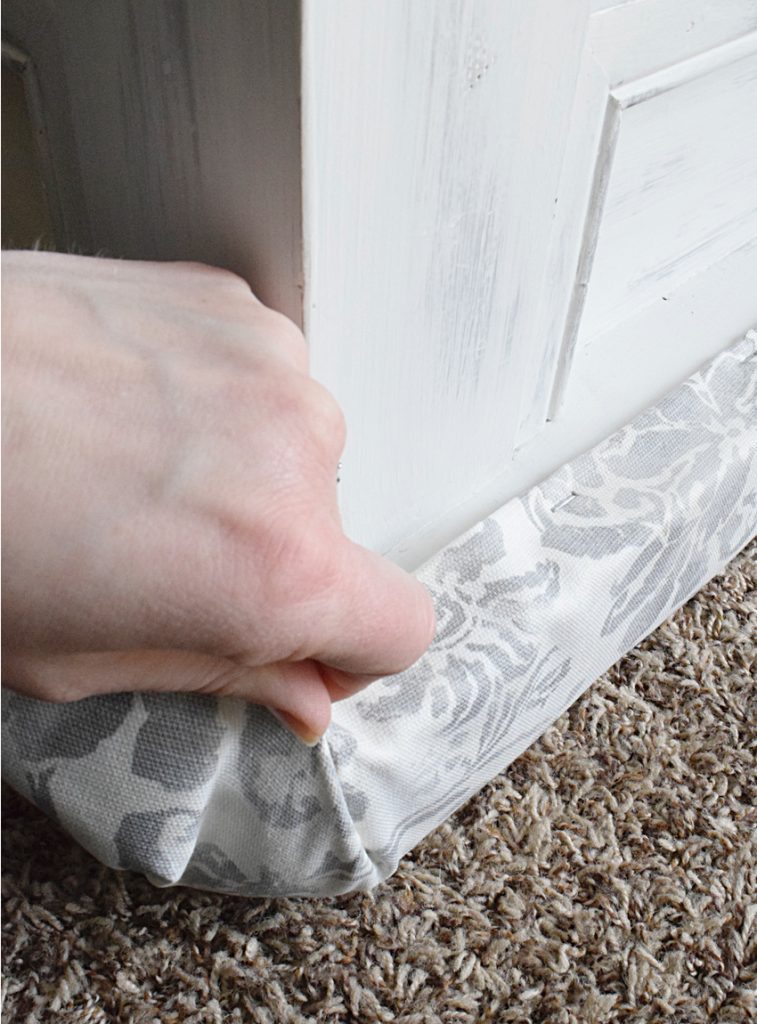
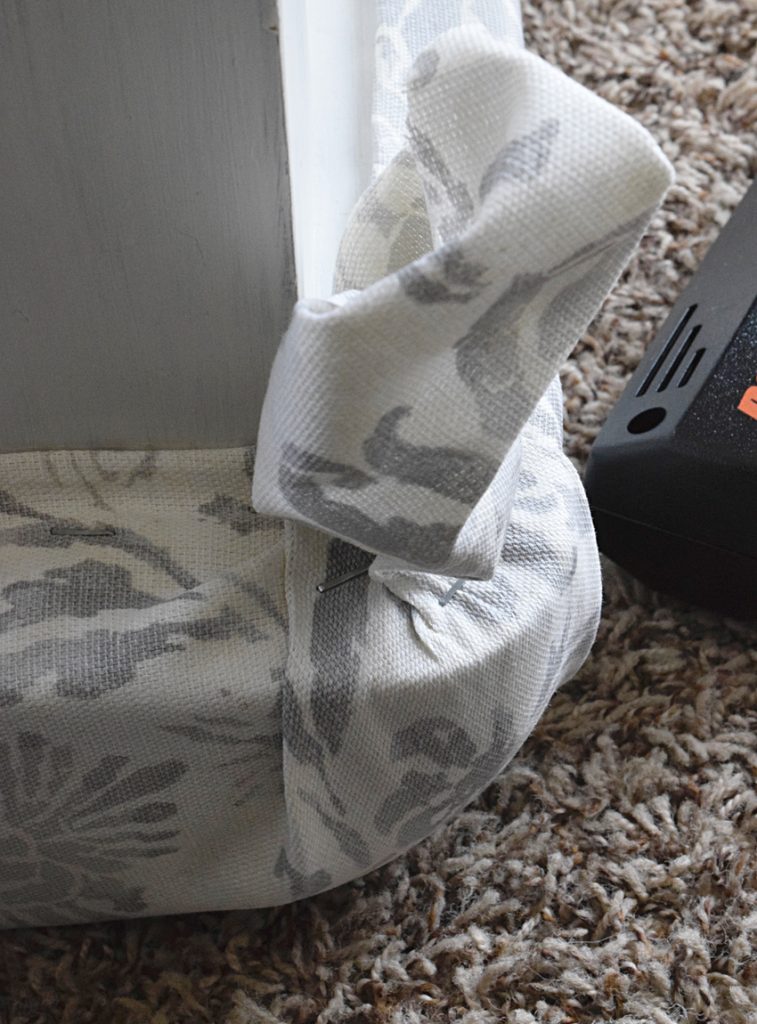
There are many ways to fold your corners, but for this particular ottoman we decided to make a “flap” with two folds, one on each side. Play with your fabric until it is perfect, if you need to go back and put an extra staple in on a side go ahead.
Then take your “flap” and fold it over the edge of the ottoman to staple it down, make sure the fabric is smooth around the edge. And staple it down! We ended up having extra fabric in my “flap” so we just snipped the tail off and stapled it down flat.
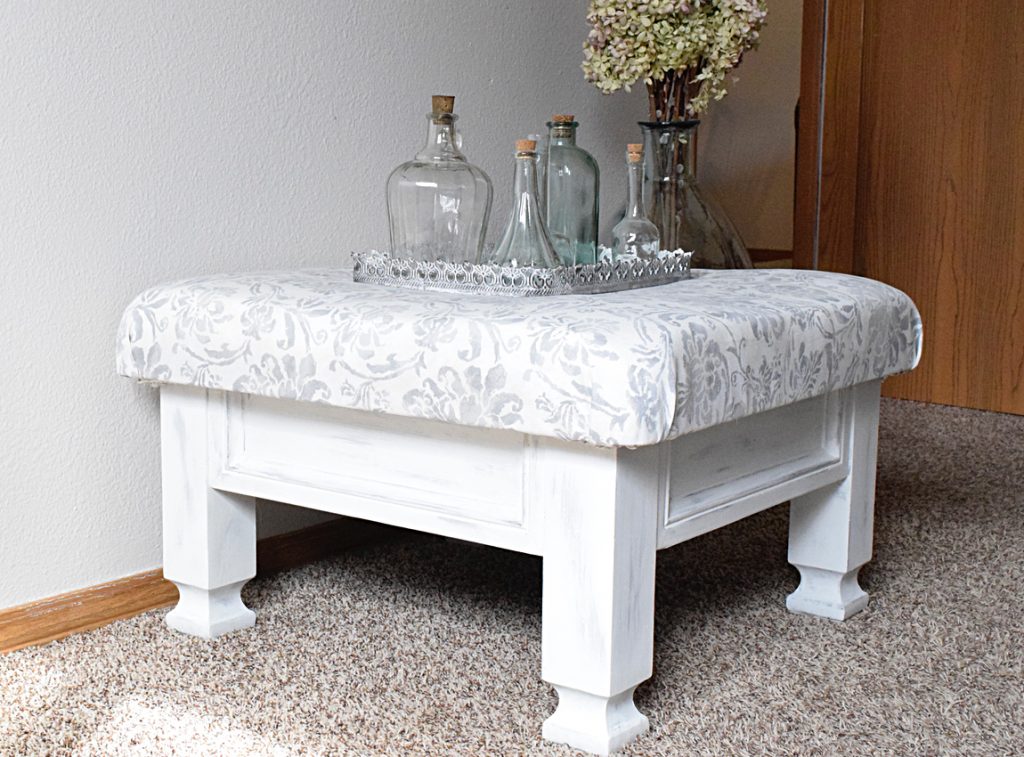
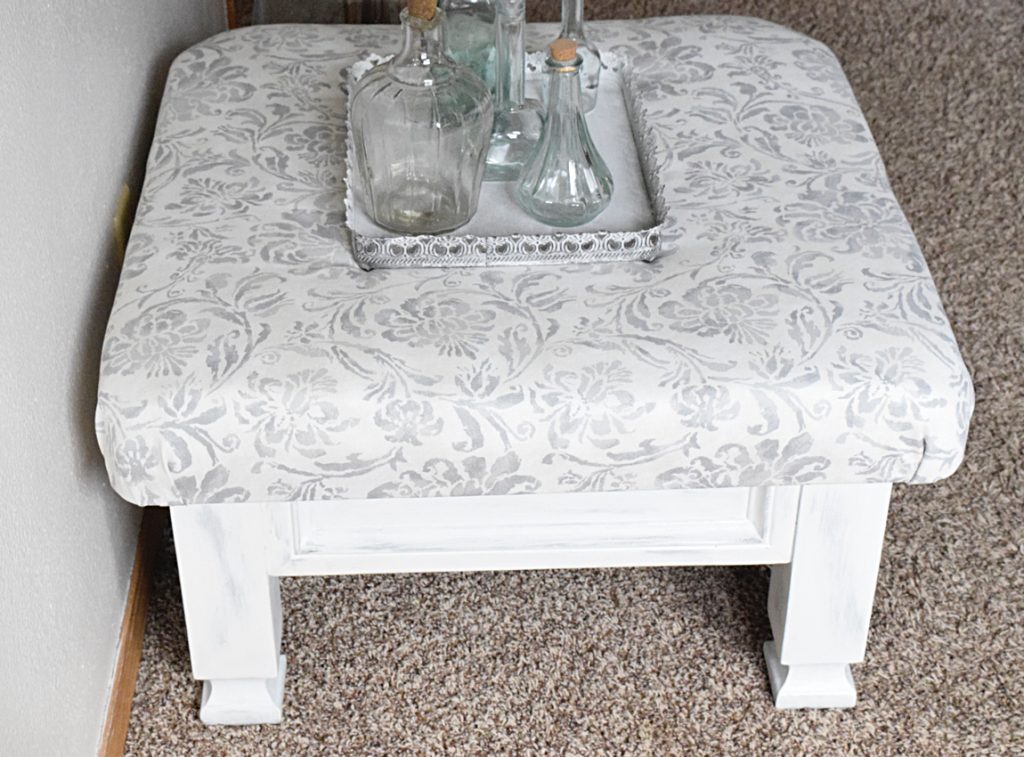
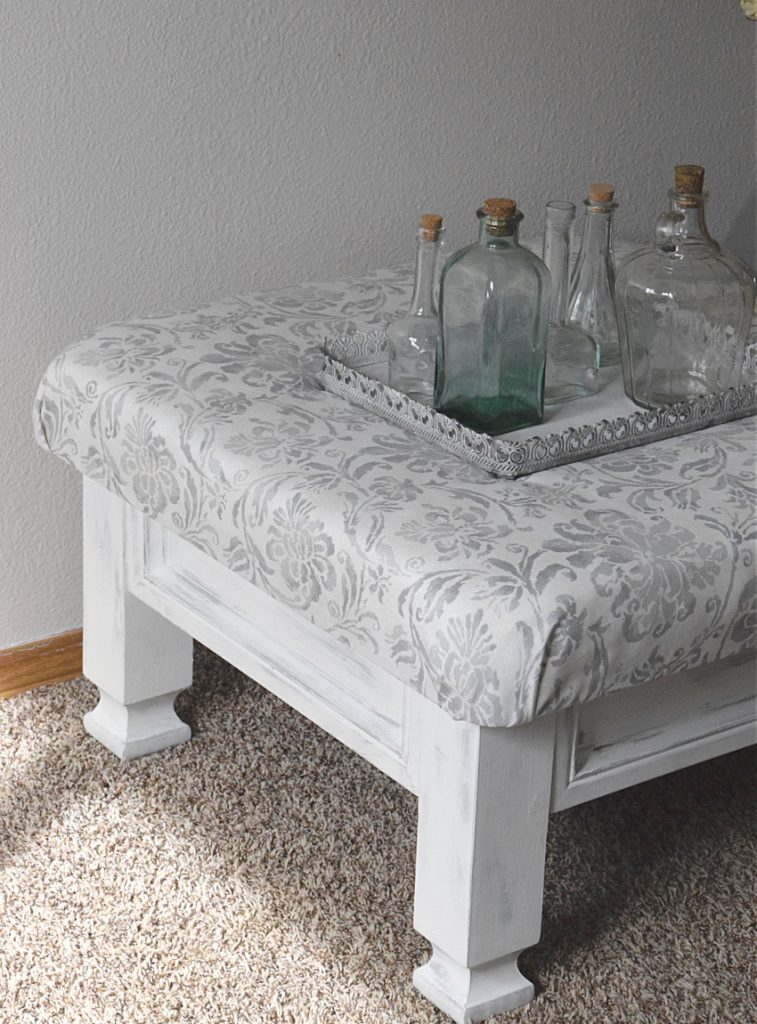
Once all four corners are complete your new ottoman is done! And how simple was that?! A small awkward table is now a very functional footstool for you and your family to enjoy while sitting together.
It turned out beautifully, the sweet gray and white of the paint match perfectly with this fabric that was found at Home Goods and was previously a round tablecloth.
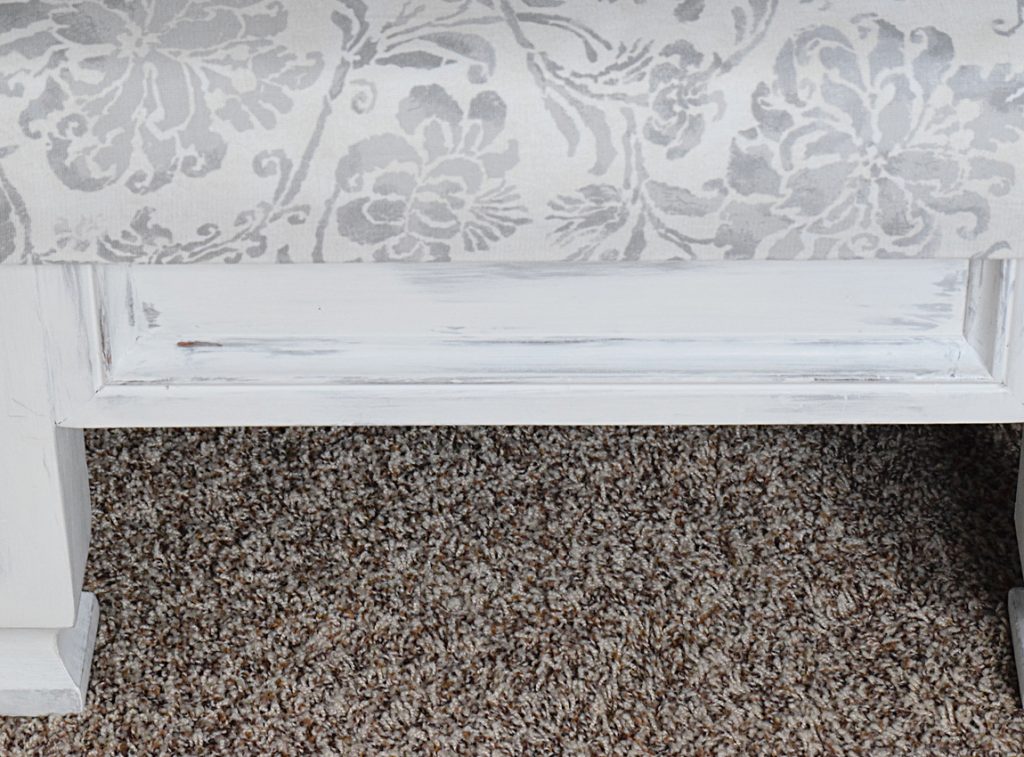
The wet distressing added some great character to all of the edges. In some small spots the pressure of wiping the paint away went down to the original wood, but the added depth and darkness of that wood was great!
More you are sure to love:



Leave a Reply