Have you ever purchased a dresser or other piece of furniture that was missing a piece of something at the back – like a mirror or harp for a towel bar? I recently purchased one such piece, a cute little cabinet, but it was missing that small mirror or more likely towel harp. The piece was too cute to pass up, but I knew I needed to do something with that empty space at the back. To begin, I toyed around with several ideas and decided a cute pediment at the back would add a gorgeous detail to the dry sink. I checked our stash of pediments to see if something would fit, but had no luck there. Well then – I decided to just make one!
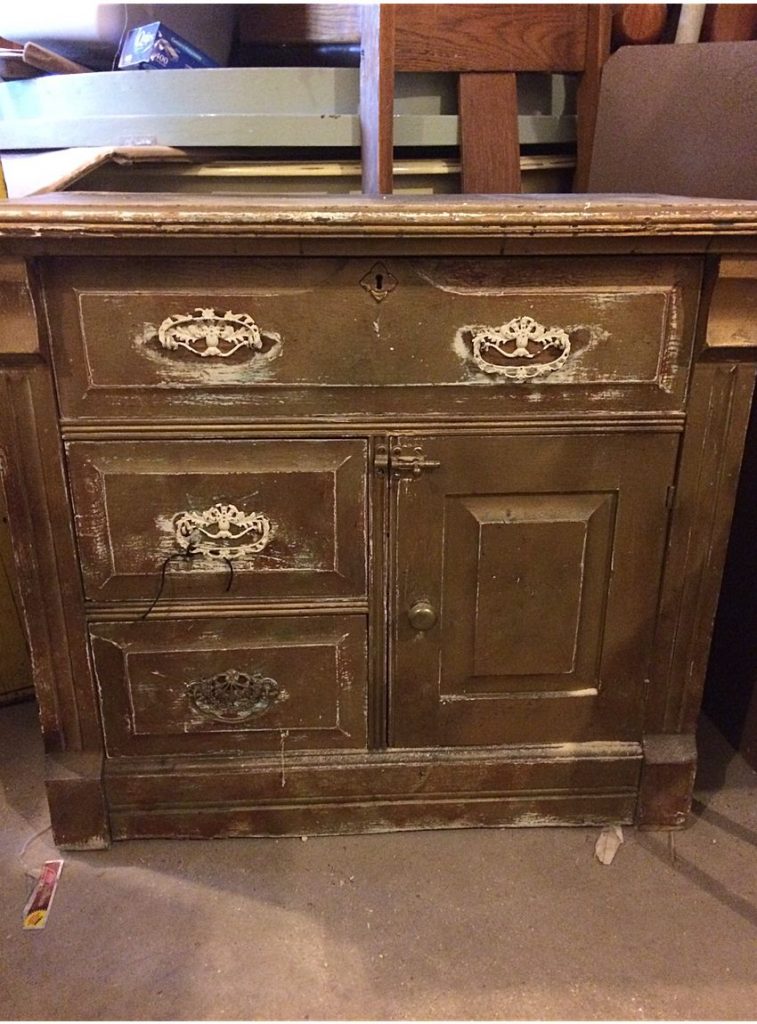
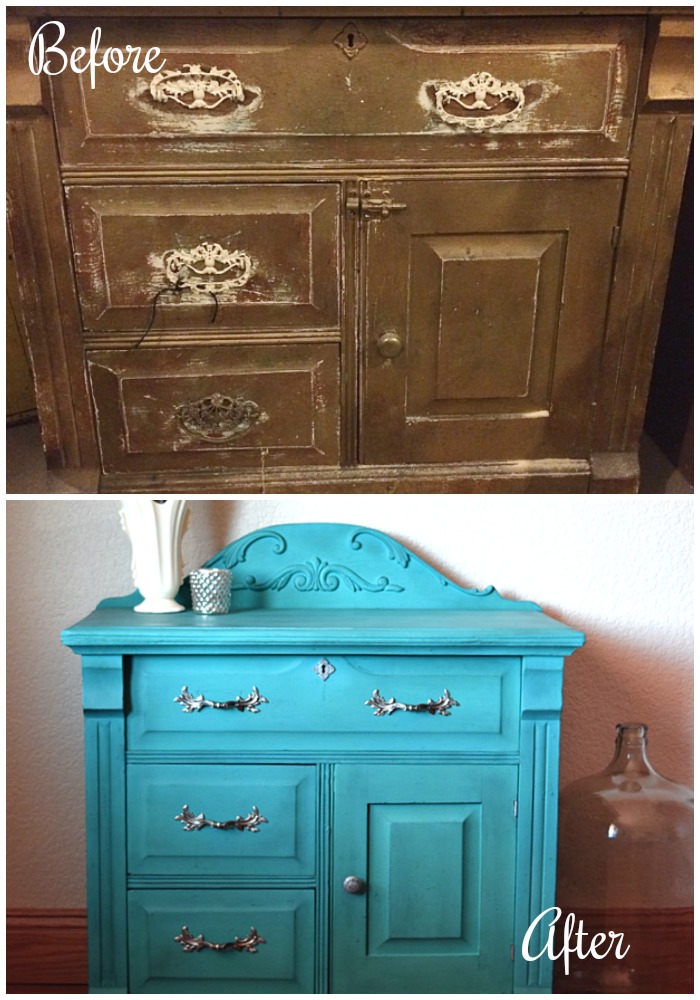
Here is the small cabinet before:
For your convenience in finding products we have used this post contains affiliate links. See our full disclosure here.
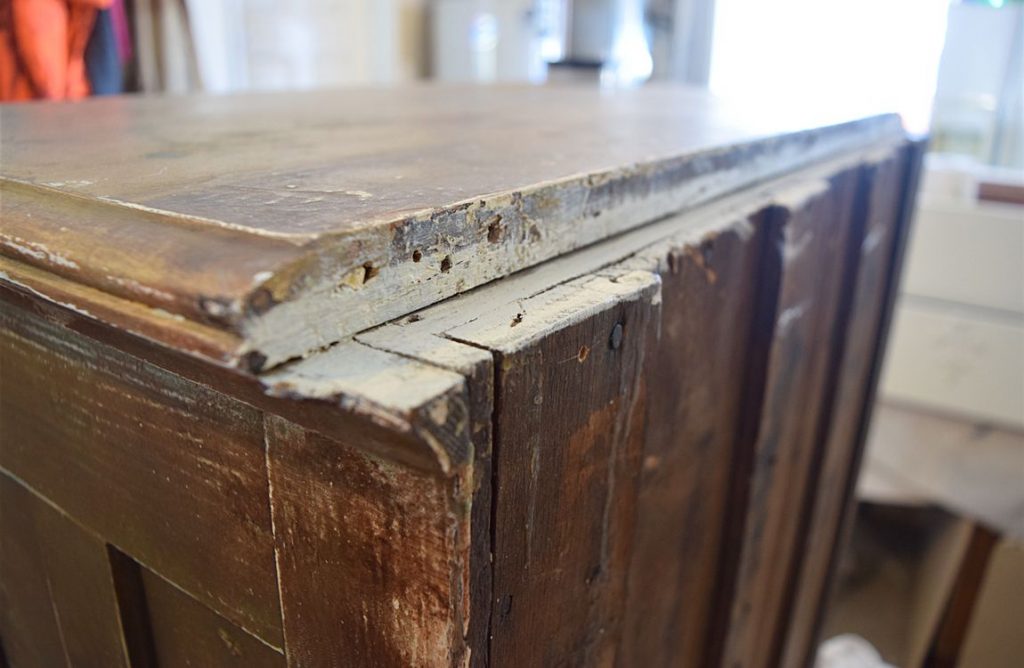
And here is the gap at the back where you could tell there was some kind of mirror or pediment:
I did find some wooden decals in our stash of supplies that were perfect for dressing up a pediment. To make the backplate part, I first used a large piece of paper (this paper works great and is something I already had). I cut it into a rectangle the length of the back where it would be attached.
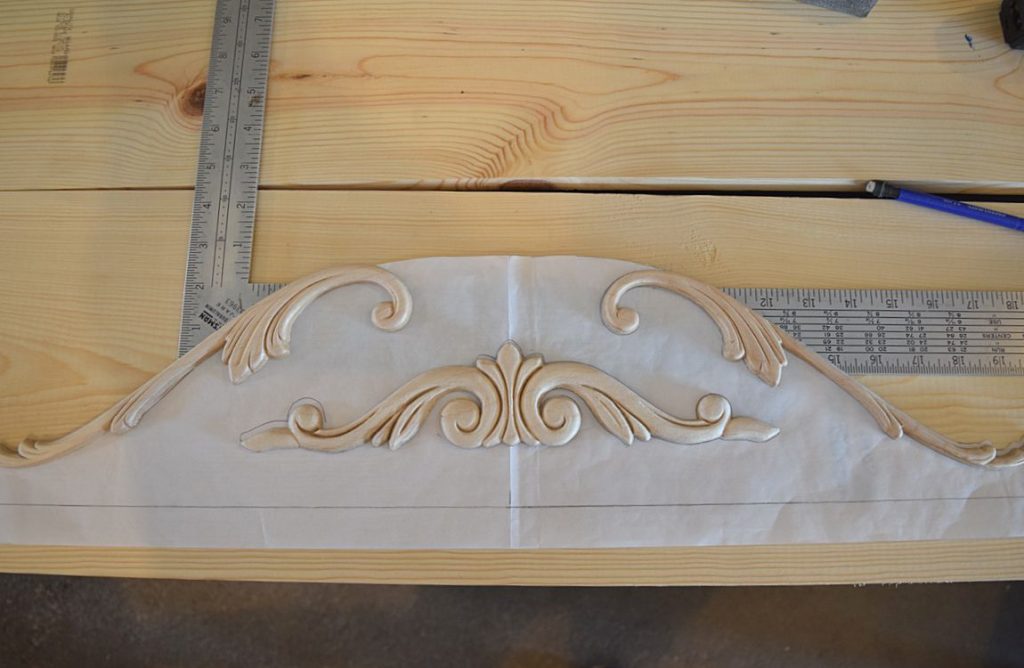
Next I laid the paper out flat and marked where the center of it was, then positioned the wooden appliques where I liked them; being sure to center the middle piece at the center marking on my paper. I marked the position of this middle applique on the paper. At this point, I folded the paper in half at the center marking and traced one of the other appliques at the top of one side of the paper. I cut out the paper in the basic pediment shape I wanted using the tracings of the applique at the top. Because I folded the paper in half and did my markings on one half, then cut out the shape (while the paper was still folded) I could be sure both sides of the pattern were equal.
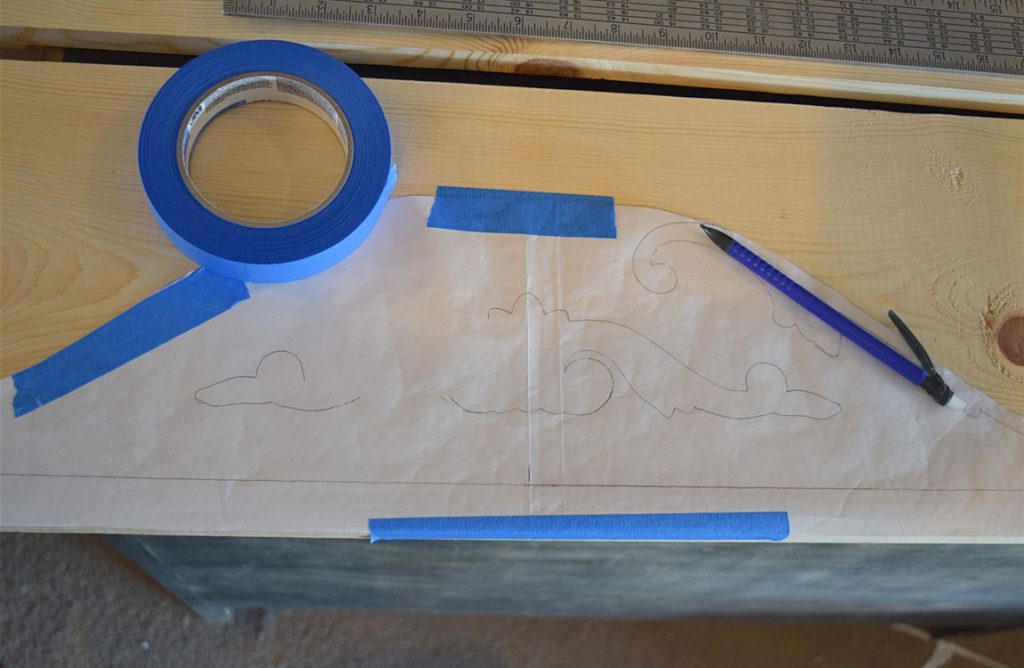
Once my pattern was complete, I could simply trace onto a 1 inch wide board. I used my jigsaw to cut out my pediment shape from the board. (Here is the type of board I used) Once the basic shape was cut out, I then sanded the board and the cut edges smooth.
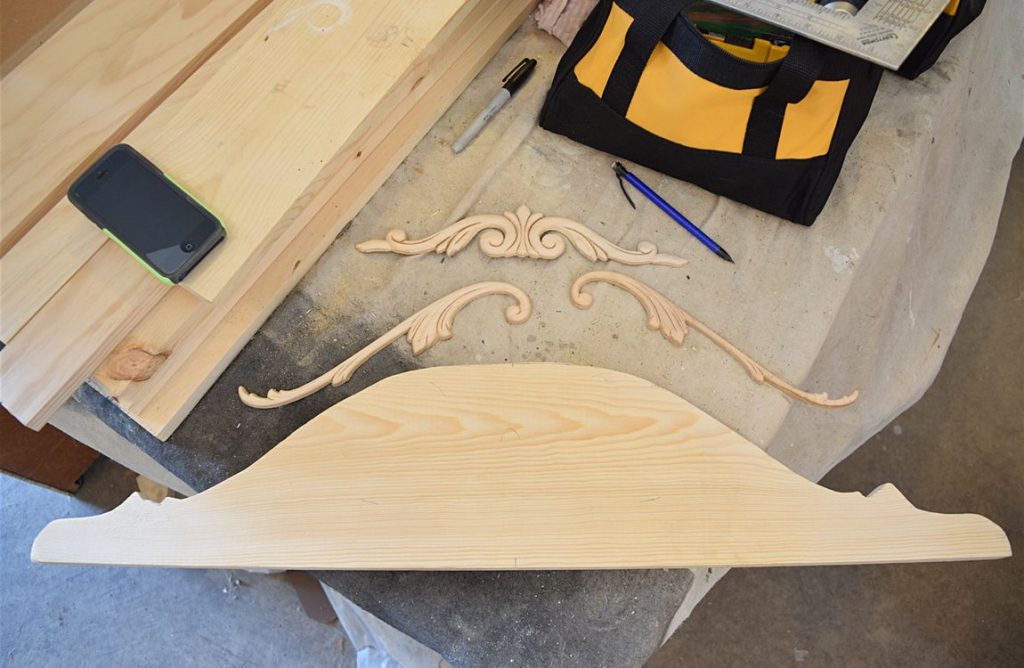
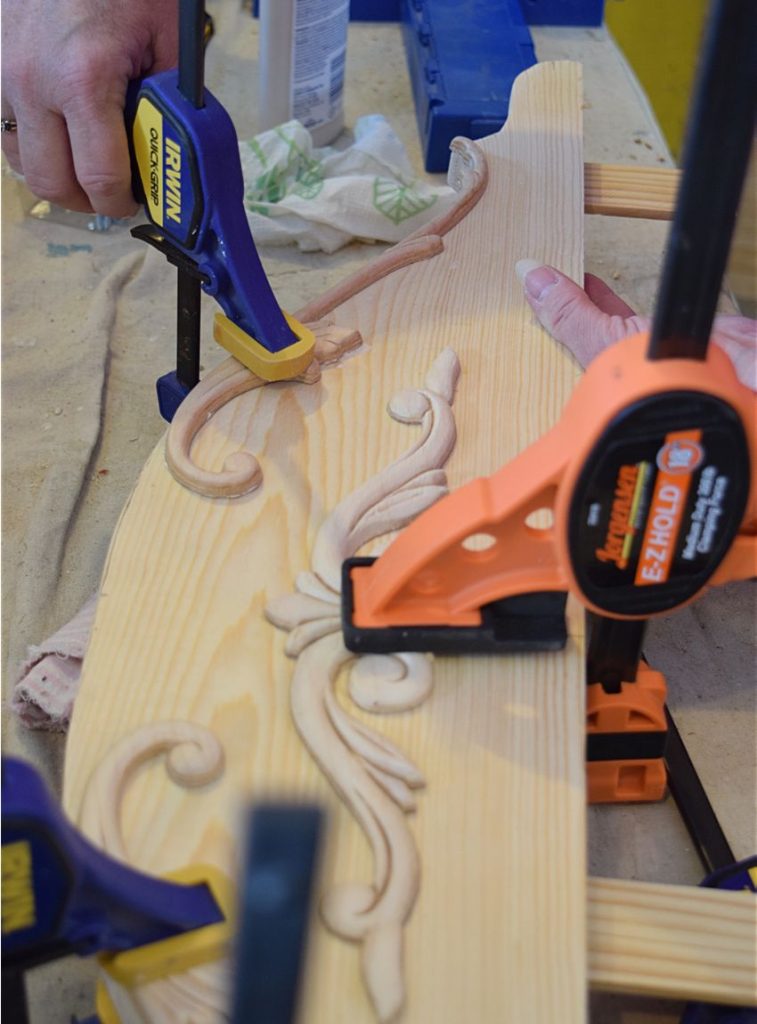
I was then able to position my wood appliques in the areas I had designated on my pattern and simply used wood glue to attach! Clamps were used to hold the appliques snuggly to the board while the glue dried.
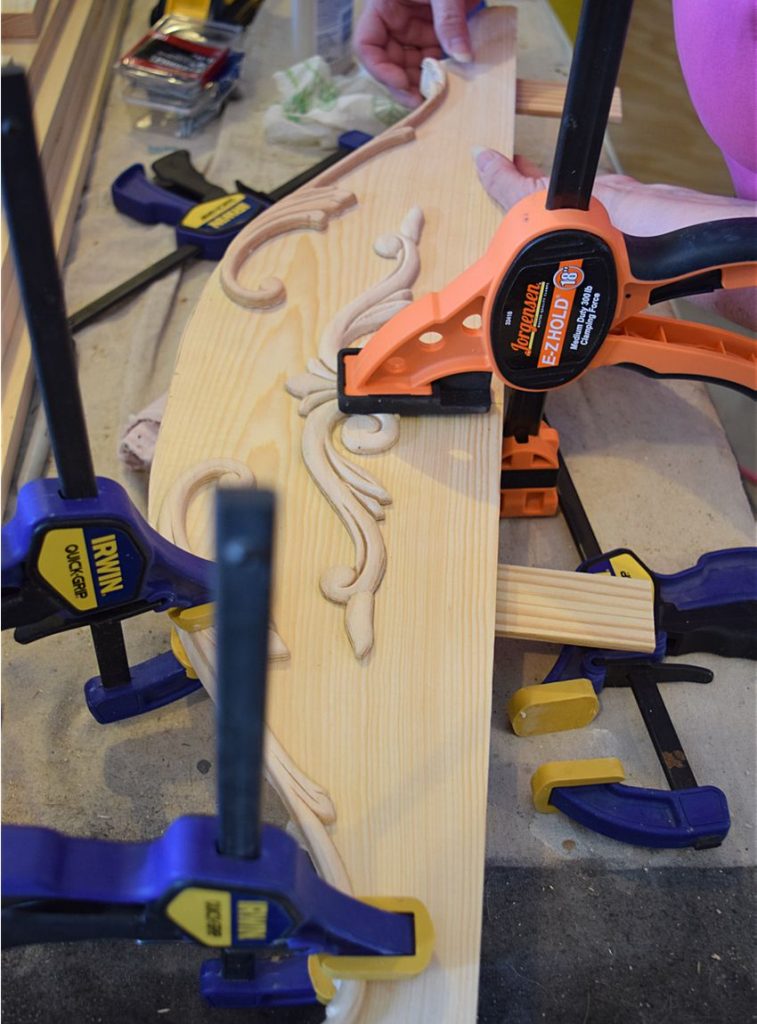
Tip: Be sure to wipe off excess glue that may seep out from beneath the applique once the clamps are tightened. A damp cloth or paper towel works great. It is much easier to remove the glue while wet, than after it has dried! Trust me – been there, done that!
Since I knew the new pediment piece was going to be painted along with the small dresser it was intended for, I decided to prime and paint the piece before it was attached to make sure ever nook and cranny was covered. It was just a lot easier to manage while still off the cabinet.
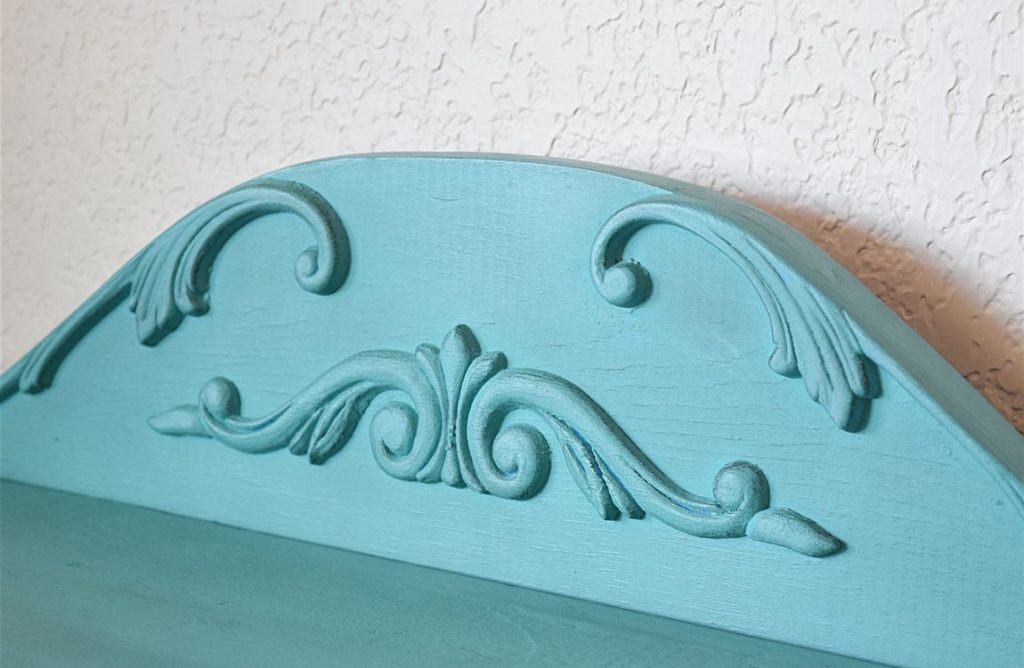
After all the work to make the pediment, it was a quick couple coats of primer, paint and wax sealer to finish it all off. It was screwed to the back to complete this sweet little cabinet!
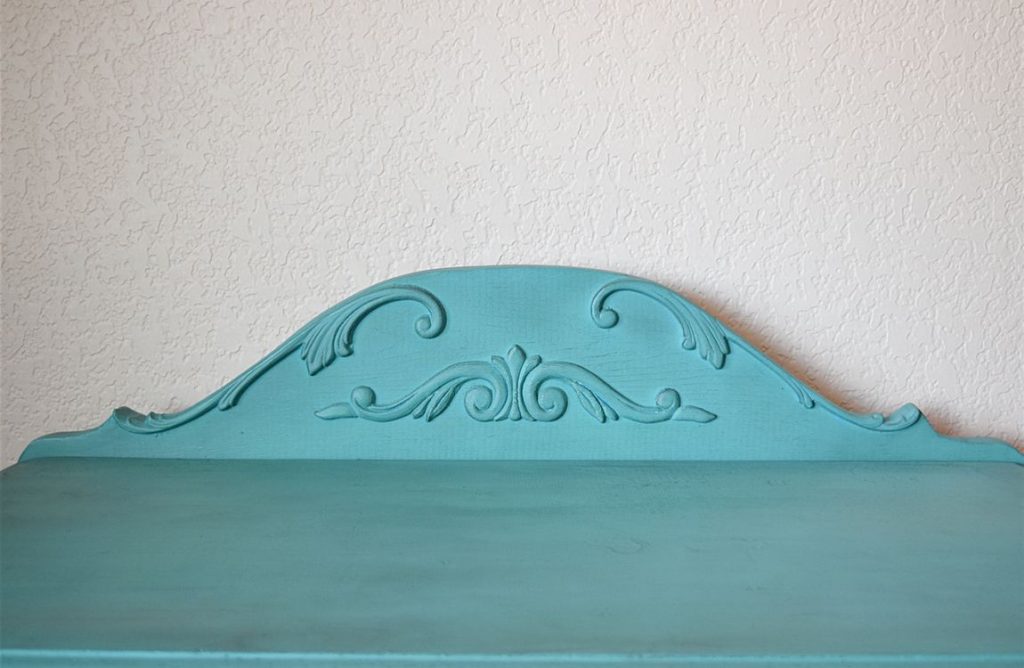
Kristen and I were so excited to see this cabinet fixed up with the help of our custom-made DIY curved pediment! Just how cool is that!? I didn’t pass up a problem cabinet, but instead created something new to give this piece a fresh look!
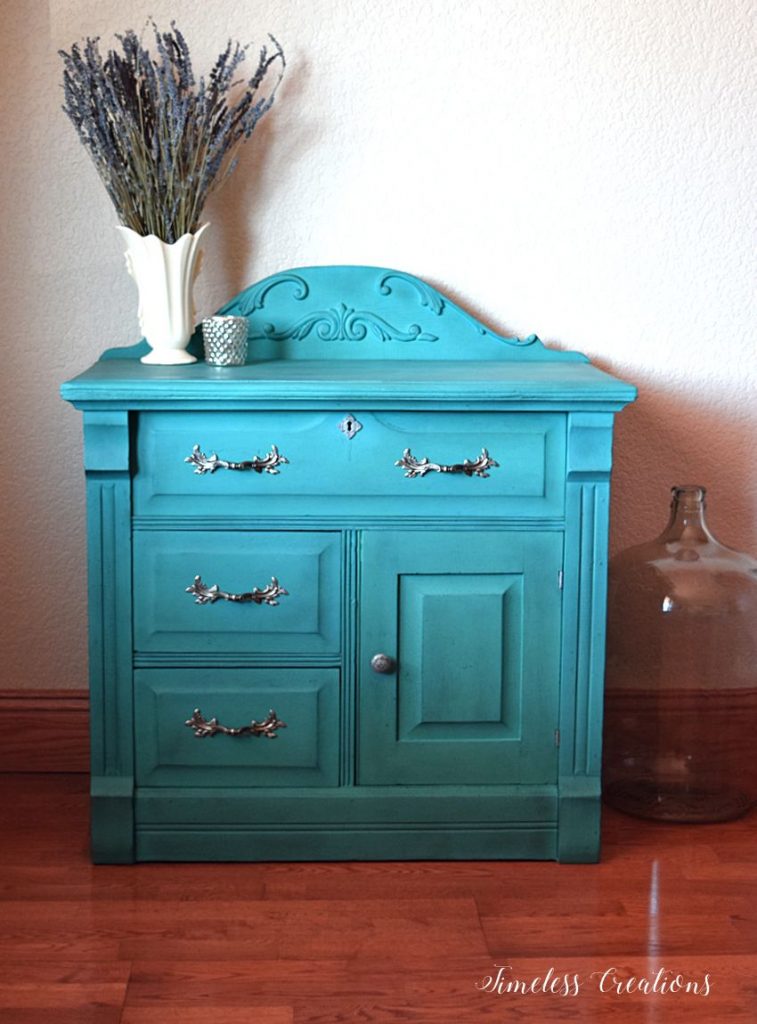
It turned out just beautifully for this cute little cabinet. The color also turned out perfectly. We ended up mixing paint to create this custom color along with our custom made pediment!
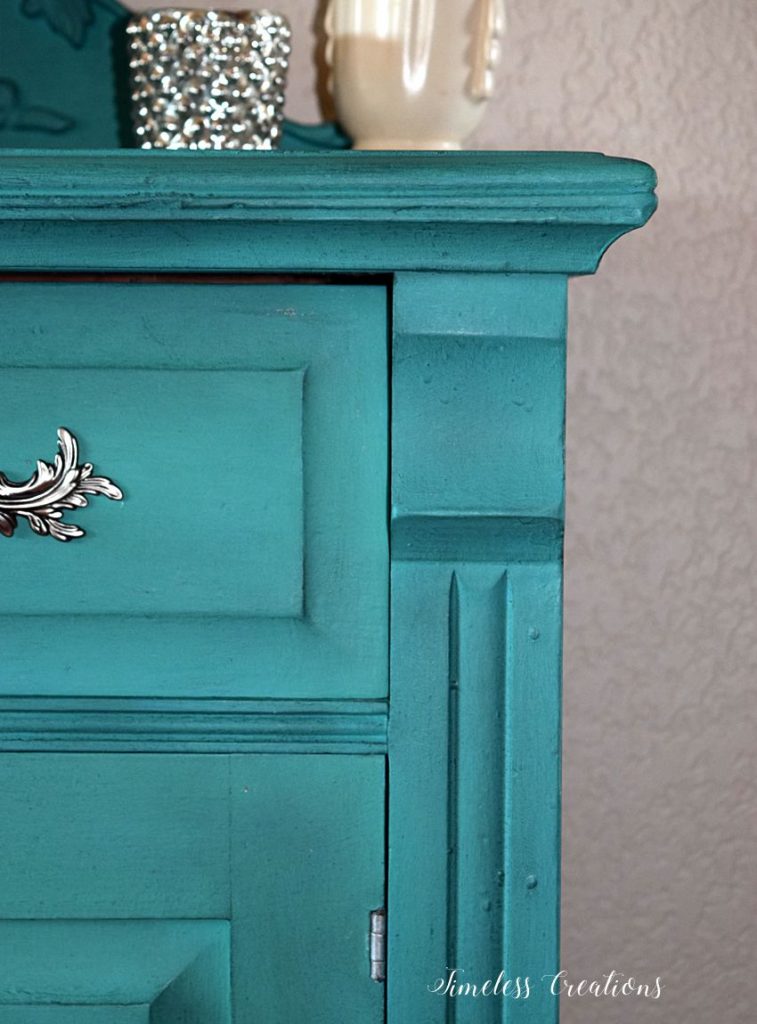
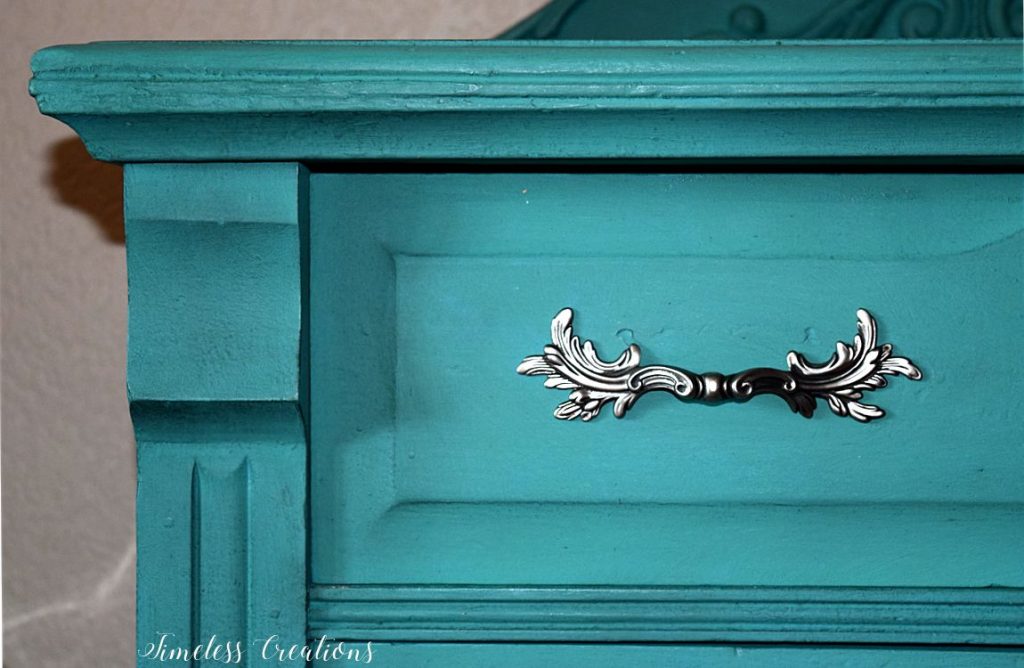
For more information on the color and how we painted the cabinet, see Kristen’s Teal Cabinet she made over previously which was the inspiration for this one.


- DIY Tufted Ottoman
- Impromptu Summer Tablescape
- Antique Chest of Drawers



This is so impressive – truly! I never would have thought to add this detail myself. Thank you so much for this tutorial – really helps me to think outside the box when it comes to furniture makeovers. So beautiful!
Thank you Jelica!
Wow! You really have some major skills. Fabulous job on this little dresser. The new back piece looks like it would have been original. I love the color, too. Great job!
Carol (“Mimi”) from Home with Mimi
Thank you Mimi!
I have to agree with Carol, a superb solution that backplate just couldn’t be more perfect. And in my favorite shade, this one checks all the boxes for me! Wonderful update, thanks for sharing it at #fridaysfurniturefix.
Thank you Brenda! We are so happy with how it turned out 🙂
Awesome job! I was thinking about doing this to a table. So glad I saw your tips! Thanks for sharing at the To Grandma’s House We Go link party! Pinning
Thank you Stephanie! Yes it worked so well!
This is gorgeous. Great save on creating the pediment and it is a beautiful color.
What a beauty! You always make things look so perfect. Just painted my wooden Adriondack chairs a similar color! They look great on my front porch.