Hello and welcome to week 3 of the Spring 2019 One Room Challenge room makeover series! If you have been following along with us, welcome back, and if you are new here then you may want to check out Week 1 and Week 2 to see our goals/inspirations and what we have gotten finished so far. We have 6 weeks to finish one room in my home and I can’t believe it is halfway done already! Ahhh!
I finished my “new” dresser last week and now this week we worked on some decor to go above it. Do any of you spontaneously buy items or find items that are not up to par, but you just KNOW you can make something better out of it? Because we do that all the time! This DIY decor item was one of those “janky” found items that I just KNEW I could fix up and make it better. I believe it was a broken mirror that I found way in the back of a stack of clearance items at TJ Maxx. You know that stack that has red price tag over red price tag because nobody wants it…yup that was this guy!
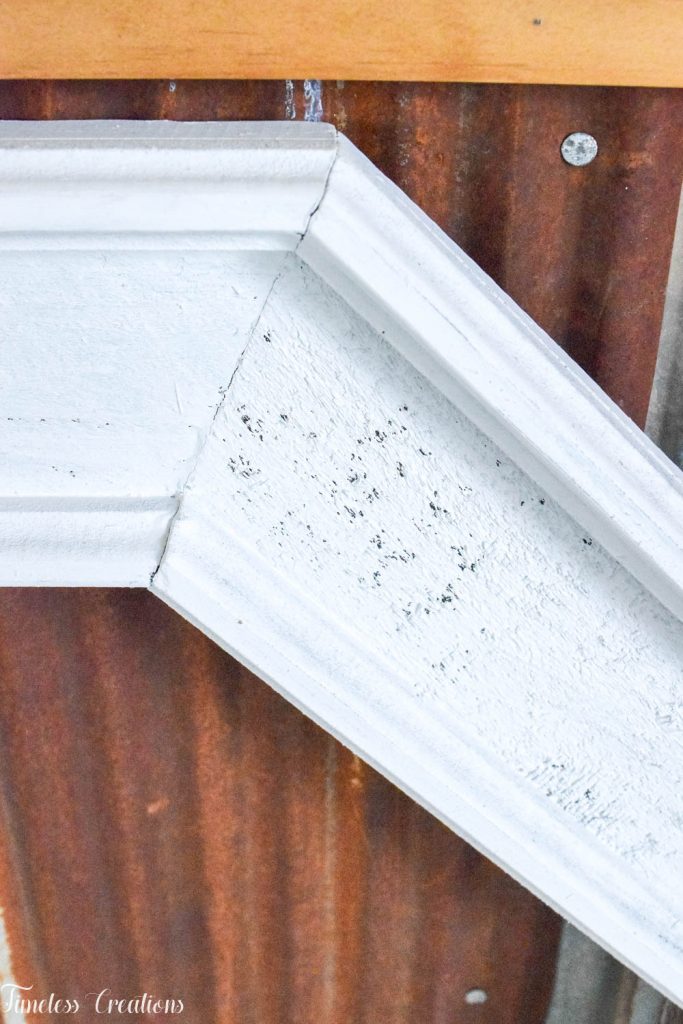
(I forgot to take a before photo – but it used to be black!)
It was solid wood and I knew that if I were to purchase lumber to make something similar I would probably be spending MORE money on just the boards, not to mention my time. So I snatched it up! And then it sat….and sat some more, and made it through our house move. Until this challenge prompted the perfect opportunity for me to create something new with it!
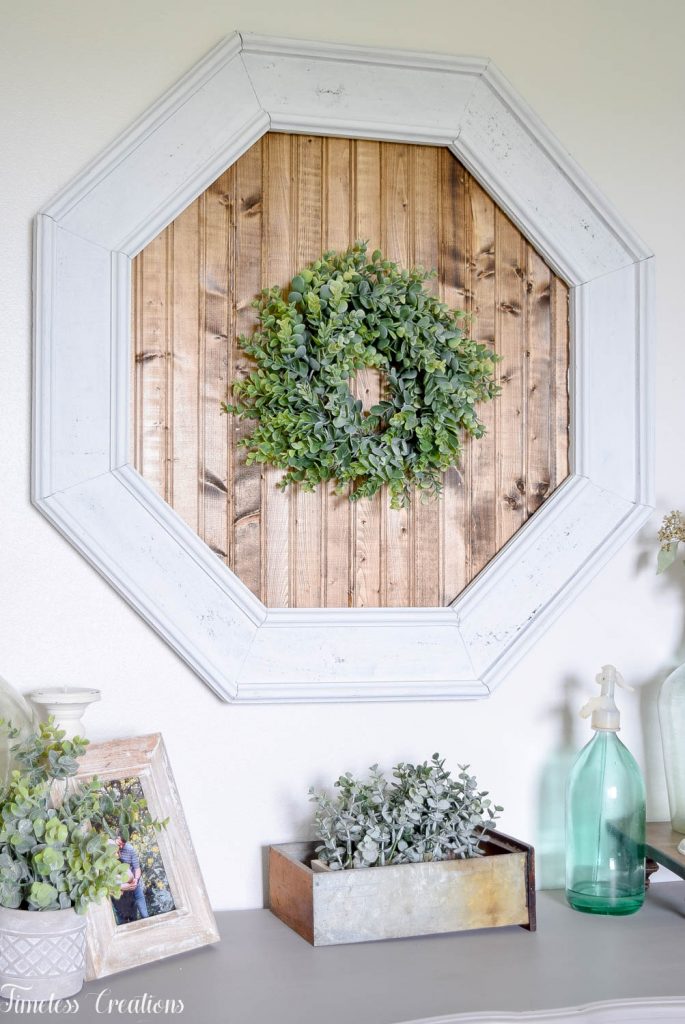
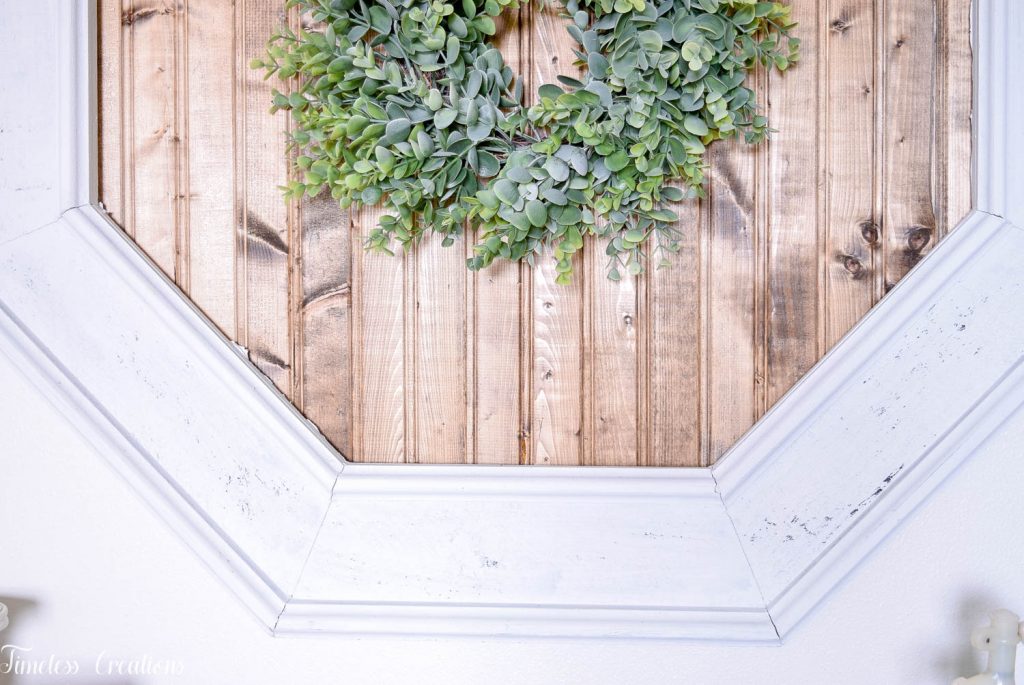
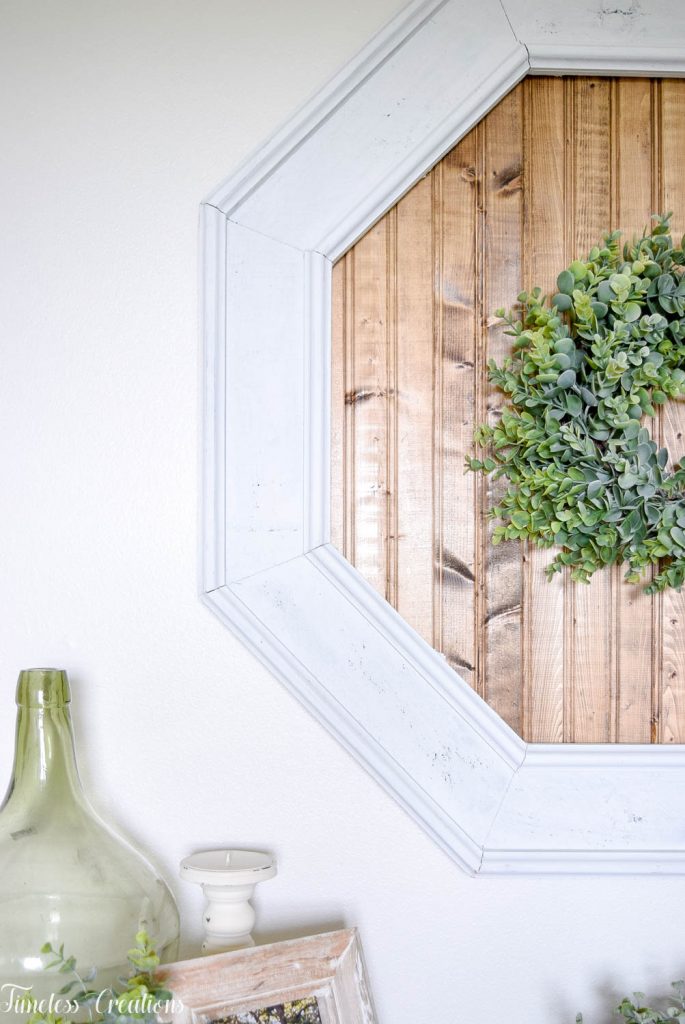
Since this piece sat for so long in storage I had plenty of time to figure out what I wanted to do with it. I didn’t feel like making it back into a mirror, but decided to use it more like an architectural piece. I decided to paint it a bright white, because the black was just so heavy and not to my taste. I did just a quick one coat of white, not even covering every spot deeply, but instead leaving a tiny bit of the black showing through in spots.
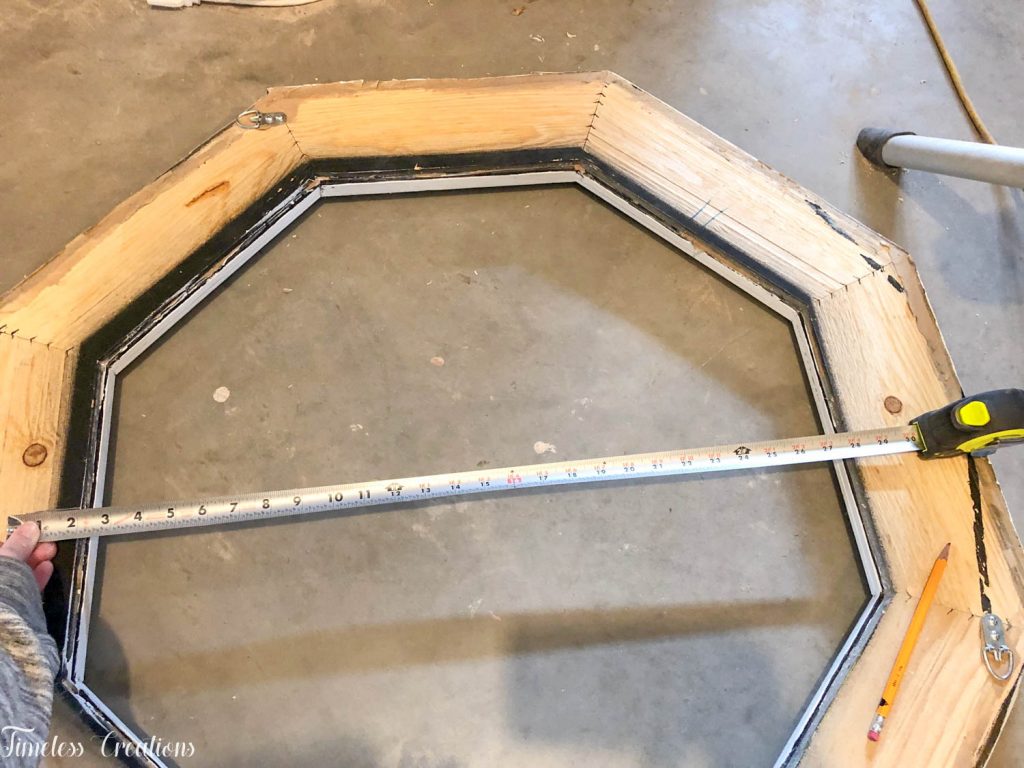
I then flipped it over to measure the back for my skinny tongue and groove back. Vicki and I just love these easy to use panels! We use them in our painting class projects we teach, we have also used these to replace particle board backs of furniture and for decor pieces! They are so cute! They are skinny, yet real wood so you can paint or stain them very easily.
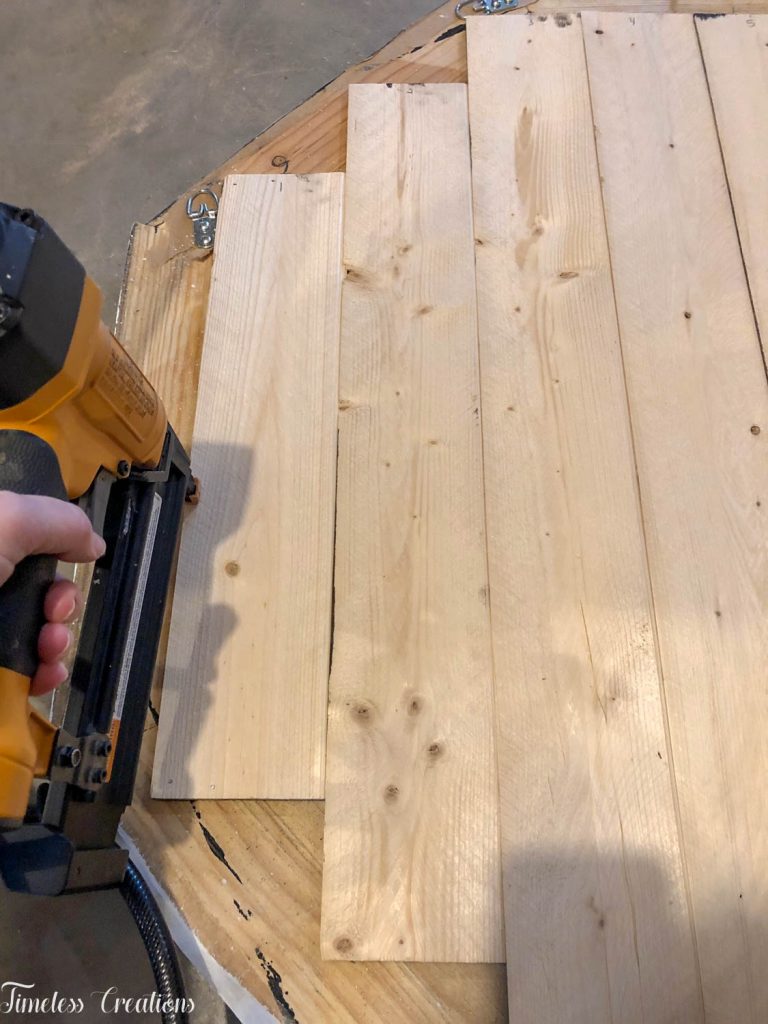
After measuring and cutting out each board, I lined them up so they were level and fit perfectly on the back. I next numbered my pieces so I wouldn’t forget which panel went where. Then a quick coat of stain (HERE is where you can find the color I used) was applied to the front of the panels. I absolutely adore the look of white and wood which I have all over my home. I knew by doing white and a stained wood look for this decor it would really tie in with the farmhouse style I have going on in the rest of my home.
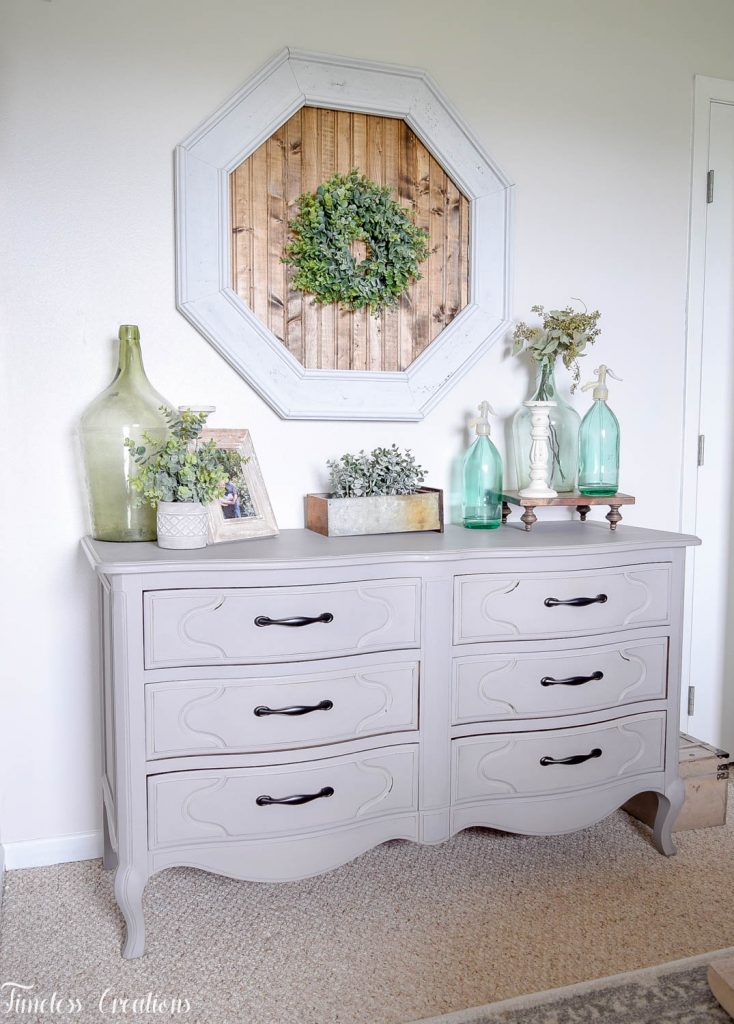
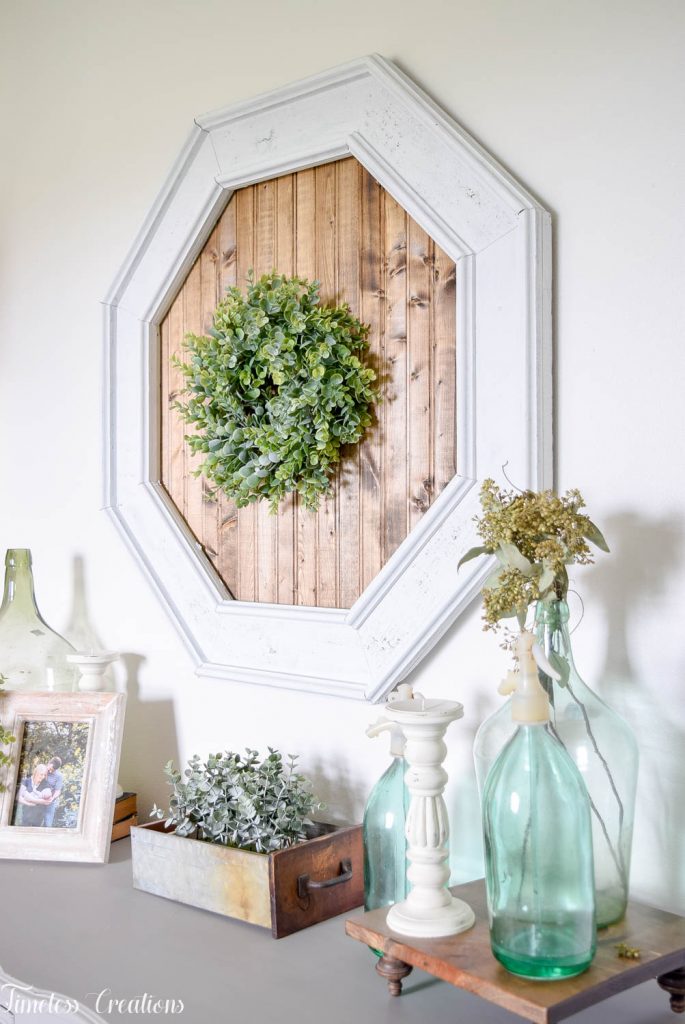
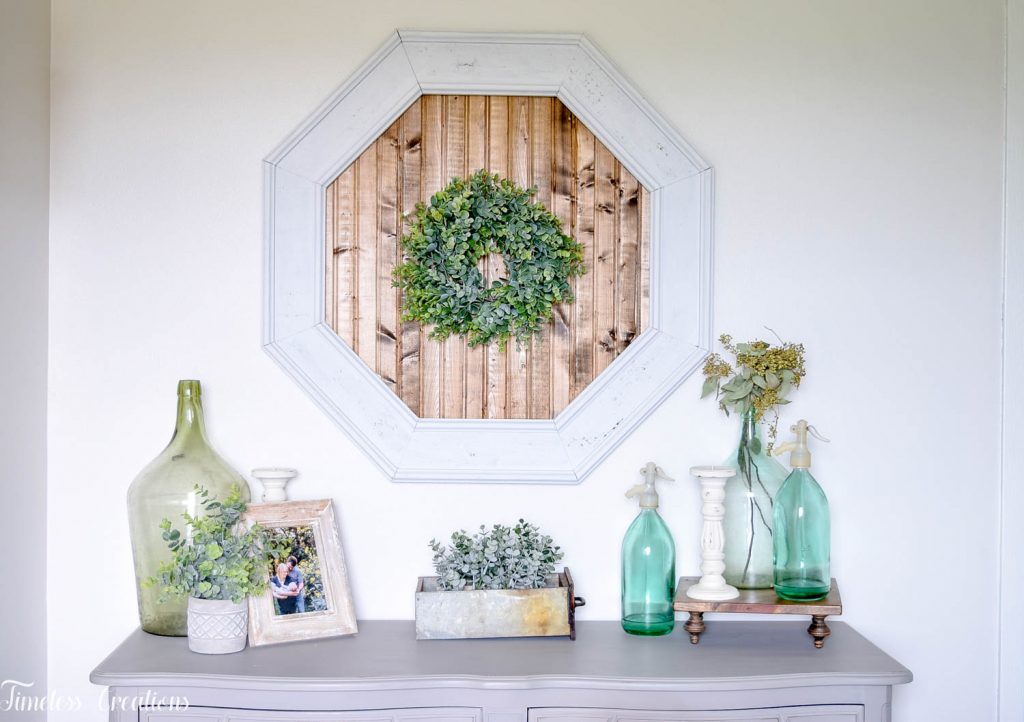
All it took was a few nails from my nail gun to attach these pretty panels to the octagon frame! Seriously, how easy is that? (I really don’t know how Vicki and I did things without a nail gun before – it is one of our most used tools now!) Then all that was left was to hang a beautiful faux eucalyptus wreath over the top and attach the entire piece to the wall above my dresser!
Ahhhh I seriously love it! I know that this corner of our room is pretty much all you have seen so far, but we just haven’t gotten the other side finished! Just stick it out with us. But aren’t those antique bottles so adorable! Vicki was able to go to the Junk Bonanza last week and I sent quite an extensive list with her! She did a fantastic job of finding my items! (And we can’t wait to share what else she found too!)
So we still have quite a bit of work to do yet. Including building a headboard as well as new nightstands. I have already started on the nightstands though – I can’t wait for you to see them friends! They are going to be so awesome! But I don’t want to give too much away right now, just know these next two furniture pieces are going to be amazing.
And don’t forget to jump over to the One Room Challenge website to see all of the other rooms that are being made over for this spring round. The designers and the rest of the bloggers are seriously so talented and have wonderful ideas. You will definitely be inspired by it all!
We will see you next week for another round of Kristen’s Master Bedroom Makeover series!
Update! See this series Week by Week now that it is finished by clicking through the links below.
Week 1 / Week 2 / Week 3 (You are Here) / Week 4 / Week 5 / Week 6



I love how to transformed that frame! Such a good use of a great find. T&G is so timeless!
Love the pretty frame! It’s a perfect blend of rustic and farmhouse.
What a great idea and finished project. The wood stain and painted frame combo look so classic. And I love that the finishes are different from the dresser- adds so much interest. Looking forward to seeing your completed room
This is so beautiful! I love an unsuspecting DIY project that turns out so amazing. Great job!
This is cute! There’s nothing better than red clearance tags!
Such a creative way to use the octagon frame! I really love the faux eucalyptus wreath on it. That stain is a perfect color. Really beautiful progress!
I love how your DIY transformation turned out! Great job!
I love this piece and you did a great job creating it! I think it is items like this that really make rooms more custom and stand out in designer challenges. Bravo!