Week 5 of the One Room Challenge is here! And I can see the finish line (Finally!). I cannot believe how fast these weeks have gone, but we have now completed all three of our furniture makeovers for Kristen’s master bedroom makeover series. I knew that it was going to be tough to get everything on my makeover list completed but I feel like I am sitting pretty good right now! Let’s take a look at what we have accomplished so far and what needs to be done yet.
But first, if you need to catch up with our bedroom makeover series take a peek at the previous weeks by clicking through the links below.
Week 1 / Week 2 / Week 3 / Week 4 / Week 5 (You are here) / Week 6
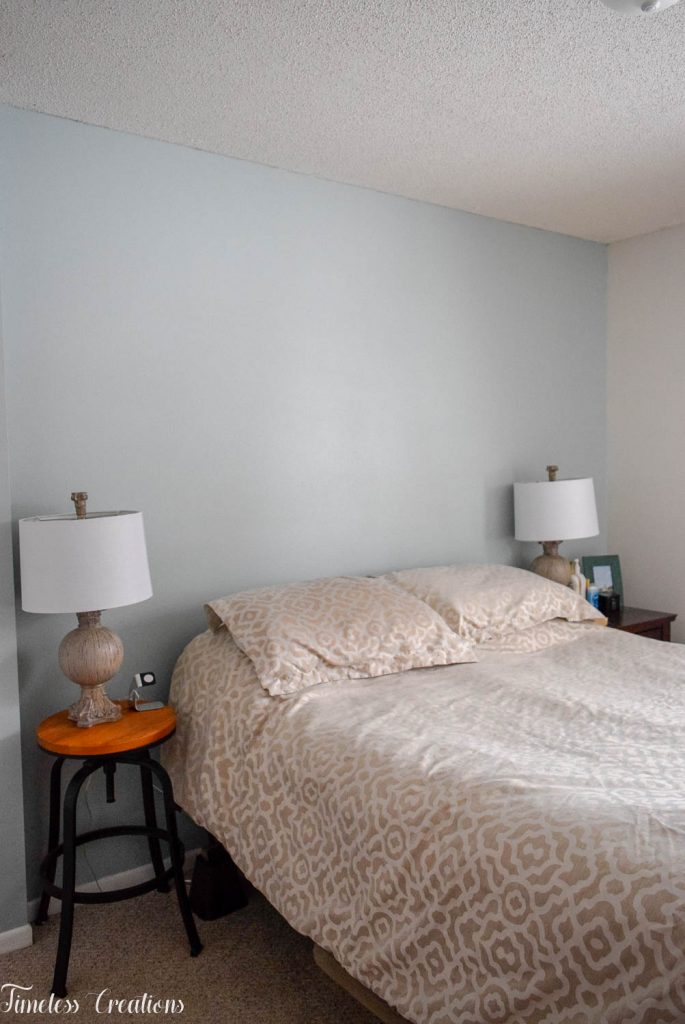
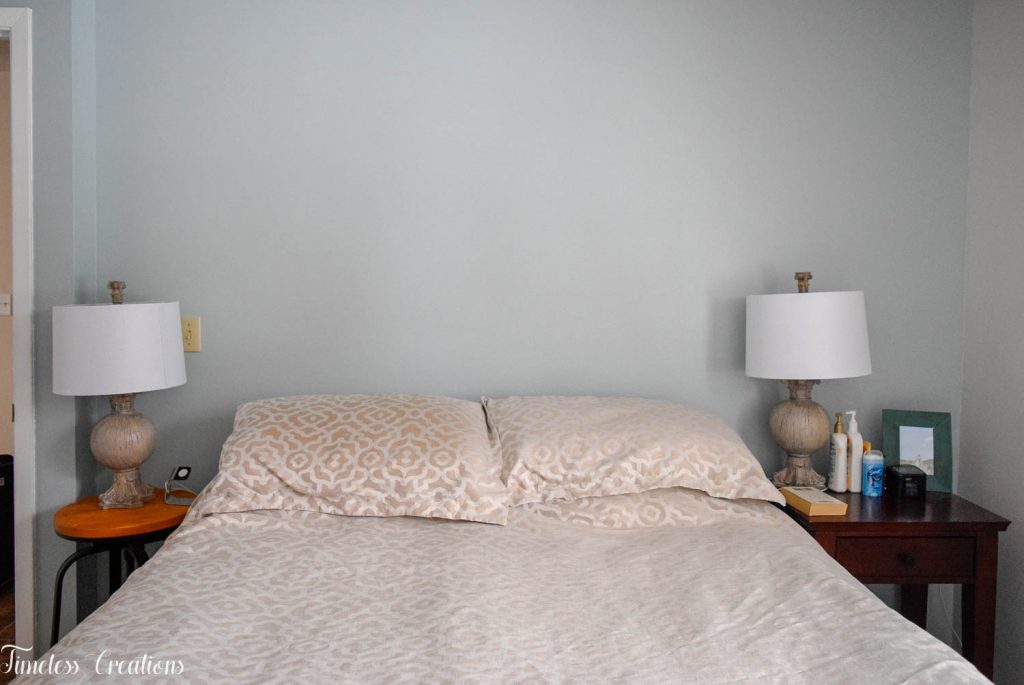
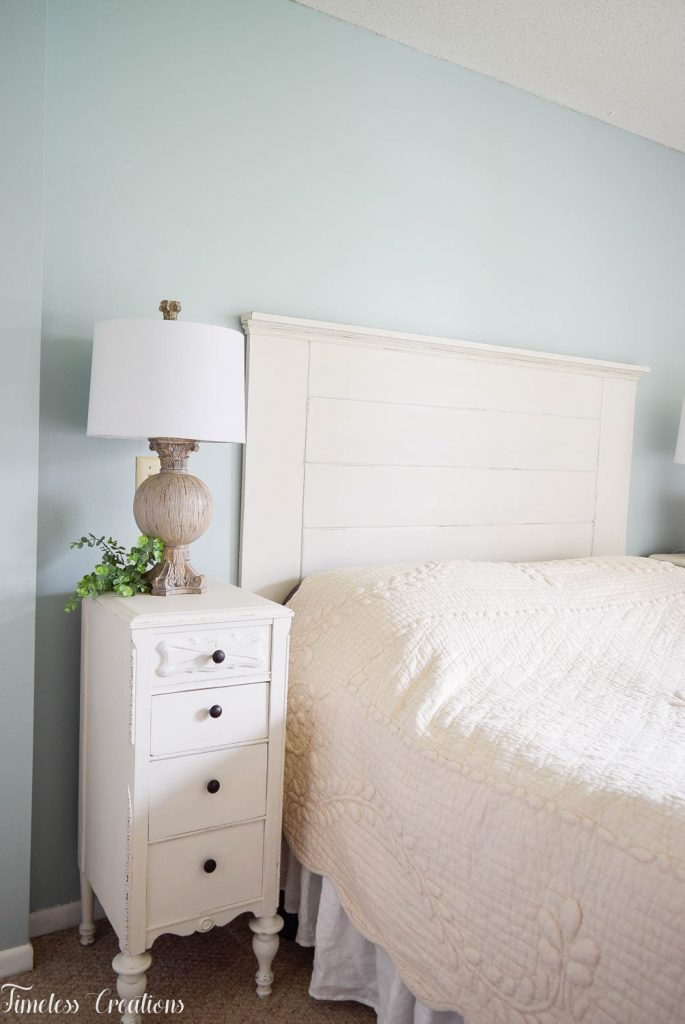
After finishing up the large project of making over our nightstands last week, we had ANOTHER large project to complete for this week – building the headboard that will hang on the wall above our bed. I decided not to do rails and a footboard because there just isn’t much room at all for anything extra in there. The headboard will give me the finished look I am wanting though.
I have been planning a bedroom makeover for quite awhile now so I had a lot of time to plan out my headboard. I wanted to make it fairly simple, that would be easy to replicate for those who are DIY’ers themselves! Yet it is unique in the fact that it is handmade. I absolutely love that we have learned to build some furniture ourselves and that they are incorporated into my home!
Here is what you will need to complete your own headboard: (The supplies are for a Queen size bed, adjust if you have a different size)
- 1″ x 8″ x 6 ft boards Qty: 8
- 1″ x 3″ x 6 ft board; Qty: 1
- Decorative Shoe molding (comes in 8 ft lengths)
- Nail Gun
- 3/4″ Nails and 1 3/16″ Nails
- Biscuit joiner
- #10 Biscuits
- Wood Glue
- Pipe Clamps
- Miter Saw
- Orbital Sander and Sandpaper
- Stain
- Paint of your choice
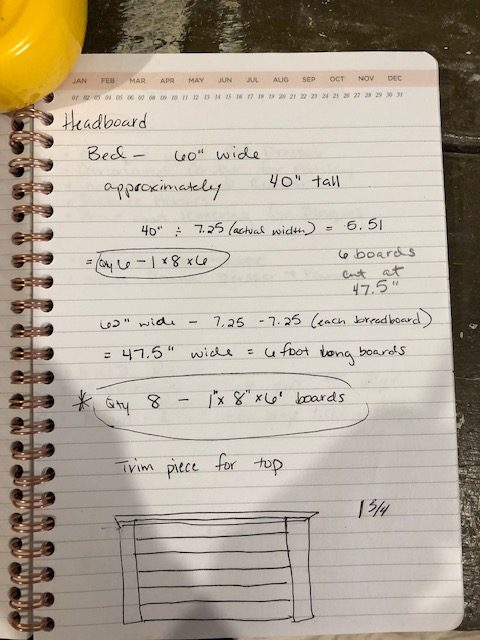
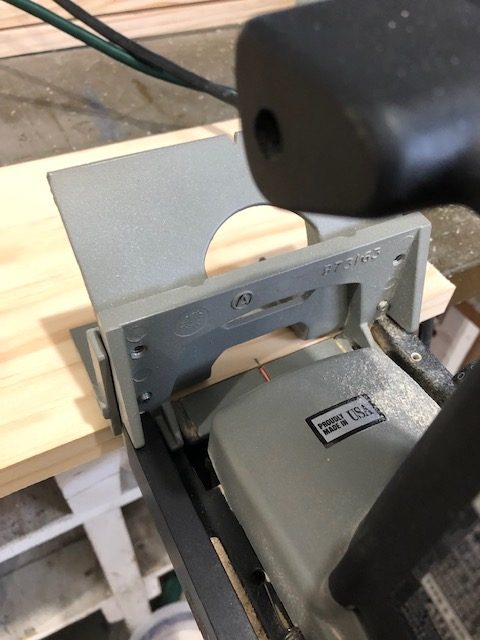
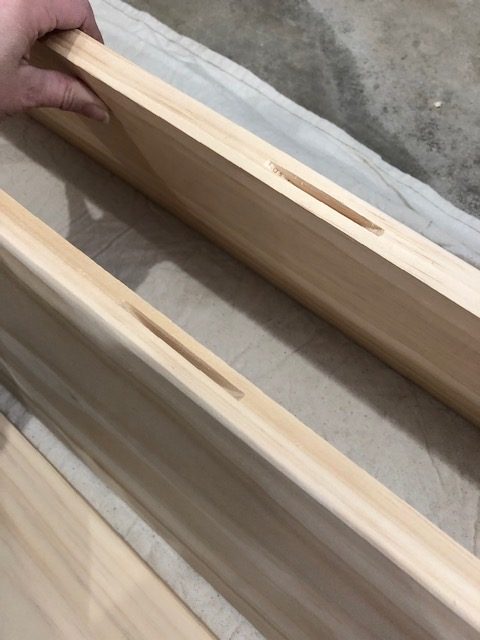
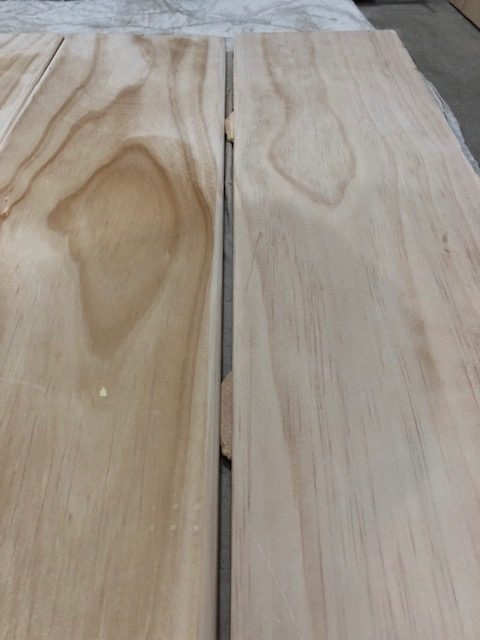
I began this project by measuring my bed. At 60 inches wide we decided to go just a tad wider for the headboard to make it 62 inches. Therefore our first step was to cut six 1 x 8 boards down to 47.5″ long. We then got our biscuit joiner out and measured and marked where the biscuits were going to go. This is one of the neatest tools that I never knew existed. My grandpa actually introduced me to it and gifted his to me a few years ago when I was making a coffee table top. It cuts a skinny horizontal hole in the side of a board where a small wooden biscuit can then be glued in place. You then match the hole to the other side and the other half of the biscuit goes into that hole to securely join the two boards.
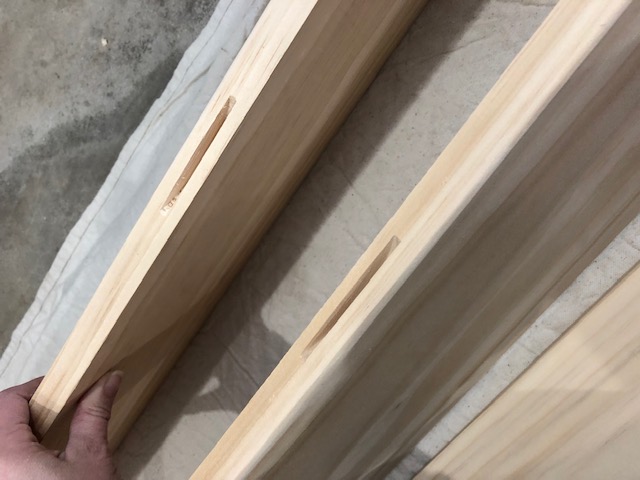
Pretty neat huh?! I cut about 4 to 5 biscuit holes in each board. Just make sure your holes match! Which is why measuring is important, otherwise your boards won’t join evenly. Not only did I cut biscuit holes to join all of the horizontal boards together, I also cut a biscuit hole in the middle of each end of all of these boards for the breadboard ends.
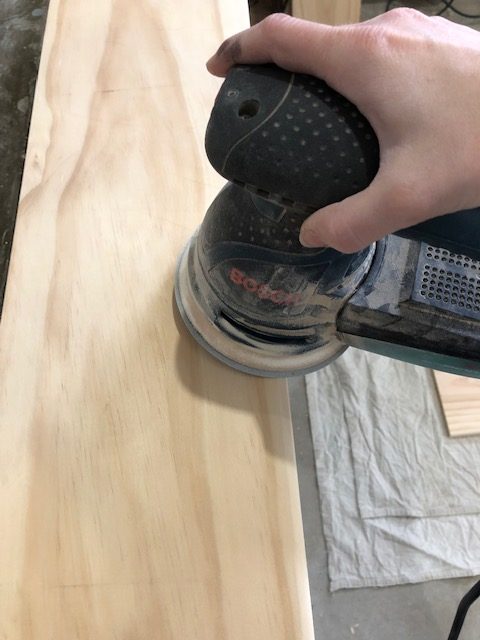
When all of the biscuit holes were cut I then took our orbital sander and 120 grit sand paper to round the edges of my horizontal boards to give them a shiplap or tongue-and-groove look. I did all the inside edges – if that makes sense. The top and bottom boards I left the outside edges straight.
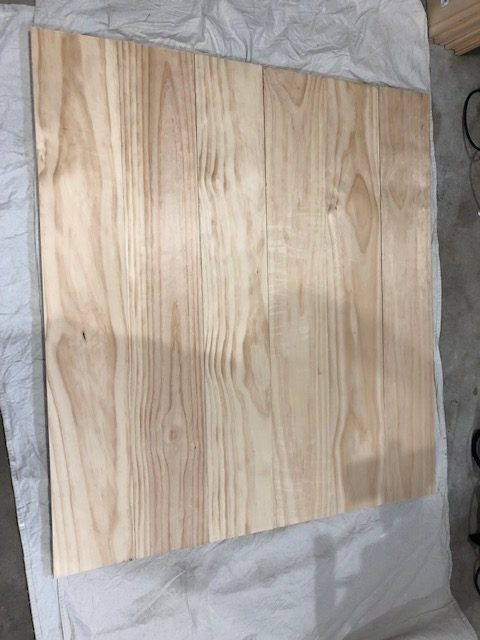
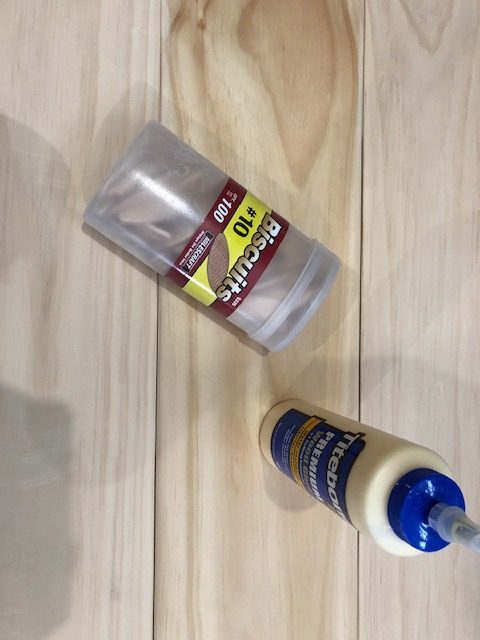
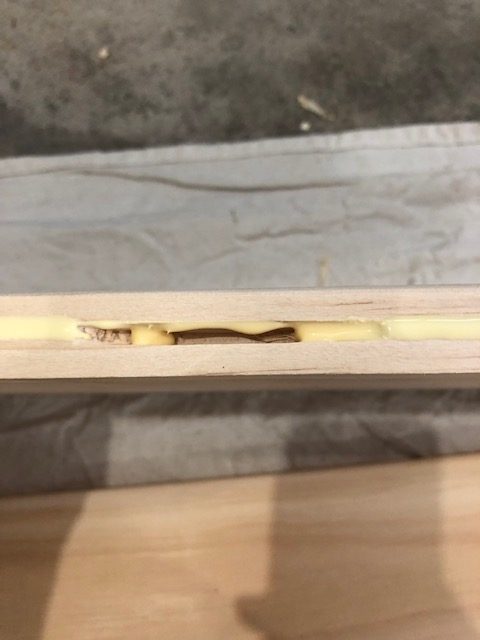
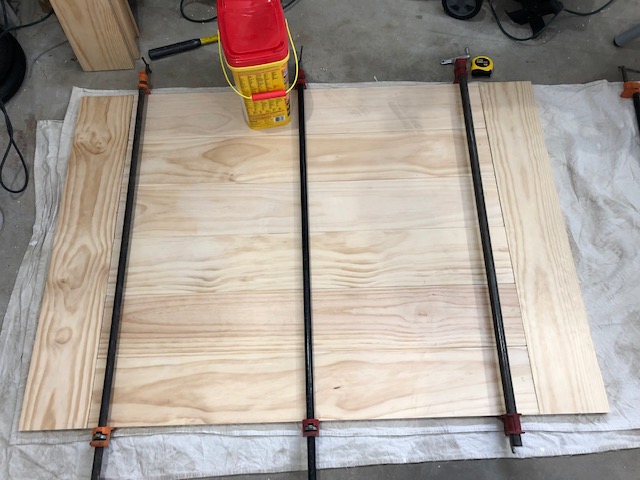
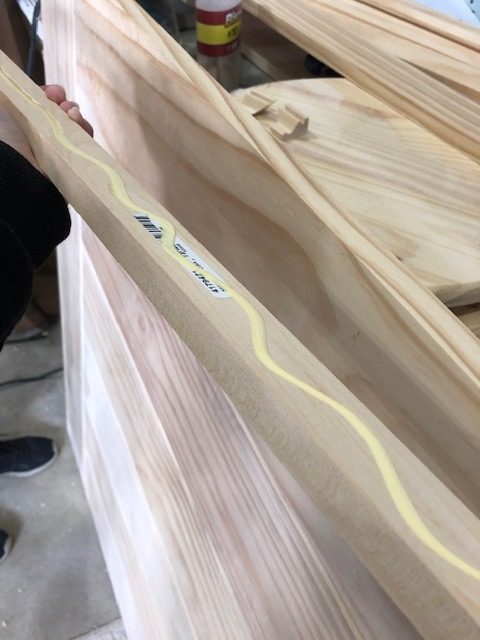
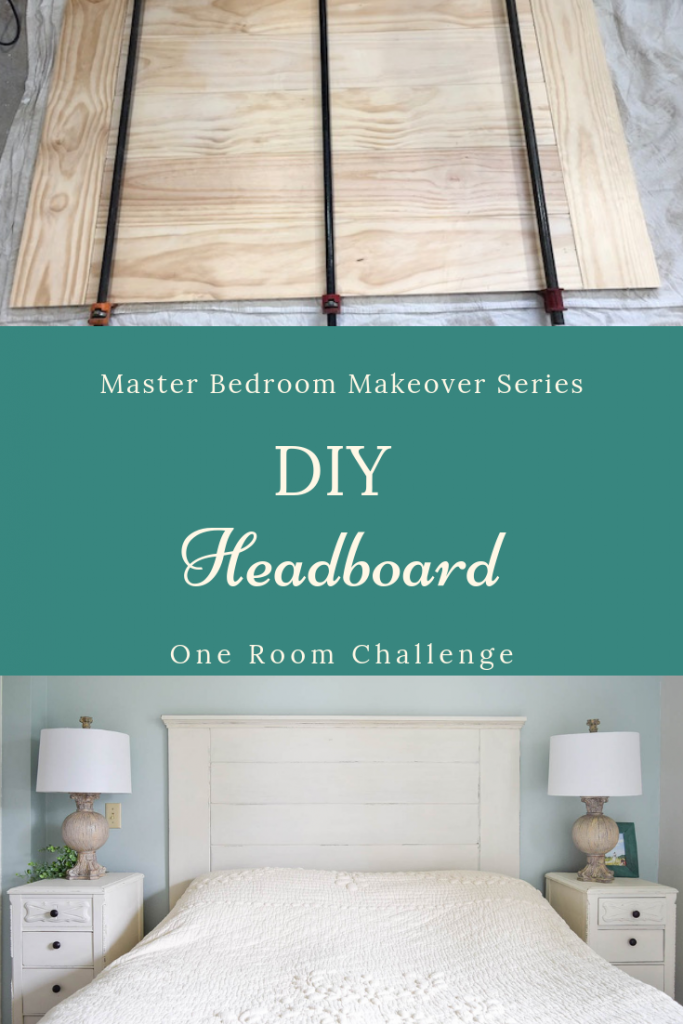
Next I glued each of these horizontal boards and their biscuits together. You put glue all along the edge of the board, and into the biscuit holes. Add your biscuit in the holes and line up all of your boards. Use your pipe clamps to clamp them all securely together. I did all of the horizontal boards first without touching my breadboard ends to make sure I new the EXACT dimensions to cut my breadboard ends. While the horizontal boards were clamped together and drying I measured their height and cut my last two 1 x 8 x 6 foot boards to that height.
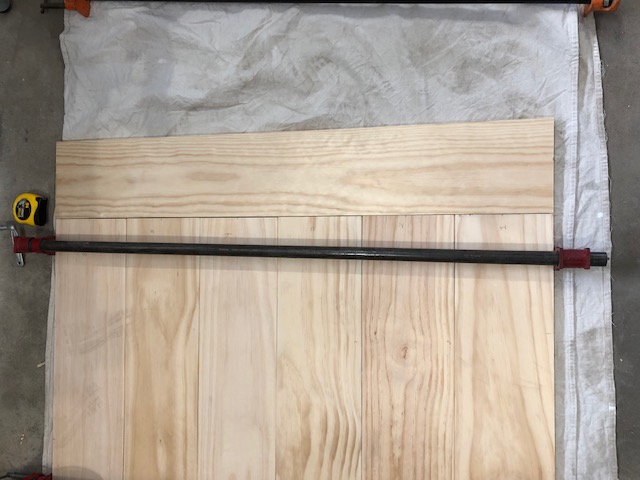
I then lined up my breadboard end 1 x 8 boards to each end of the horizontal boards. I marked where the biscuits would need to be drilled on my breadboard ends and continued to drill out the skinny holes. Once the biscuits were complete on the last boards I rounded the inside edge of the breadboards to continue the shiplap look.
When the horizontal boards had dried enough, I un-clamped those and continued on to gluing the breadboard ends on to finish the full width of the headboard. I followed the steps above by gluing along the board edge, into the biscuit holes, adding the biscuits, lining up my biscuit holes and using the long pipe clamps to add these two ends on! I did use something heavy to sit on top of each breadboard end so it didn’t buckle up.
And don’t forget to wipe up any glue that squeezes out of the cracks!
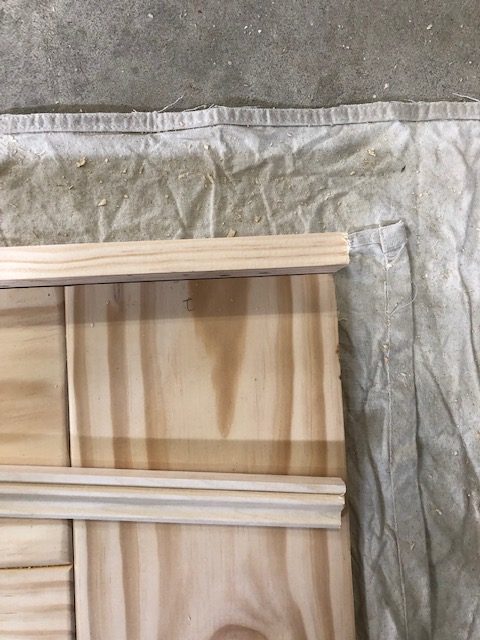
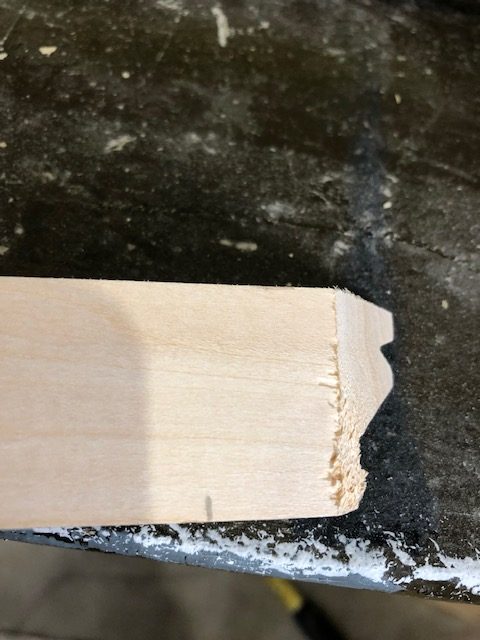
While all of that was drying, I took my shoe molding and measured the full width of the top of the headboard. I mitered the ends with my miter saw at 45 degrees so the edges would match up around the corners. I literally You Tubed “How to miter cut outside corner trim molding” to make sure I was cutting my corners correctly! You have to hold the trim a certain way in order for it to work and it is much easier to watch the videos than for me to explain it!
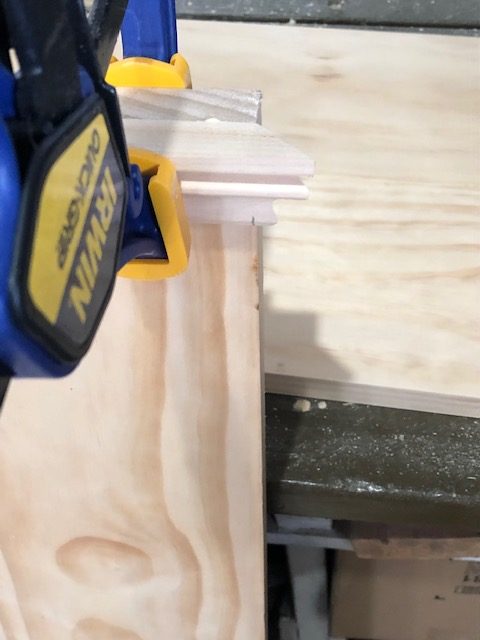
I then cut my small little end pieces from the shoe molding and proceeded to glue and nail all of the pieces right to the top of the headboard.
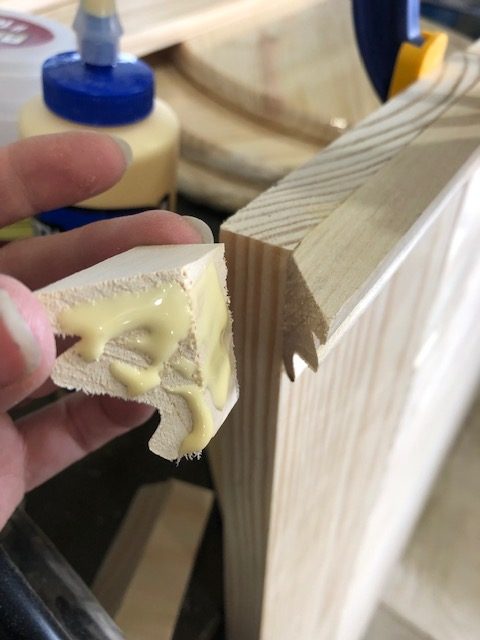
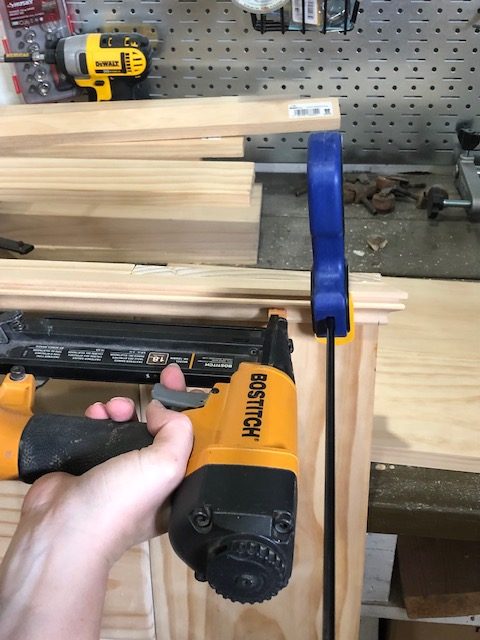
I followed up the glue with some 3/4″ finishing nails at the bottom edge of the trim to make sure everything stayed nice and tight. While it was clamped and drying I began to fill over the nails with some wood filler.
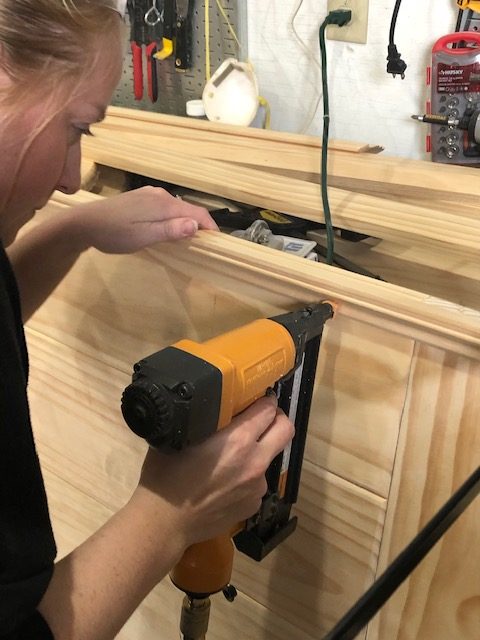
The last build step was the measure the 1 x 3 board for the full length over the ends of the trim boards all along the top. I then glued, clamped, and put 1 3/16″ finishing nails in the top of the 1 x 3 board to get everything finished and tight.
Once all the build parts were finished I was able to take a 220 grit sandpaper to sand down the entire headboard so it was completely smooth.
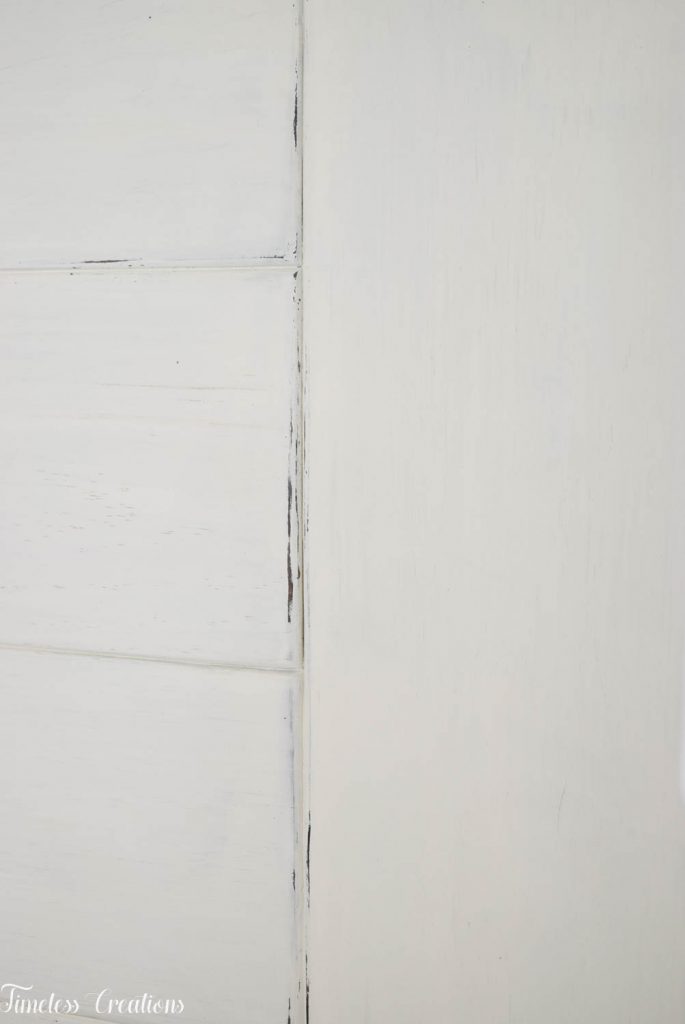
After that came the stain! It was a quick coat of THIS color stain, but I had to wait overnight before painting the piece. The stain has to be good and dry before adding over the top. To finish it up I decided to use the same “Farmhouse White” color of milk paint by Miss Mustard Seed’s Milk Paint as I used on my nightstands. While all the milk paint was dissolving I used the beeswax puck and rubbed over the shiplap edges to it could create a “resist” between the stain coat and the milk paint. This helps make the distressing part easier later.
It did take 3 full coats of the white milk paint since the stain was pretty darn dark, but once it was dry I was able to sand lightly to distress along the edges and then I sealed the entire headboard with wax to complete it.
The last step was to hang a large french cleat to the back of the headboard as well as on the wall in our bedroom. It was an easy step and they have many different sizes. We decided to use one long cleat, which actually holds up to 300 pounds. We figured it would be more than sufficient!
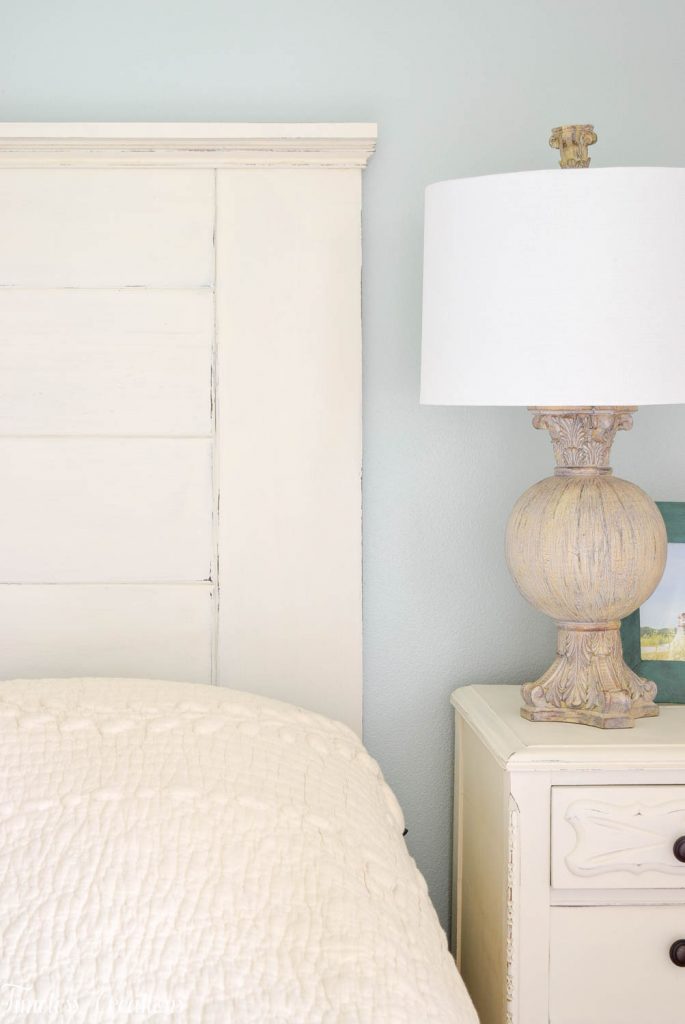
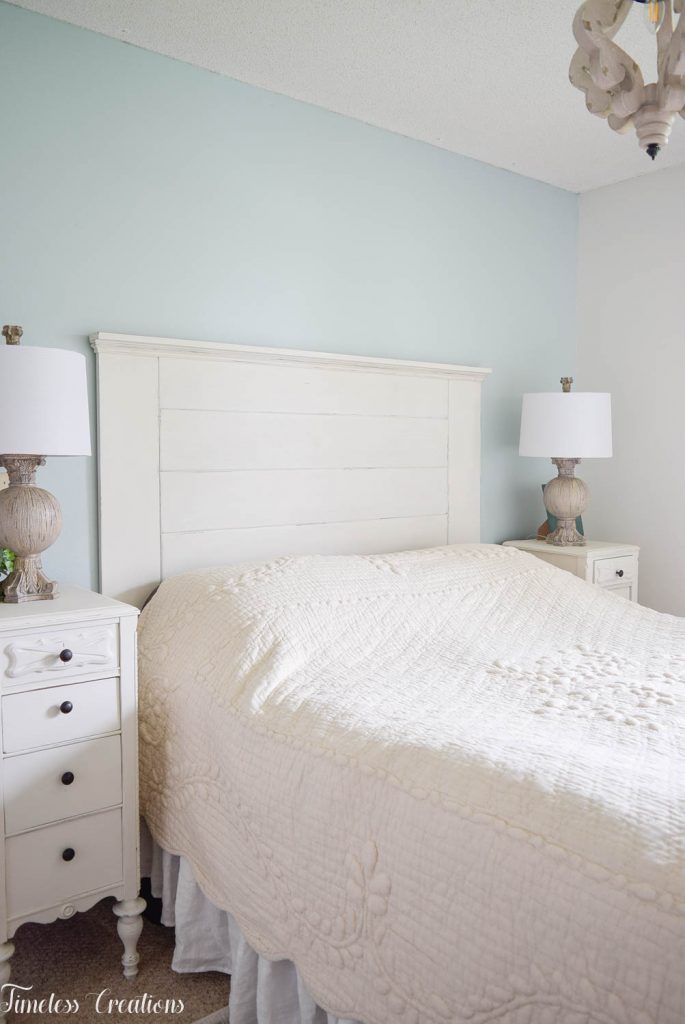
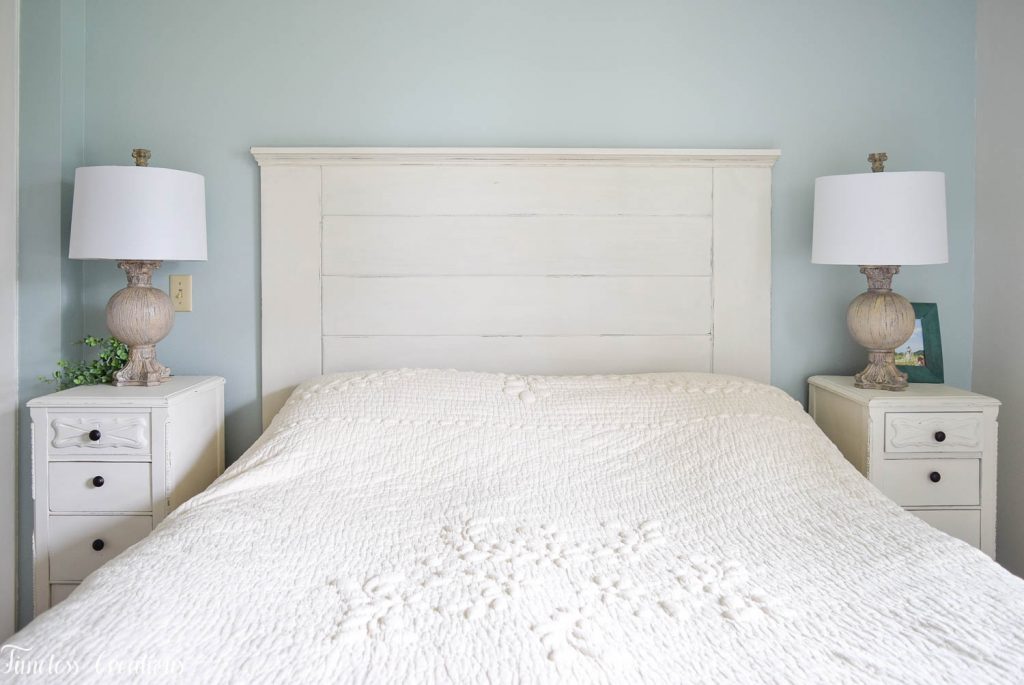
I needed a bit of help from my husband to actually hang it, but boy it sure does look good now! It just feels more “finished” in our room to have added the headboard!
You guys get some great sneak peeks of our new quilt and even a bit of our chandelier too! I am totally in love with the quilt and can’t wait to add our new decorative pillows Vicki and I are making to finish this space up. I picked out my fabric already and I am so excited! I can’t wait to show you all!
I have some more decorating to do in here yet before the final reveal next week though. I have an idea for above the headboard as well as some photo holders I made for a different wall as well.
I am still stuck on the curtains though…I haven’t been able to find anything I like! Like nothing at all. I have checked the stores, done a bit of online shopping and even kicked around some ideas on how to makeover my current curtains. I am just really indecisive in this area, and I don’t want to purchase or change something I’m not sure I will like. I’m not usually this indecisive!
But friends, there is only one week left! It’s time to put it all together now. I can’t wait to share the big reveal of it all with you! Stay tuned for next week’s and the very last post in the master bedroom makeover series for this spring’s One Room Challenge! See you then!





I love how the headboard turned out! It’s gorgeous! I’ve never used a biscuit joiner, but it’s on my list.
The headboard looks great and goes well with your nightstands!. Can’t wait to see the finished space!
That headboard adds sooooo much! Love it! This room is going to be so incredibly inviting.
What a great tutorial!! And look at you with all your biscuit joints… so cool. so super cool. Great looking headboard. Really great. See ya next week for the big reveal.. 🙂
The headboard turned out so well! It’s such a perfect addition to the room. Can’t wait to see the reveal!
So fresh and clean and buttery! Love it all!
THe headboard came out SO nice!! Great job. The room is coming together very nicely. Can’t wait for the reveal. Good luck!
The headboard looks so good. I LOVE LOVE the lamps. Do you give out where you found those? They are chunky enough so their weight carries well with the bed. I love everything so far. Can’t wait to see next week. There’s a curtain from SS not sure if I can name business so I’ll use initials; they have the most beautiful curtain panels but they are PRICEY per panel but I’ve never thought about smocking for a curtain but I saw them in burlap looking material and they are BEAUTIFUL!!! They may come in another color fabric; I believe they are in 3 different colors. But the smocking at the top is over the top. Just a soft, flowing slub texture would look good in a color you are going to use in a rug or print. I can hardly wait to see what you choose and the finished product. I love your blog-site and so glad I found ya’ll!!!! See you next week. Good luck,
jean
Hi Jean! I actually found those lamps way on clearance at TJ Maxx – and that store is always unpredictable on whether you can find the same things or not! We do have some beautiful lamps and chandeliers that we have favorited in our public Amazon store. You can find them HERE. Thank you for the suggestion for the curtains! I will look into it! I did take one last quick shopping trip to see if I could find any and I had no luck….so unfortunately for the reveal no new curtains will be added 🙁 Thats alright though! I would rather have something I REALLY really like! Thank you so much for following along with us!
Kristen
That headboard turned out beautiful it is a true showpiece for your room!
Whaaaaat I never knew such a tool existed! I can imagine that would make so many projects a lot easier. The headboard is really beautiful and how cool you made it yourself!