Holiday garlands have been popping up all over Pinterest and Instagram lately. And they are so cute! So for this year I decided to try my hand at my own DIY holiday garland.
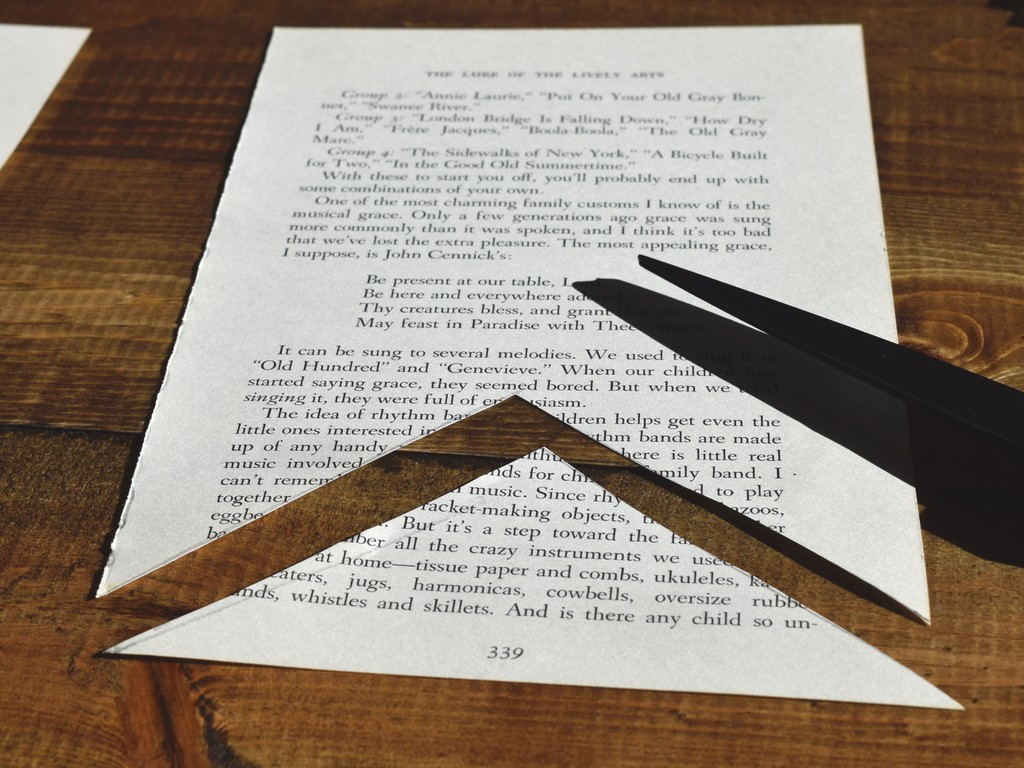
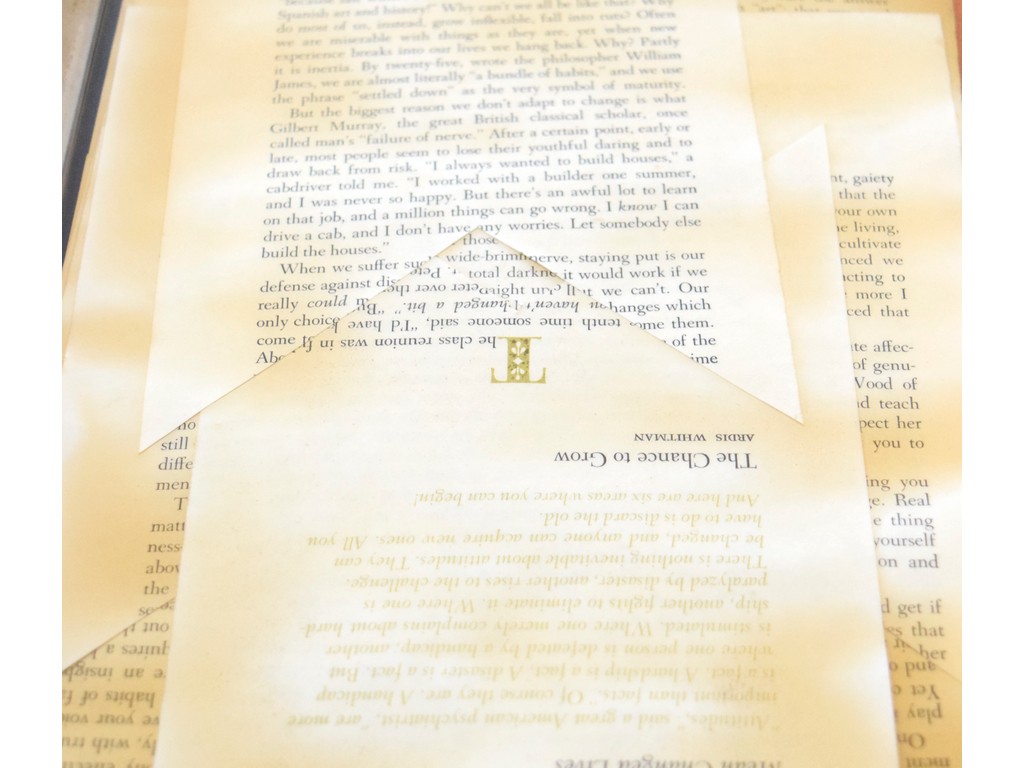
After looking around the house at what could be used for the base of the pennants I found an old book that had previously been used for craft projects and decided to tear out some pages from that. Once all the pages were ready I decided to take the bottom triangle out so it looked like a flag instead of doing the triangle look.
For your convenience in finding products we use, this post contains affiliate links. See our full disclosure on our “Disclosures” page.
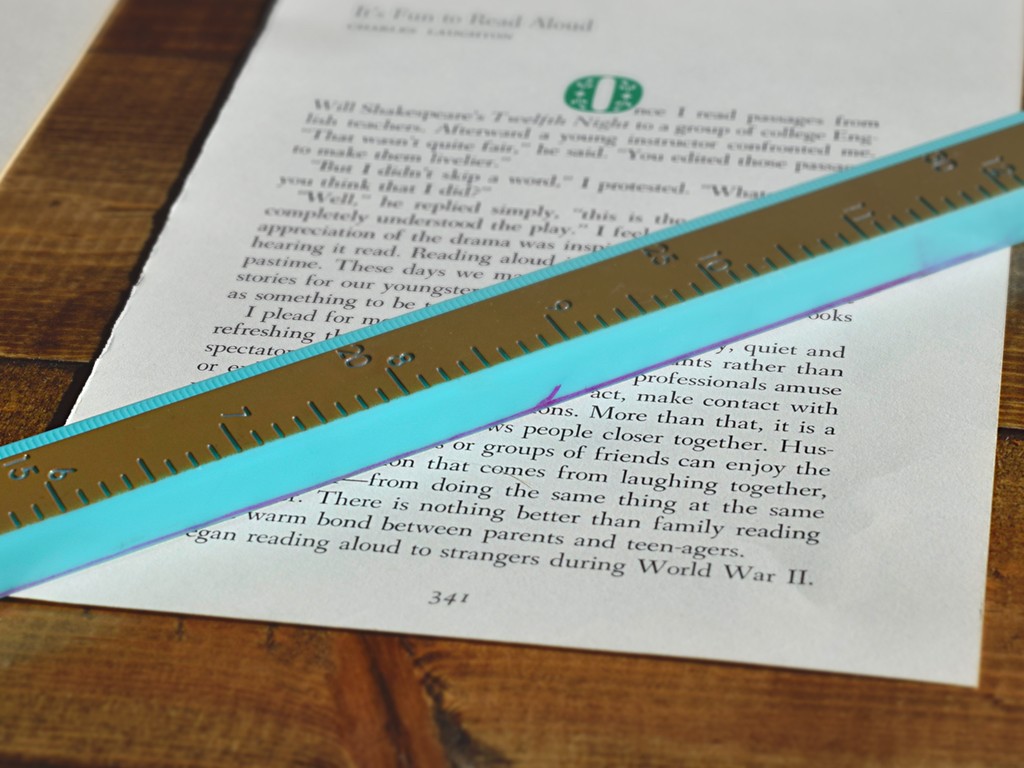
To cut the pages just take your straight edge and go straight from the bottom corner over to the side. It can be as large or small as you want. Then do the same thing from the other bottom corner just to where the two lines meet. Then you can cut that piece out. I then used this cut piece as my template for the rest of the pages so they would all be exactly the same.
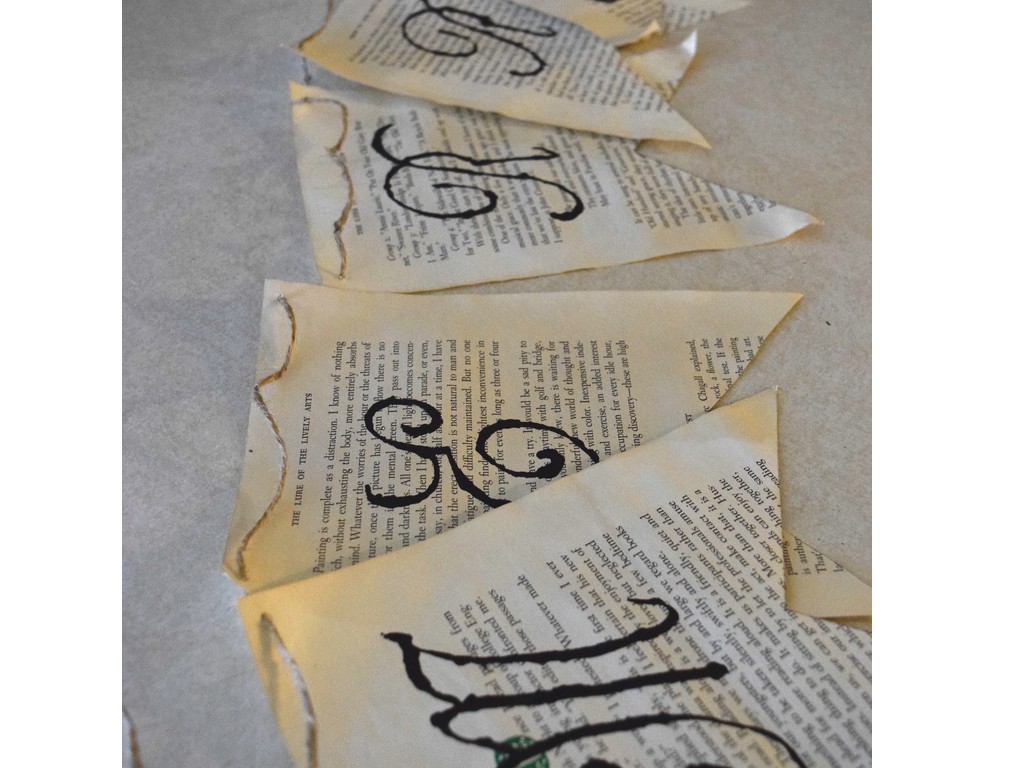
Next I wanted the pages to look a bit older, more yellowed than they were so I took our leftover coffee and a cookie tray and poured the coffee over the pages to soak and become more aged. Allow them to soak for as long or short as you want, and let dry overnight.
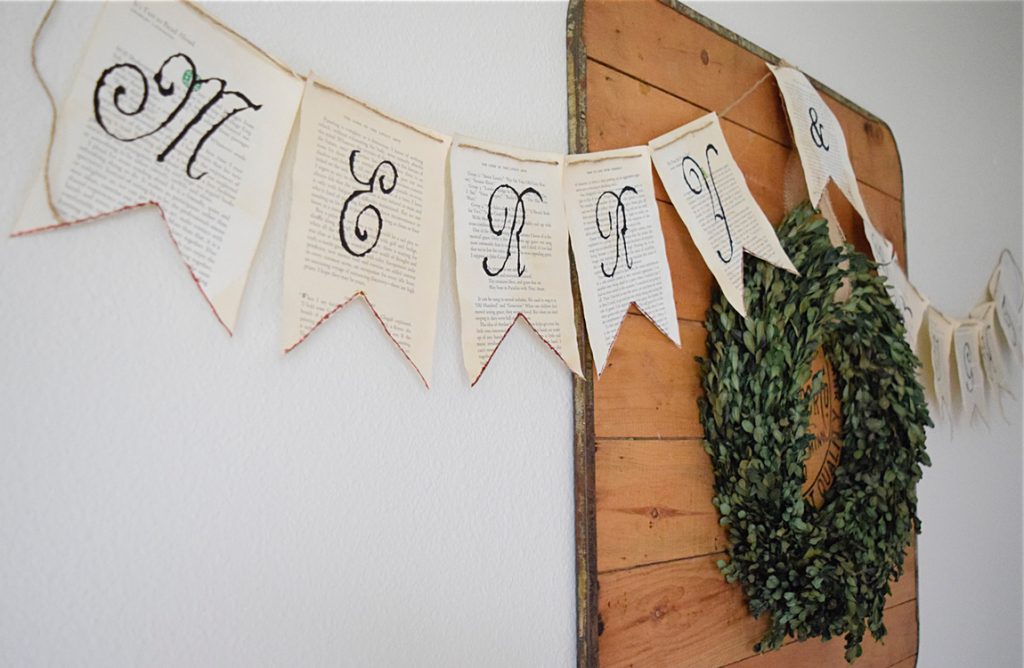
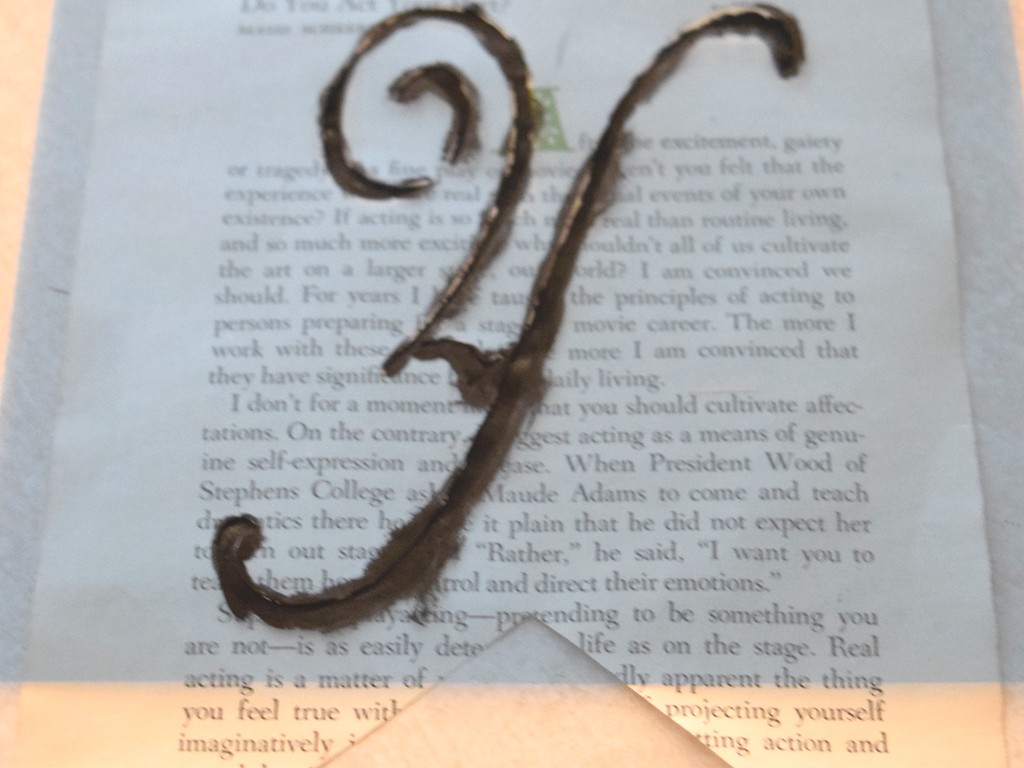
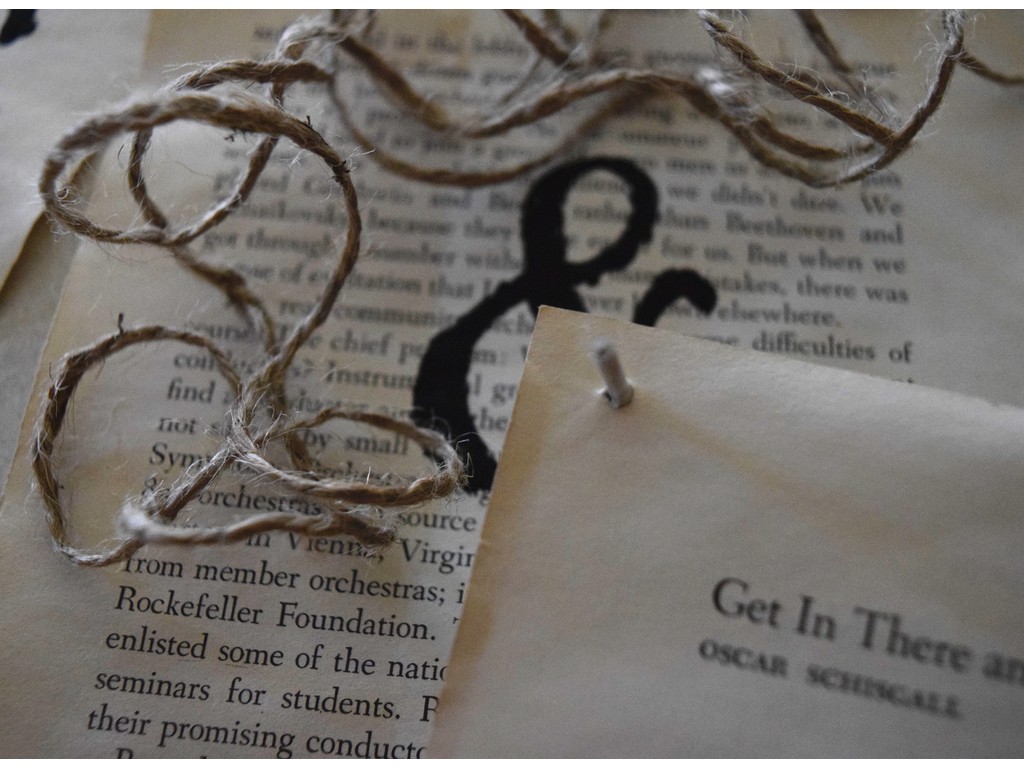
Once the pages dry grab a stencil or print outlines for your letters you want for the saying. I chose “Merry & Bright” and had some stencils around the house already so I grabbed my black acrylic paint and began! For this part I liked the look of imperfect stenciling because it added to the aged look I was going for! By using this technique the letters look like they are done with old ink that has blotted. Instead of taping down the stencil so it was tight and using a stencil brush I used a loose brush and allowed the paint to go underneath the stencil a bit.
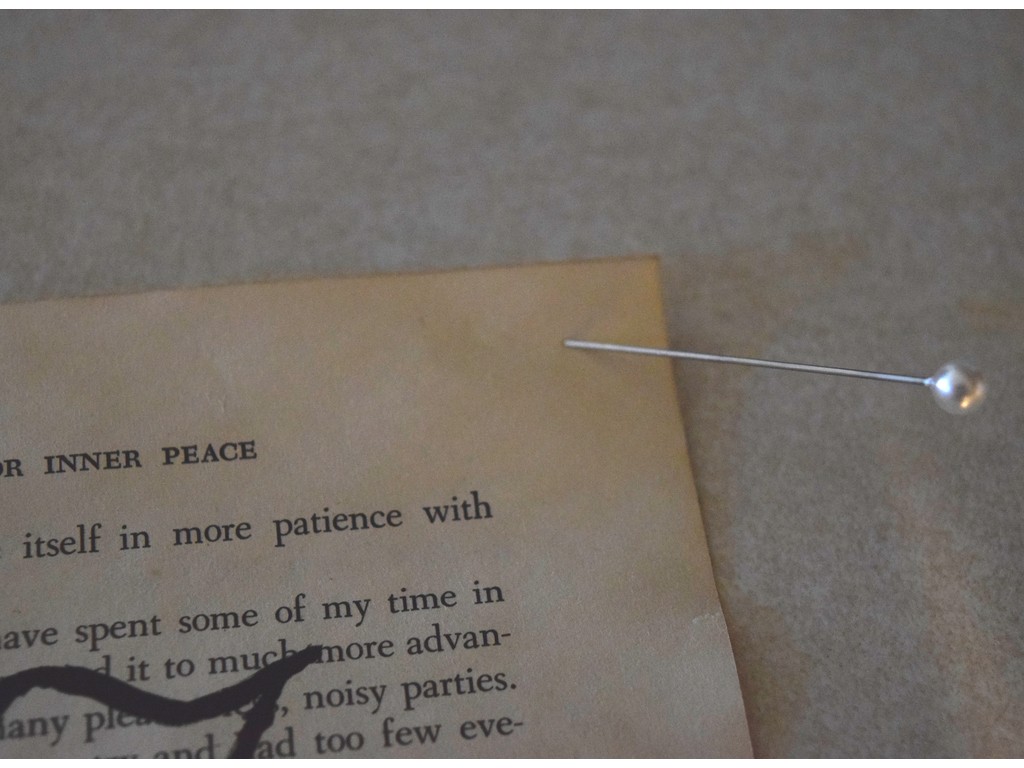
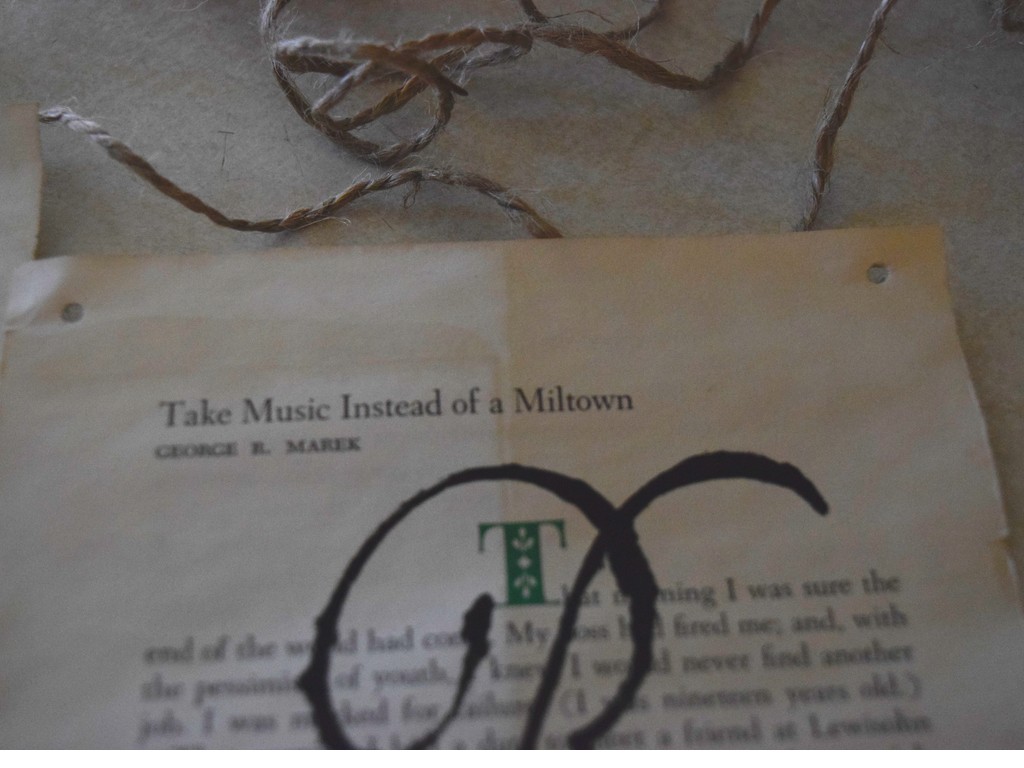
Once the lettering is dry, poke holes in the corners for your string. Because I didn’t have a single hole punch I used a pin to start the hole and then a pencil to make the hole bigger for my jute string to go through.
Tip: Wrap some tape around the end of your jute string so it doesn’t unravel while going through the paper’s holes.
Next just string your jute, or ribbon, or whatever you prefer, through the holes you made and you are finished!
You now have a beautiful garland as new decor by using things around the house. Remember to be creative, you can use cardstock, scrapbook paper, burlap, or sheet music as your base pennants, and if you don’t have any paint just go ahead and use a sharpie!
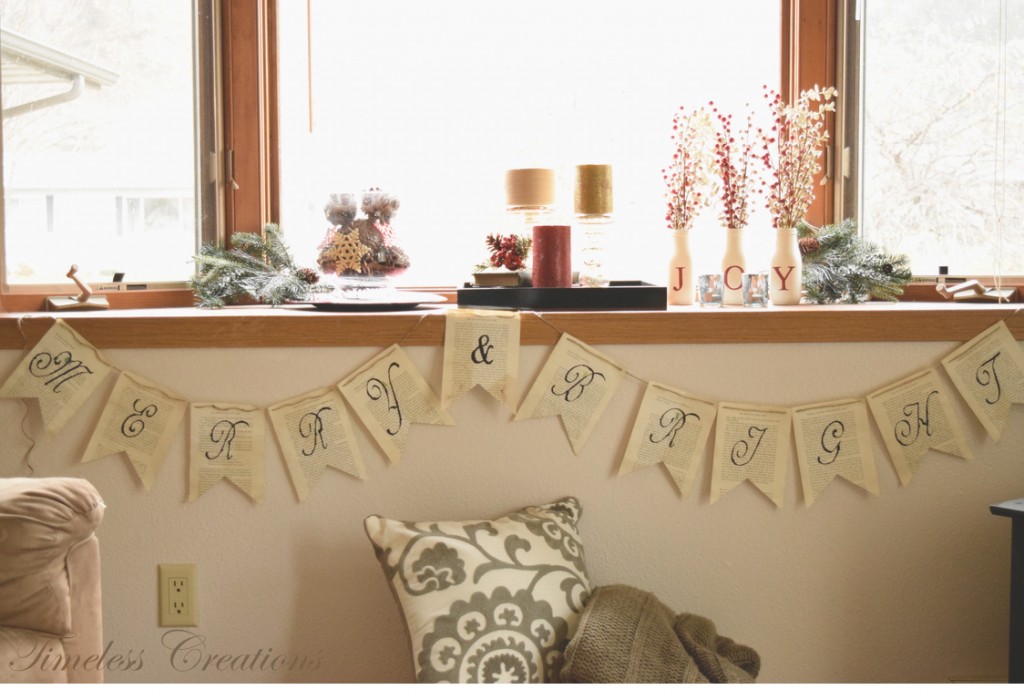
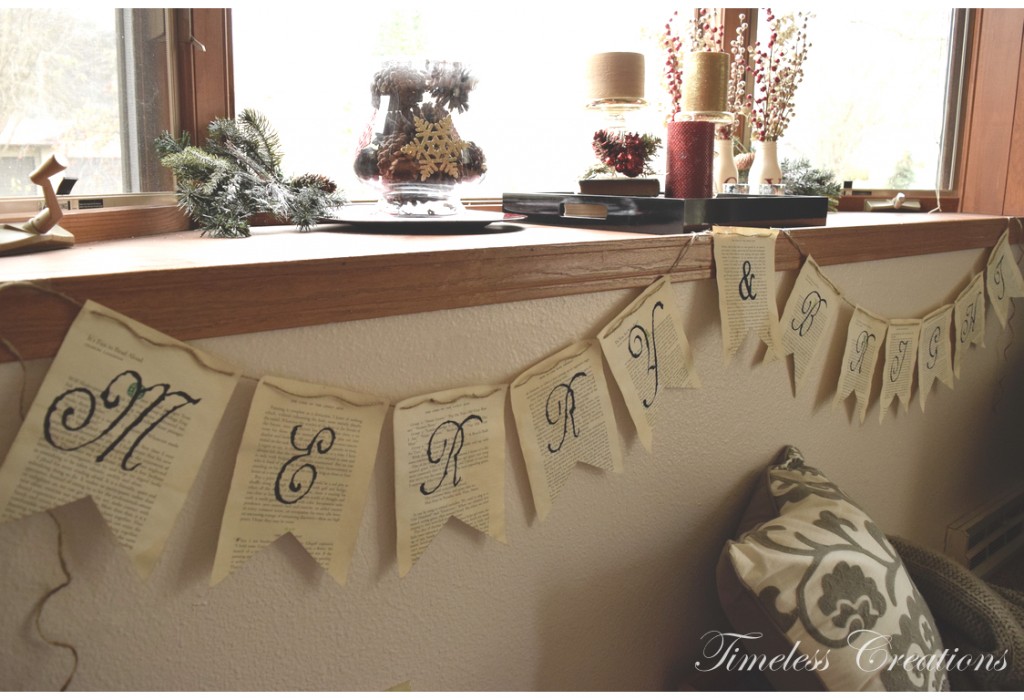
And here is where I put the garland for this year! I wanted it in a different spot since I have a new woven basket in that area in my living room. This is about the only Christmas decor in our bedroom, but its cute!
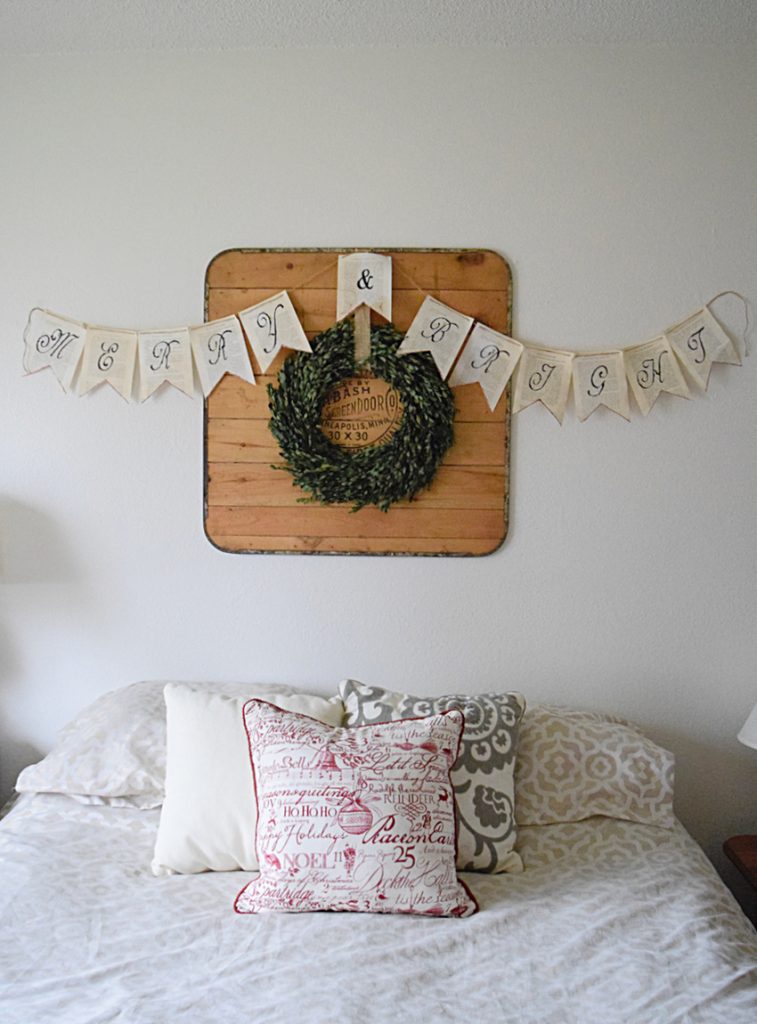
And then! I took this out of storage this year and decided it needed a little glitter… I just wanted a bit of red added to it, so I just ran and grabbed some glitter glue and added it just to the edge.





This is lovely. I have some brush pens and have dabbled just a little with hand lettering so I’m thinking I could try writing straight onto the pages. Thanks for the lovely idea.
Oh that would be really neat to have them hand brushed! Good luck!
That is precious. I love it over the bed. Thanks for linking up to Monday Social.
Thank you Katie! I’m glad I changed the spot for this garland this year too 🙂
You nailed it Kristen, the holiday garland looks like it’s been passed down from generation to generation. Love how the coffee stain ages the paper and the way you applied the stencil. Lovely
Thanks Michelle! Applying the stencil that way was even easier! Didn’t have to be perfect!
I LOVE this garland! It’s beautiful! Thank you for sharing with us at the Creative Gallery 🙂
Thank you so much Lindi!
Love the garland 🙂 Thank you so much for sharing it at The Crafty Corner too. I hope to see you again at the next party (beginning tomorrow).
Thank you Antonella!
LOVE how this turned out! Thanks so much for sharing with us at the To grandma’s house we go link party! Hope to see you tomorrow morning when the next party starts!
Thank you so much Tarahlynn!
This garland is so pretty! It has a vintage Victorian-y feel to me, which is so perfect for the holidays. Thank you for linking up with our Creative Spark party last week. I chose your festive garland as one of my Featured Picks for this week. Hope you’ll stop by and link up again – the party goes live at 6am EST tomorrow.
Thank you so much for featuring our garland Emily! We have your party on our weekly link party list!
Thanks for sharing at our Thursday Favorite Things Blog Hop. I featured you this week on my round up!
Thank you so much for the feature Debi! We appreciate it!