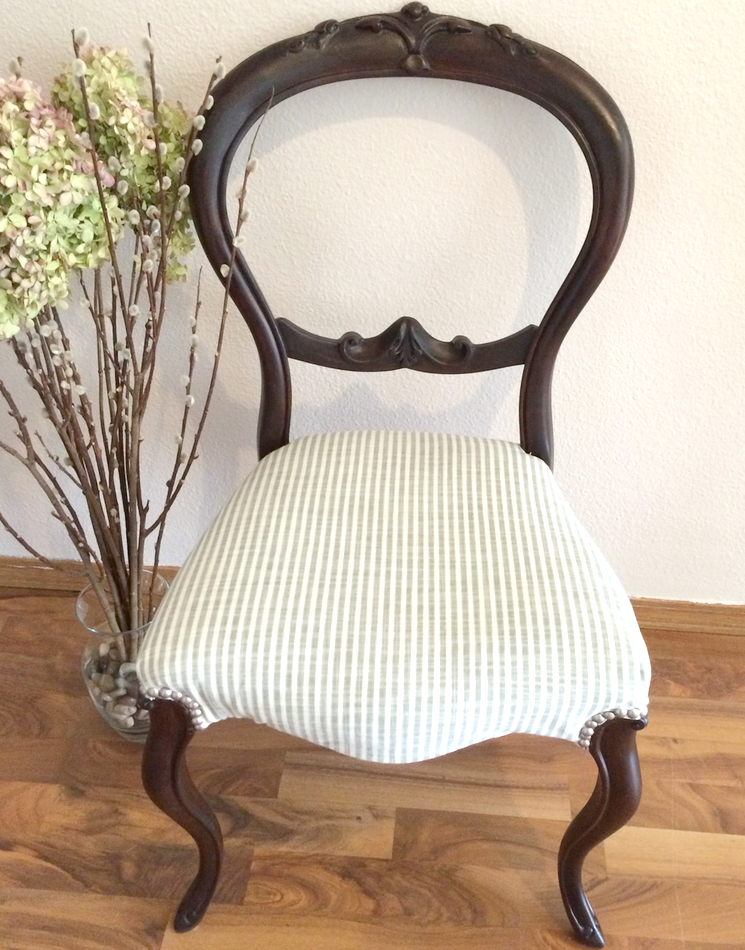
A French style chair gets re-upholstered to look completely new.
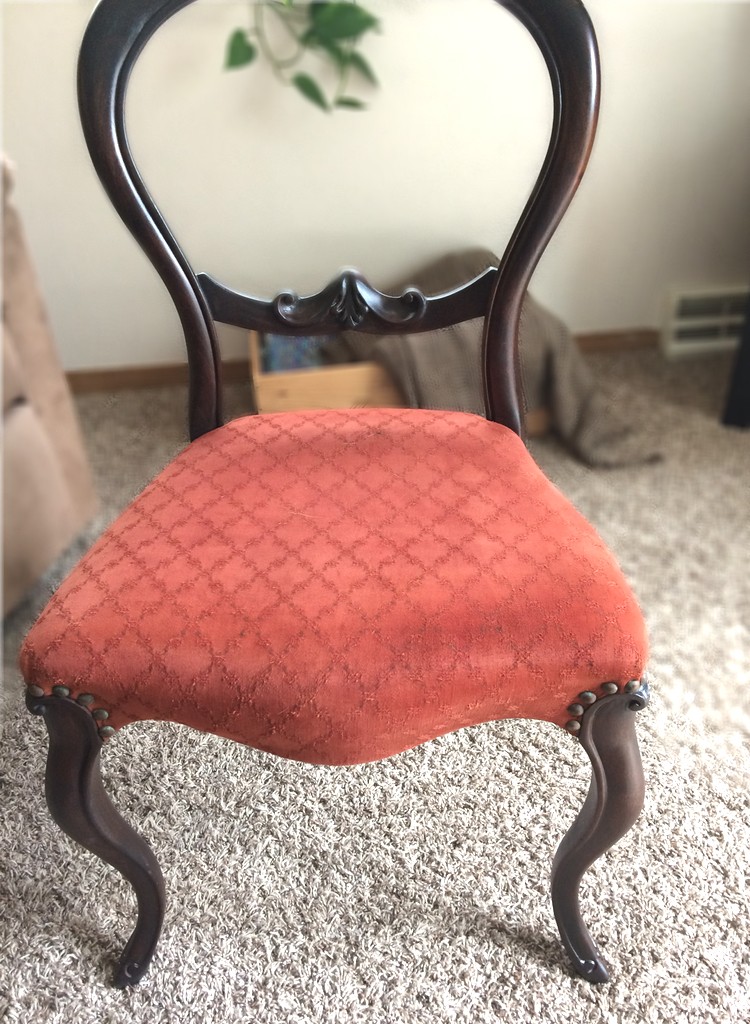
When we found this French Provincial chair at an auction I couldn’t believe that someone was selling this little beauty! Of course it did need to be recovered since the fabric was dated and in very rough shape but the curvature and ornate details spoke to us right away.
The wood of the back and legs was surprisingly in fantastic shape compared to the fabric seat so we opted to leave the dark wood instead of painting it. That would help it match Kristen’s desk better since that was also a dark wood hue.
For your convenience in locating products we have used, this article contains affiliate links. All products are items we use ourselves and have formed our own opinions on. For our full disclosure go to our “Disclosures” page.
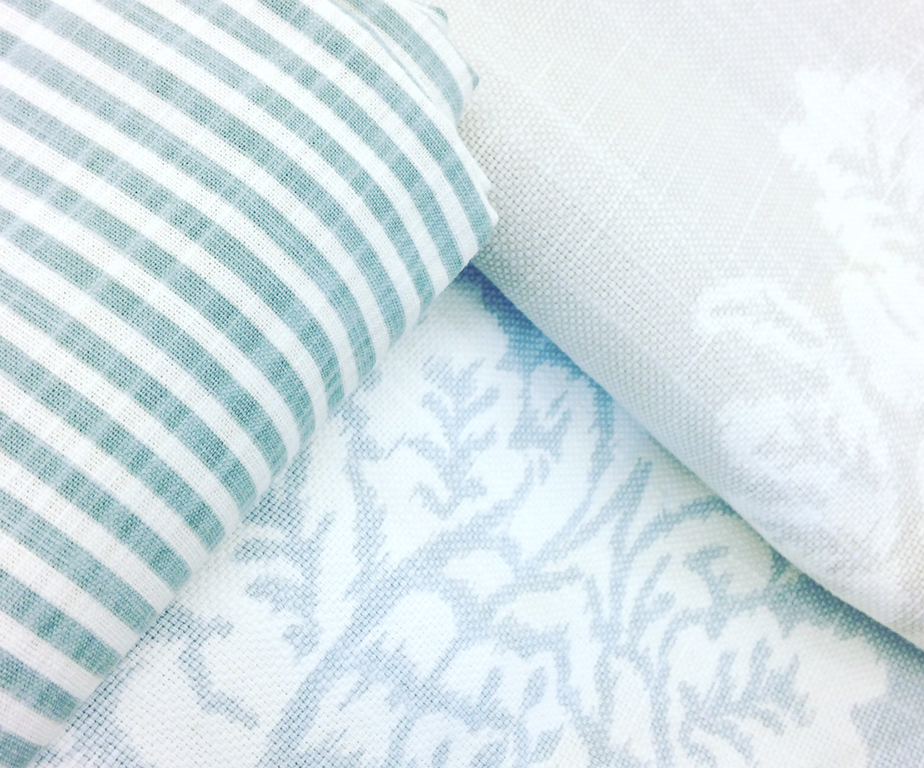
First thing we did was go fabric shopping! We almost have too much fun when we go fabric shopping, and always come out of the store with more swatches than we were bargaining for! However, when you shop in the remnants section its hard NOT to purchase pretty fabric when its only $5 per yard! That is where we found the fabric for this chair, in the end of bolt/remnants section, it’s a beautiful light aqua and cream striped fabric that I thought would go well with this French inspired chair.
After picking out the fabric the manual labor step was next.
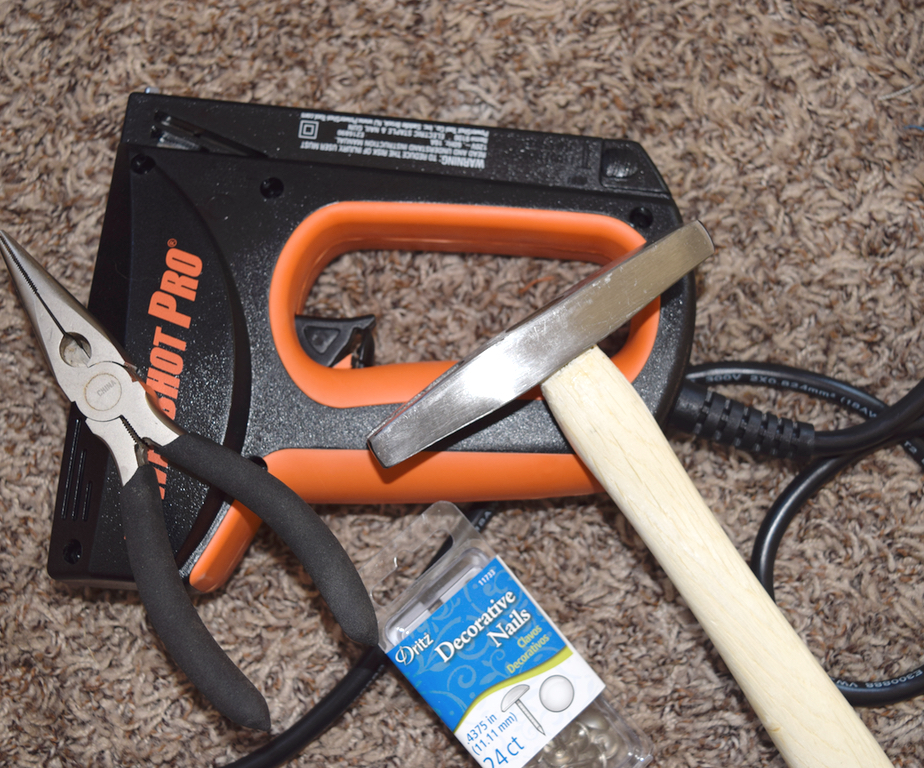
We gathered our supplies which included:
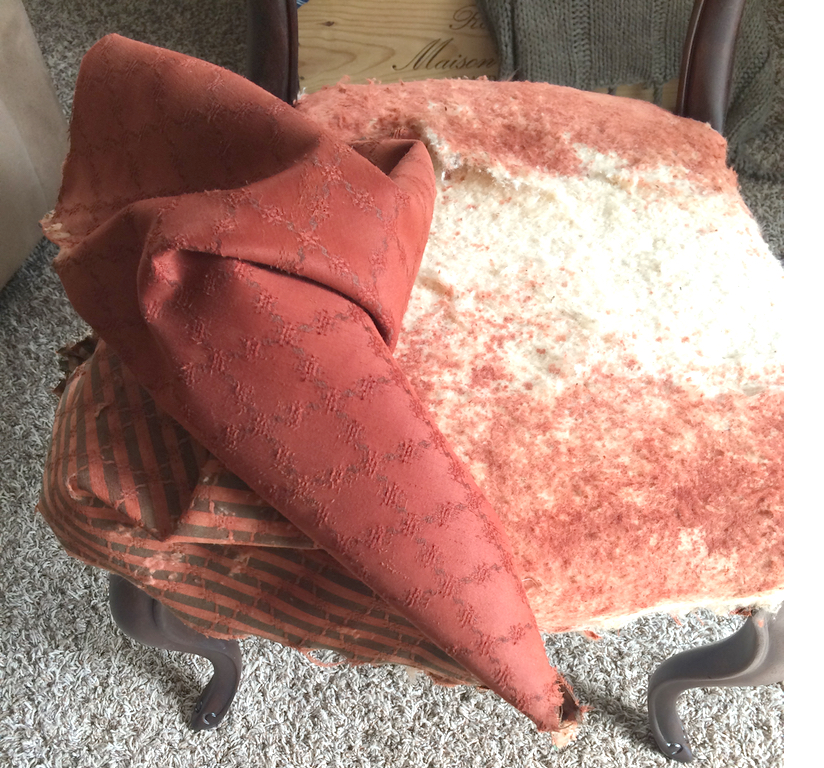
Have you ever worked with decorative nails? Well they aren’t the easiest upholstery option to work with. This chair had decorative nails around the edges where the legs and the seat met which is where we started. Just take a needle nose pliers and pull all of the old nails out. Once that is done you can remove your old fabric from the seat. We opted to remove it while keeping it mostly intact so we could keep that old fabric as a pattern to cut out the new fabric.
After that was removed we laid it out on top of our new striped fabric and pinned the two together to cut out the piece we needed.
Note: We gave ourselves an extra 1/8 inch around the edge while cutting just to make sure we could maneuver the fabric how we wanted.
After that is finished you can begin by laying your new fabric out on the chair.
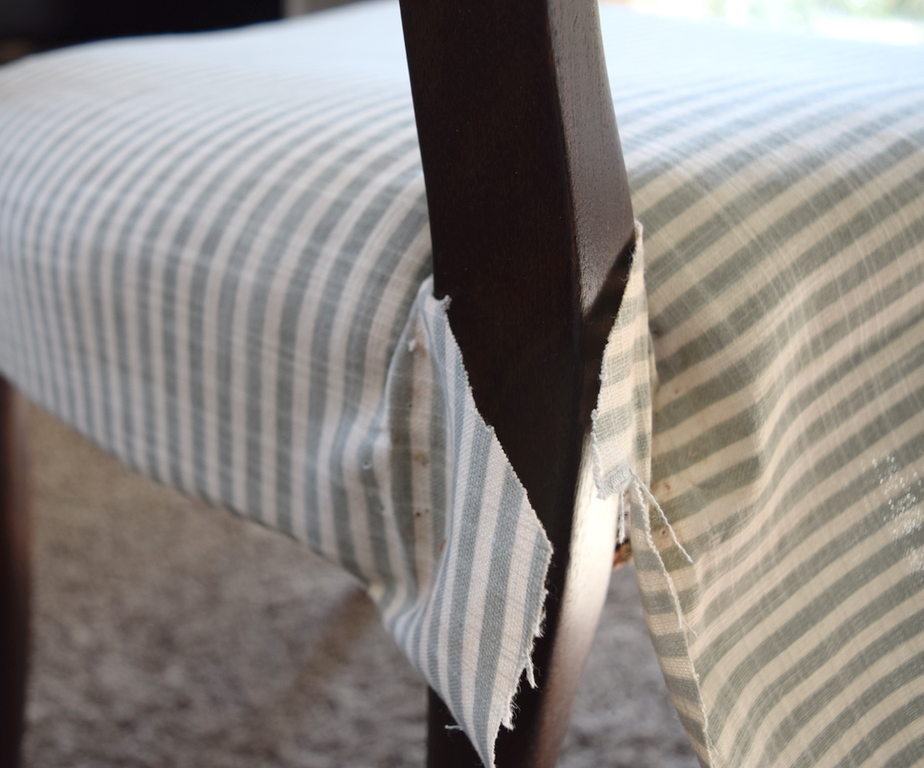
We grabbed our staple gun and went to the sides of the seat and positioned the fabric where it belonged and stapled starting in the middle of one side.
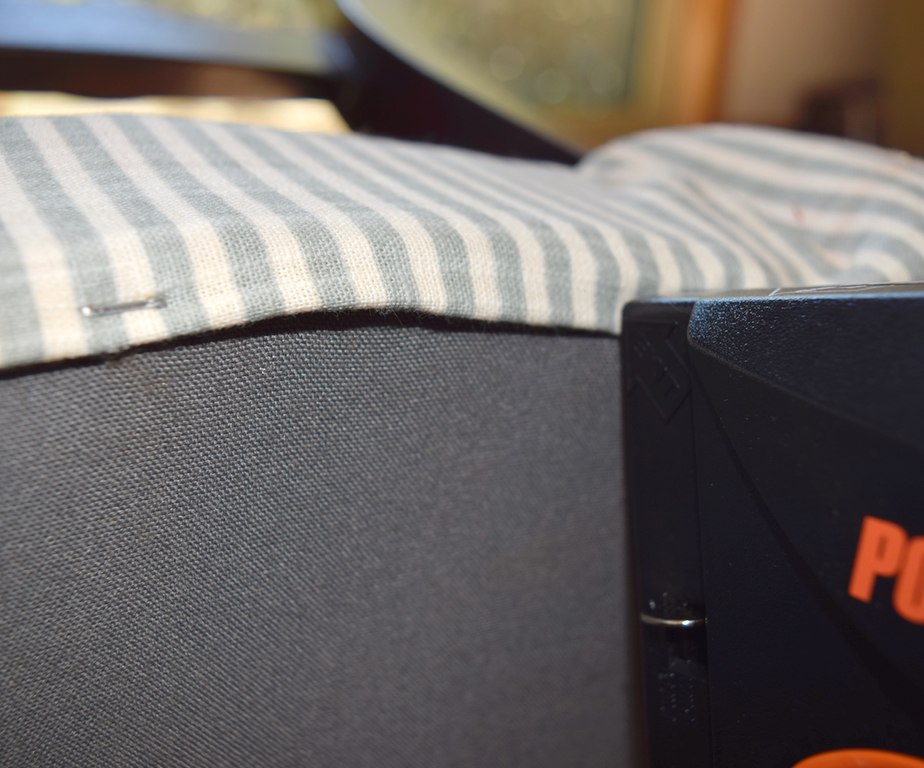
Staple along that side from the middle out to each leg but do not staple tight to the leg because you may need a bit of slack when tucking the fabric in for the decorative nails. I continued this around the entire chair, next pulling the fabric tight across the chair and stapling the opposite side of what I just did. Then the back side, saving the front for last because of how it was curved around the front edge which made for a lot of maneuvering of the fabric to get it to lay correctly.
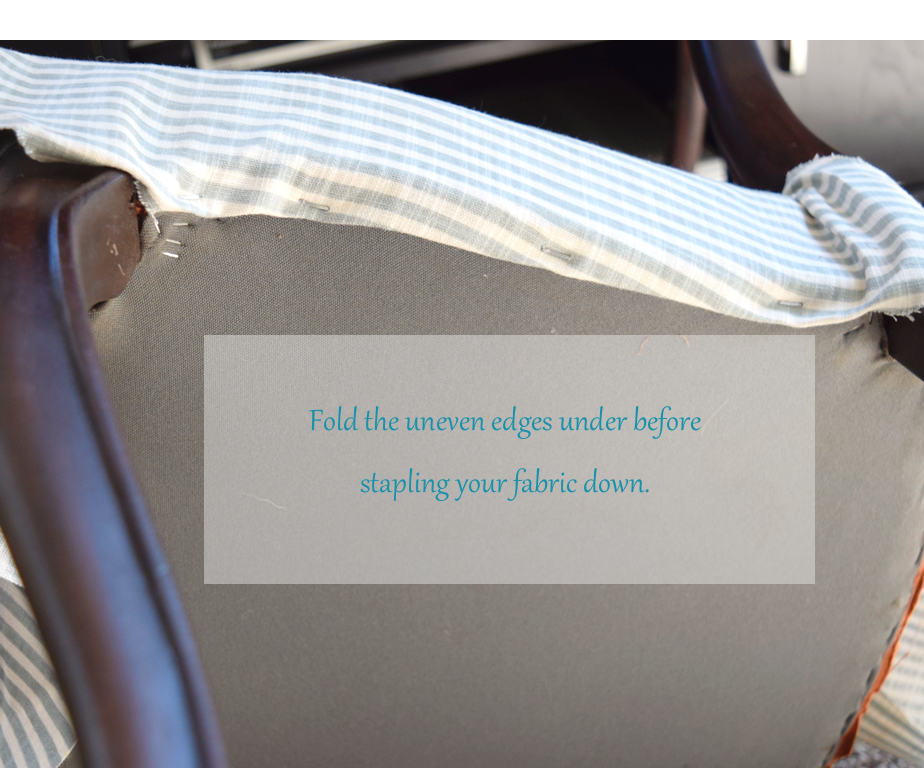
Next comes the interesting part. If you haven’t worked with decorative nails before you are in for a real treat! …Just kidding… they are kind of frustrating, but are totally worth the end result. There are holder tools to keep your tacks straight as well as a line of pre-attached nails that may go on easier, it just depends on your furniture piece. Because of the curvature of the legs and that the fabric went right around them, we opted for single nails. I started on the easier straight edges on the back of the chair, folding under and tucking the fabric nicely and then stapling the bottom edge under. Then you can begin your nails. To make it easier we used the same needle nose pliers to hold the nail in place while hammering.
Note: We would highly recommend getting yourself an upholstery hammer! We were using a regular clunky hammer and it didn’t work very well! We kept bending the nail instead of pounding it in. We bought something similar to this. Once we purchased that nifty tool it went a lot smoother.
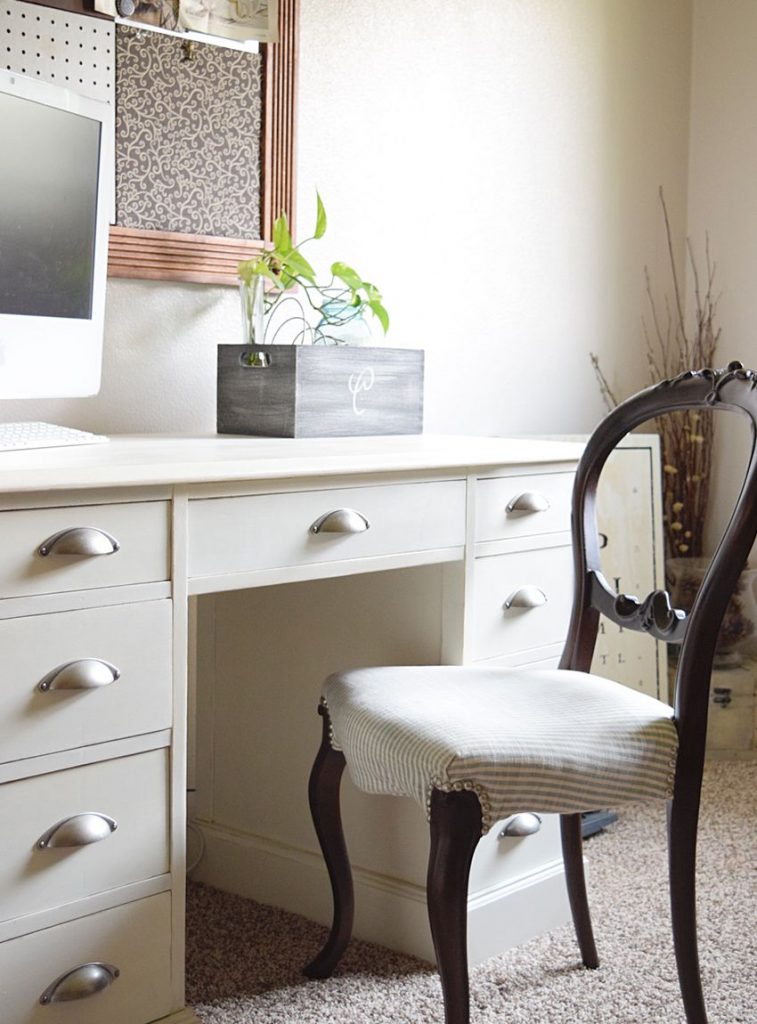
The front two chair legs were a bit of a challenge to tack around because of their curvature. It was hard to tuck the fabric perfectly around the curve! It took us a bit of time but we prevailed! Just take your time and play with the fabric until you reach your desired result and then tack it down.
Even though this chair was a bit more challenging than we originally thought it was great to learn from our mistakes of working with the decorative nails. I know I will never use anything besides the upholstery tack hammer as well as that light and small taps work best instead of large swings! (boy are these tacks easy to bend!)
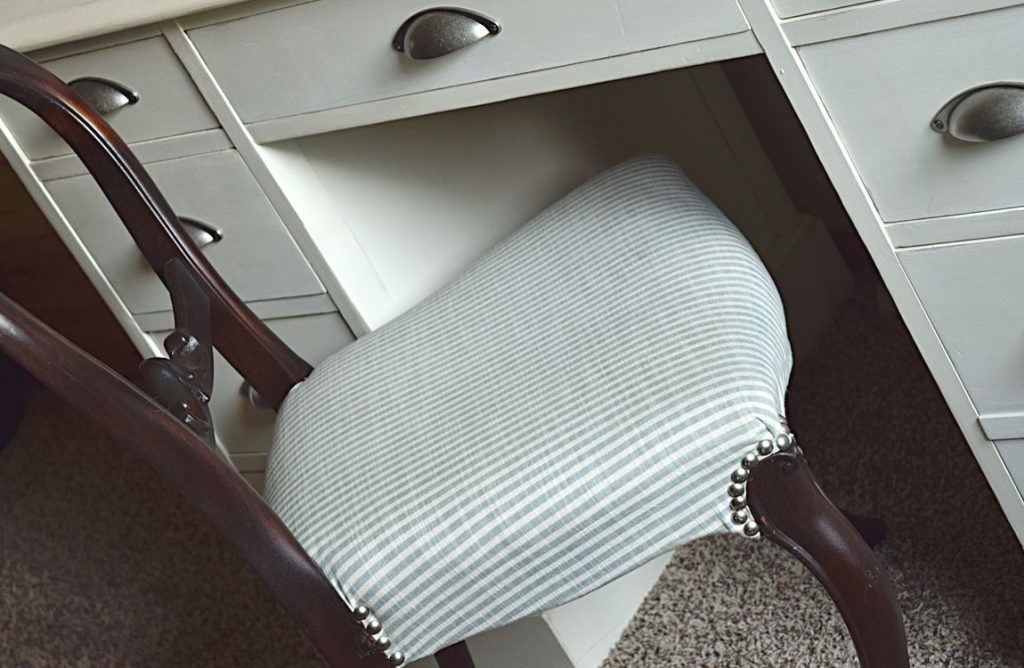
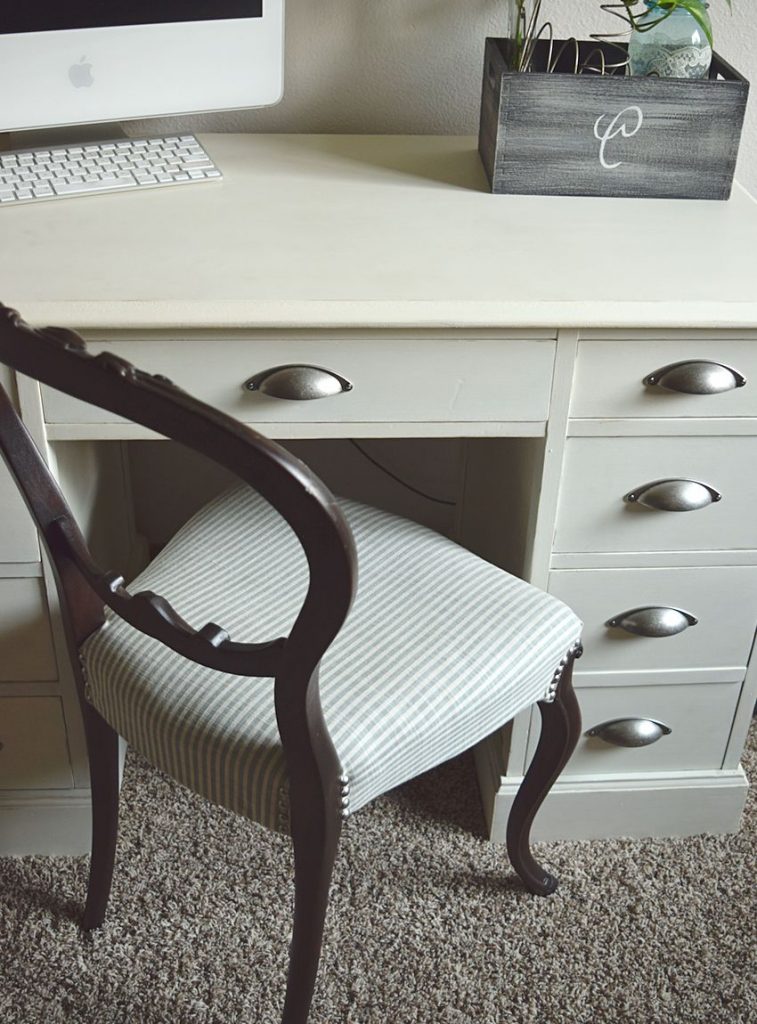
Kristen now has a wonderful new chair to use while she is working at her desk! (If you liked that beautiful white desk, come see the transformation here!)
Linking with: Snickerdodle Sunday,
More you may also love…




Amazing transformation. Thank you for sharing with us at #HomeMattersParty. We would love to see you again next week.
Thanks Sahana! We will be there!
Beautiful chair, lovely makeover. The fabric you used is just perfect. Thank you so much for sharing at the Snickerdoodle Create, Bake, & Make party.
You are so kind! We absolutely loved that fabric as well!