Hey Everyone! Today we have another beautiful furniture makeover for you – complete with all of the pretty pictures! We have been extremely busy at the store lately getting ready for our annual Holiday Event that happened last weekend that we haven’t had time to think about anything else – let alone our own homes! We have plans to share our homes decorated for the holidays but haven’t gotten to it yet! That’s alright though – we had an extremely awesome weekend at our Brick & Mortar store’s Holiday Event that we are both stunned, humbled, and pretty much in awe at how many people came out to support us. Who knew that this dream of creating, sharing and selling would be so great! We are so thankful to all of our supporters, not only the locals who were able to come in person, but to all of you here who come visit our blog. We so appreciate ALL of you!
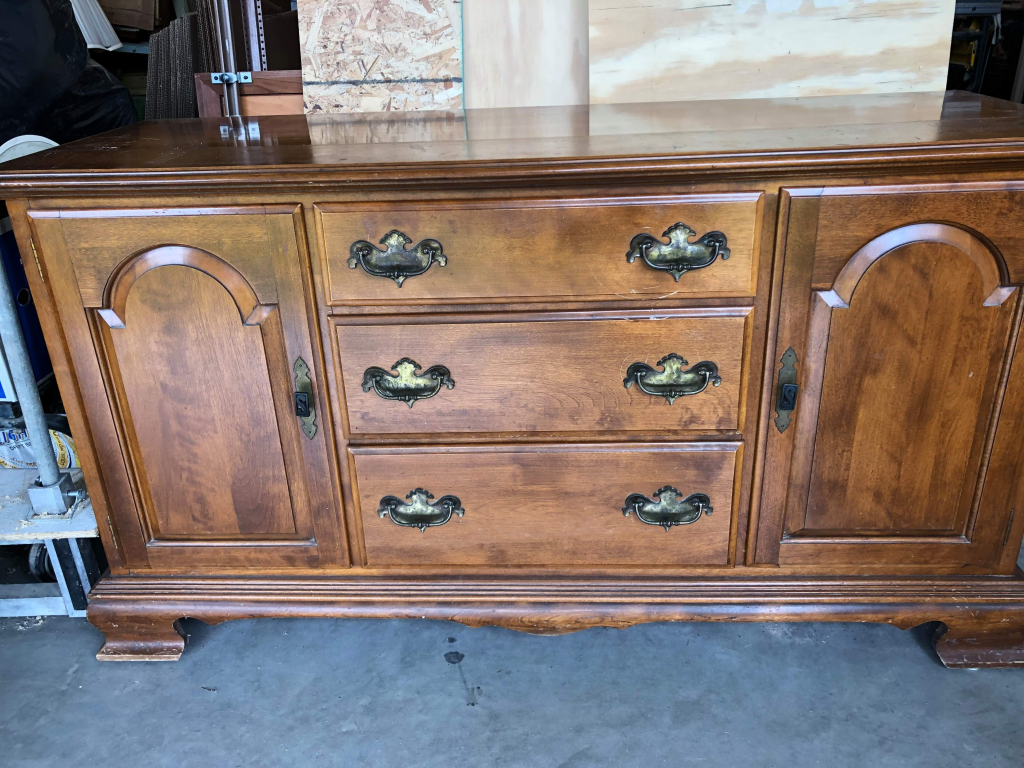
But anyway, we were able to knock this little buffet out recently in between all of the small items we have needed to do for the store. And can I just say – it is absolutely stunning! While we absolutely can and love to fix an amazing piece of furniture sometimes it is a sigh of relief to just clean it up and get to painting! Take a look at the before…
Not bad, not bad. But you know us….we wanted to update it! This buffet was actually part of a hutch set made by Ethan Allen. So it was NICE. Solid wood, dovetailed drawers, very nicely built. You can honestly tell how nice a piece is by how heavy it is and boy was this baby HEAVY! We have split hutches before and actually purchased this one only because we could split it into two pieces. We had the urge to do a footed hutch top cabinet like we did before (See that HERE) We can’t wait to start that project!
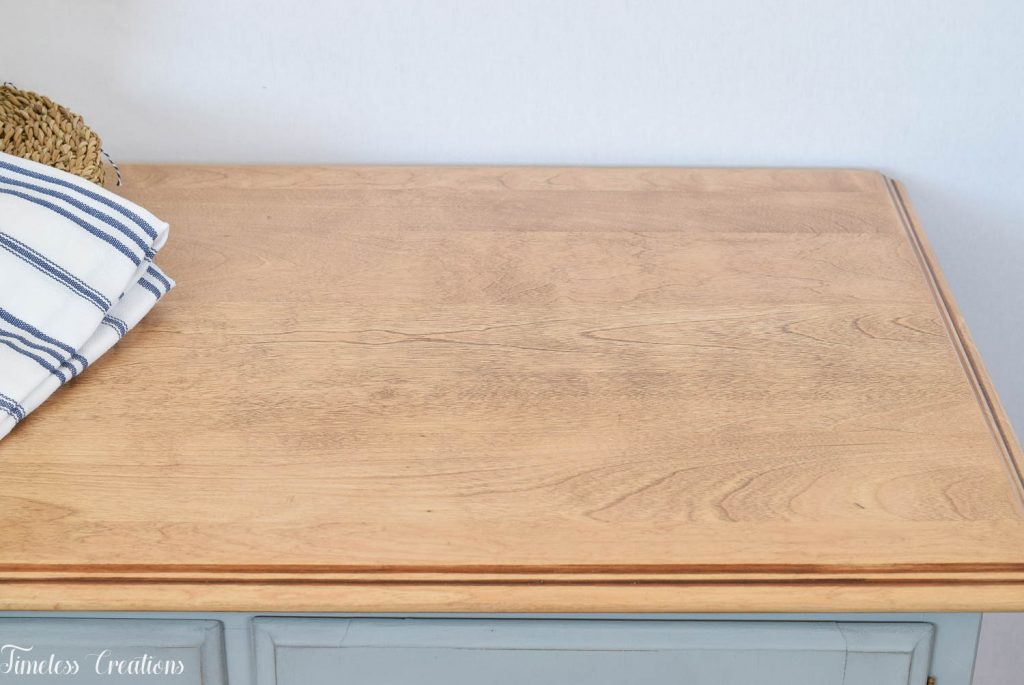
The first step of this buffet was to strip down that solid wood top. One of the last really warm days in October we wheeled this piece out of the shop to sand down the top and get it all ready for stain. We used only one coat of THIS stain for that light look on the top. I was having a hard time deciding what color to do this top to begin with, but when in doubt just think about it for a little bit. If I am undecided I first ask Vicki what she thinks and usually we bounce ideas off each other where we can usually come up with a great plan! So I stained this a bit lighter than what we normally go for!
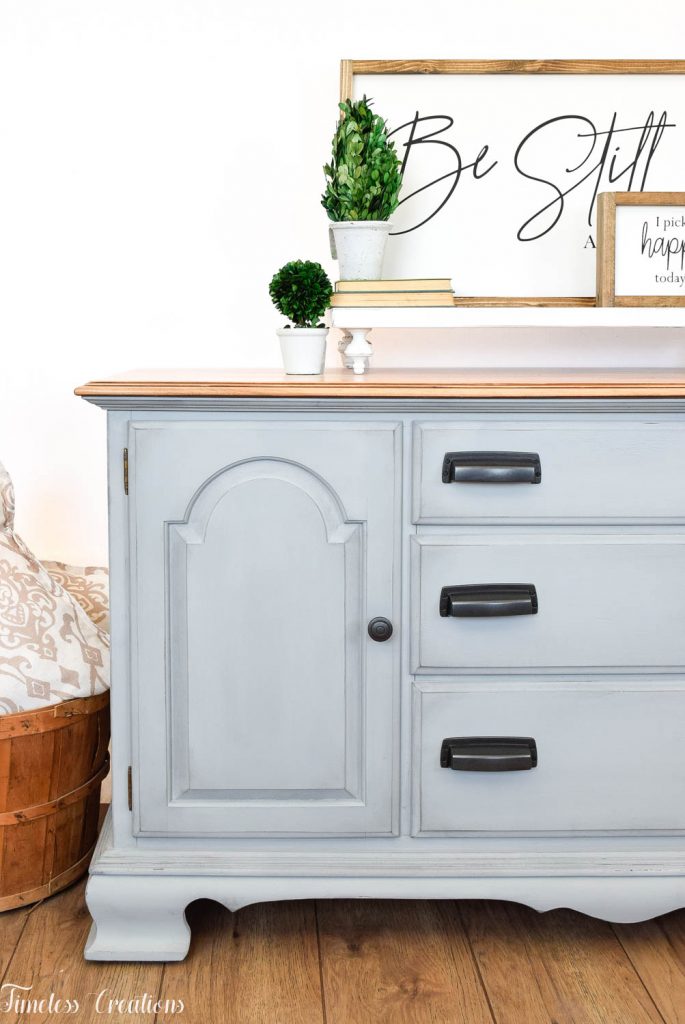
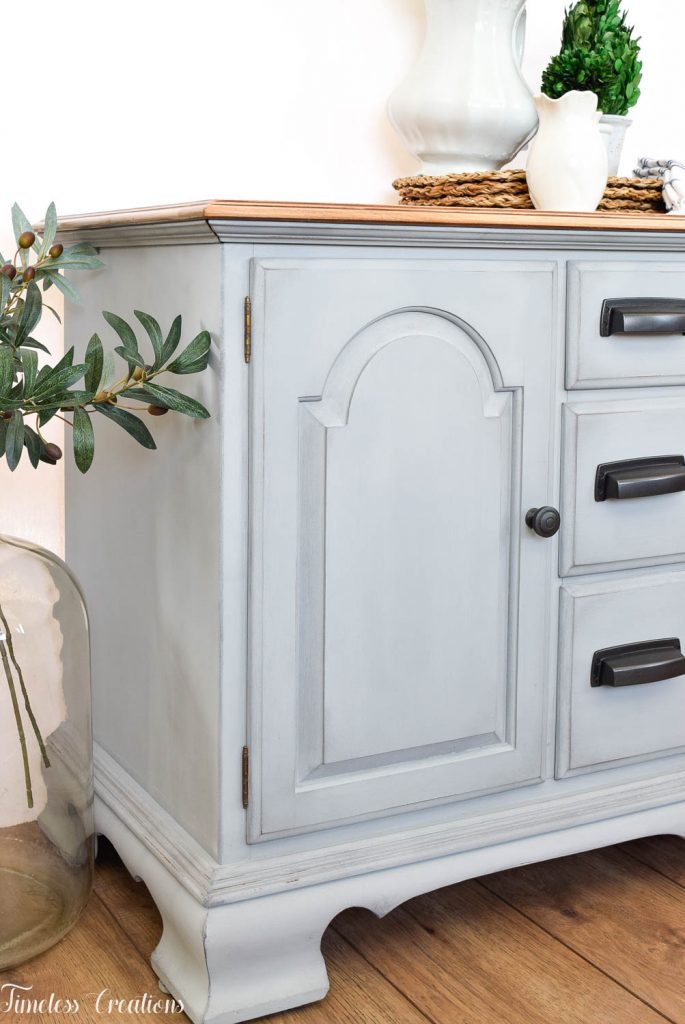
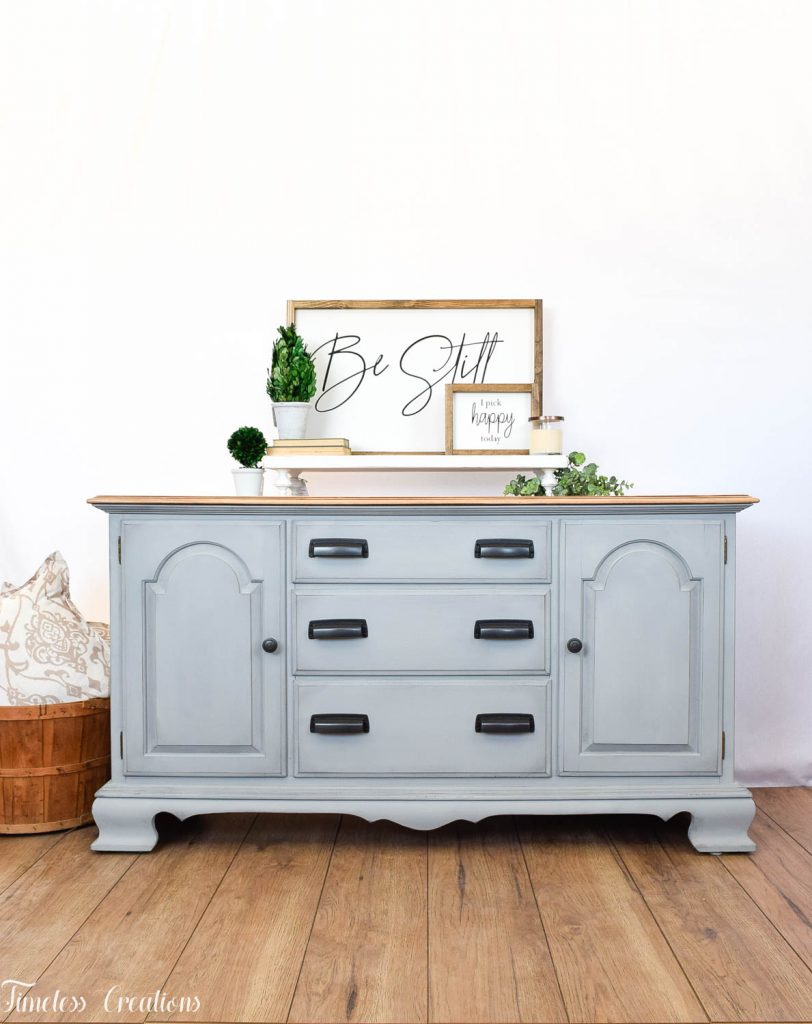
Next for the body of the buffet. We had previously worked with Country Chic Paint a couple months ago with their new line of paint colors they call the “Lustrum Collection”. Remember the Chairs and Washstand set we painted? (See it HERE) We loved the paint and had the opportunity to try some of the other colors as well. We chose the color “Cut a Rug” for this buffet which was a light gray that had hints of blue undertones to it. It was a beautiful color and the paint covered really well! One coat was almost enough, but there were some little spots so I ended up doing two.
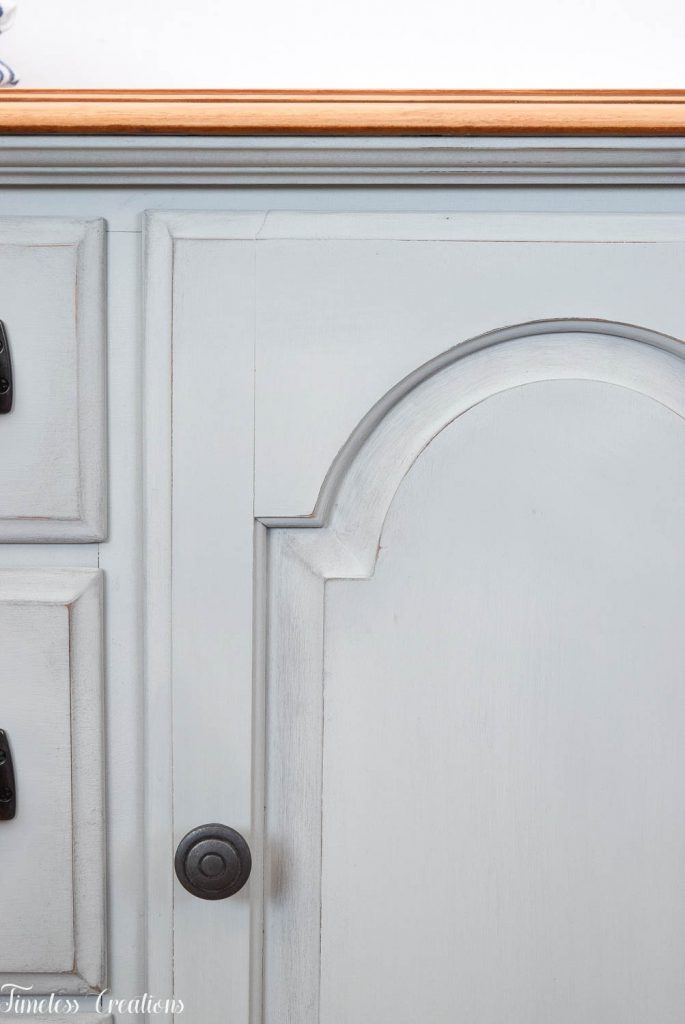
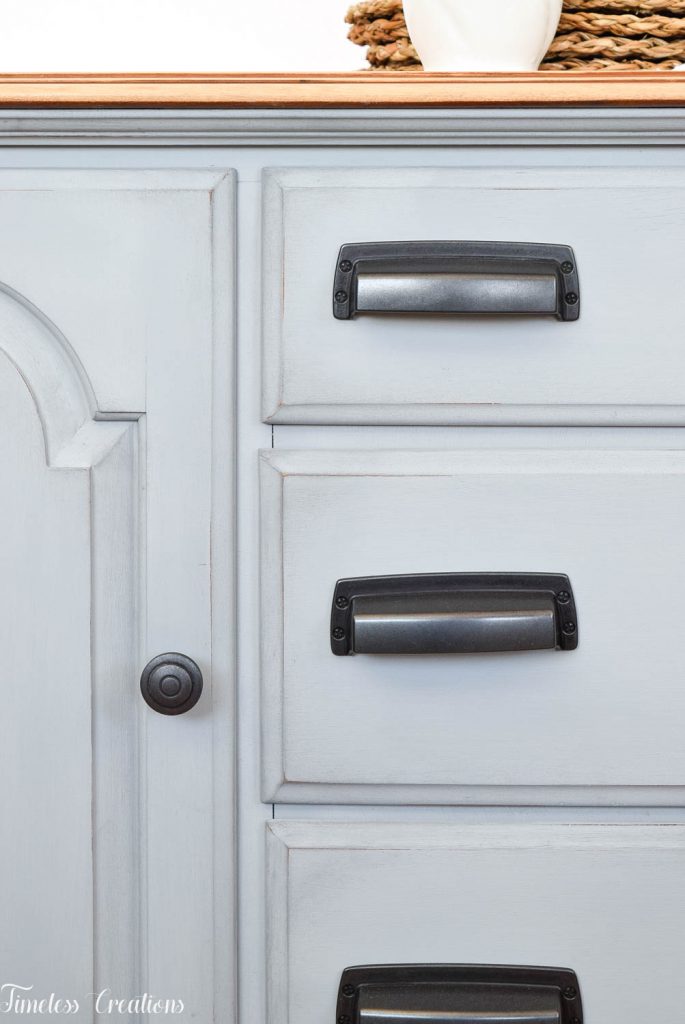
When painting we almost always do 2 full coats of any kind and any color of paint (and sometimes whites take 3 – 4 coats). Then we distress back so that we can control where the distressing is. Which is what we did here – distressed lightly in certain spots around the details. But we didn’t stop there!
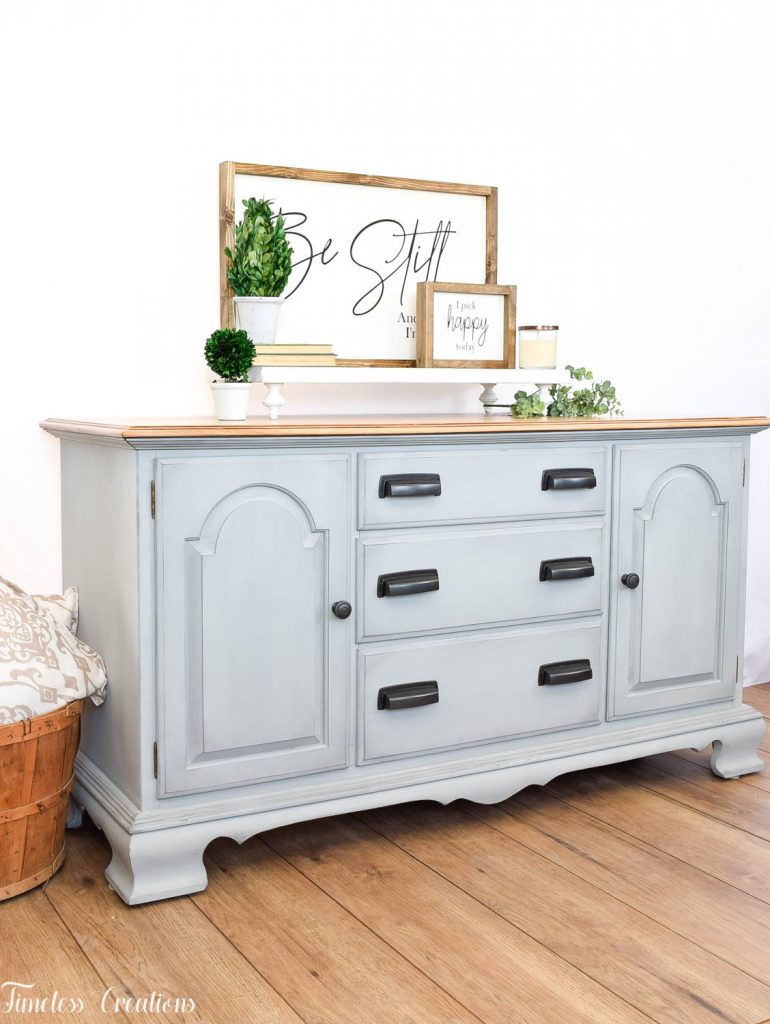
To seal we first waxed with the clear wax for protection everywhere, but then came a fun part! We had received a gray wax as well and used that only in the details and recessed areas as well as around the outside perimeter of the drawers. The gray wax darkened the paint color a bit which shaded those detailed and recessed areas for an additional little “oomph” to the piece! By applying the clear wax first we had more control over the gray wax. Instead of soaking right in and getting too much on the piece the clear wax first adds a bit of a buffer so you can work with the second coat (of gray) a bit easier.
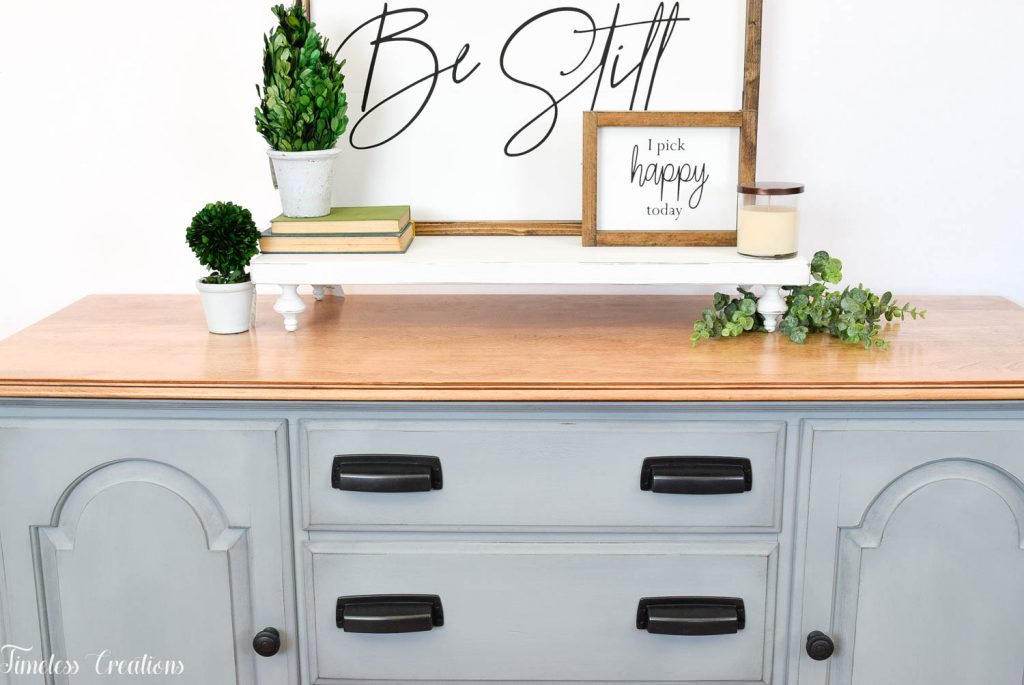
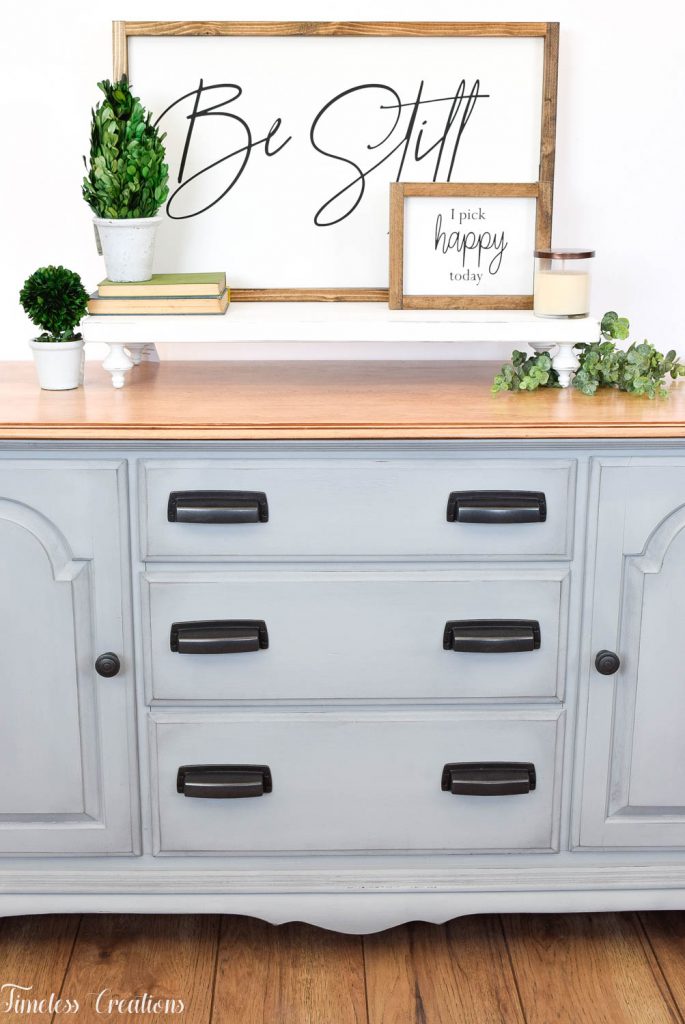
I love these buffet or low dresser pieces like this because they are very versatile. You could use it in a dining room for it’s original purpose of storing dishes and the like. But you could also take this into the living room and use it for a TV stand as well! You can see how we have this one staged with our large runner riser that we make (the white pedestal holding the plaques) We have made quite a few of these specifically to raise up TVs so the small boxes will fit (and hide!) underneath.
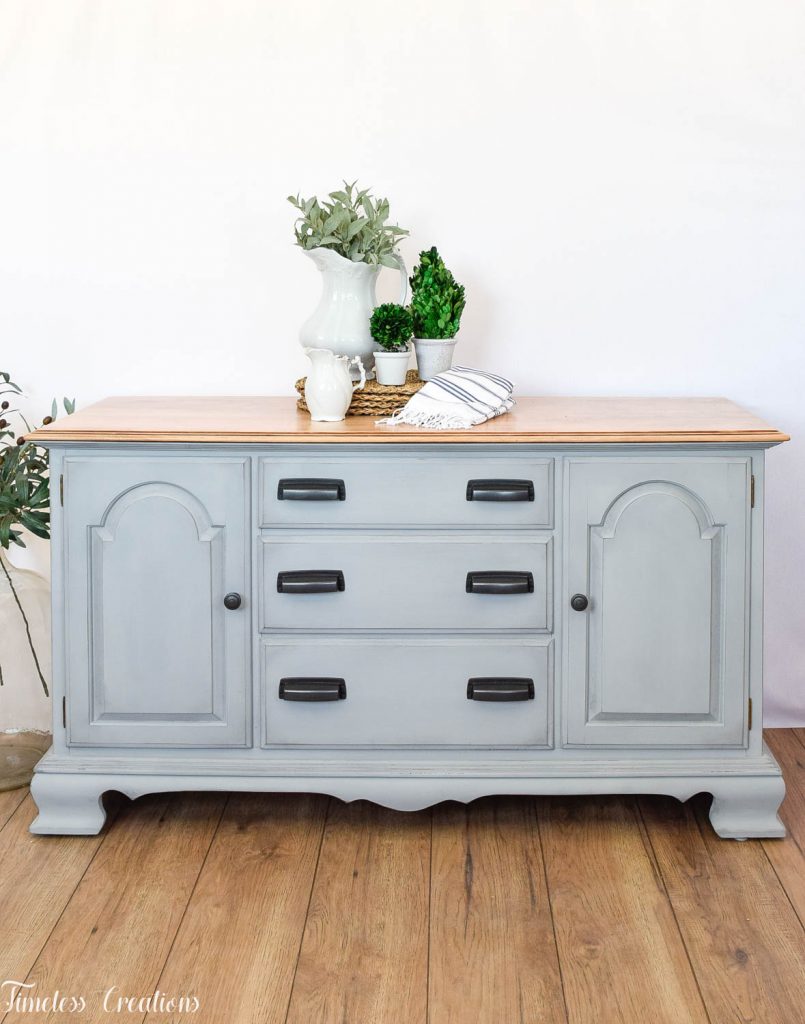
And here is how we staged the piece to be used as a traditional buffet. We love to display our antique Ironstone china in our own kitchens so we added those as display on the buffet. When decorating, one tip that makes a huge difference is – add greenery. Whether faux or real adding a plant or a faux pick goes a long way!
We hope you all fall in love with this little makeover just like we did! And keep an eye out for all of those Christmas decoration inspirations around the home coming very very soon, but in the meantime, have a fabulous Thanksgiving next week and remember to shop at your local boutique’s as well this Holiday season. The people in those little shops literally do a little dance every time someone likes what they do or comes to visit them – and we know, we are one of them!
If you would like to try this awesome paint yourself – don’t forget to use our coupon found below!
If you like this piece and would love to have it in your own home it is currently available! And YES we ship! Check out all of the details about shipping by seeing this piece in our Etsy Shop.





Hello,
I love your work on this pice. I would like to try it my self but would like to get your advice on how to strip the top. V
Hi Claudia! Stripping to bare is no joke, but is well worth the work. The first thing to do is to determine if indeed it is a real wood top. Sometimes pieces have a real wood top but if you look close it could be a wood veneer on top. That is real wood, but is super thin which means you have to be very very careful when sanding. There are two ways to strip wood. You can use a chemical stripper – like Citristrip, which is brushed on very thickly, let sit, then you scrape it off with a putty knife. This way works very well but some people don’t like dealing with heavy chemicals. It also requires a ton of cleaning. You have to get a certain cleaner that goes with the stripper to clean all that gunk off. It usually takes a while. Then you have to rinse the cleaner off with plain water. The alternative to using chemicals is to just get an orbital sander and sand off the existing finish down to the raw wood. Start with 60 grit sand paper and get the top all the way down. Then go to 120 grit and 220 grit to finish it off and make the wood super smooth. Now with sanding, like I mentioned above you have to be extremely careful if your wood top is veneer. It can be done but you can’t go too hard in one spot or you risk sanding through your veneer. I hope this helps! If you have more questions don’t hesitate to ask!
I have that exact buffet by Ethan Allen. I also painted mine about a year ago. It was amazing to see the same buffet and to see the changes you made were almost what I did. I used Fusion Mineral Paint (can’t remember the color, off white with a grayish hue(?) ) I also sanded down the top, stained it in Espresso Gel Stain by General Finishes.
I don’t know if I am able to share my photos, I’ve never commented on anything before.