Hey All!
This furniture makeover story is a pretty fun one! While not totally out of the normal, they have gotten quite the comments in our store. Everybody loves the fun little POP we added!
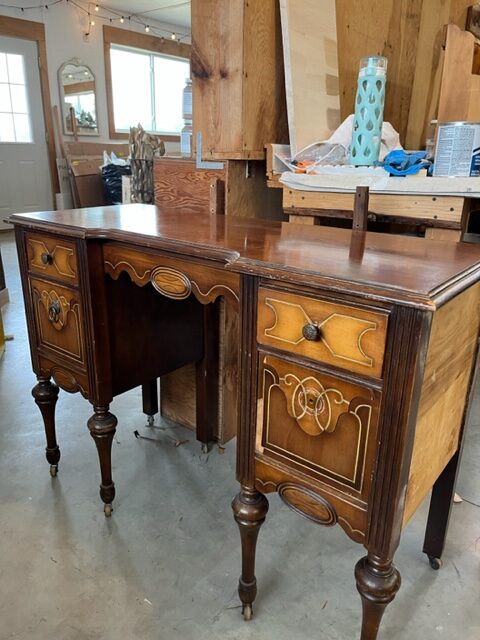
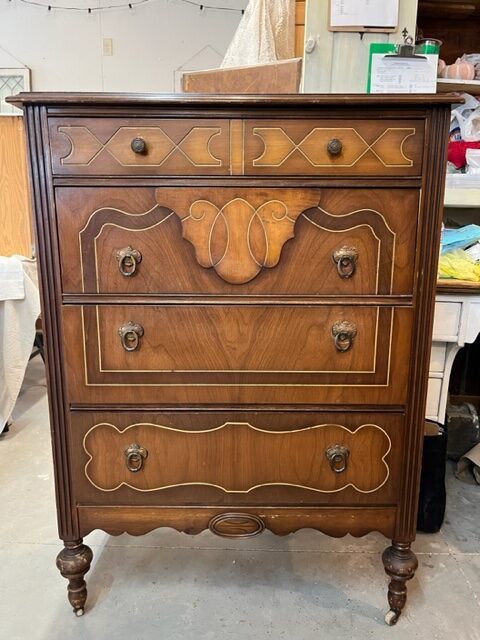
Here are what the pieces looked like Before:
We just recently acquired this antique vanity and dresser set from a local consignment store and decided to go neutral on it since we already had a similar dresser that was very colorful already available. Most of the time though choosing what color works for which piece is the hardest part! We have second guessed ourselves, even changed it up after we already put a coat of something else on. But for these two I chose Fusion Mineral Paint in the color “Putty” – the perfect greige.
But first, there were repairs of course! The dresser was in fairly good shape- just a few dings and a tiny bit of veneer to fix, but the Vanity on the other hand had a bunch of peeling veneer. This unfortunately happens quite a bit with older pieces. Sometimes you can fix it and sometimes it needs to be completely removed. The two side panels of this particular vanity needed to be completely removed.
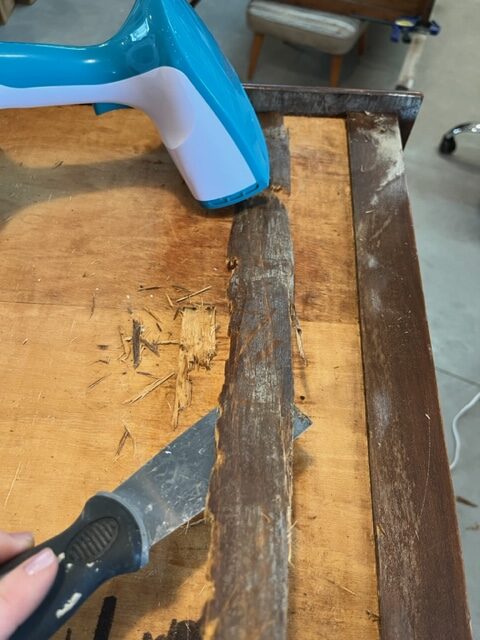
Luckily for me we had just figured out the easiest way to remove veneer – a steamer! The combination of heat and water helps to loosen up the rest of the glue for the veneer and it came off fairly easy with a putty knife. I have seen people use a damp rag and an iron as well, but we already had a steamer available so we used that.
After the repairs we painted two coats of Putty onto the dresser and vanity. Most Fusion colors cover with just two coats, except for the bright whites that don’t have a lot of pigments. But that’s typical with any paint brand. We have been painting almost all of our furniture pieces with Fusion as it goes on SO smoothly. And that built-in topcoat is an added bonus! No need to seal if you don’t want to!
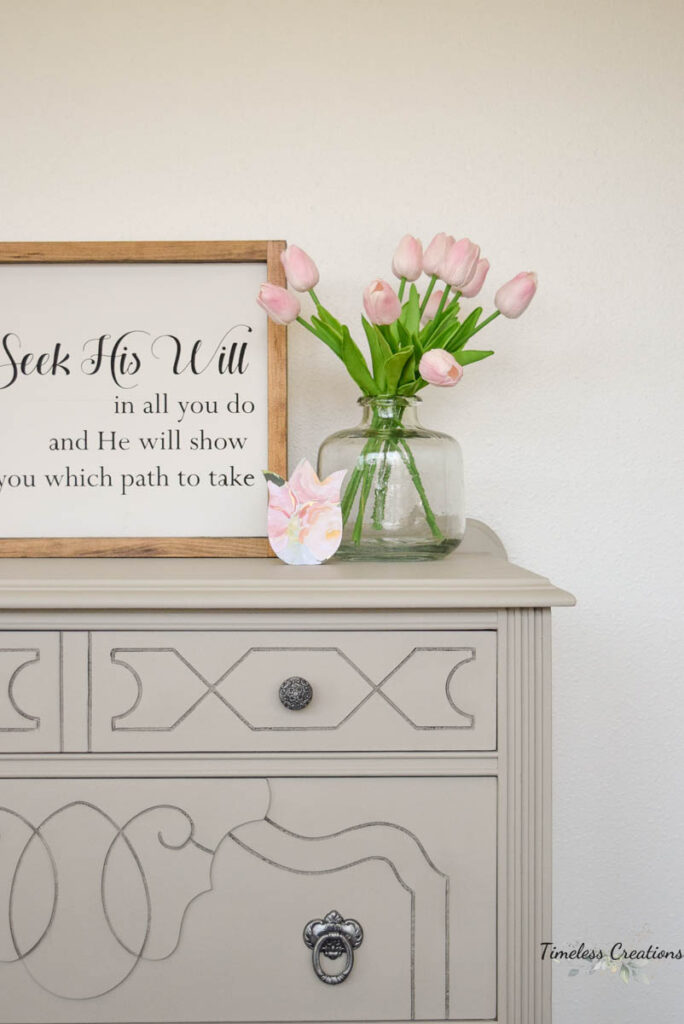
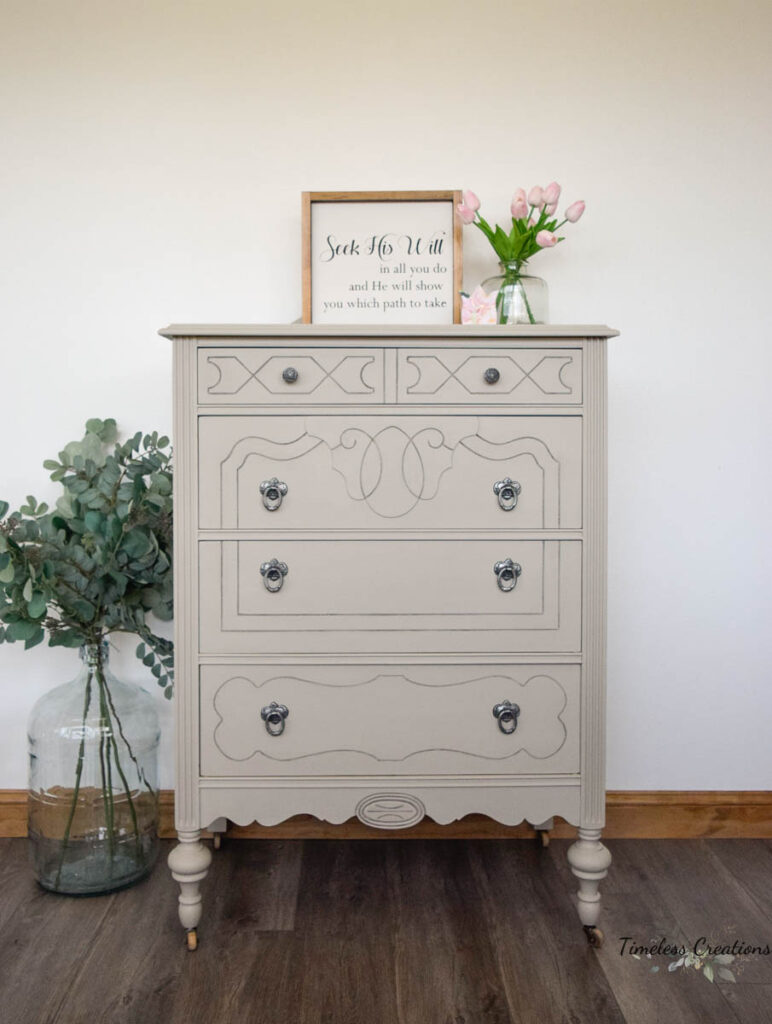
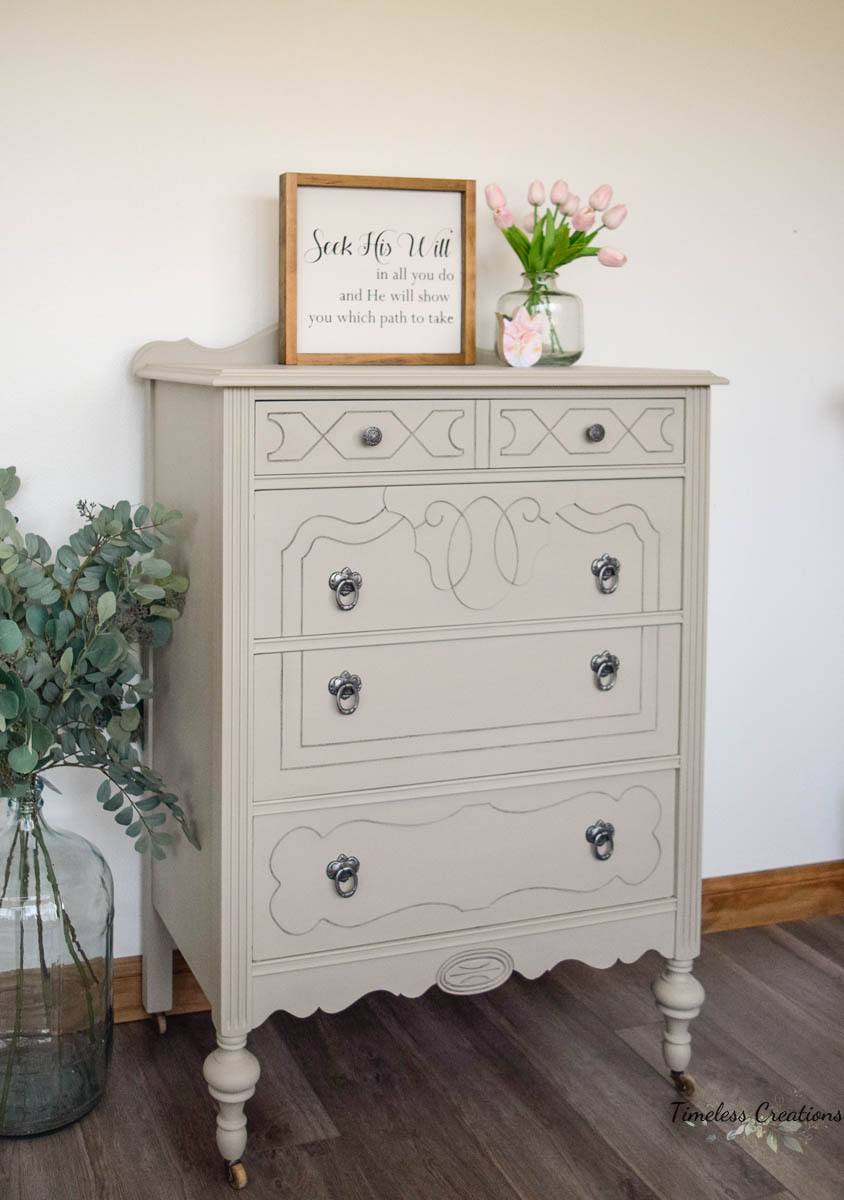
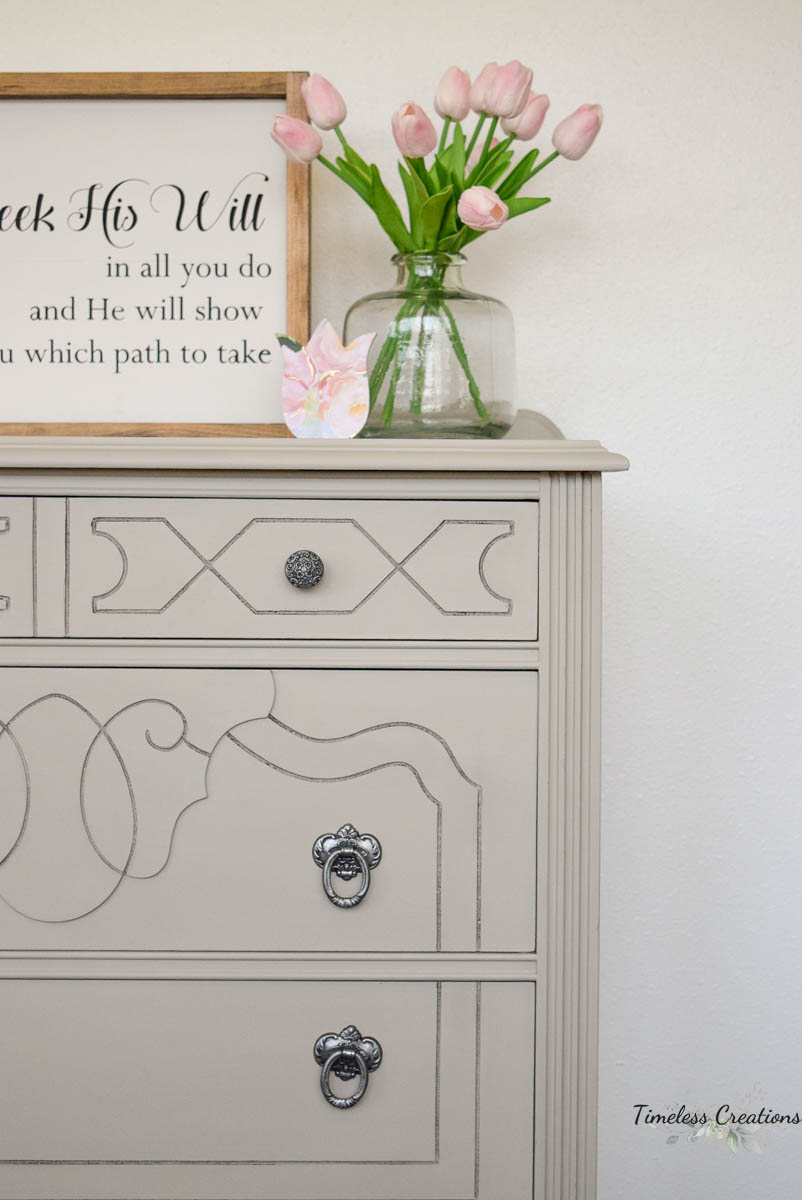
But for these two pieces of furniture I decided I wanted to subtly accent the many detailed indentations that are on the drawers. For that I chose one of Fusion’s colored waxes. I chose Black wax to give those details some contrast and added it right into those details with a small brush, wiping away any excess. Don’t forget – you can use clear wax like an eraser! If I got black wax on the flat parts I used the clear wax to wipe it away where I didn’t want it. I also finished off the entire piece with a light buffing of clear wax so it had a nice sheen since I ended up wiping away black wax with the clear.
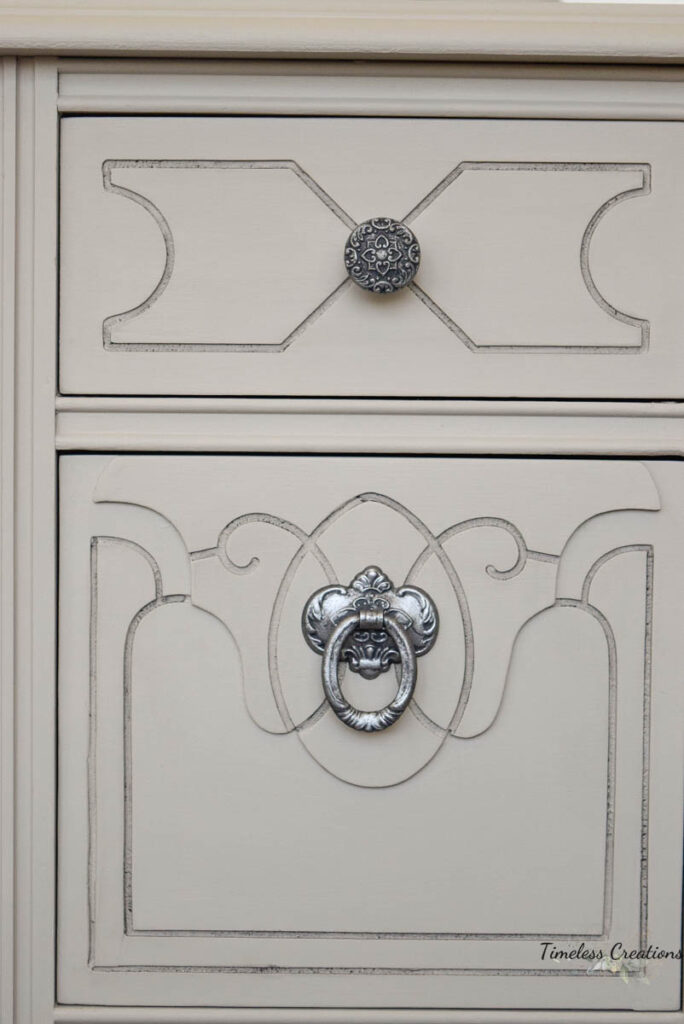
I have had numerous questions on how to apply wax and my favorite way is to use a natural bristle brush. That is very easy and if there are any detailed indentation then you can really squish the wax in to them with the brush.
But what I added next was the fun POP I mentioned at the beginning of the post!
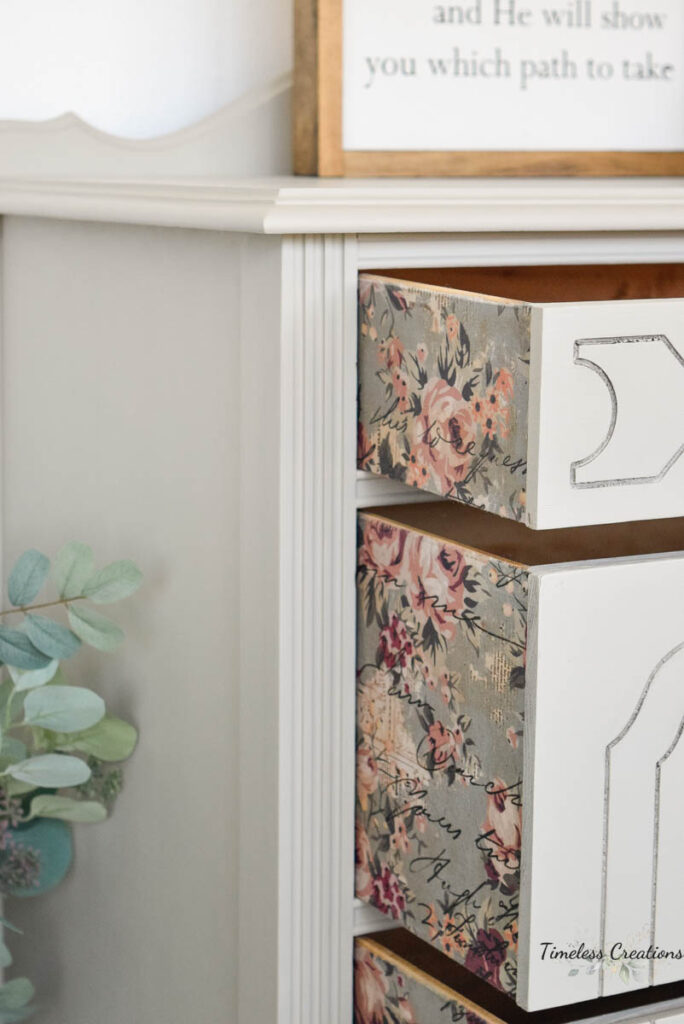
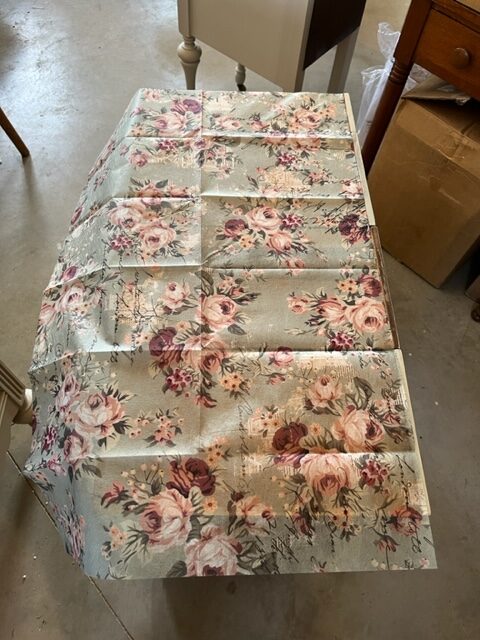
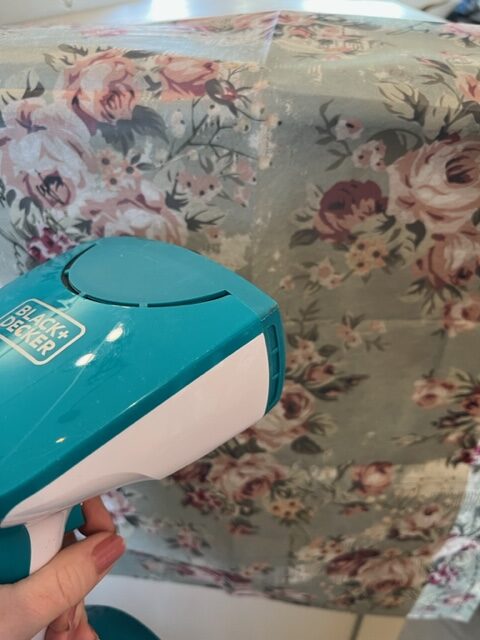
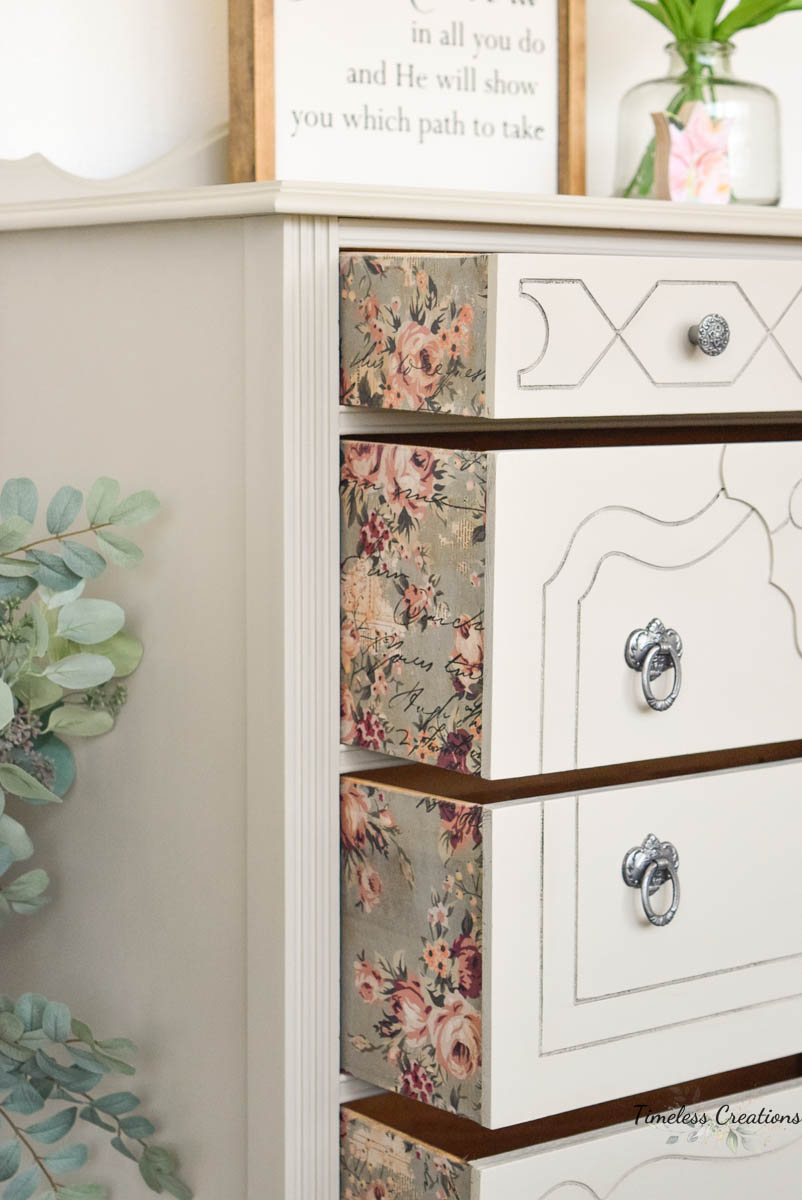
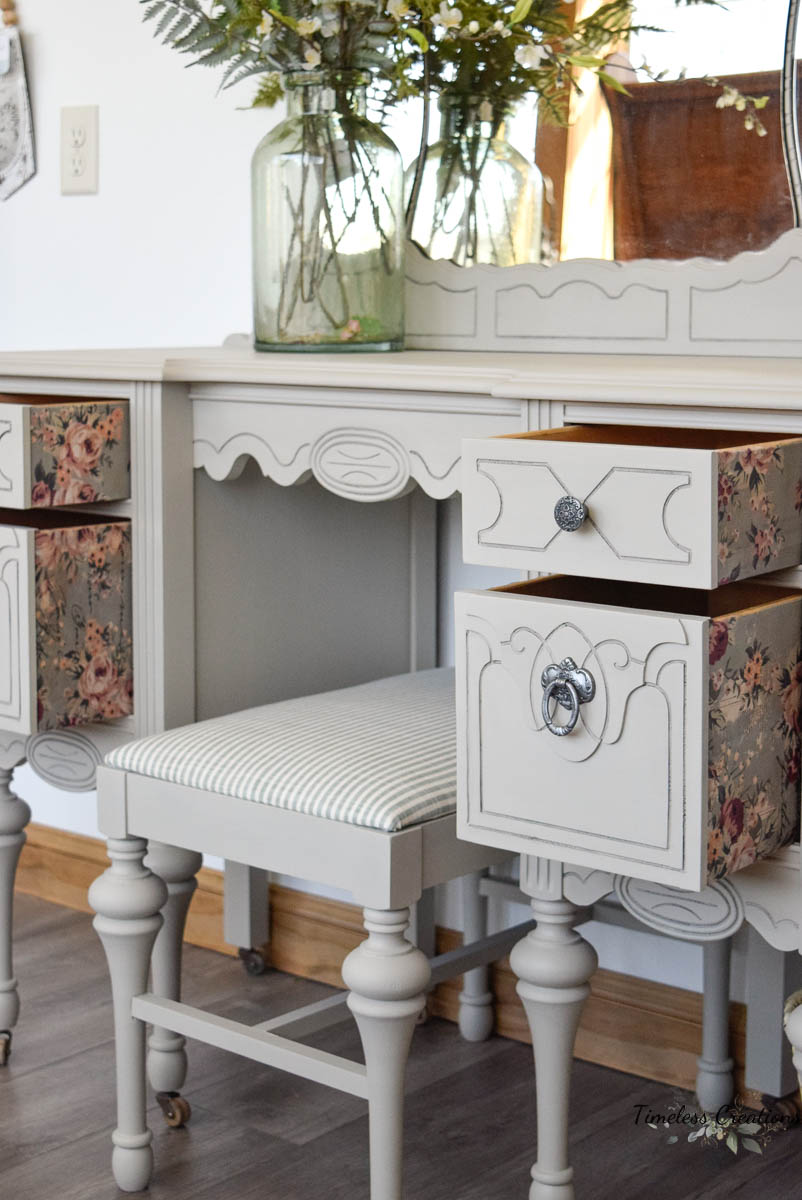
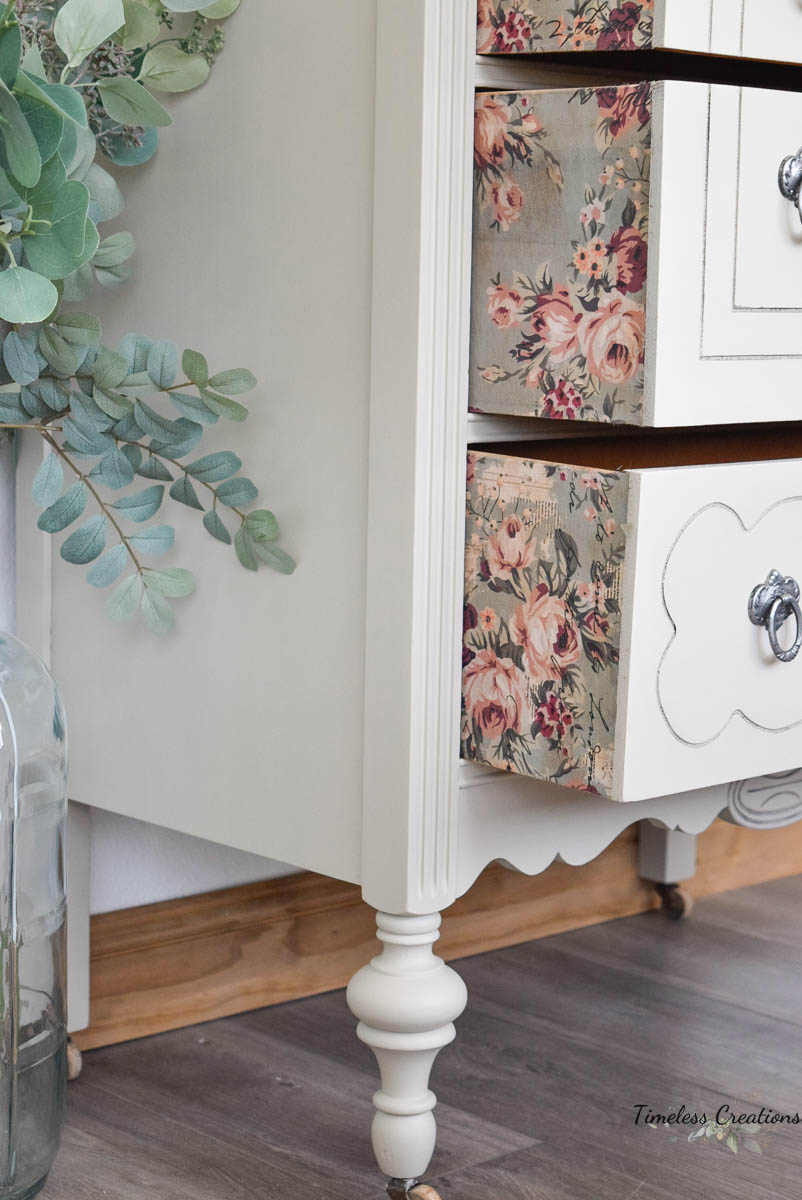
We ordered some decoupage rice paper by Prima Designs in a gorgeous aqua color with a floral and script design on it. (We got ours HERE) I loved the colors on this paper and thought it would add a really pretty accent to these neutral pieces. Of course it had some creases in it that we were able to steam out with the same steamer we used for the veneer previously.
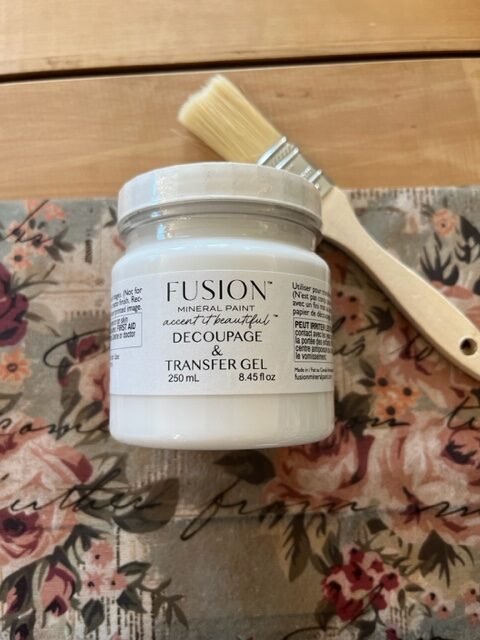
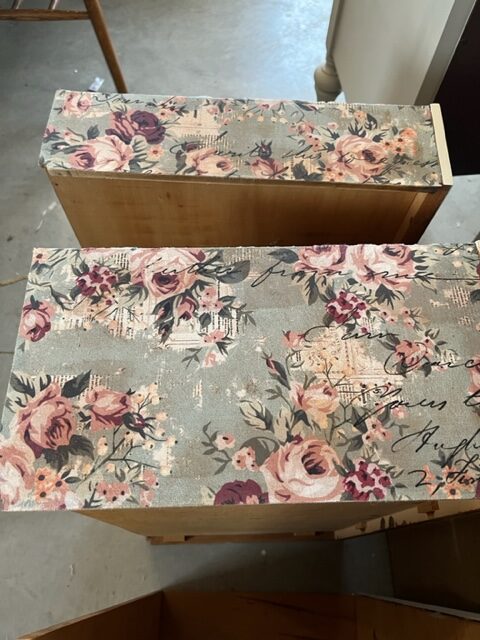
Then we grabbed some Fusion “Decoupage and Transfer Gel” to help us add this to the sides of each of these drawers! It was very easy to do – I first brushed the gel directly onto the sides of the drawer and then lined up the paper with the edge of the drawer. I didn’t measure and precut, but instead just made sure I was lining it up nicely. I then took a razor and cut the paper alongside the bottom or top or both. To ensure the edge is nice you can lightly sand the paper which will get rid of any excess along the edge and you can just glue down any extra pieces that may not have gotten enough gel on.
I really liked this decoupage gel as it had a great open time and I was able to work with it longer. That’s helpful instead of being too sticky where you tear your paper if you need to reposition. I hate that. Once the decoupage paper was completely dry (I came back to this project the next day) I did brush on some Matte Tough Coat to help seal the paper. This step isn’t always necessary but I wanted to give the dresser drawers a little extra strength.
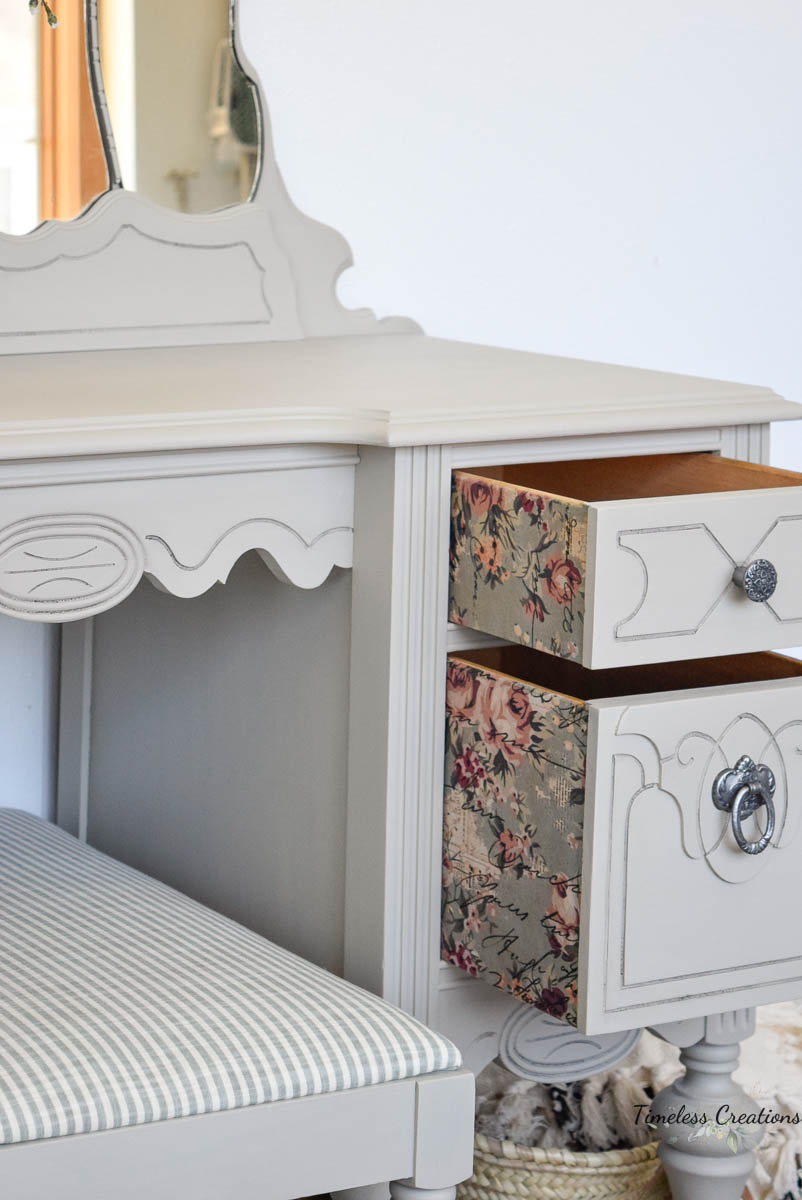
And just look at those drawers! These get so many comments in our store on how pretty they are.
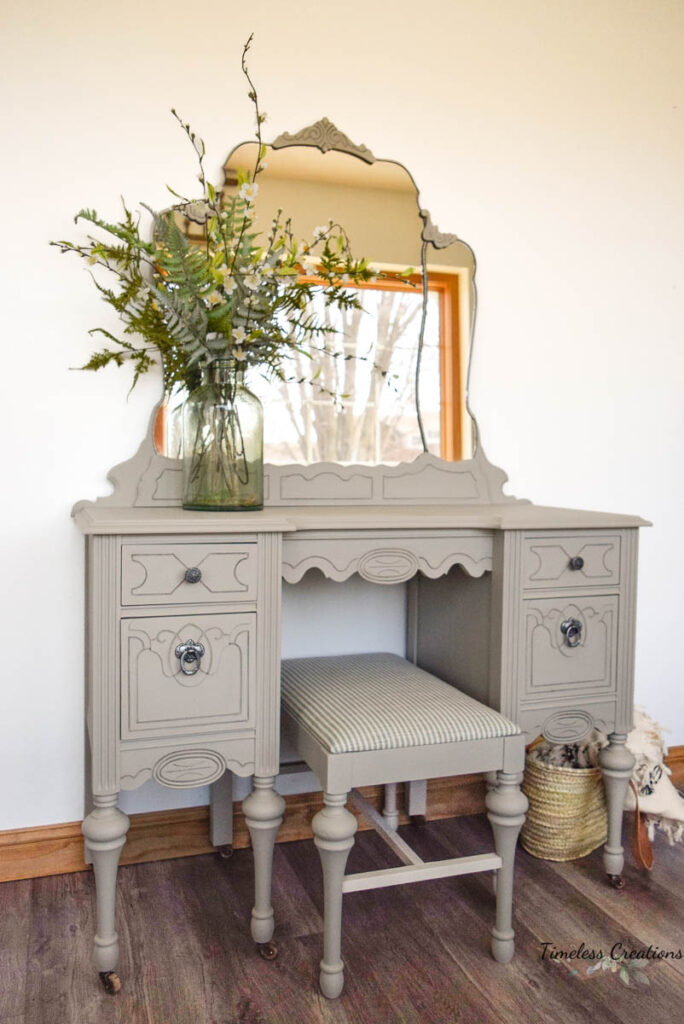
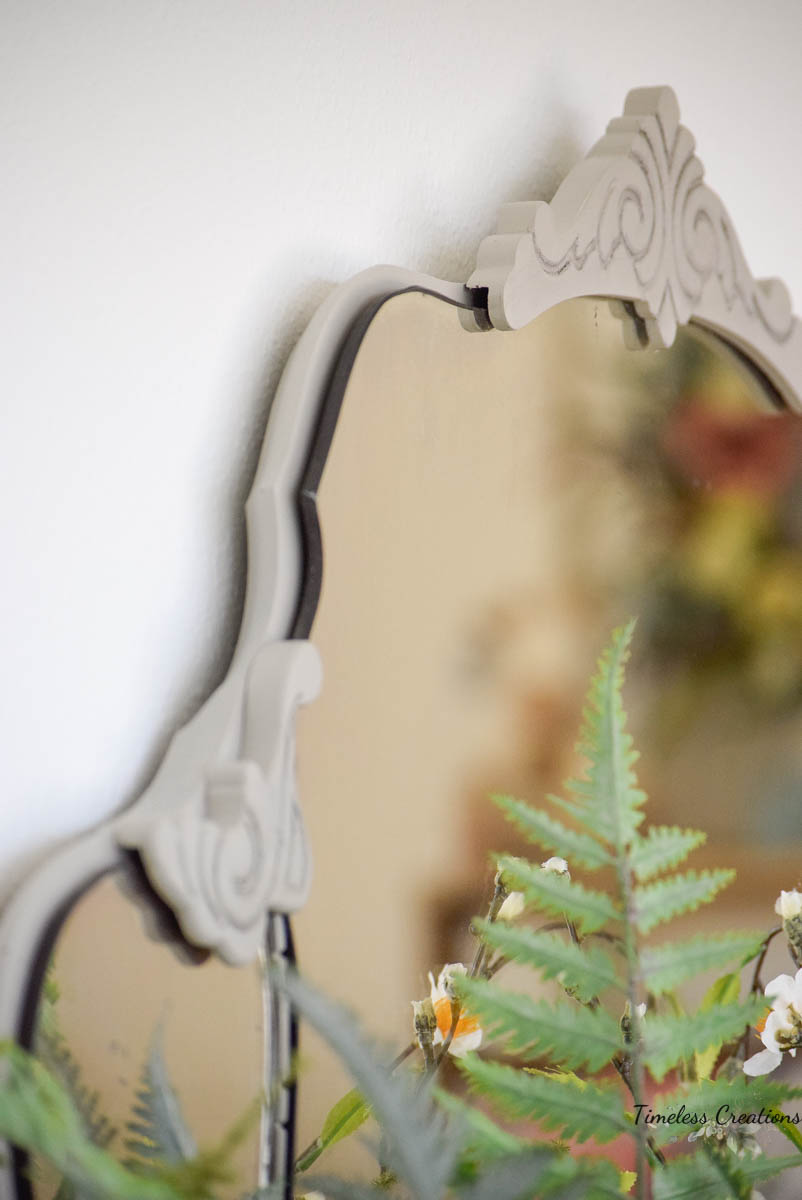
Here is the Vanity after it’s transformation:
And here is the Dresser:
If replicating this project you are definitely going to want to make sure your drawer sides don’t rub anywhere as this could tear your pretty paper when sliding. Might want to just be cognizant of that and sand down if necessary or even find a different piece.
We are just so happy with how this turned out! And the little vanity stool is beautiful as well. We chose a complimenting colored fabric for the seat after painting it the same color as the vanity and it goes really well with the pieces without having a loud or complicating pattern.
I also feel like you don’t see the 3 paneled mirrors like this vanity has very often either. It is just so neat to see. I did have to take the panels off in order to paint it and found a stamp on the back of the large mirror that dates the piece back to the 1930’s! I thought that was so cool to see! It does have some aged marks in certain spots but as you can see it doesn’t detract from the piece one bit, but just adds to the character of it!
And below are some sources again for products we used for easy reference. Definitely drop a photo in the comments below if you have done something similar! We would love to see it.
Products Used: Fusion Paint in “Putty” / Black Wax / Clear Wax / Decoupage and Transfer Gel / Tough Coat / Rice Paper / More Rice Paper Options / Steamer /

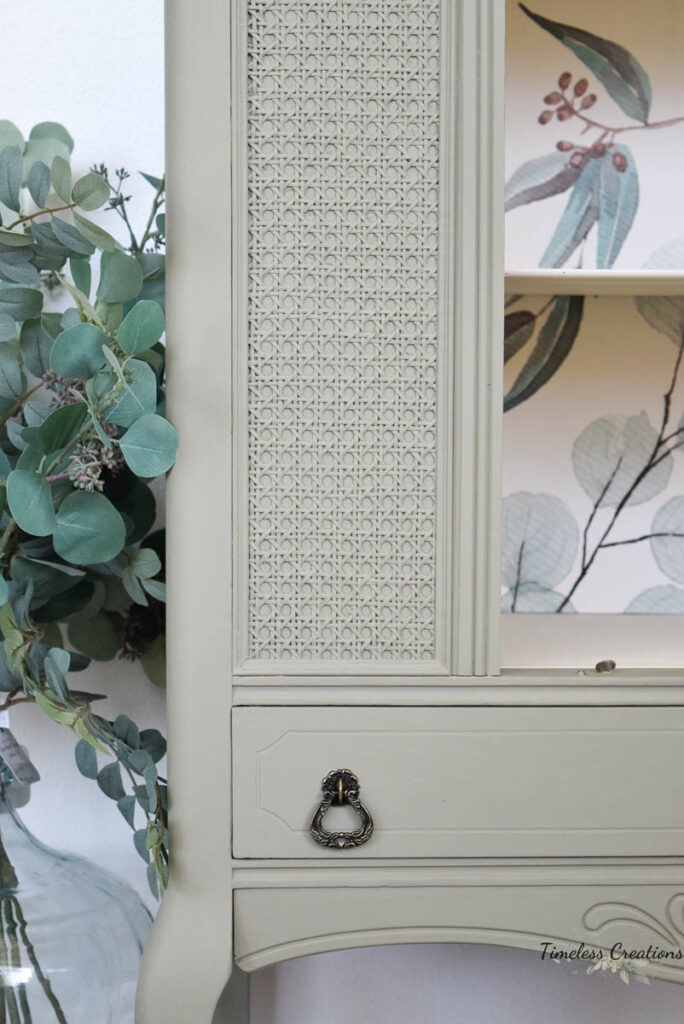
Don’t forget to check out another neat furniture piece we recently made over – an Antique Hutch we added Cane to!







Leave a Reply