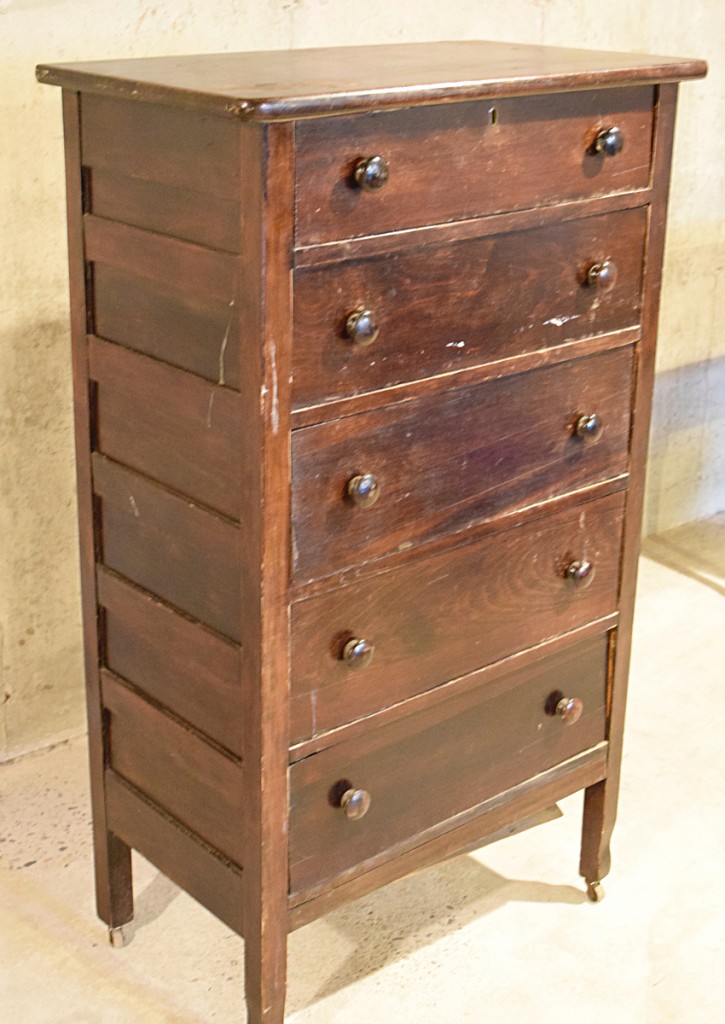
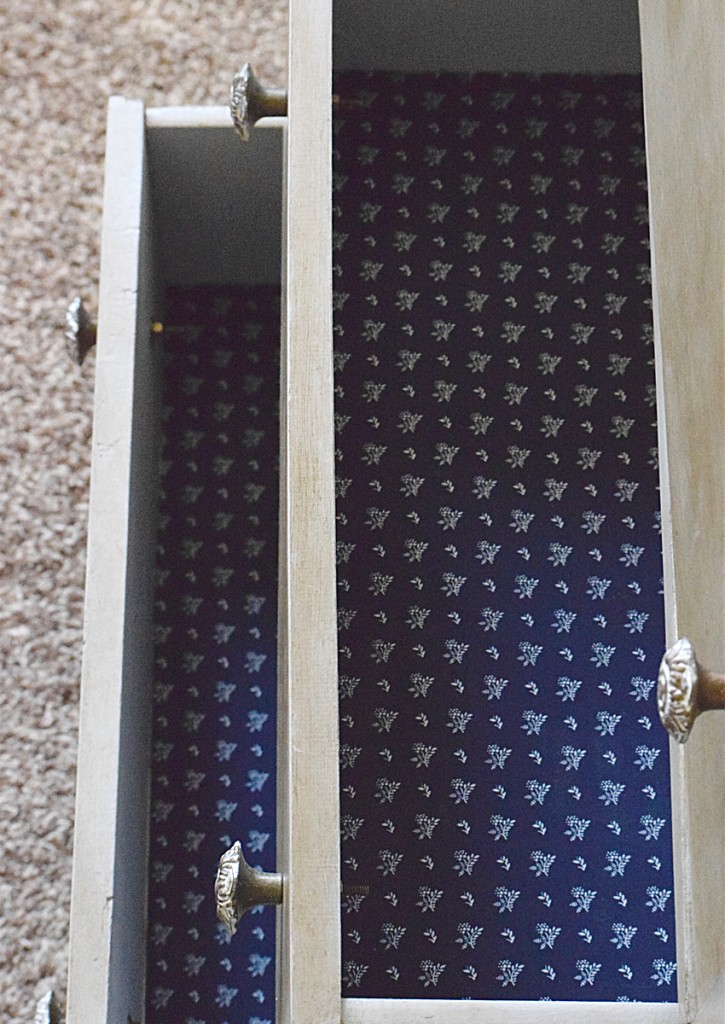
While restyling a small dresser I noticed that the wood on the bottom of the drawers was not very pretty. Instead of tearing out those bottoms and risking wrecking the rest of the drawer or sanding and painting, I decided to just cover the bottom board with fabric! I knew it would add a great design element to the dresser while still being functional.
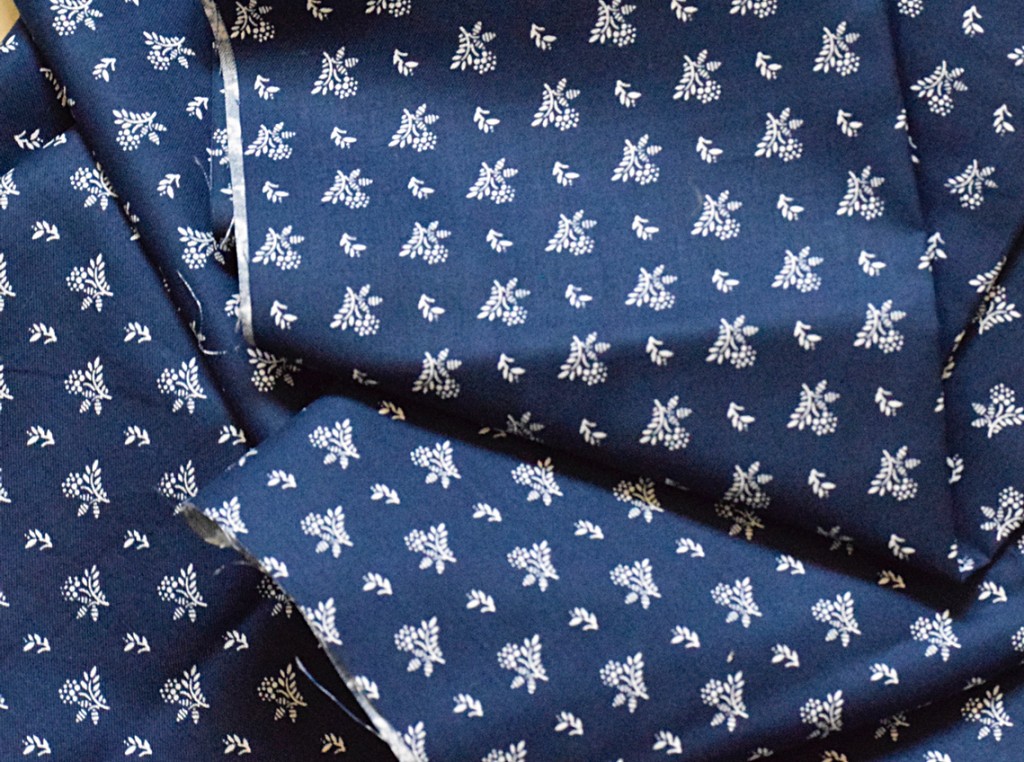
I found this beautiful navy blue fabric by Waverly while shopping at our local Walmart. It was very lightweight which I knew would help in gluing it down to the drawer bottoms.
I ended up purchasing 2 yards of this fabric which was definitely more than was needed, however, my first few pieces didn’t fit perfectly so I had to cut another piece, therefore, I was glad I had more to work with.
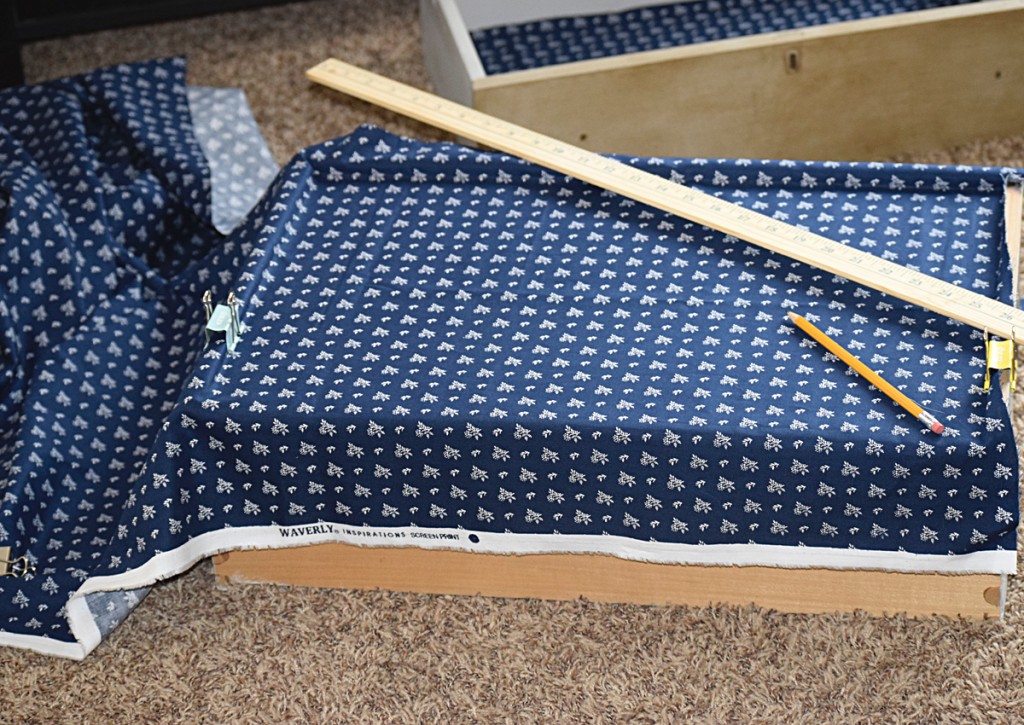
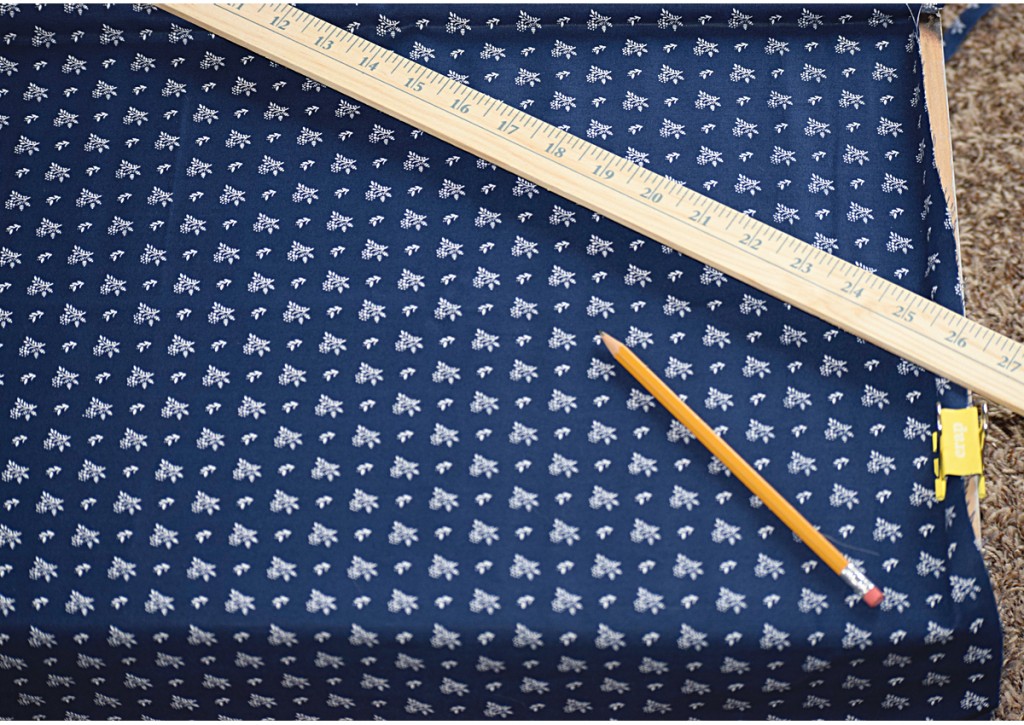
To cut the fabric I found the easiest way was to turn the drawer over, lay your fabric over it and then anchor it down. I used binder clips in my four corners to keep everything tight and unmovable while I marked the piece to cut with a pencil.
For your convenience in locating products we have used, this article contains affiliate links. All products are items we use ourselves and genuinely recommend. If you make a purchase after clicking an affiliate link, we will earn a small commission at no additional cost to you. For our full disclosure go to our “Disclosures” page.
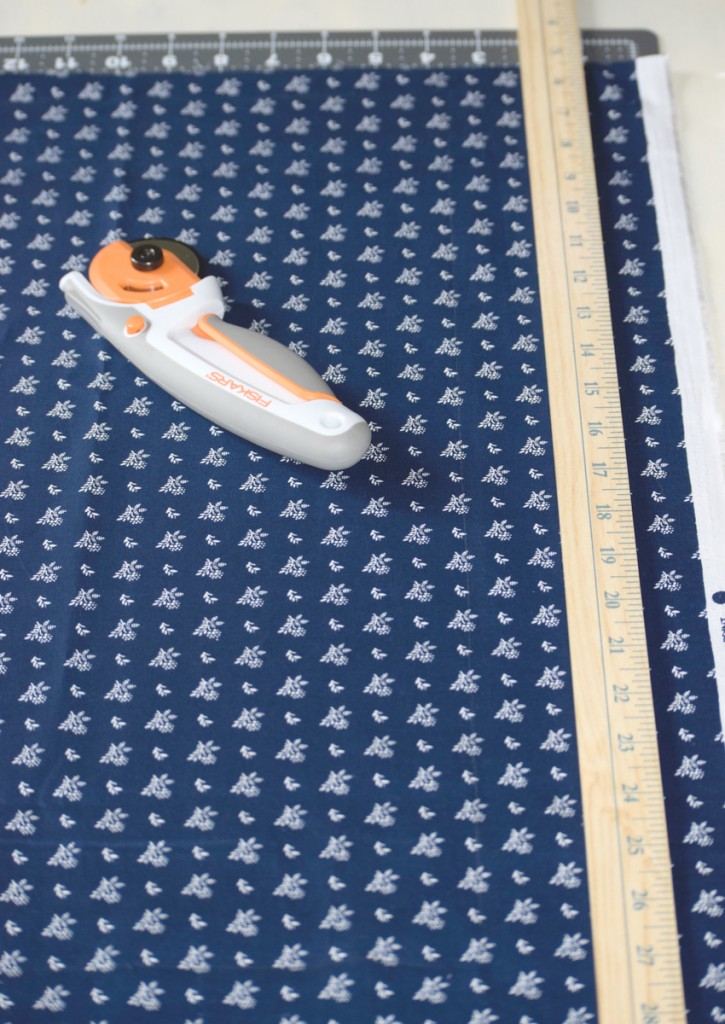
Once the pattern was drawn out I placed it on my cutting mat and took a straight edge (in my case a yardstick) to guide my cut and make sure it was straight. I used a rotary fabric cutter and rolled it right along the yardstick, while still holding the yardstick in place to get the line super straight.
Once your cut is done, double check to make sure it fits well (don’t worry if there is extra fabric around, you can always glue it and then cut it down later with a utility knife). In order to adhere the fabric to the wood I used Mod Podge that was specific to fabric. A small sponge brush was used to wipe the mod podge to both the fabric and the bottom of the drawers. Try to get the fabric as straight as possible when adding it to the drawer. Then take an old credit card or other straight edge to smooth out all the bubbles and ripples.
Tip: My fabric did have some large creases in it from being folded so I had to iron it before gluing down!
Then all you have to do is allow the fabric to dry and the drawers are as good as new! It is a wonderful surprise pop of color and design for the inside of this antiqued dresser!
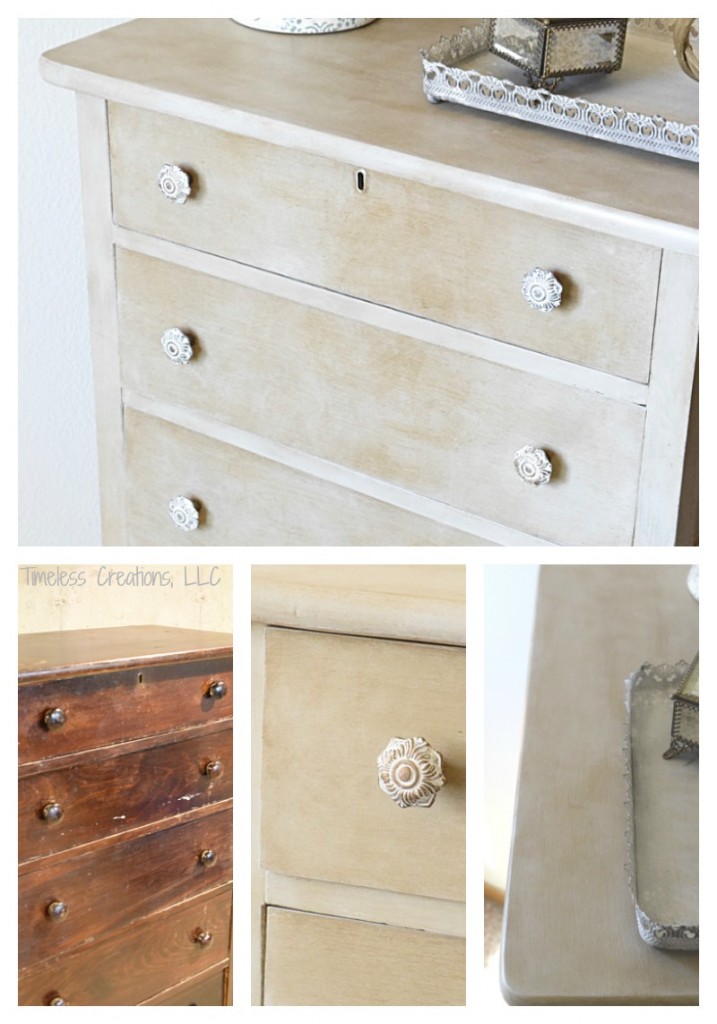
To see how we painted the dresser continue here.
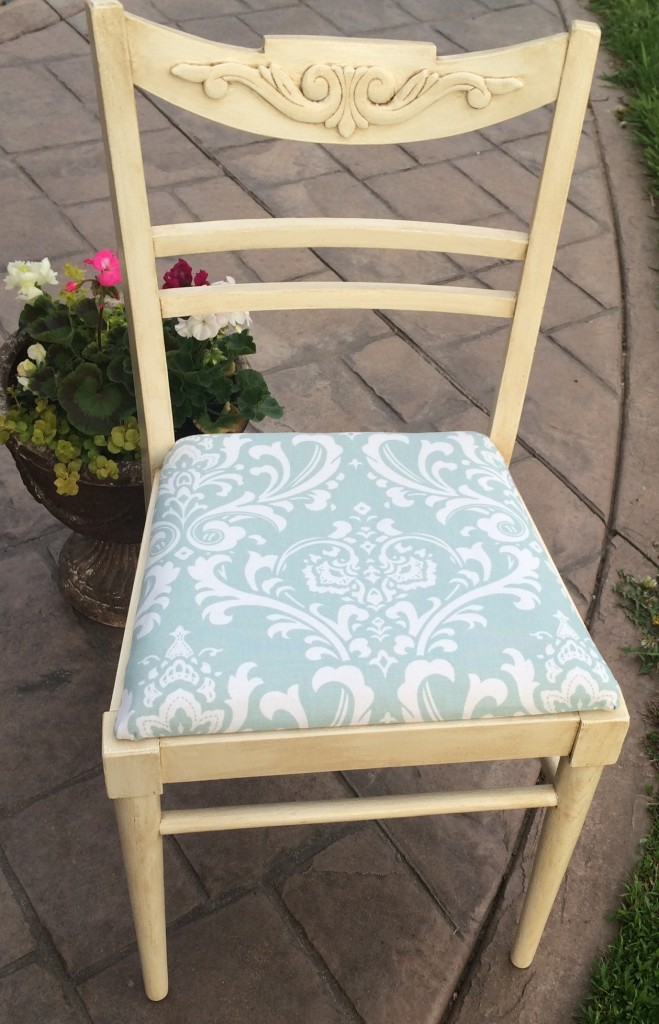
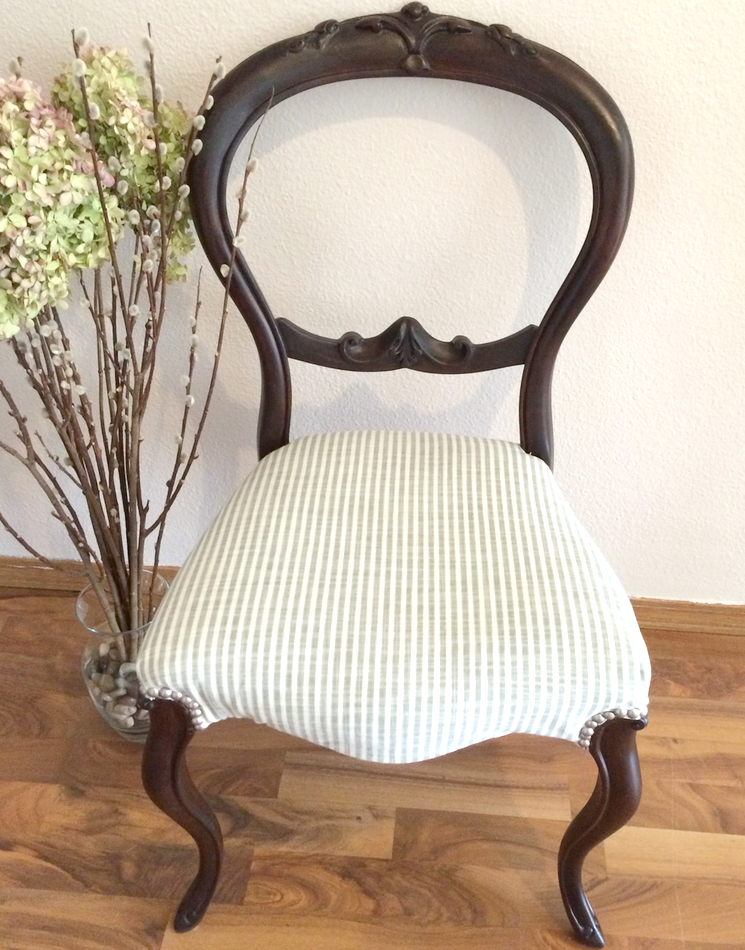
And if you enjoyed this tutorial have a peek at the easy way we reupholstered these chair seats!


Leave a Reply