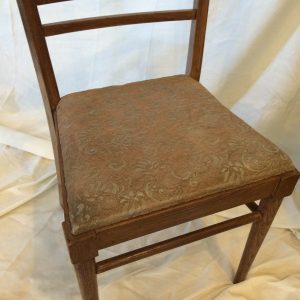
To update our wooden chair it not only required paint but also some new fabric for the seat.
The fabric was very old and dingy and didn’t do anything for this chair. We picked a wonderful piece we already had in our inventory in one of our favorite colors as well as a wonderful design.
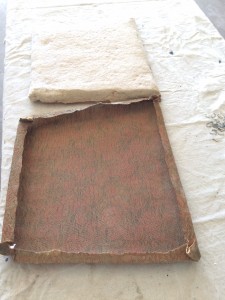
The easiest way to do this is just to remove the seat and take the staples out of the old fabric. Try to keep the fabric intact because that is your pattern for your new seat!
We were also able to use the old padding from this chair since it was still in good shape.
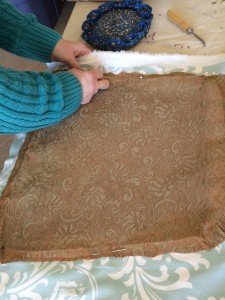
Next you lay the old fabric over the new and pin them together.
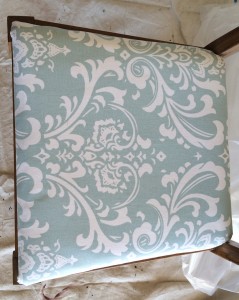
Since we had a pattern on our new fabric we had to decide how we wanted the pattern to look on the chair. We ended up centering the pattern.
Next you can go ahead and cut out around your pattern. We cut about an extra inch away from the old fabric so we would have extra to work with, just in case of any mishaps!
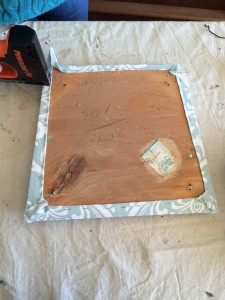
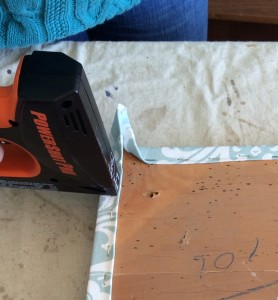
Then you can grab your staple gun! Make sure its all lined up(adding your padding and the bottom of the chair, with the pattern centered) We stapled all the sides first since that was easier and then we could spend more time folding the corners in.
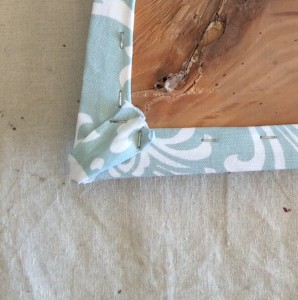
There are many ways to fold your corners, we basically just looked at the old pattern and followed their technique of folding. That consisted of stapling all the way to the edge on each side and then leaving a center “flap” and just folding that over.
It was very easy to just follow the pattern of the fabric that was already on the chair, but feel free to mold your own corners!
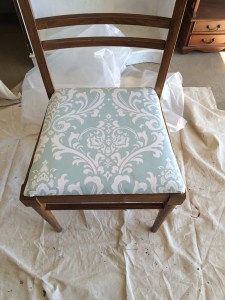
And that is the finished seat!
To see the chair with its entire makeover please click here.



Leave a Reply