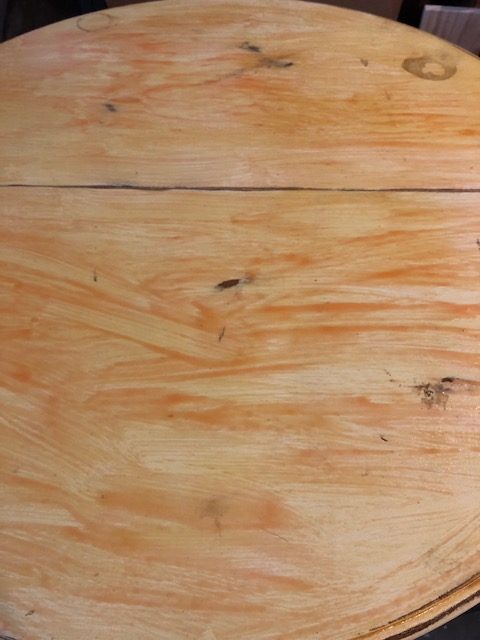
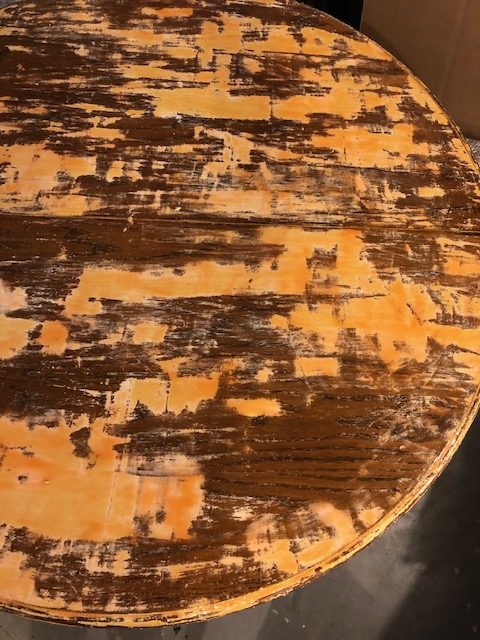
Oooohhh this is a really good one you all! This pedestal table was a hot mess when we got it. It was painted with a latex yellowish color, with some kind of glaze over it. Making it look a sickly yellow color. And it had very obvious electric sander distressing done to it as well. When painting with latex paint, it is common to see people have taken an electric sander to distress it back, however then it doesn’t look naturally worn. That is why we recommend using a good professional furniture paint for your piece. But we will dig into that more.
Even though the table was a mess, that electric sander probably saved this piece for us. We could see there was some great oak underneath! So we decided to save it! We knew it would be way to much work to sand through all this paint so we decided to bust out the paint stripper. THIS is what we used for stripping the old latex.
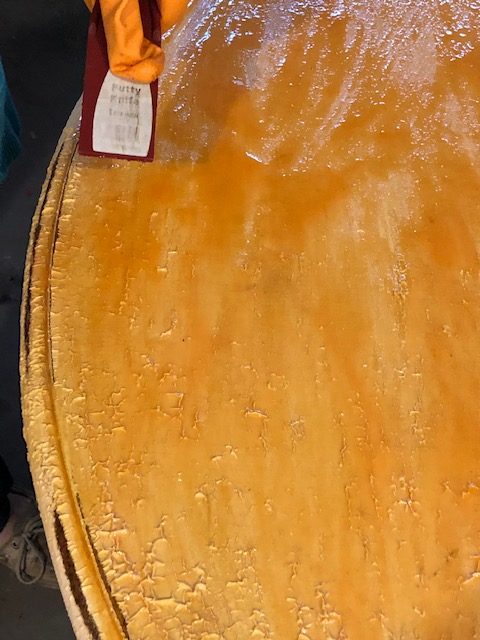
We really don’t care to use chemical strippers very often, but with something like this table it is necessary. A key word of advice is to really apply the stripper liberally. (And don’t use your best brush for spreading it. We actually use a cheap Chip brush like THIS one.) When the stripper gets dry it doesn’t work as well and is harder to take off. So again, apply it really thick and then leave it sit for a while. (Make sure to follow the directions on the back of your paint stripper as far as safety precautions and removal time)
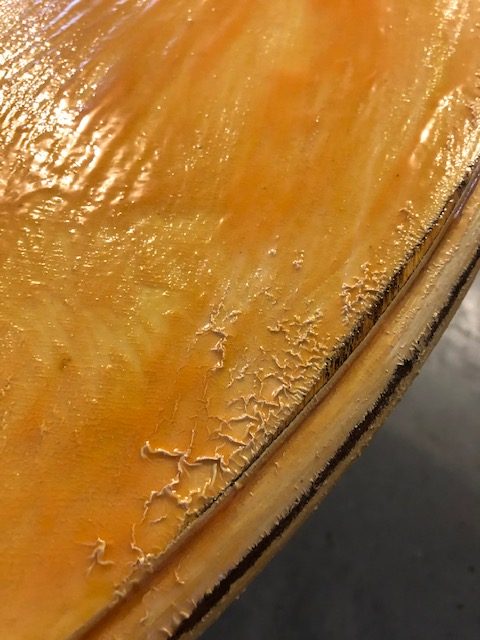
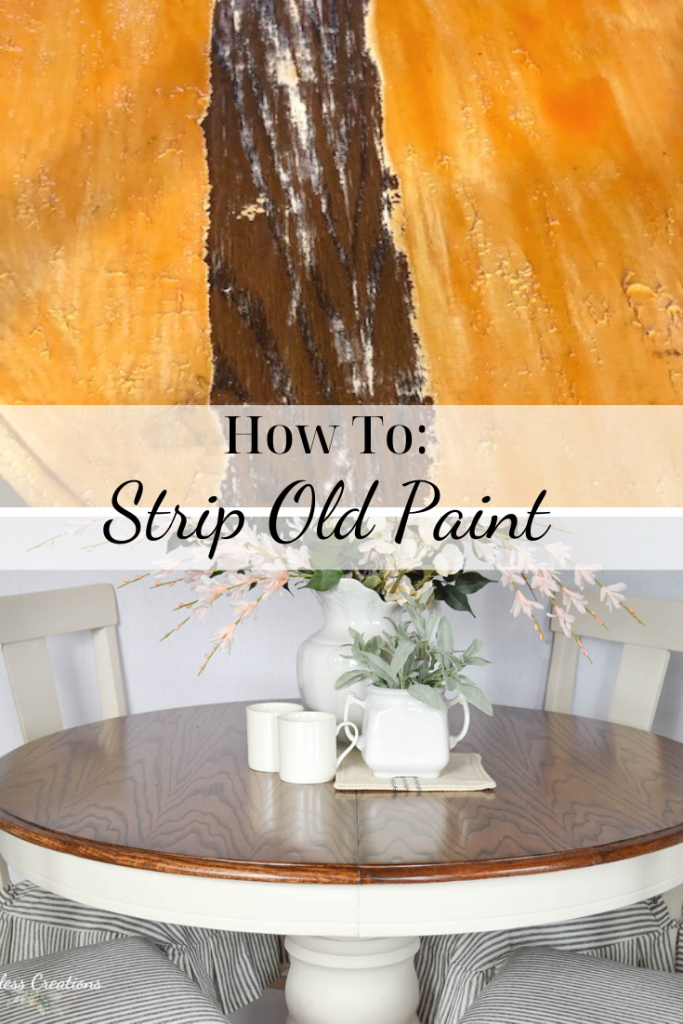
We had the wonderful “paint bubble” happen to this table after letting it sit for a while! It’s basically where you can literally see the paint stripper working. The latex under the stripper bubbled up just like the picture shows below.
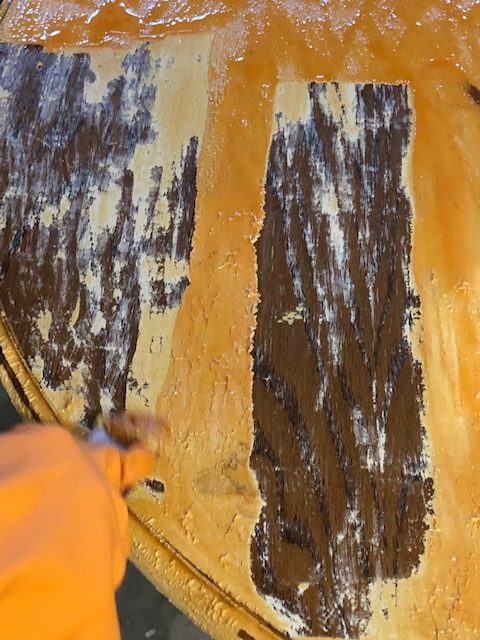
We were then able to take a plastic spatula to begin removing it. I know some people use metal, but we used plastic to make sure we didn’t gouge the wood on the tabletop. It’s sometimes difficult to go around edges or curved parts but do your best, you can always hand sand it later if you can’t get it all.
It didn’t take long to get all that icky latex off the top of this table, but we did have to reapply in certain spots that didn’t come off. If this happens to you, just take your time, reapply liberally again in the spots, wait, and try lifting it again. All of our paint ended up coming off after a second application of the stripper.
OK this next part is very important! Once the stripper is scraped off you must CLEAN the rest of the residue off the wood. We picked up a great cleaner from our local hardware store that worked beautifully on this table, but usually there are cleaners right next to the strippers in the big box stores or you can use mineral spirits. The cleaner we purchased did require you to rinse after using it so just make sure to follow the directions on the back of your cleaner as well. It could result in bad paint adhesion if a cleaner is supposed to be rinsed but isn’t.
Once cleaned (and rinsed if needed) make sure your wood is dry and you will need to begin to sand it down. We used our orbital sander and started with 60 grit coarse paper to get the rest of the finish off the table. Then continue on with your 120 grit, and 220 grit to get your wood top smoothed out.
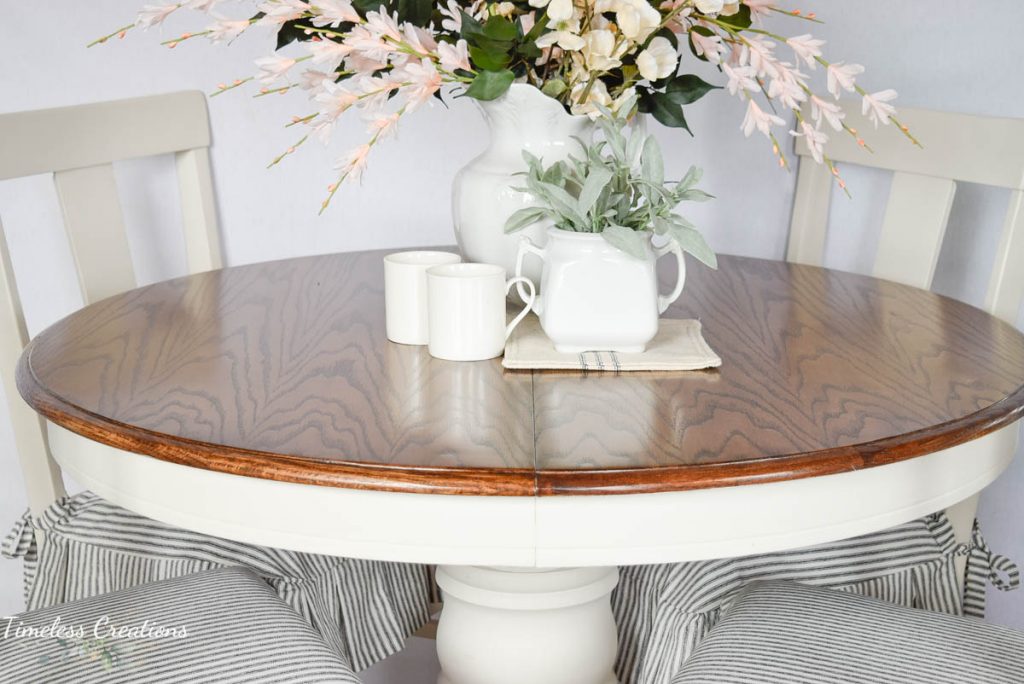
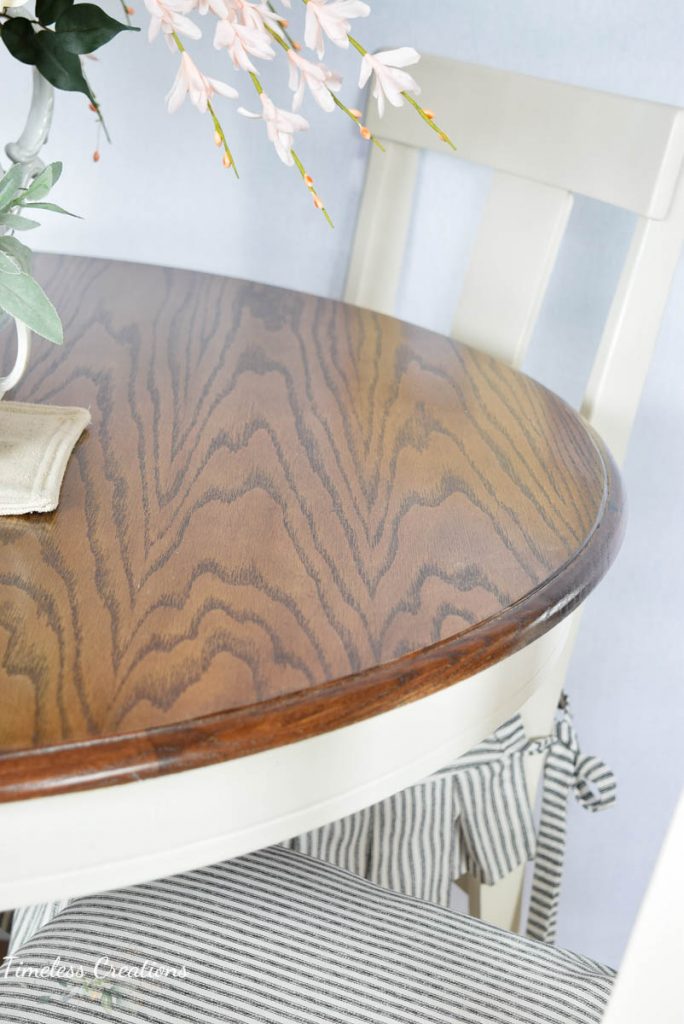
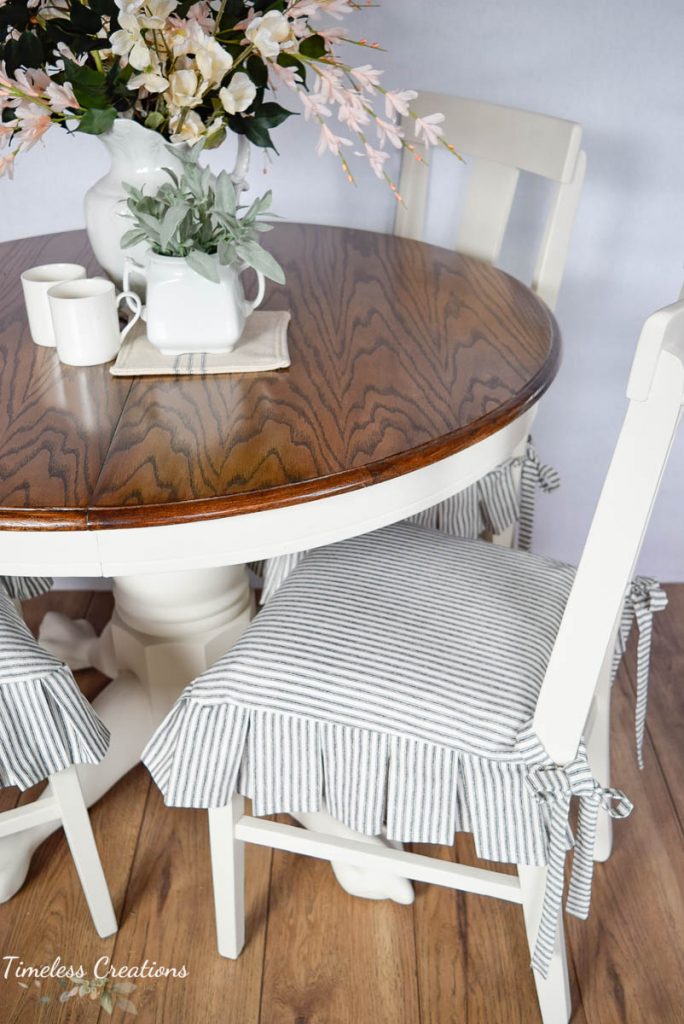
Then when that is all finished you can begin staining! Don’t shirk on sanding your top down though, you want to make sure the original finish and stain is completely gone or you risk blotchiness after staining. (THIS is the color stain we used for this top – but Fusion Mineral Paint also has some great stains as well!)
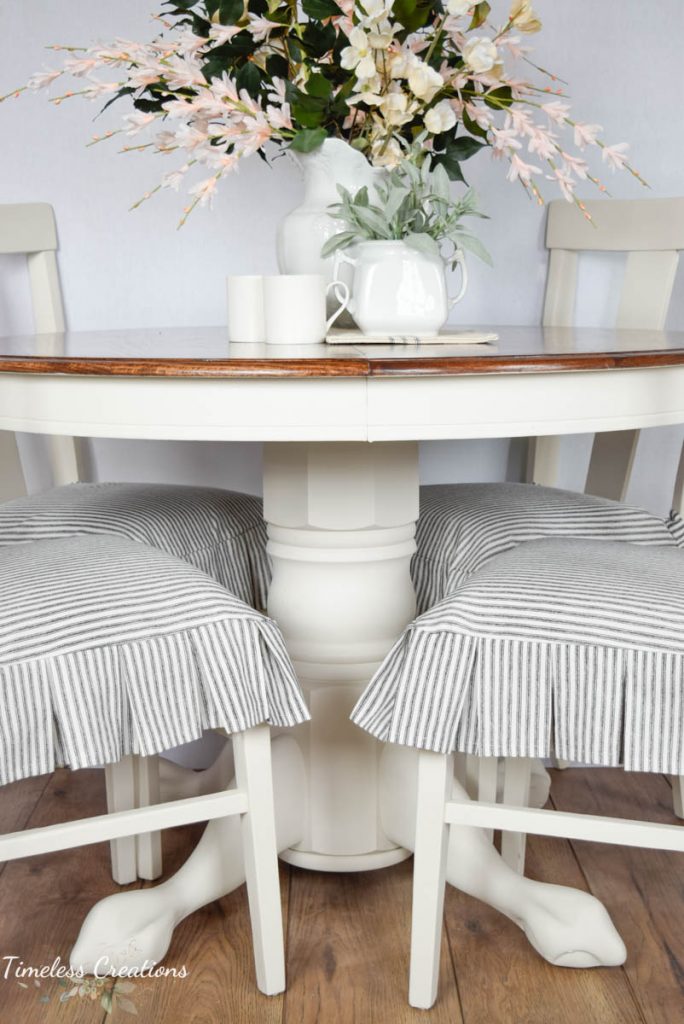
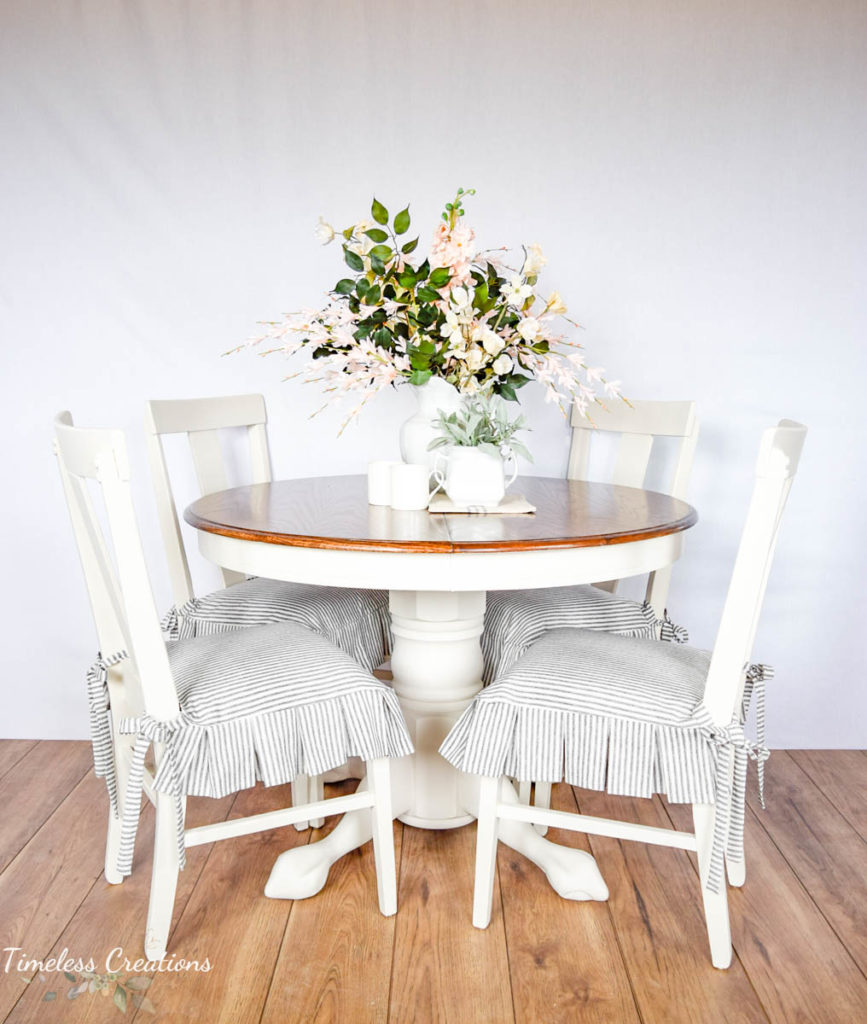
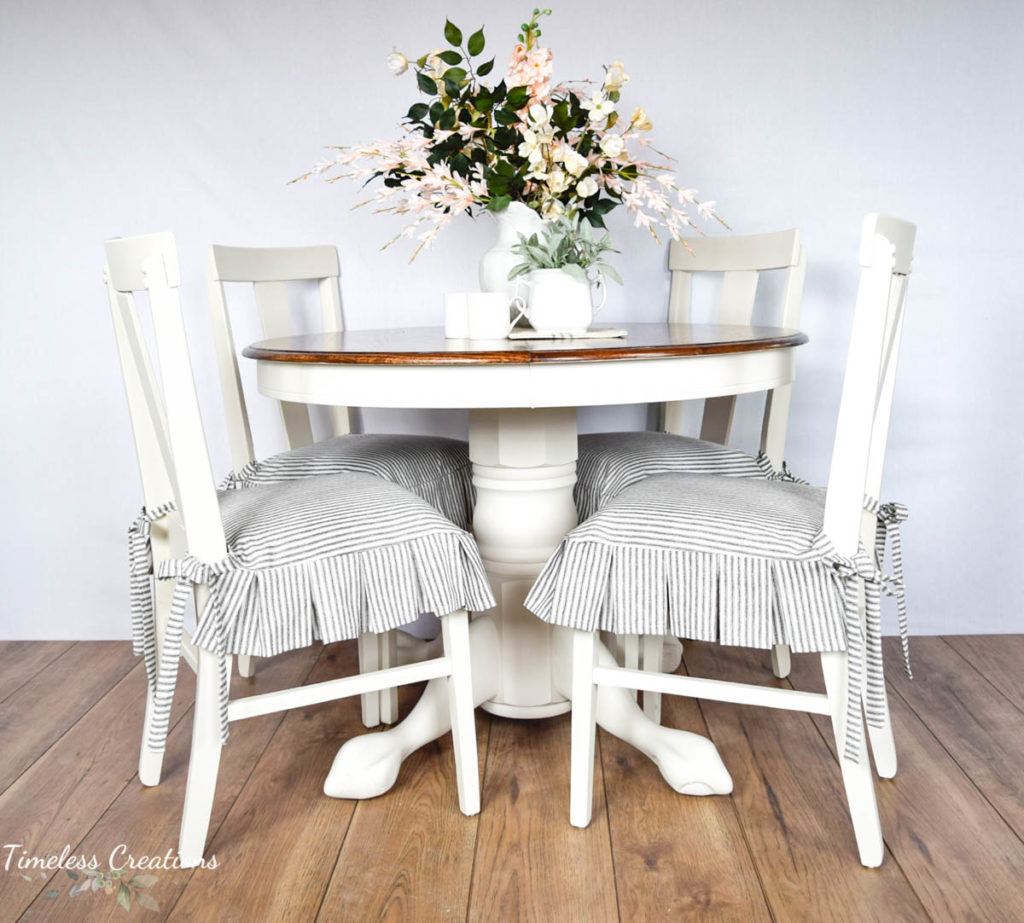
While waiting for the stain to dry on the top of the table, we began work on painting the table base and all of the chairs. I would recommend a good brush, a fun podcast, and lots of patience when painting dining chairs. They are SO time consuming if painting by hand – but also so totally worth it. We really prefer to spray our chairs, but we didn’t have the room to set up a spray shelter this time, so hand painting it was! The table base and chairs were all painted in Fusion Mineral Paint’s off-white called “Raw Silk” which we carry in our store and online here. (Click through the link to get your very own paint!)
Raw Silk is a beautiful off-white color that we absolutely adore. I am pretty sure it will be going everywhere in my new house! It isn’t super stark white, but not a cream either – just the perfect shade!
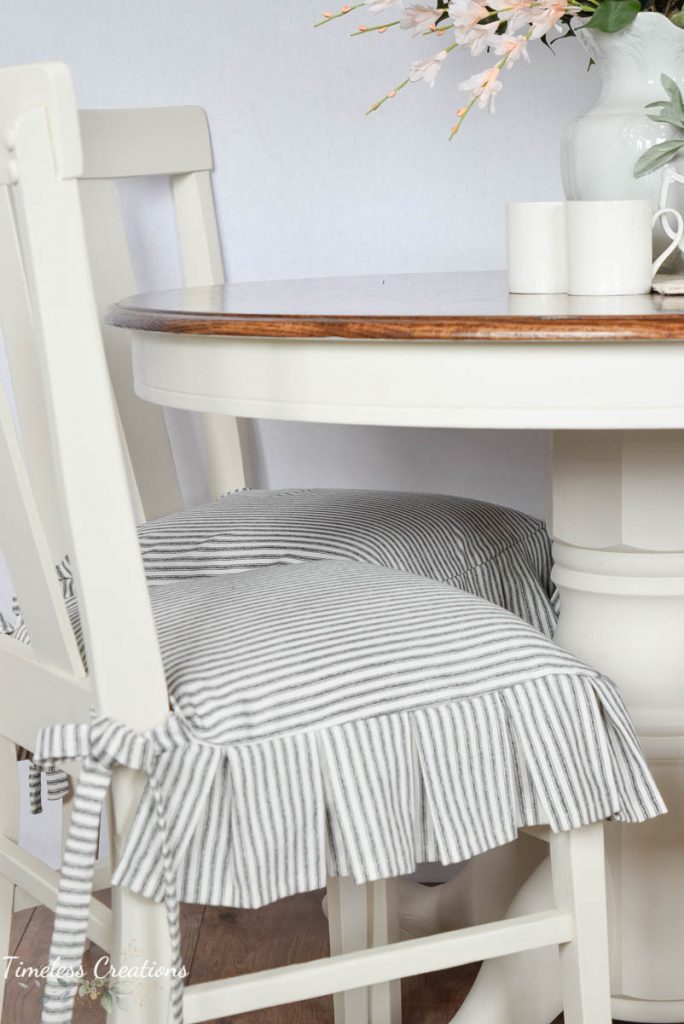
We reupholstered the chair seats with a very neutral beige fabric, but that wasn’t the end of it all. We had an even bigger idea for the chair seats which explains the plain under fabric.
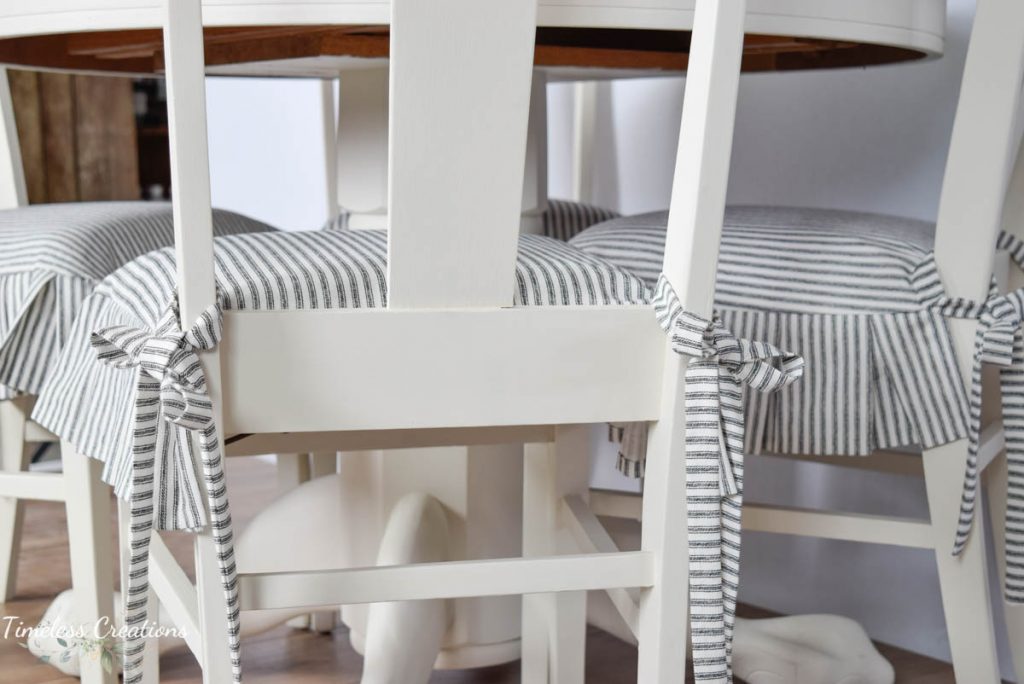
Vicki wanted to add pleated ticking strip chair covers to add a little pizzazz to these plain chairs! And aren’t they just adorable! Vicki was wholly in charge of this part since I don’t do much sewing at all. But she had a vision for them and wanted to make the table set a little more interesting and french country feelin’. Even though all those pleats were time-consuming I think she did a darn fabulous job on these! And if they get dirty – you can toss them in the wash.
The seat covers were a new venture for us, but something we have always wanted to try. I am so glad we didn’t get rid of this pre-painted table and chairs – aren’t they just too cute now?!
Products Used:
Fusion Mineral Paint – “Raw Silk” / Stain / Stripper / Cleaner / Sander / Sand paper / Plastic Spatula / Chip Brush / More Fusion Mineral Paint Colors
To purchase this Dining Set Click HERE





[…] up! Sometimes we chemically strip the paint off, (See a post about chemically stripping a table HERE) and sometimes we just paint over that paint. The thing you need to look at is how is that paint […]