Tips and Tricks for creating your own unique nightstands from an old vanity.
Have you seen the fabulous furniture artisans out there who are updating broken down antique vanities and creating two matching nightstands from them? (See our first set of vanity nightstands HERE) It’s really difficult to find two matching small nightstands in the used furniture world, but vanities are a bit more prevalent and hardly used “as is” anymore. Therefore you can create your very own matching small nightstands from an old vanity!
We will be honest with you all though, this isn’t quite a beginner DIY project. Some of the old vanities are fairly simple to actually take apart and some that have a full top are a bit more intense. But no matter what kind of vanity you find, easy or harder to take apart, there is always some kind of fixing that needs to be done. Here is where the beginner could possibly have problems! Each one is different and sometimes you have to be creative in how you fix the pieces.
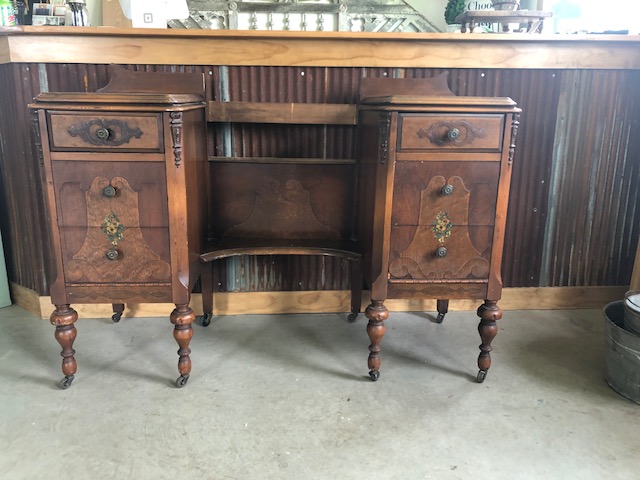
In this article, we are sharing just one style of antique vanity and how we took it apart and fixed it up for painting. There are quite a few styles this would work on, some – like vanities that have one continuous top – would have more to it.
Essentially you need to first take a look at the piece to see where it is joined. This vanities mirror slid right out at the top but other styles could be screwed in, which makes it very easy to take apart.
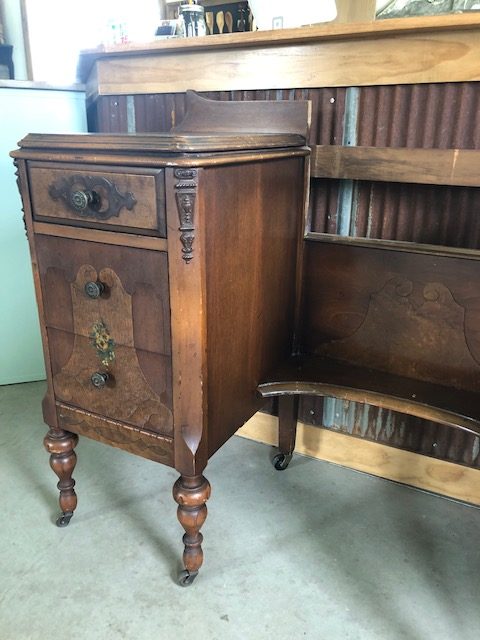
Once the mirror was off we could see there were 3 wooden bars on the back side that were all nailed into the back of this piece. It takes just a little maneuvering and wiggling to get a flat screwdriver or a small pry bar by the nails to pry them out!
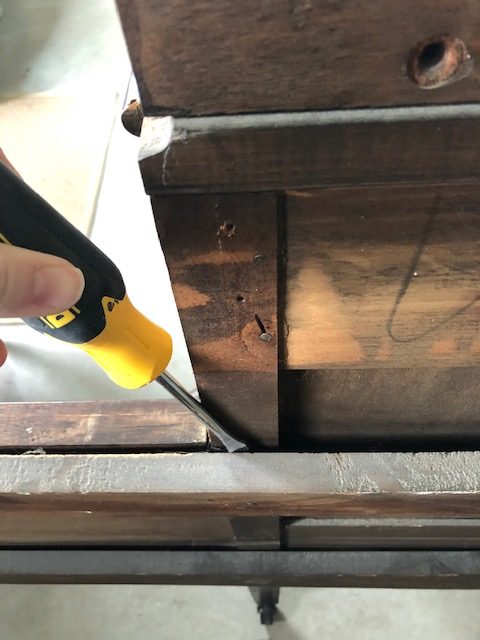
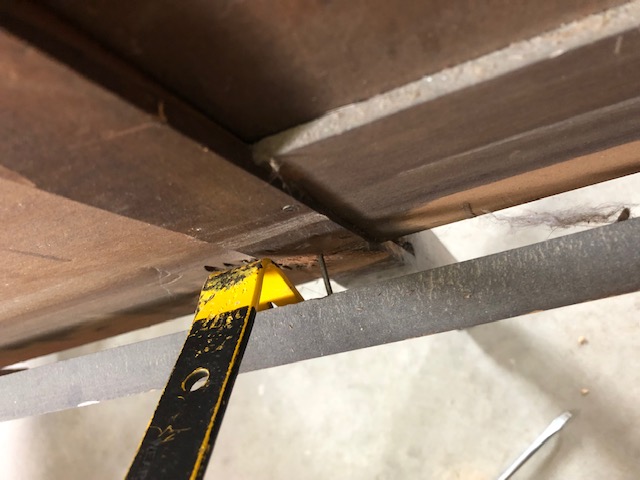
Once those bars were off, the vanity only had one other wood piece at the bottom that was connecting the two sides. See, this particular style is fairly easy to take apart! We did look inside to see if there were nails we could see there, but there wasn’t, so Kristen just stood in between the ends and pushed them away from each other!
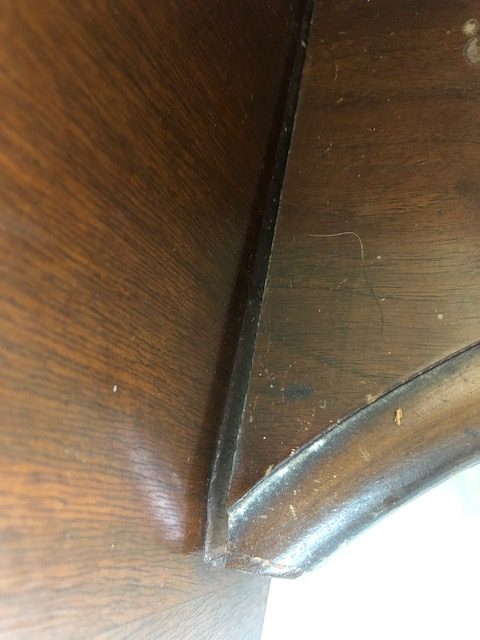
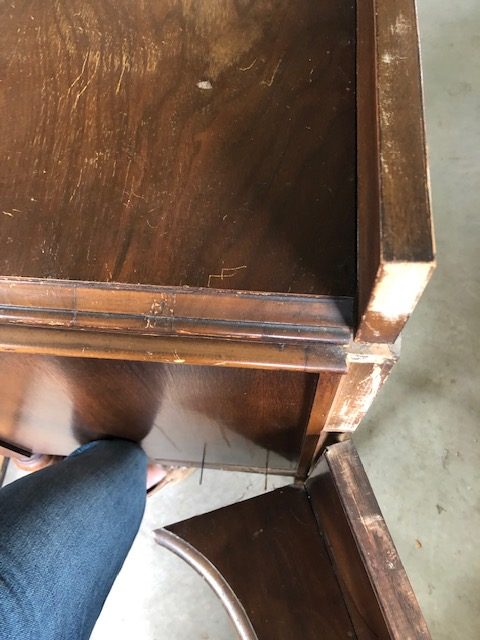
It was really only held together with a couple nails and some glue that was very old.
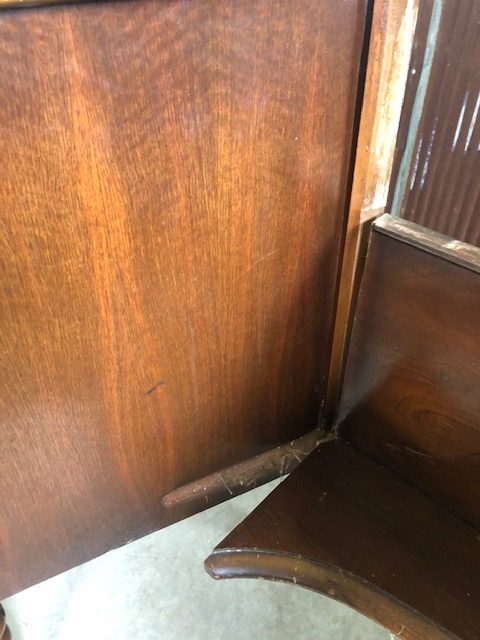
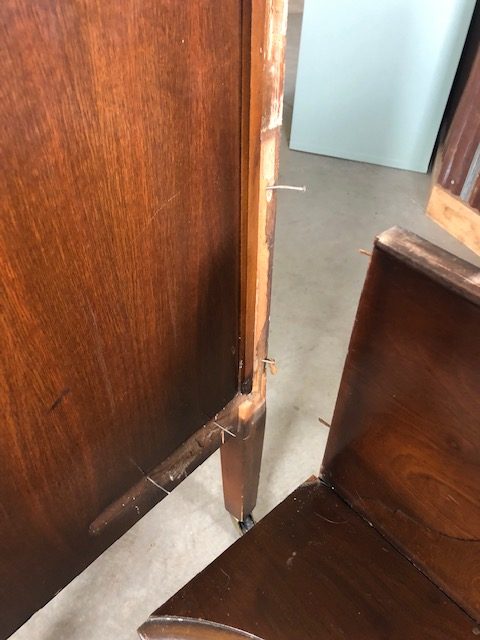
And there it was! We had two separate nightstands!
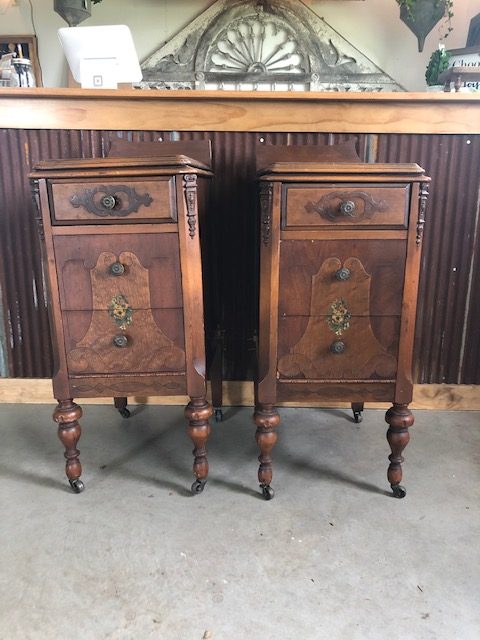
Again, that was the easy part…
Next came the hard part of fixing it up so both pieces looked the same on each side. There were nails sticking out of the side where the middle bar was and no way to pry them out since the heads were completely hidden on the inside so instead we clipped them off with a wire clippers.
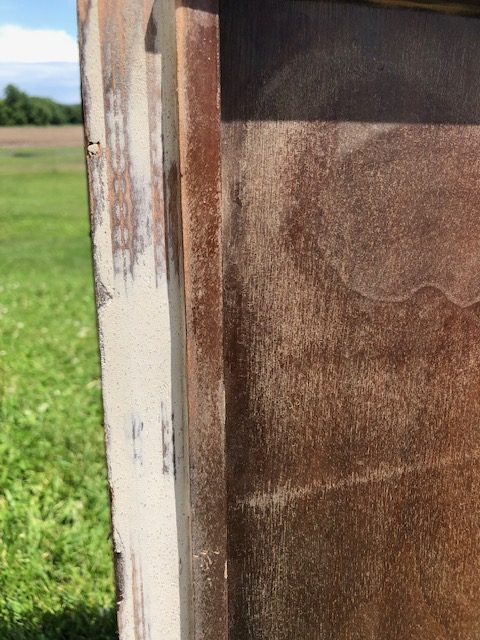
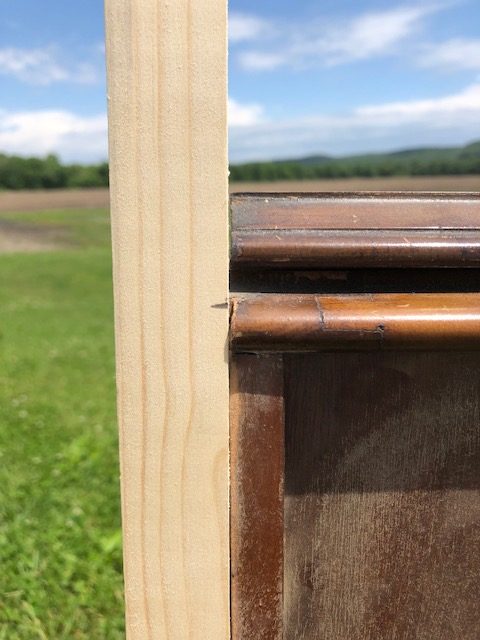
There was also a part in the back of each side of the nighstands (where the mirror sat) that had a little lip. It wasn’t flush all the way down. So we decided to rip down a very skinny piece of wood, then glue and nail it into those spots. Just like the pictures show. Then it was flush and matched the other side! We also had to do quite a bit of filling. There was a bit to fill along the edge where we added the wood, and a bunch down below where the veneer was peeling off.
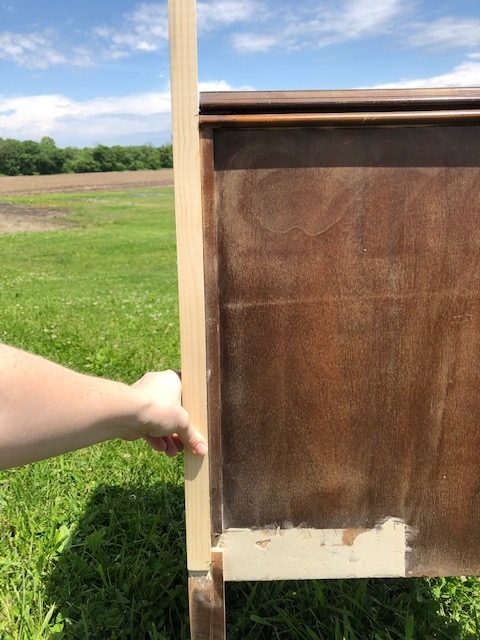
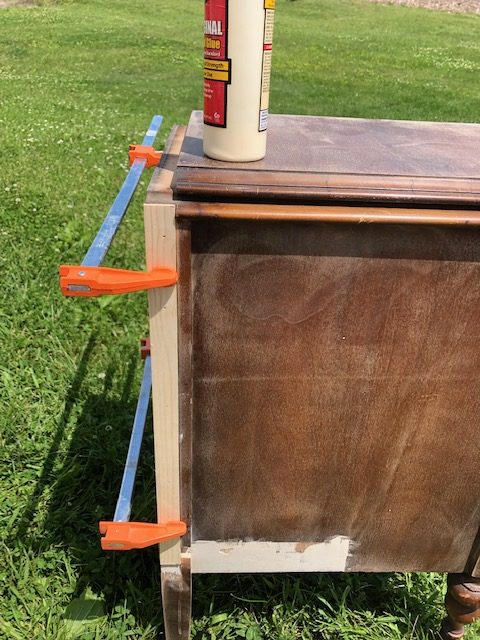
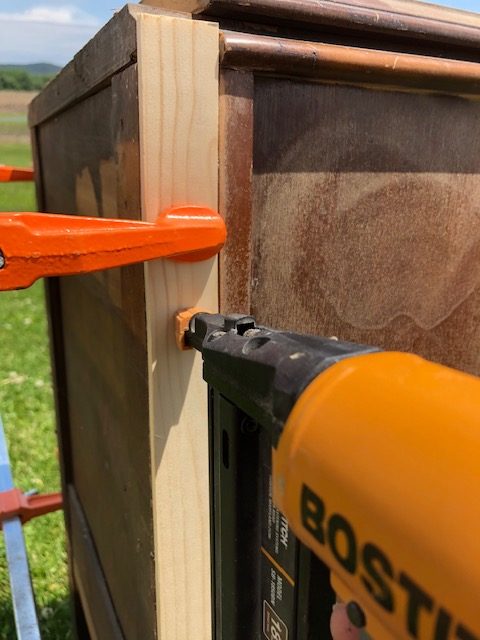
Peeling veneer isn’t always fun to work with. Sometimes you can glue it back down but sometimes it just needs to come off. We just literally pulled this part off and then had to fill quite a bit with wood putty using a putty knife to get it very smooth. (There are so many kinds of wood putty you can use and I will make sure to link to all of the products we love down below!)
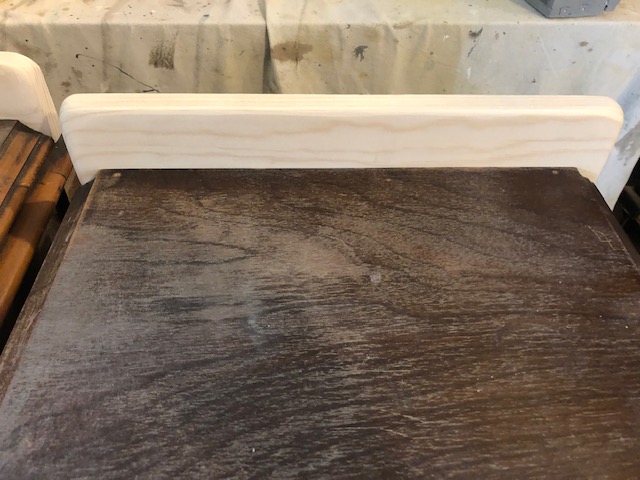
But we weren’t done yet! On the very top of the nightstands were trim pieces that went with the mirror. They had some beautiful details to them, however once the mirror was gone they didn’t make sense anymore! They didn’t match on each side! So we had to pry the existing ones off – using the same flat screwdriver and a hammer this time. We were then able to create our very own backplate piece out of a 1 x 3 that we just rounded on each side, then glued and nailed in.
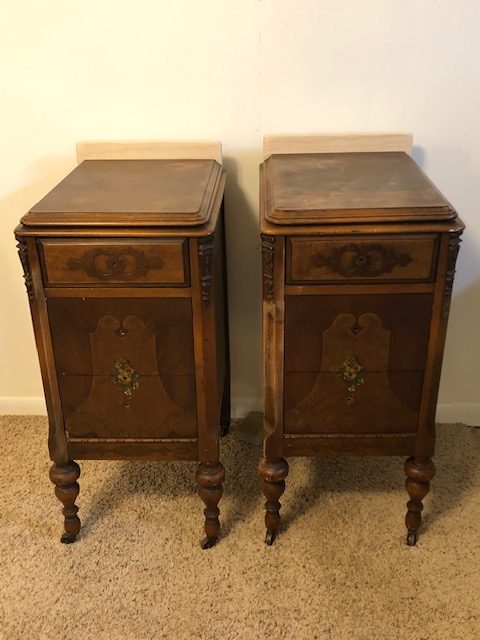
There was quite a lot to do to these pieces before paint could begin as you can see. But they are going to be totally worth it! If you are confident in your fixing abilities then we hope we helped you out with a few tips you may not have known before! If you are new to this, take your time on them – they will definitely be worth it!
Stay tuned with us to see how these nightstands turn out in the next couple of weeks after we get the paint on!

Our Favorite Wood Fillers & Tools


I just did this to a triple mirror dresser. I have them sitting on either side of the bed as side tables. I am in the process of finishing a little house, so I have not done the “fills” to the inside yet. The veneer on the top is bad, so, lol, I have that to do also.