We are back again at Kristen’s house to see a major furniture addition that we transformed into the perfect piece for her sunroom. The sunroom makeover has been full steam ahead to finish before Christmas hits and we just finished this last project! All we have left is to finish the decorating and you will finally be able to see the transformation!
If you missed the first few posts take a peek at them by clicking through the links below.
Sunroom Plan / Multi-Drawer Cabinet / Painting the Sunroom / $5 Old Chair Makeover
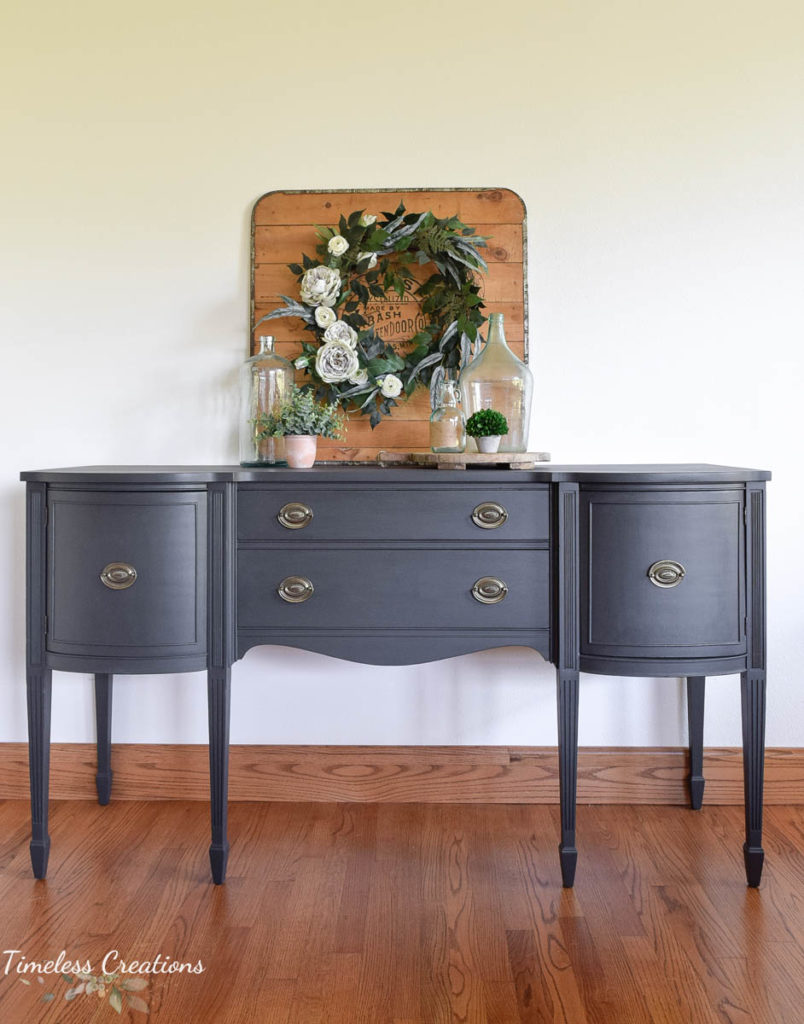
I shared in a couple previous posts what my inspiration pieces were for this space. I actually painted a beautiful buffet in this corner of my sunroom and loved the look so much…but I decided that I wanted more of a display piece as I had a lot of decor I could display and not a lot of things I needed to hide inside a buffet. Therefore I decided on a hutch! I looked at old antique hutches that were tall and just didn’t find anything I absolutely loved. So after thinking more on I decided I would take an old Hutch top half, complete with glass doors and transform it for my space. (And yes, we just so happened to have a beautiful hutch top in storage at our store! The perks of being a furniture painter are nice sometimes 🙂
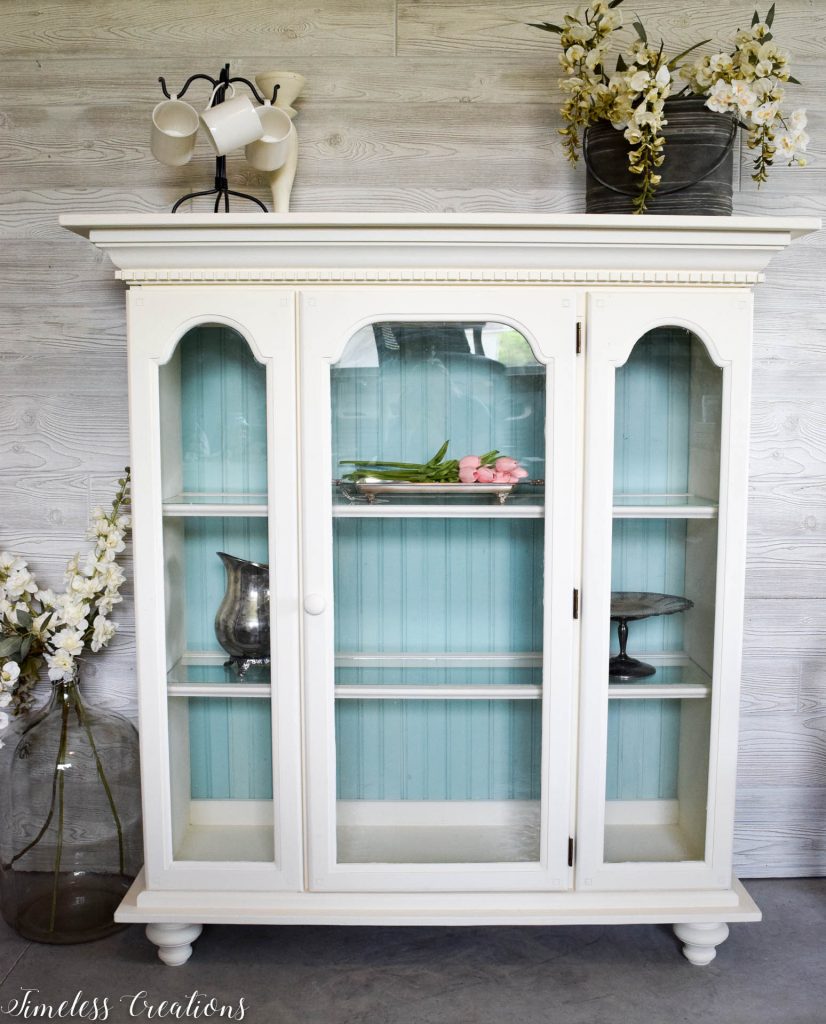
The photo on the right is the buffet I painted in my sunroom this fall and loved the color. The photo on the right is a hutch top we transformed a couple years ago and has since gone to it’s forever home. I just needed to mesh these two together! And I’m going to share how I was able to accomplish that.
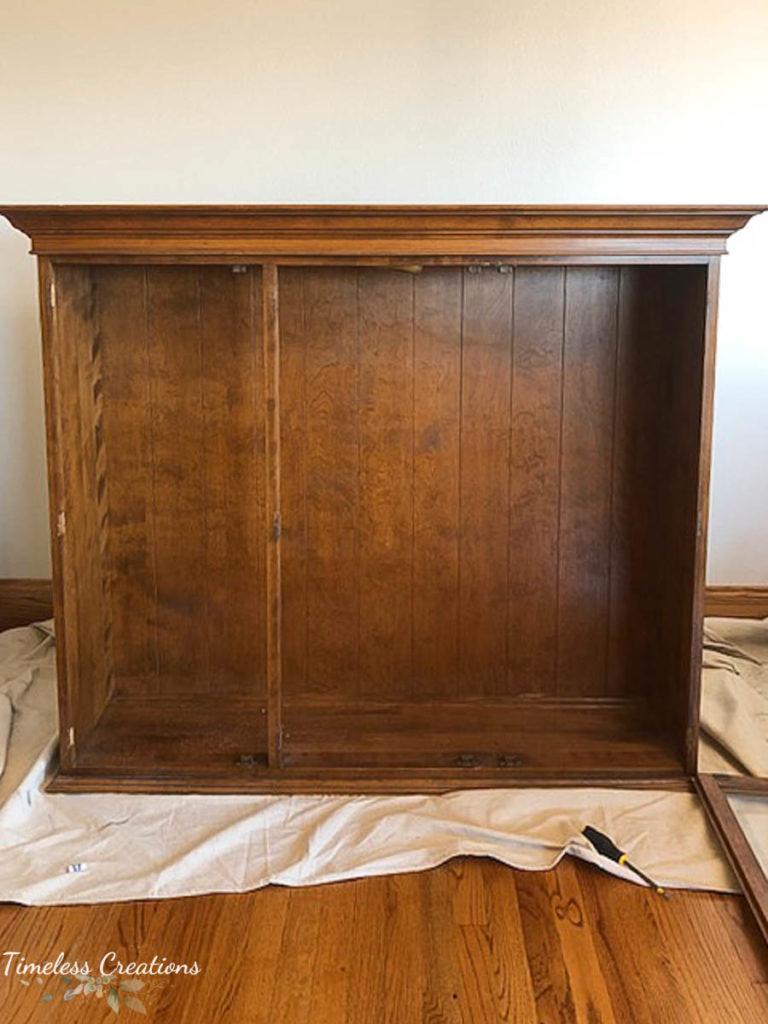
And here is the “Before” of my Hutch:
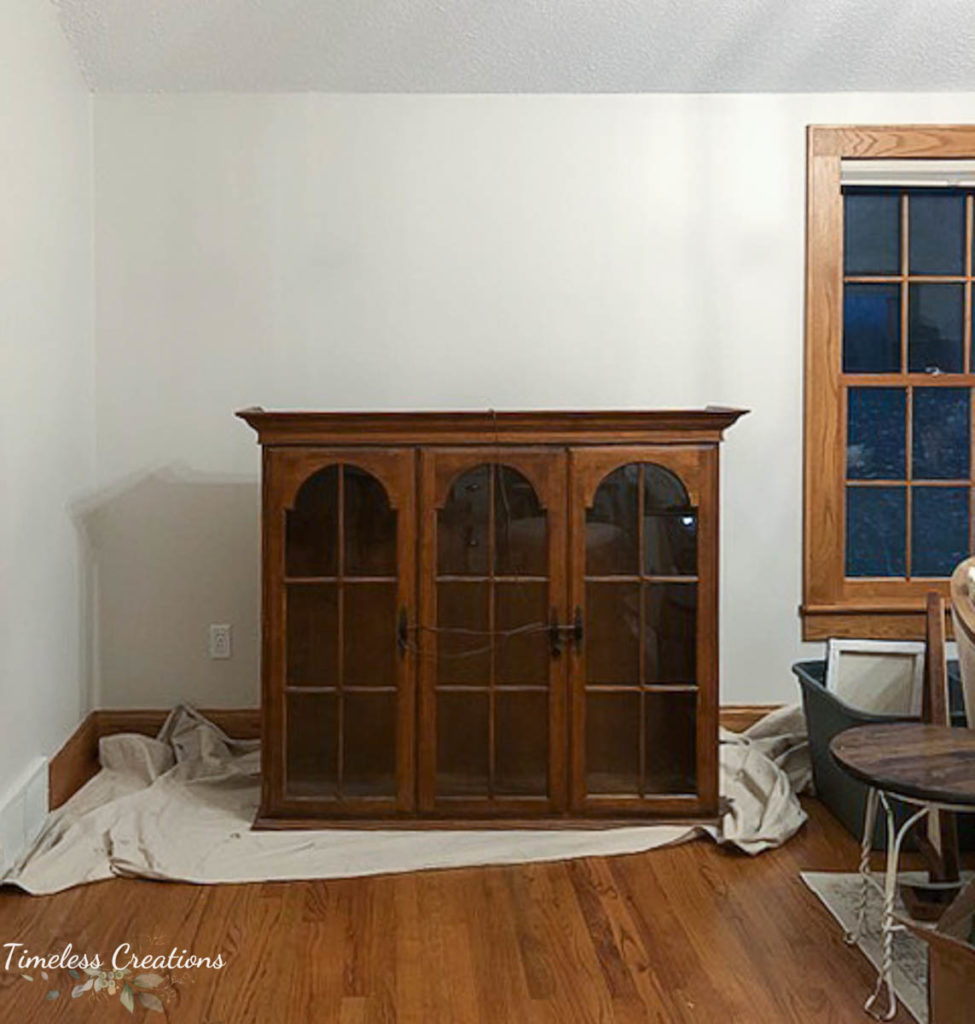
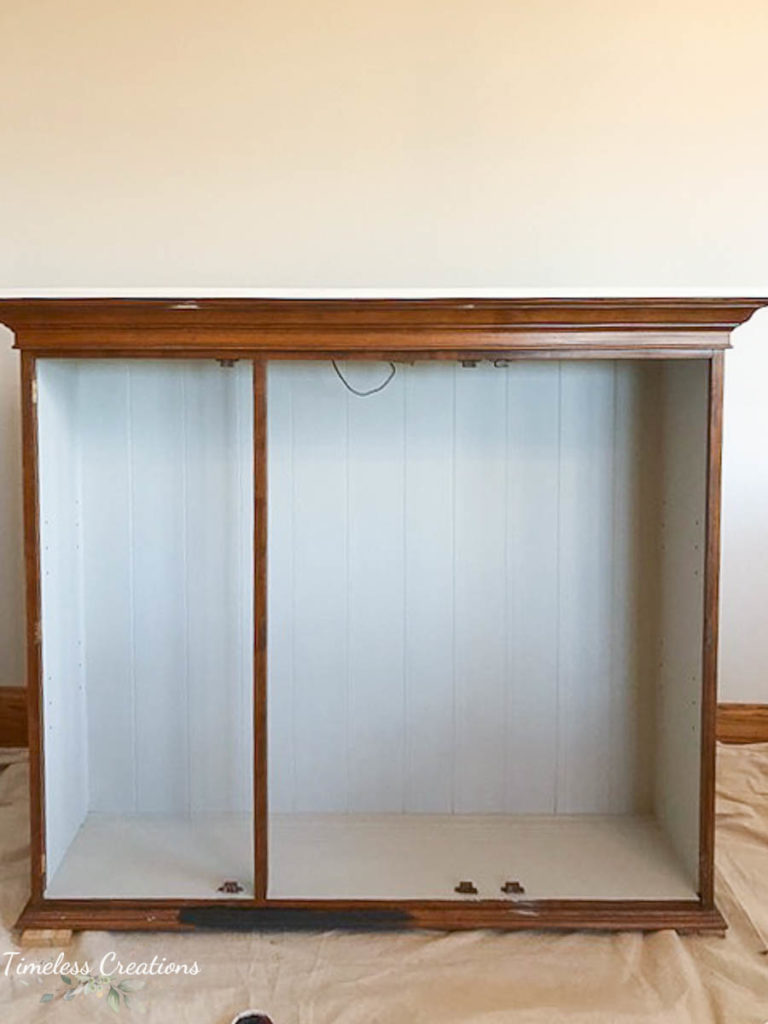
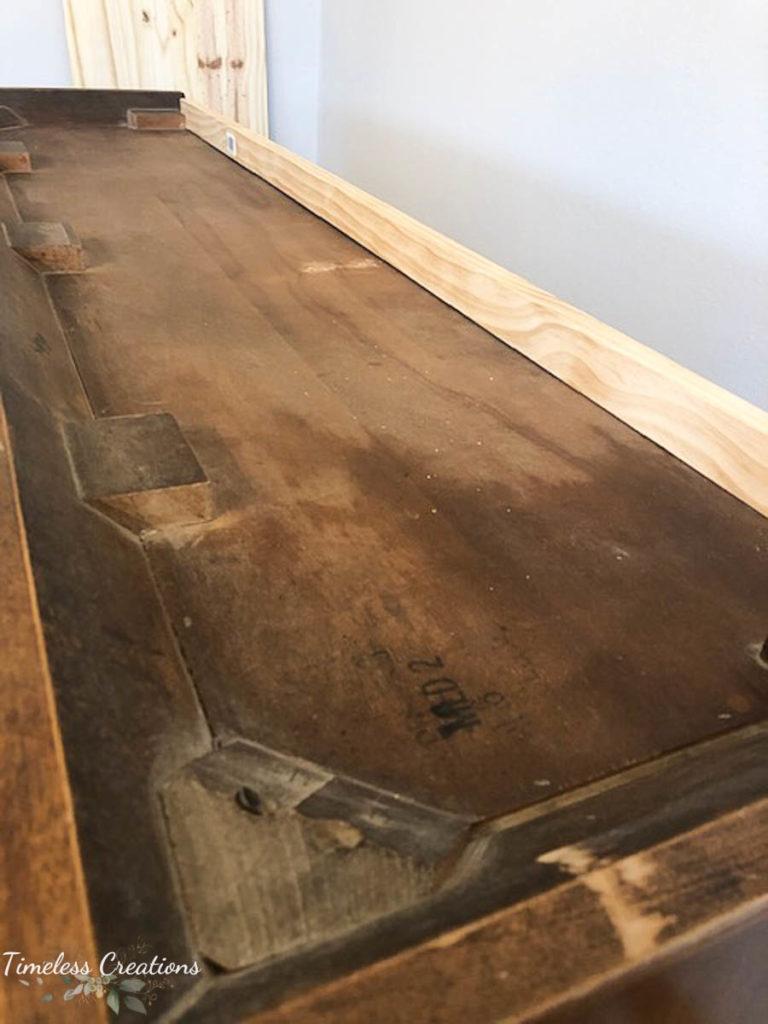
The first thing I did was to take get my hutch top home and take the doors off so painting would be easier. To begin a project like this you may have to take a peek at the top and bottom of your particular hutch. Most hutches like these need a solid surface added to the top. Mine had just the trim along 3 sides and not along the back. So I measured and trimmed out a board to add it to the very back of the hutch to help hold my top board which would create a nice, finished looking top. All I used was a 1″ board I had on hand and trimmed it down to fit.
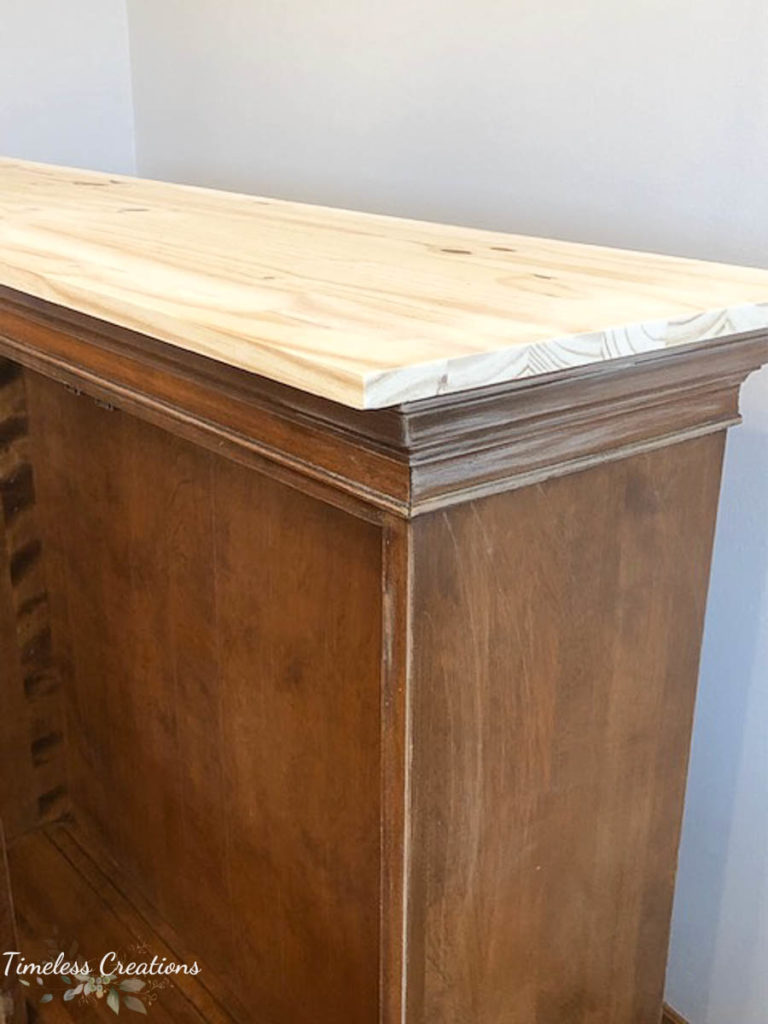
The top solid piece was just an edge-glued pine panel that I picked up at the hardware store. You could make your own if you really wanted to, but I knew mine would just be painted so I grabbed a cheaper and easier one. They come in pre-determined sizes so get the closest one that will fit your hutch. For mine I wanted it to hang over a bit in the front as well as on each side, so I just cut my panel to fit lengthwise.
To attach the top shelf to the hutch I added a bunch of wood glue all around the edge and nailed it down. I used our handy brad nailer to go all around the top of the hutch. It does make little tiny holes in your top wood, but it’s nothing a little wood fill can’t fix! Once it’s dry just sand it smooth and your good to go. I did decide to prime my wood piece since it had many knots in it. The only thing that will prevent knot bleed through on your paint is to prime it with a primer that contains Shellac. THIS is what I used.
While the primer was drying I went straight to painting the inside of my hutch. I chose the color “Goddess Ashwaghanda” from Fusion Mineral Paint so it would go well with my coffee table which is painted the same color. I didn’t want too much of a stark white next to the “Ash” of the outside, therefore Goddess was a great compromise.
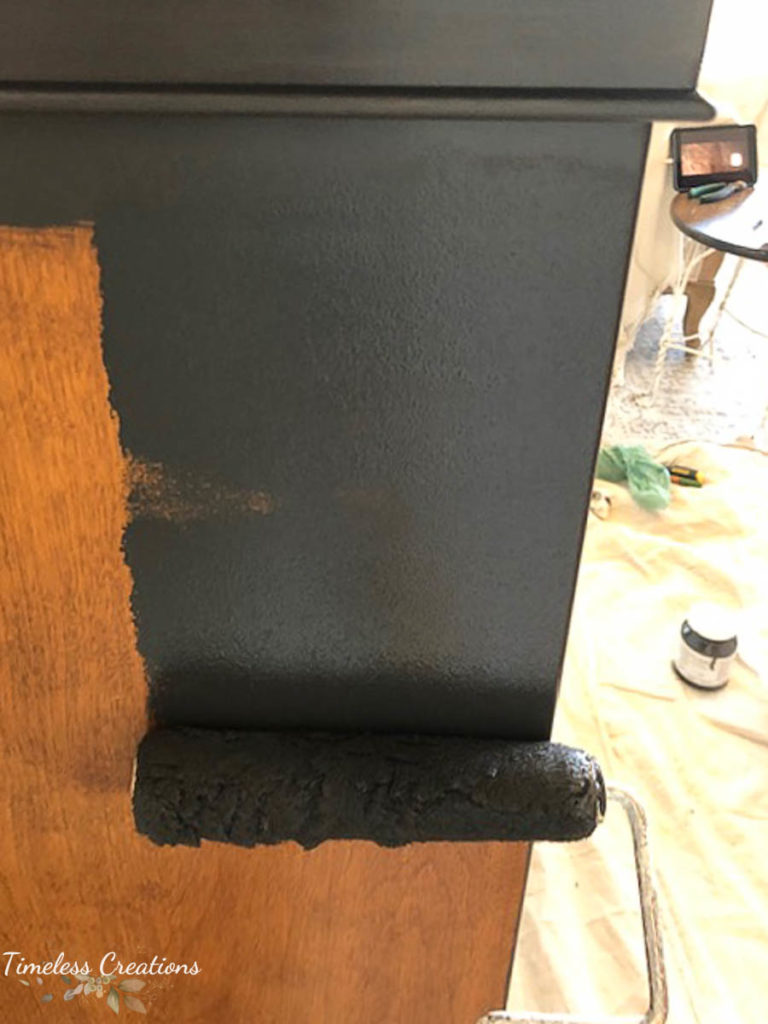
After 3 coats on the entire inside as well as on the inner shelves, I moved to the outside. Like I mentioned before, “Ash”, one of our favorite colors was my inspiration for this entire project! It is a beautiful soft black and is covers very well. I usually do 2 coats regardless just to make sure I didn’t miss any spots or get too thin in others. Since this piece had large flat areas, I decided to use a microfiber roller on those long areas for a quicker paint job.
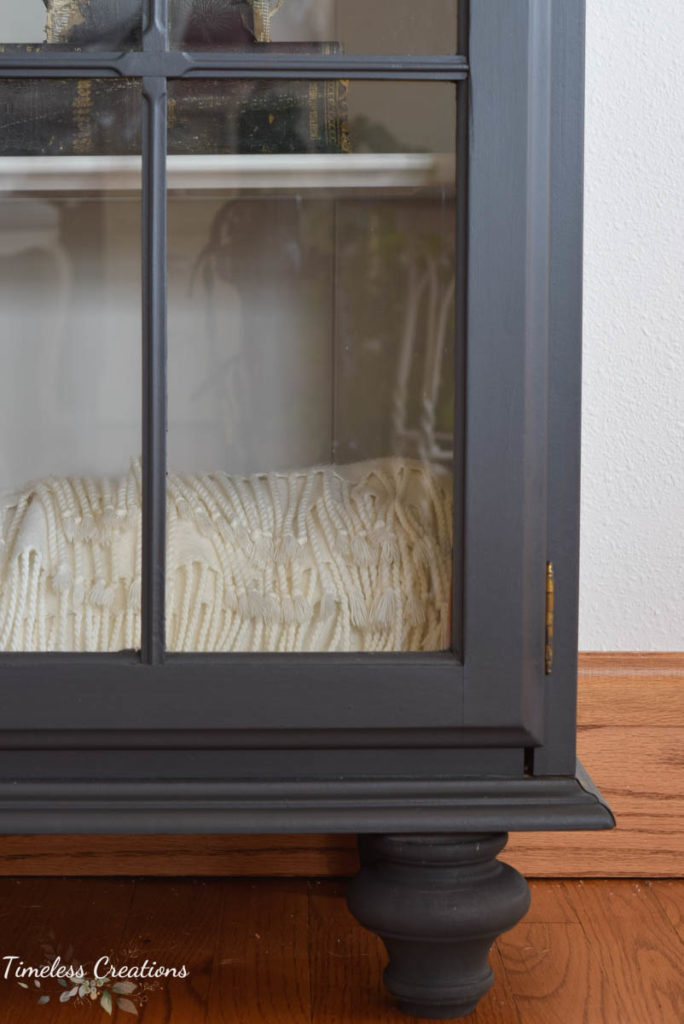
Once the cabinet was completely painted, including the time consuming doors, I painted and attached the feet to the bottom of the hutch. Luckily There was a flat part on the bottom of this hutch to add the feet brackets to. If you don’t have a flat spot for your feet to attach to then you would more than likely need to add a second panel on the bottom here, just like the top. THESE are the brackets I used, and THESE are the feet. They are super easy to add. Just screw on your bracket and then screw in your feet into the bracket!
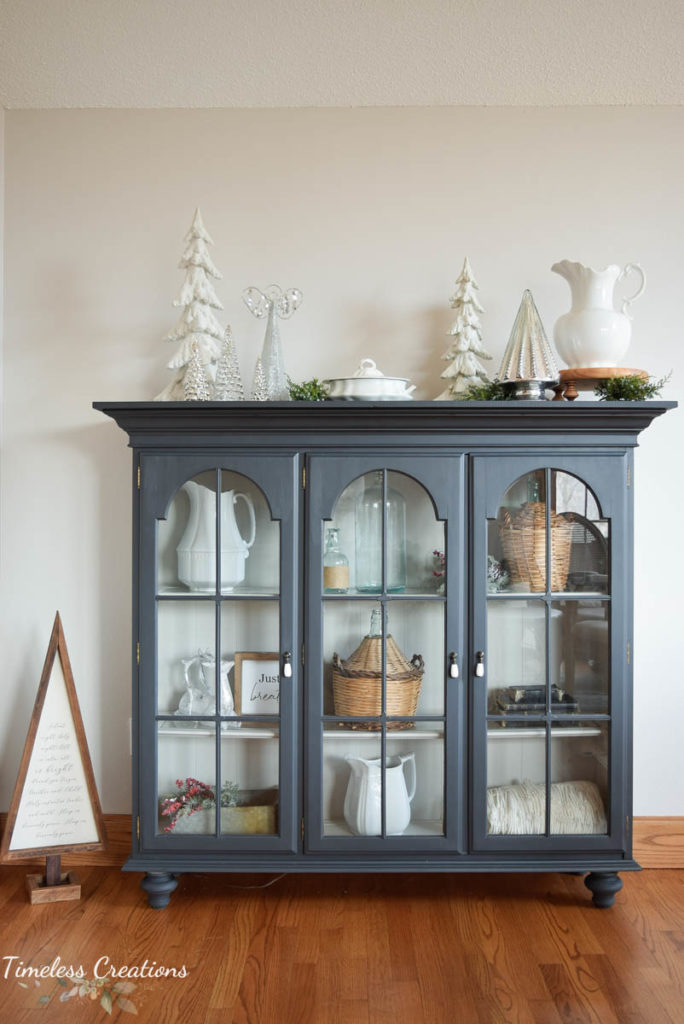
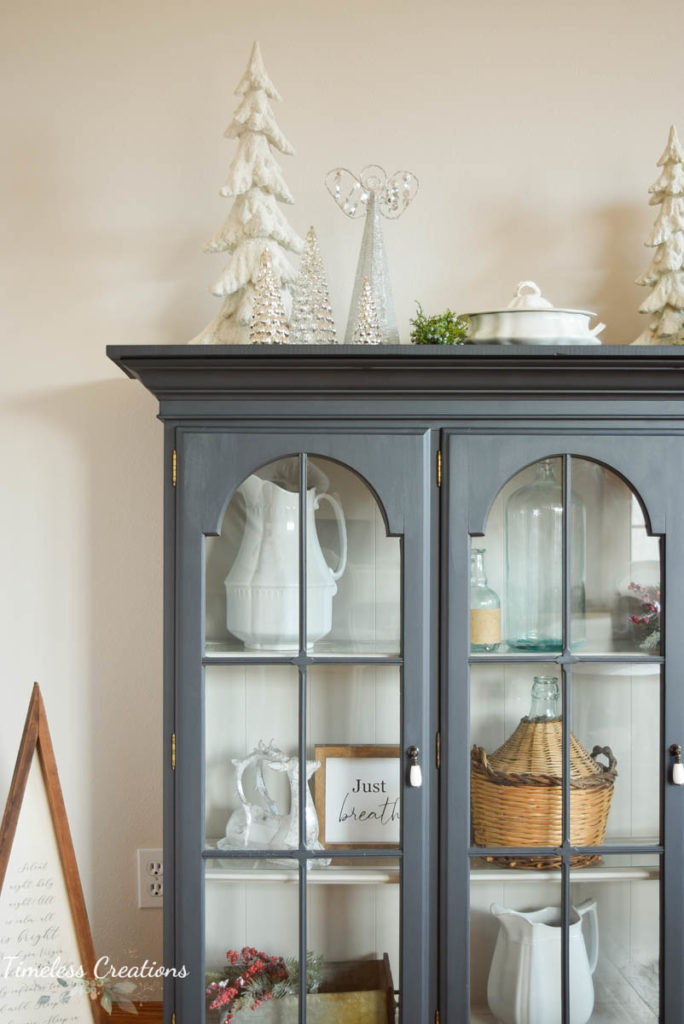
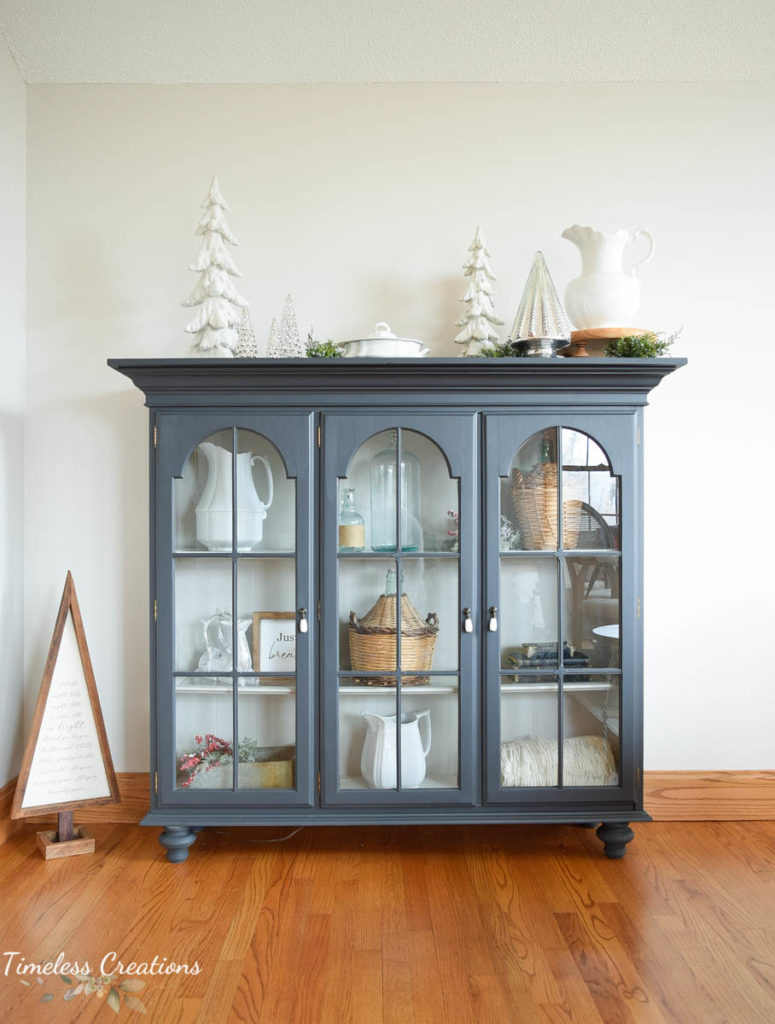
After that I was finished! And just look at that transformation.
This type of piece isn’t super difficult to complete but it is a bit time-consuming. It does take a bit to build it up the way you want it. I also chose to paint the inside of the cabinet which takes a while as well (especially with a light color). The doors were also time consuming. I painted the inside of the doors and then flipped them and painted the outside. Which wouldn’t have been horrible except for the dividers on the glass.. that took a while to paint. For me, I decided to paint careful and not tape. You can certainly tape around all of your glass, or use a deck of cards. I decided to just paint and scrape off the paint with a razor blade later. I don’t think one way is necessarily better than the other, it’s pretty much whatever you personally prefer.
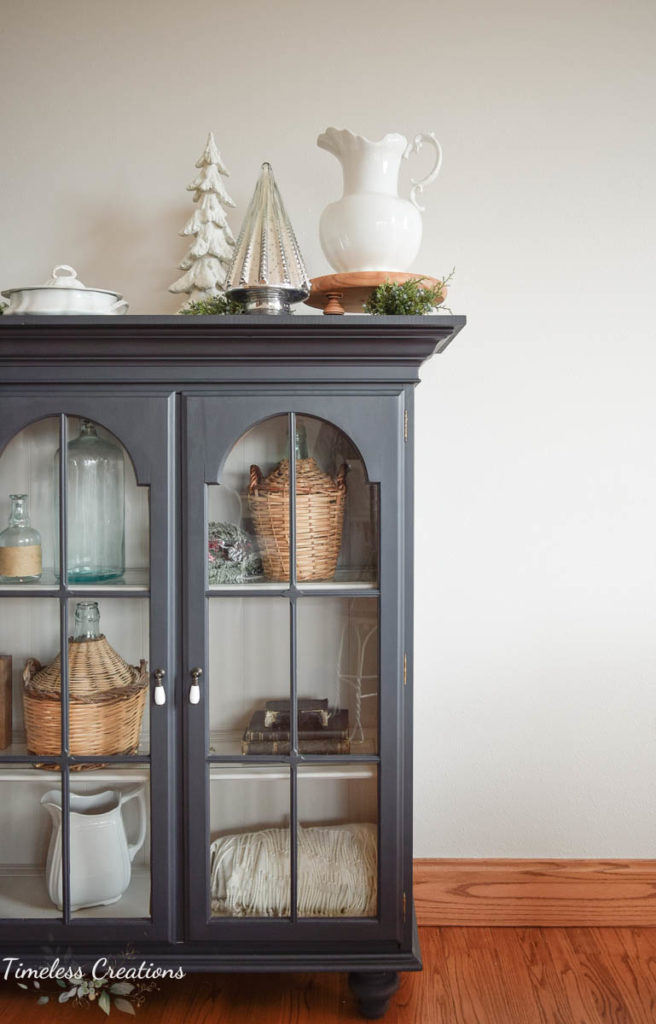
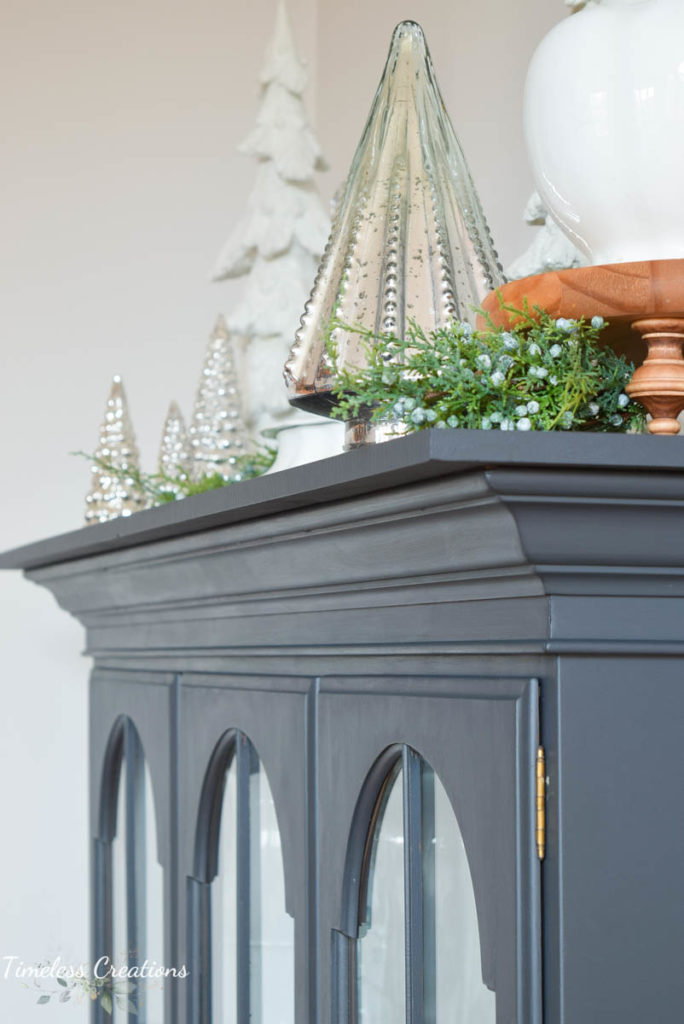
I got it all cleaned up and added it to my wall for decorating. I began with some antique pieces that I had just sitting around that didn’t really have a home yet. I knew I wanted them in this room, they were just waiting to be added to a piece like this! My antique Ironstone pitchers fit perfectly in here. I had two just sitting on my kitchen counter that I wasn’t crazy about, but this is a perfect solution!
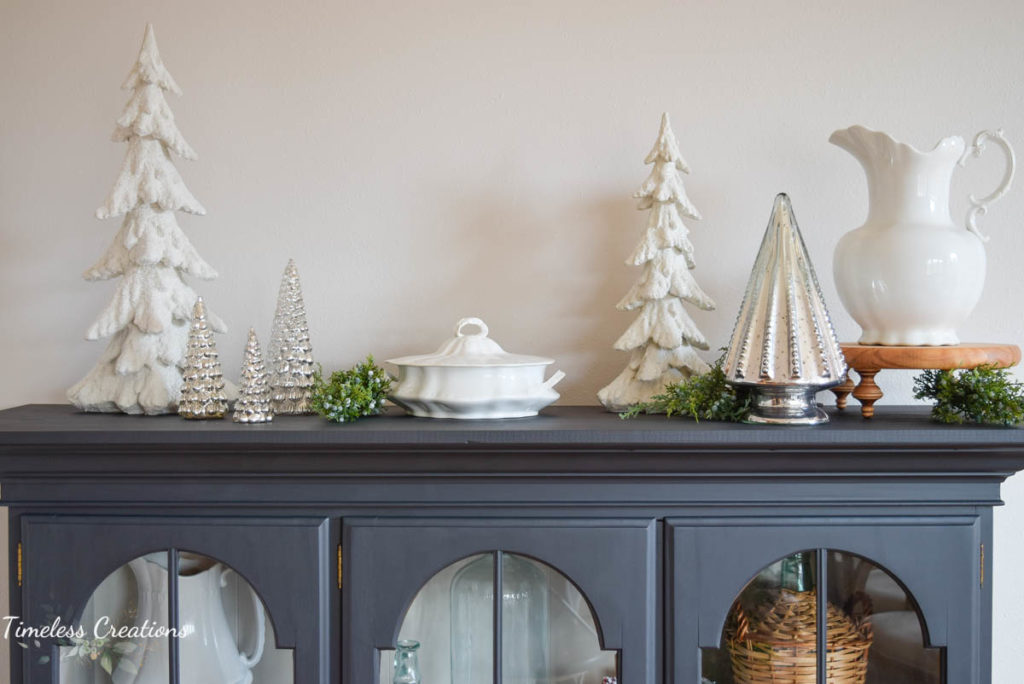
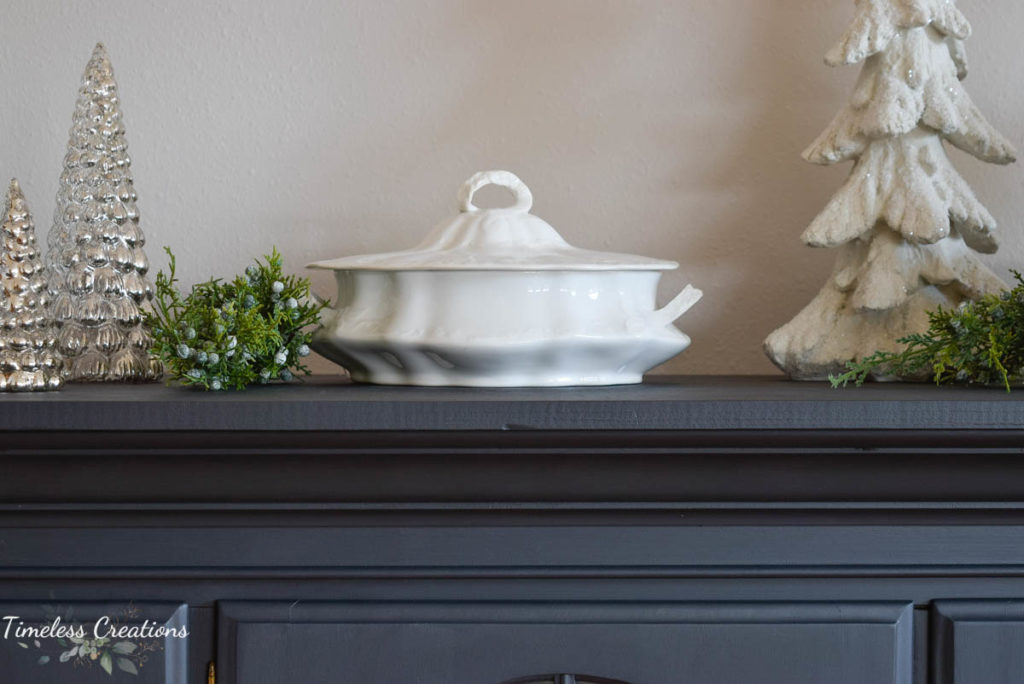
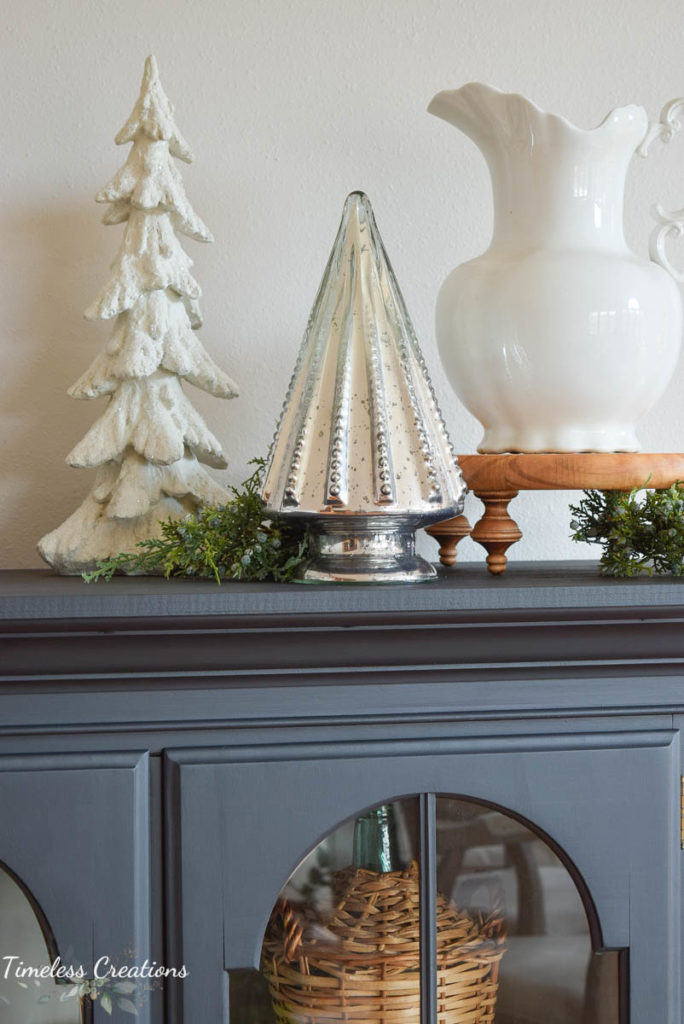
I am just so happy it was finished in time to decorate for Christmas too! The trees and Christmas sprays were just sitting all over the place in this room previously just waiting for this piece to be finished! Obviously all the Christmas items will get taken off and I will need to redecorate again in a bit, but that’s alright. I have some other ideas on what else I can add in here.
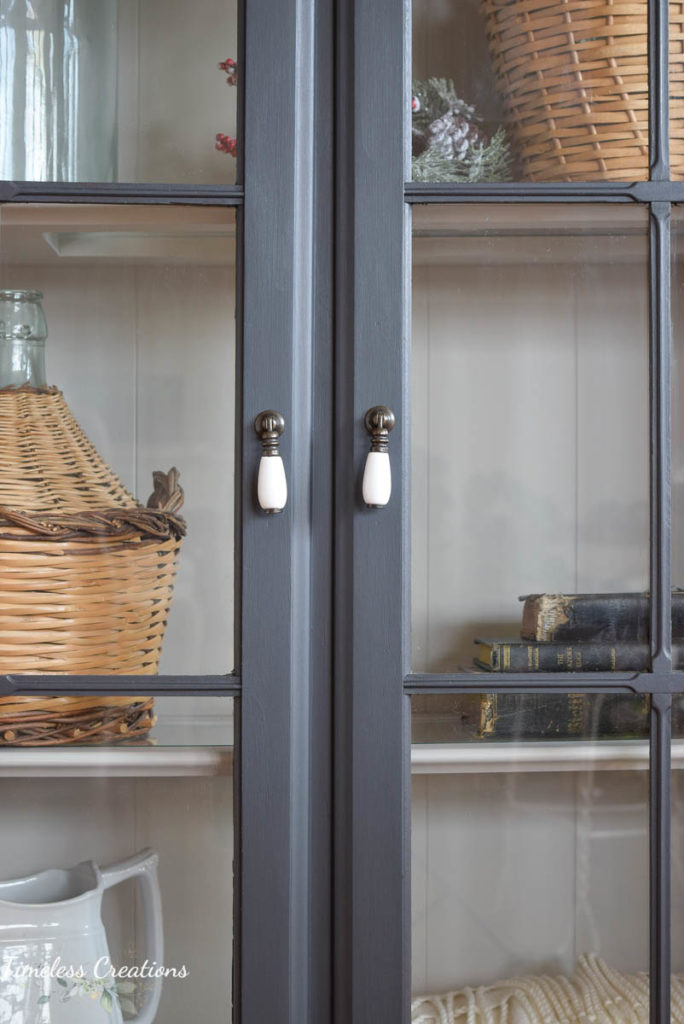
And look at these pretty drop pulls! If you follow us on any of our social media sites you may have noticed that we use these a lot! They are just too cute! Including this hutch I now have 3 furniture pieces with these on.
Well this was the last piece that I knew I could get accomplished before the Holidays. I still have my large Bergere chair to reupholster, but I just knew that wasn’t going to get finished. I will be sharing the FULL REVEAL of my sunroom in the next day or two! Yay! I can’t wait for you all to see it!
Products used: Fusion “Ash” / Fusion “Goddess Ashwaghanda” / Furniture Feet / Furniture feet brackets / microfiber roller / Staalmeester Paint Brush /



Leave a Reply