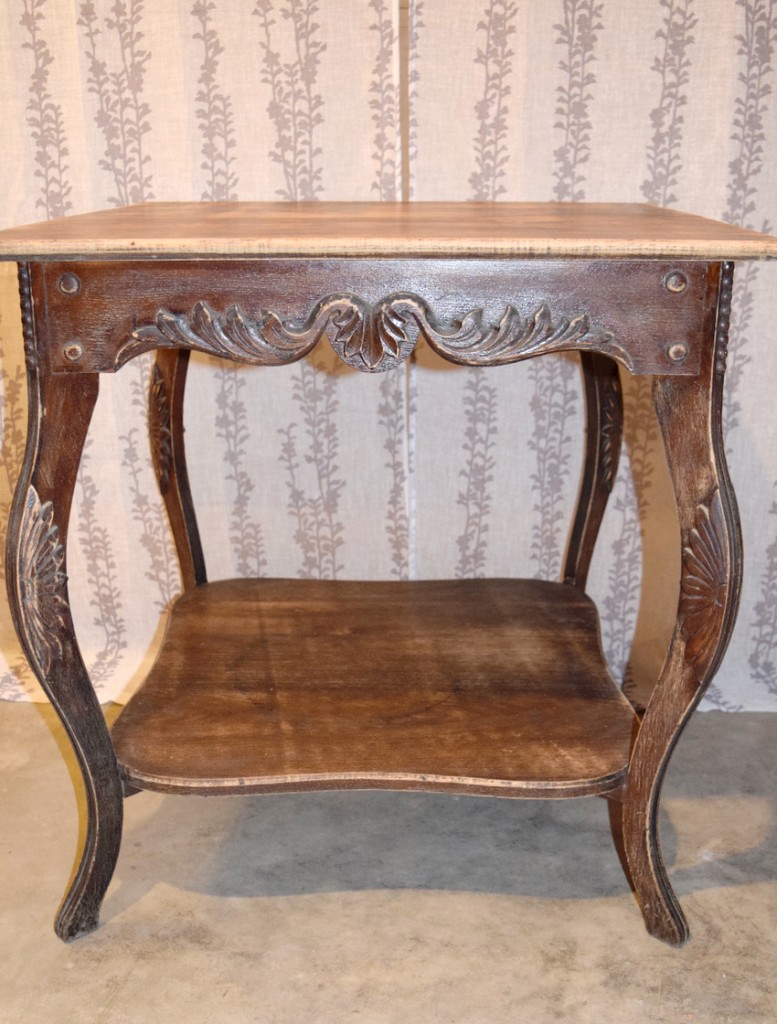
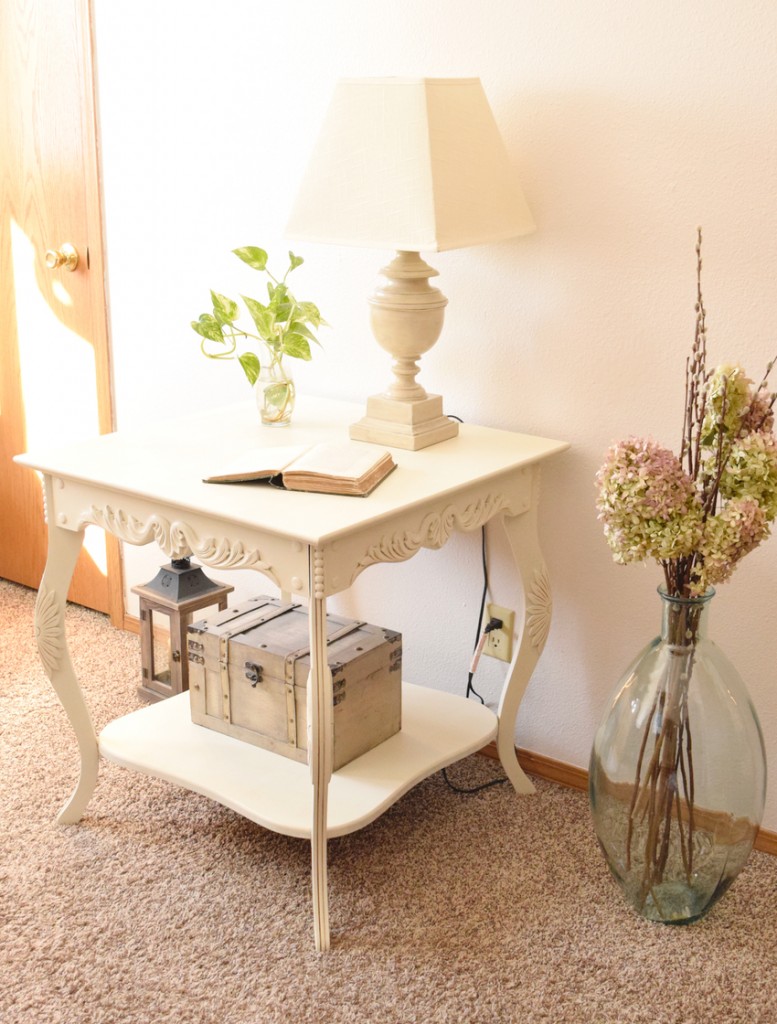
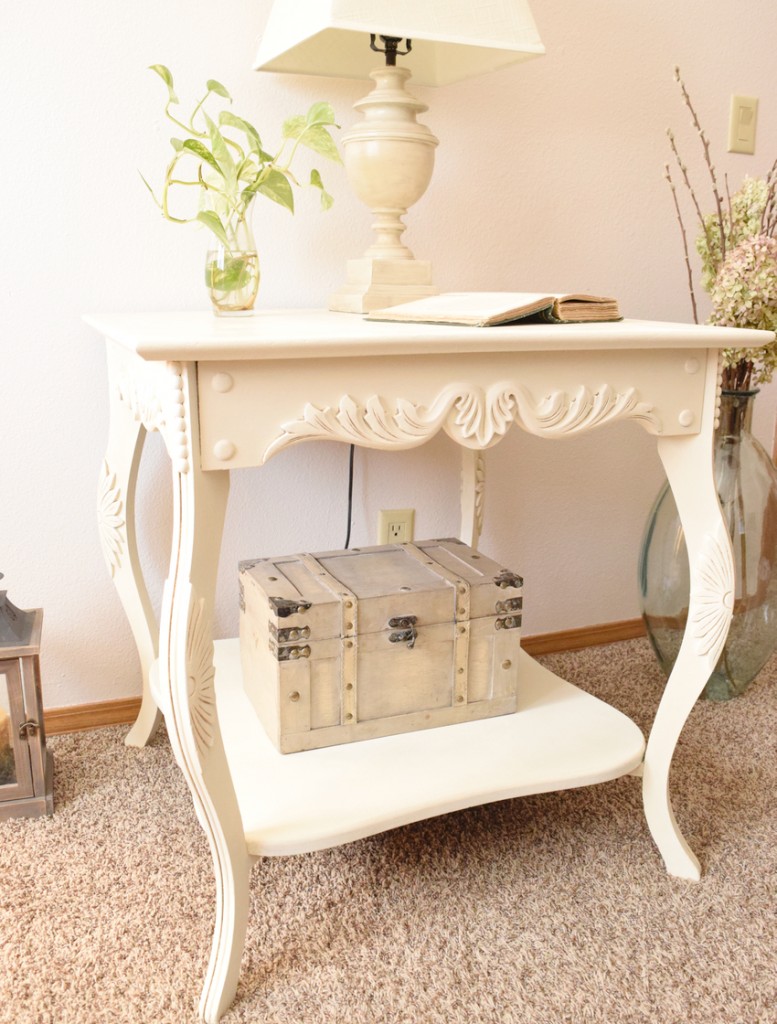
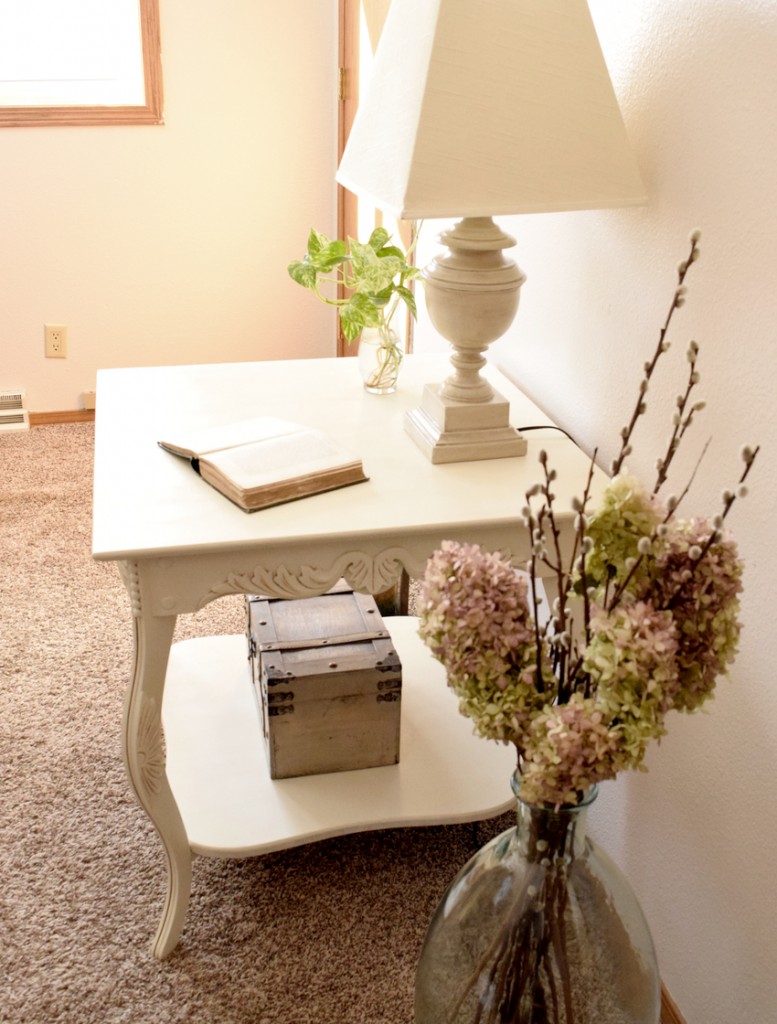
We are so very excited to share this weeks post with you all! This square parlor table is one of our favorite pieces and transformations to date and was quite the time consuming little project!
When we found this little beauty at an auction it was in very rough shape…but we both absolutely loved the cute little details that we knew would look wonderful when painted. We decided to bid on it and snatched it for a low price of twenty-two dollars! Score!
Even though when we went to grab the table and the entire top popped off in front of everyone at the auction we didn’t dismay! It was actually really humorous (I think everyone thought we were crazy!) but we knew it was something that could be easily fixed.
We got started on this piece right away by repairing the top, which turns out only needed some screws! So we purchased more screws to attach the top through the pocket holes that were already in place. We just tightened up a few other screws that were attaching the legs to the rest of it and the repairs were done! Very simple.
The next step was to sand the entire table since it had some shallow scratches and the previous finish was very dark. We took the electric sander and table outside and sanded it all smooth using a coarse grit sand paper first and then moving onto a fine grit to smooth it all even further. We did our best to sand around all the ornate details, but couldn’t reach into the nooks and crannies. Since we were going to use chalk paint, which covers very well, that didn’t matter.
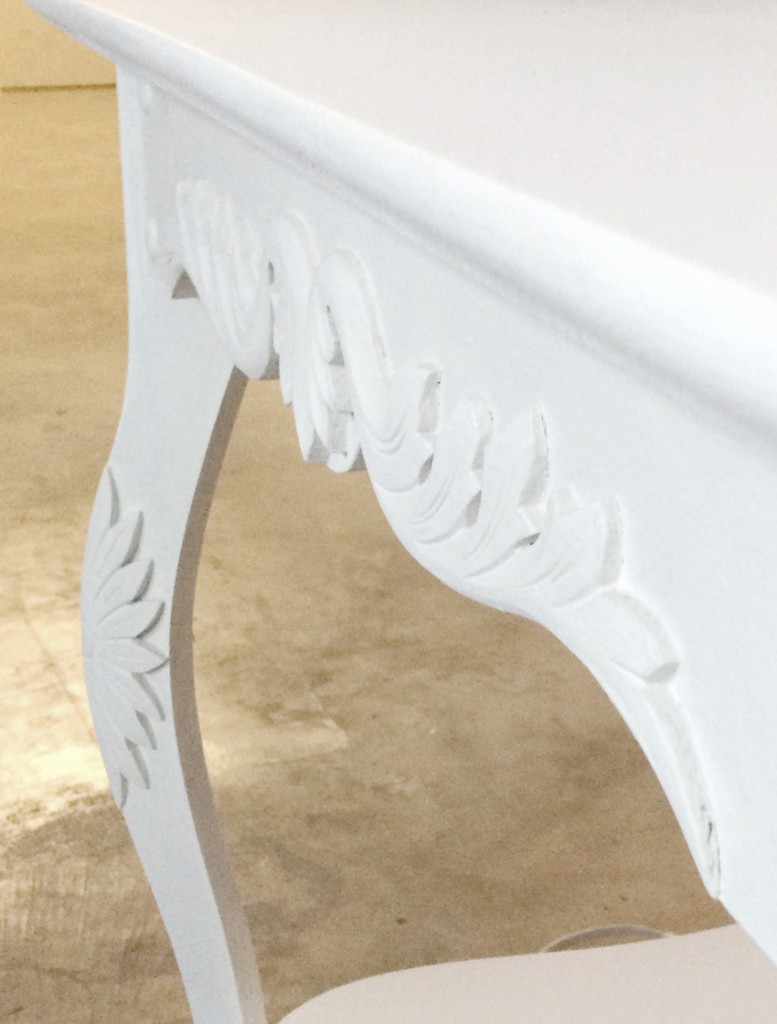
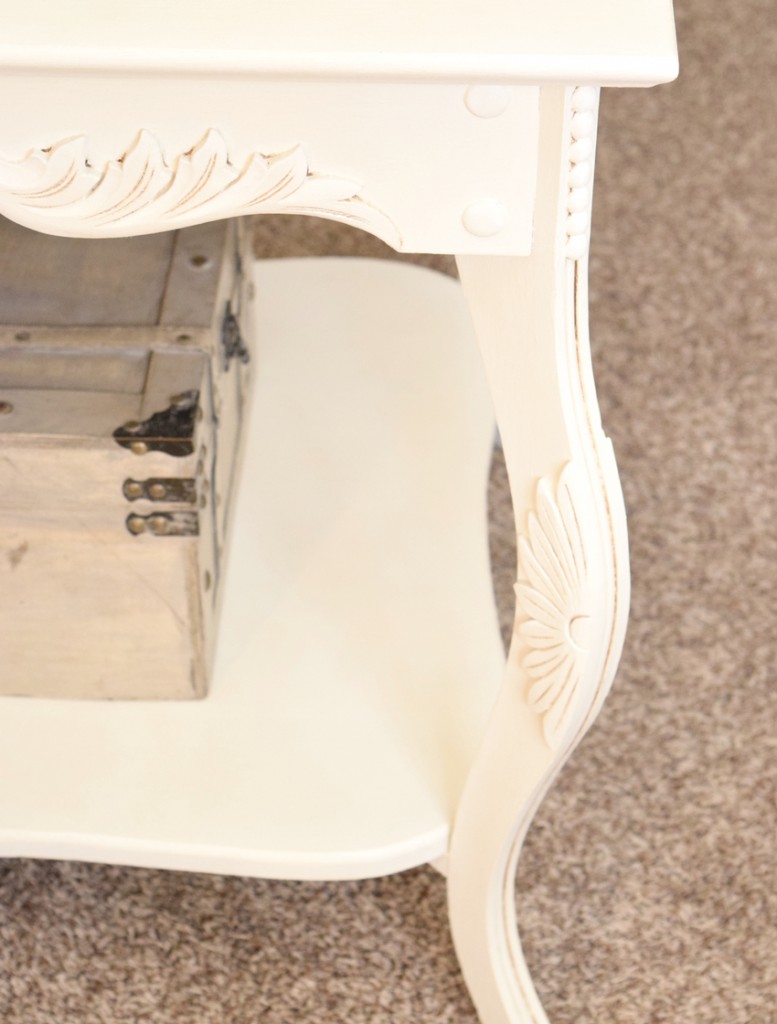
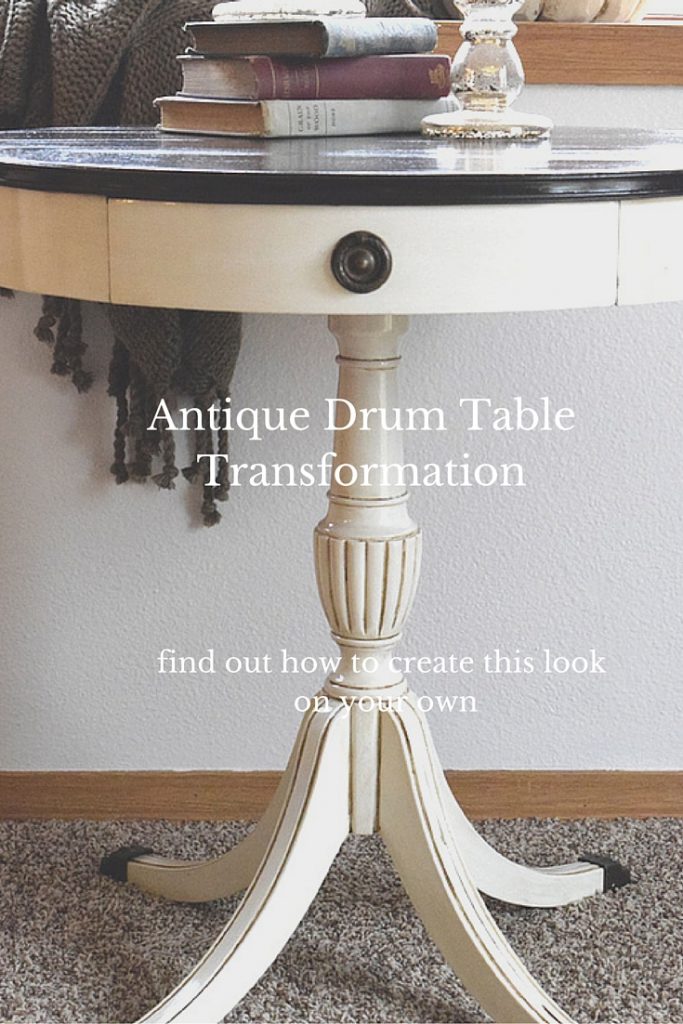
The paint plan for this table was to utilize our favorite Annie Sloan color, Old White! Two coats were applied to the entire piece with our favorite Purdy brush. All of the nooks and crannies of the ornate details were also covered with paint so we didn’t have any of the ugly stain color showing through.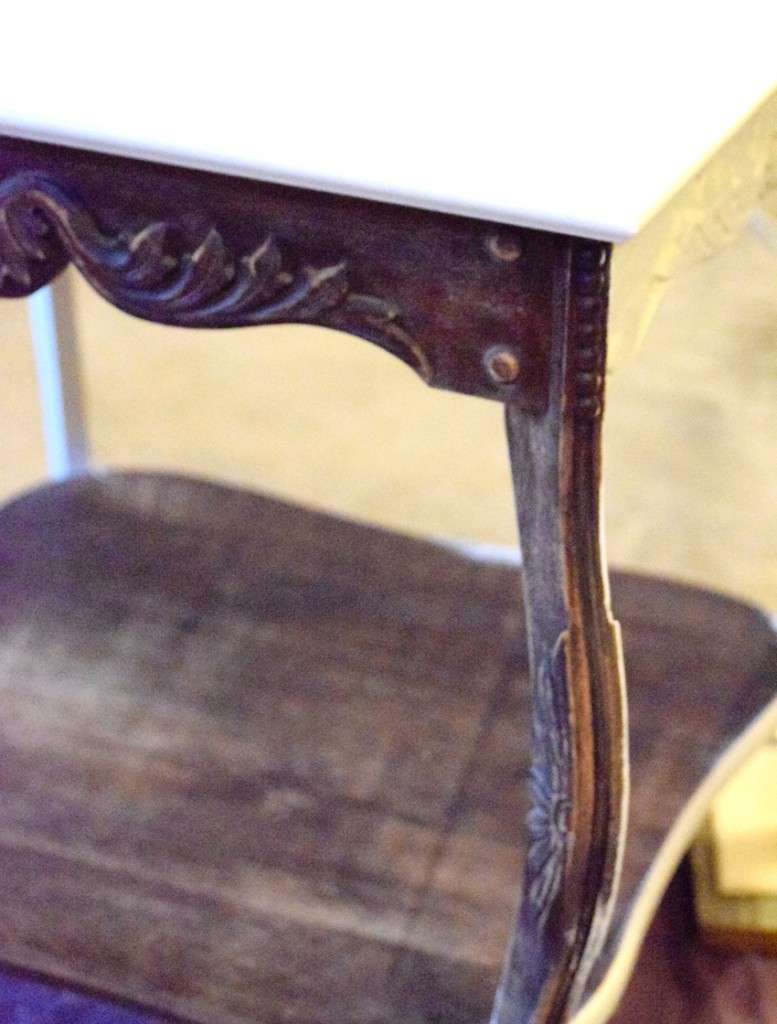
For your convenience in locating products we have used, this article contains affiliate links. All products are items we use ourselves and have formed our own opinions on. For our full disclosure go to our “Disclosures” page.
For the sealant we used Minwax Paste Finishing Wax, but we tinted it with a few drops of AS French Linen to give it a bit of color. When applied to the table it gave it a very warm creamy glow to the paint. It wasn’t too dramatic since we wanted to stay pretty true to the old white color, but it added just a little extra “Oomph” to the piece. We did one coat of the tinted wax over the entire piece, then buffed. I then went over the whole piece and waxed with just the clear wax to give it extra protection.
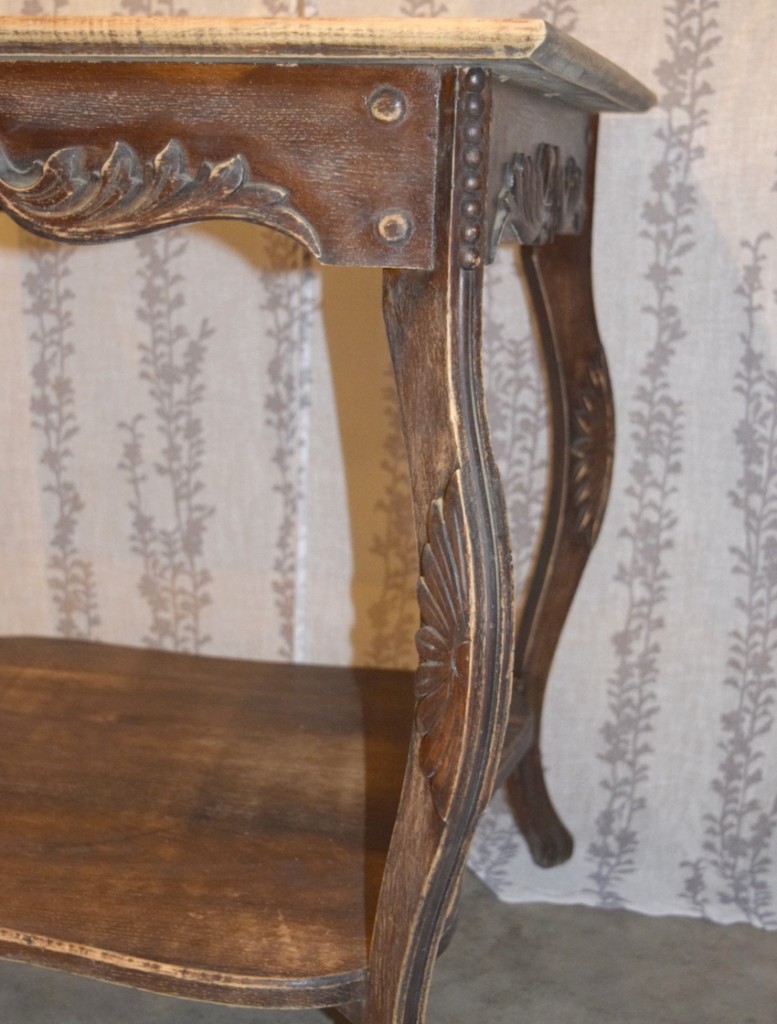
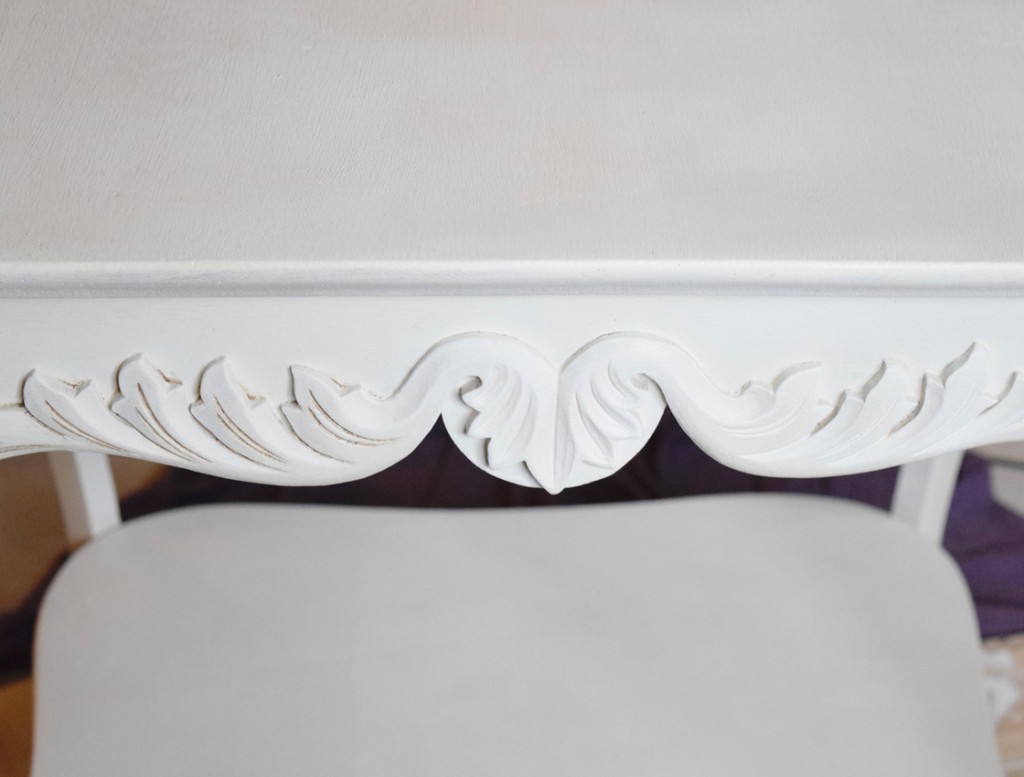
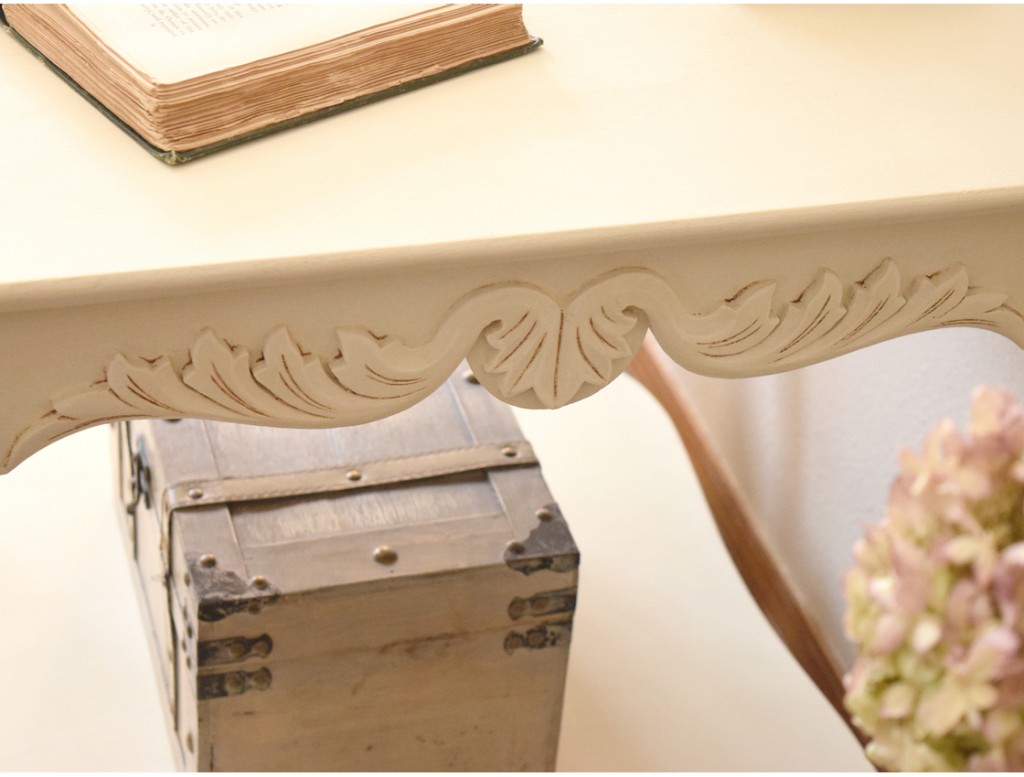
After that we knew we wanted to accentuate the detailed parts on the legs and aprons of the table, but didn’t want to change the overall color of those same parts. So we took some acrylic wax from Walmart (which made the wax more watery) and hand painted it into the indents and low parts of the ornate details. This technique was very time-consuming, and we definitely had to take breaks. (I’ll admit, I became impatient at times and had to stop!)
After all the waxing was finished we did go back over and dry brushed Old white over the high parts (edges mainly) of the ornate details to give it even more depth. It is subtle but very pretty. Even though the hand painting took a long time, it was well worth it! It brought out the detail perfectly and made this table look truly amazing!
We picture this piece in a French Country styled room. With its beautiful ornate design and scrollwork it would be perfect, however, you could make it work with almost any style since the color is so neutral.
We have a feeling this is going to be one of the projects we are sorry to let go! You know, the kind where you are almost debating from the very beginning that you might want to keep it…Oh well! It will find a beautiful home of its own. 🙂
This was such a gratifying redo! We absolutely adore taking something so very…ugly…and making it something completely new!
Shop this look: Distressed Storage Chest/ Similar Large Vase/ Wood Lantern
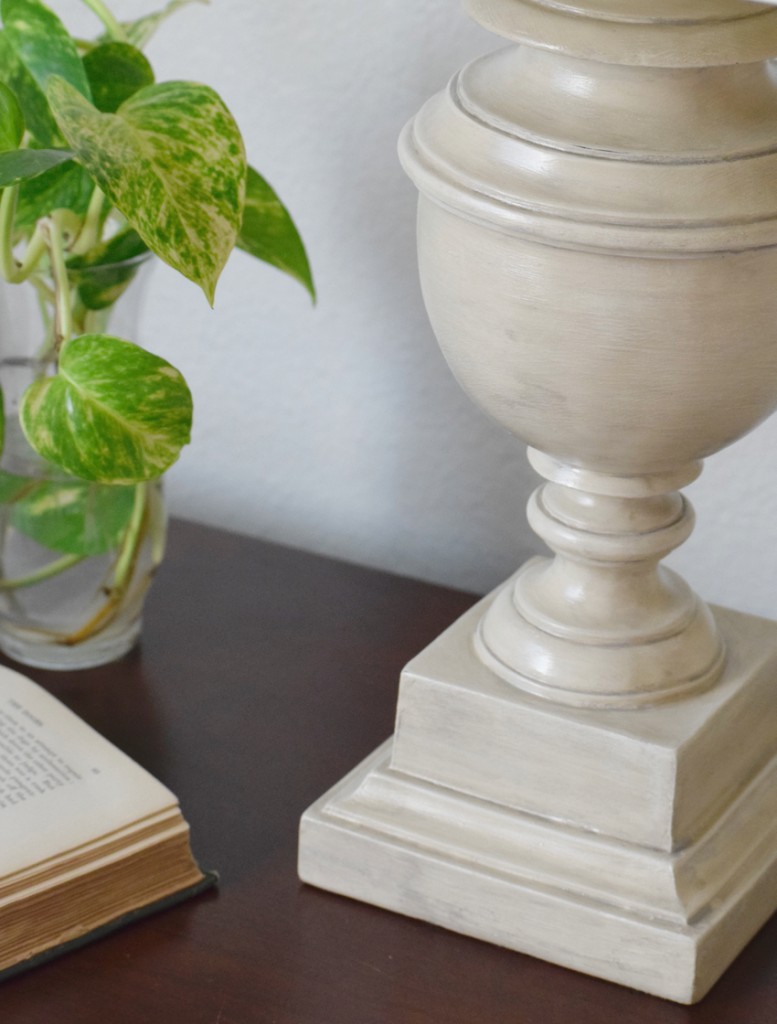
P.S. If you liked the lamp you saw on top of that table check out our blog post about how we painted that decor piece!




Leave a Reply