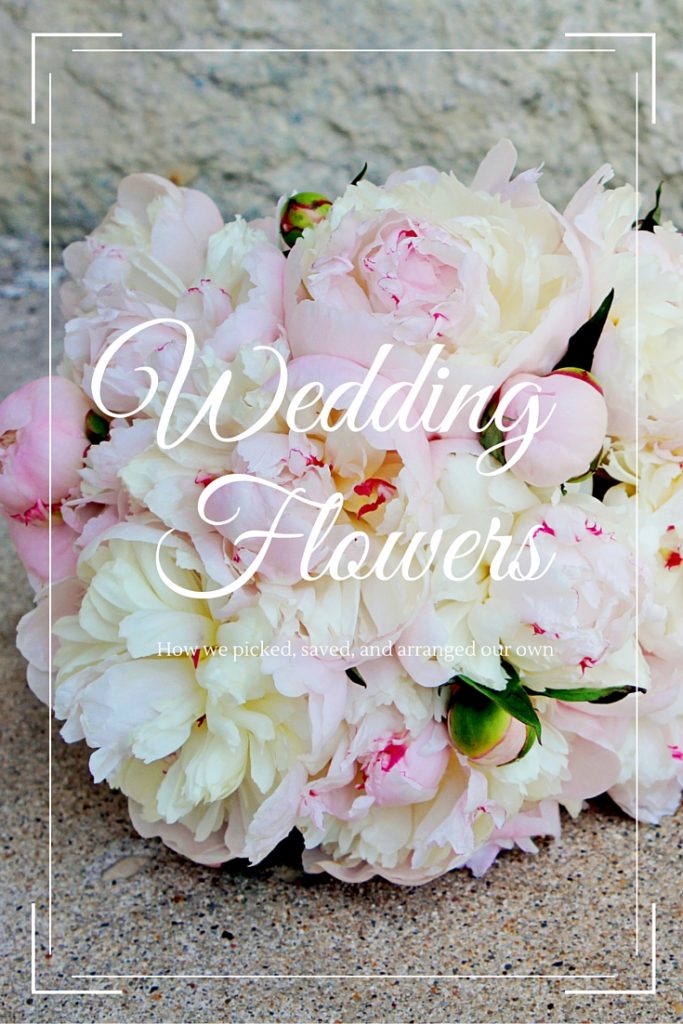
Learn how we DIY’ed my wedding flowers.
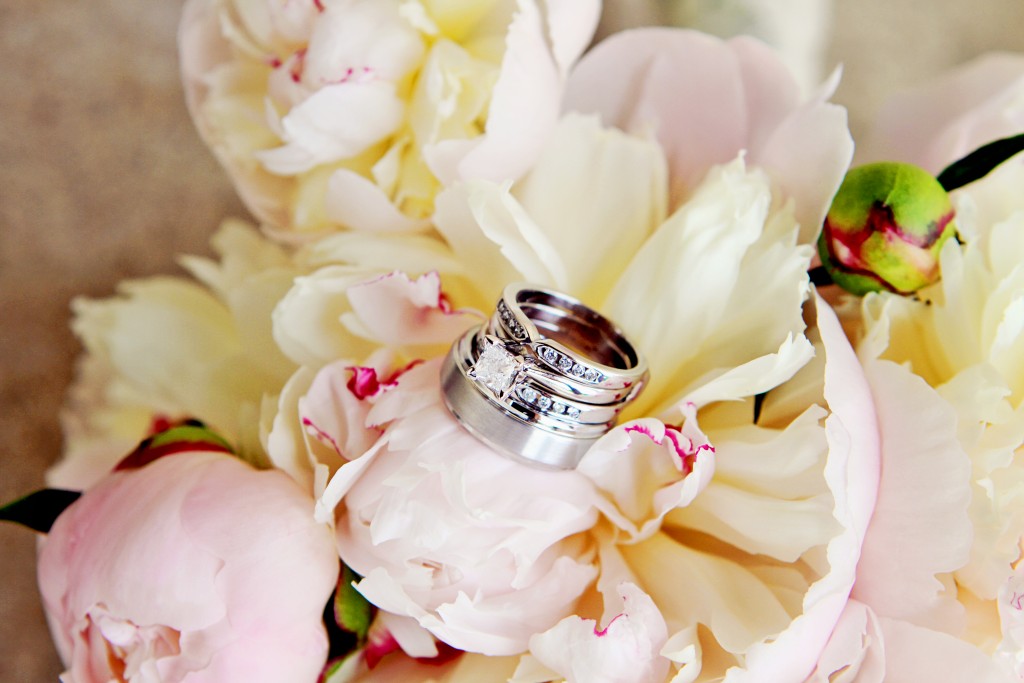
Beautiful, fresh flowers were my dream must-have for my wedding. But do you know how much they cost?! I searched high and low for cheaper prices in my area while wedding planning, but they just weren’t in my budget. Peony blooms were what I was really hoping for and once we set our date in July…my dreams plummeted.
Luckily I have a wonderful friend who has always shared her love for gardening and growing things with me and I knew she had done flower arrangements for her sister’s weddings previously. I found out that even though peonies usually bloom in the Midwest in late May/early June and my wedding would take place in July, I could still pick my own buds and save them without the high dollar price of buying them from a florist when they aren’t in season!
I was beyond ecstatic that she could teach me and help me along the way as well as arrange my bouquets for our big day. I thought it was very special that I was going to be able to help pick and arrange my very own flowers! And now we would like to share with you how you can get your wedding flowers by doing it yourself.
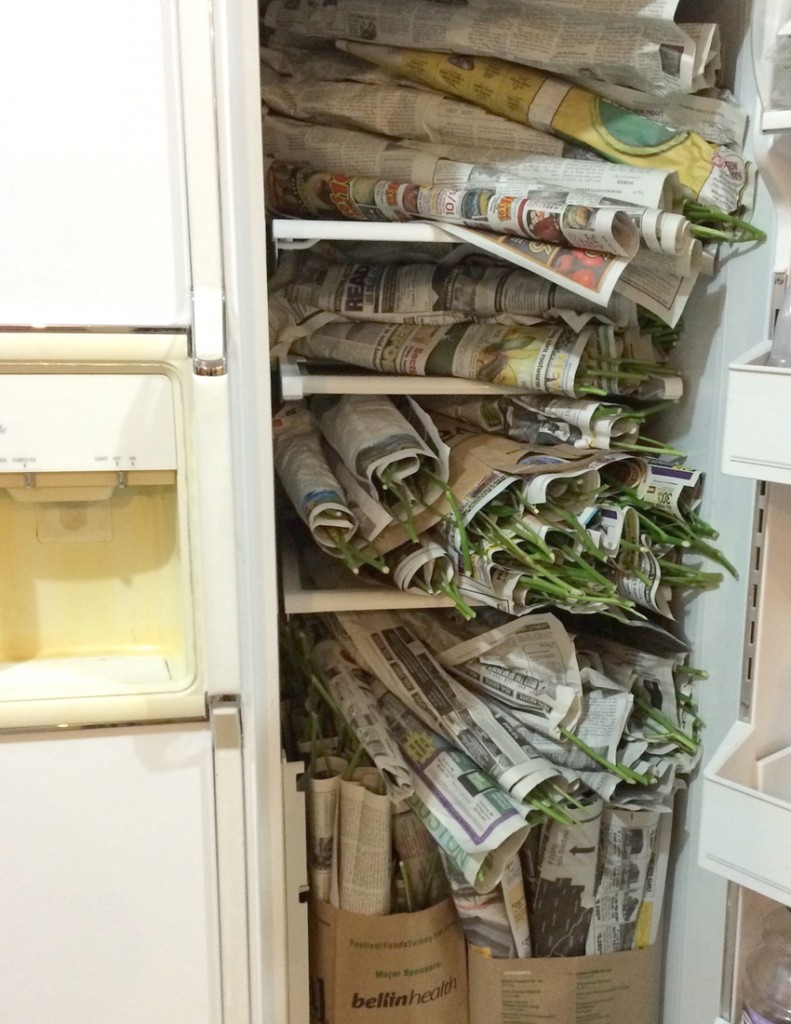
But, with any DIY project there are a couple things to note before you begin. Because we were picking flowers not only for bouquets but for the tables as well, we knew we would need a lot of them. We recruited a couple friendly ladies from our small town who we knew had large plots of peony bushes and kindly asked them if they would mind if we snipped a few buds for my wedding. They agreed and we had 3 large stocks of bushes to pick from! (Including Vicki’s) We also ended up having to borrow room in my aunts extra refrigerator because we completely filled my parent’s extra fridge! (Count it: 2 regular sized fridges FULL!)
For your convenience in locating products we have used, this article contains affiliate links. All products are items we use ourselves and genuinely recommend. If you make a purchase after clicking a link, we will earn a small commission at no additional cost to you. For our full disclosure go to our “Disclosures” page.
What you will need:
- Peony bush(es)
- Garden shears/Scissors
- Old newspapers
- Paper grocery bags
- Extra fridge room
- Mason jars (or Vases)
- Large storage tub(s)
- Plant Food
- Rubber Bands
- Floral wire
- Lace (or Ribbon for the bouquets)
(Just a quick note: some of these pictures were documented with an Iphone before we were bloggers..bear with us…)
Here in the Midwest (Minnesota to be exact) peonies begin to bloom in late May to early June; it just depends on the weather. So you definitely have to be flexible around this time and maybe recruit a couple helpers to cut the stems with you.
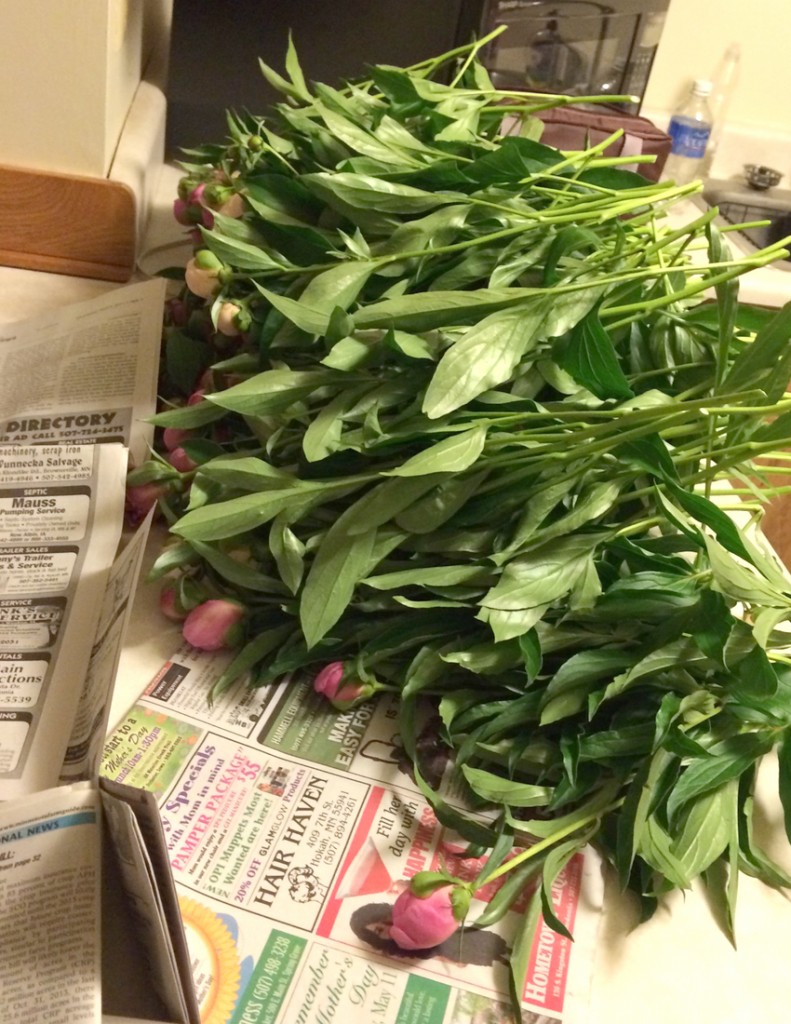
The key is to pick your buds at the correct time. You want the bud to be just barely beginning to open up. You should be able to see the color and can actually squish it between two fingers to feel if it’s starting to get soft (instead of still a tight hard bud). My friend calls this the “marshmallow” stage. Those are your perfect peonies! Take your shears or scissors and cut as far down the plant shaft as you can(close to the ground). Go ahead and leave the stem’s leaves on and give it a good shake just in case there are any ants on it.
Tip: There is also actually a good time of day to go picking as well. Early morning before the sun gets too high and opens all the flowers, or in the evening after the sun has softened up the hard buds. I would suggest going to pick each morning and evening during this blooming season, but again, it just depends on how many flowers you need.
Once you have picked the day’s bundle, you can bring all of the flowers back to your home to wrap them up. This is the really cool part! All that is required of you to do before you put the flowers in the fridge is to wrap them in a sheet of newspaper! This is so easy, we actually couldn’t believe that was all that was needed!
At first we were doing one flower per sheet of newspaper, but then we began wrapping a couple per sheet. Just make sure you put down one flower, wrap the newspaper once around it, then put the next flower and continue wrapping. (Leave all the leaves on the stem attached because they act as food for your flower while in the fridge.) Once your flower stems are all wrapped individually go ahead and put them in your refrigerator. To keep the wrapped flowers organized and stackable we added some to paper grocery bags before placing them in the fridge.
Once your flowers are safely tucked away, don’t bother them until about four or five days before your event. Since these flowers were for my wedding, my friend, Theresa, decided we would start opening the buds the Wednesday before my big day (which was on a Saturday). The buds had been in the fridge for about 5-6 weeks at that point.
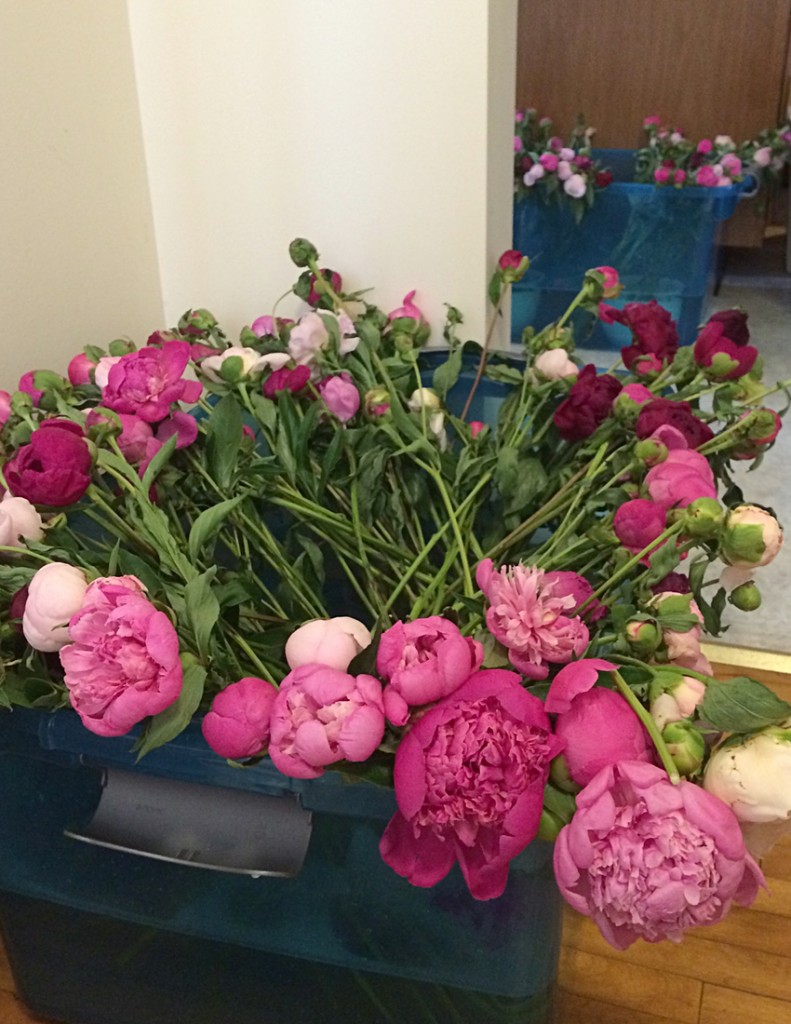
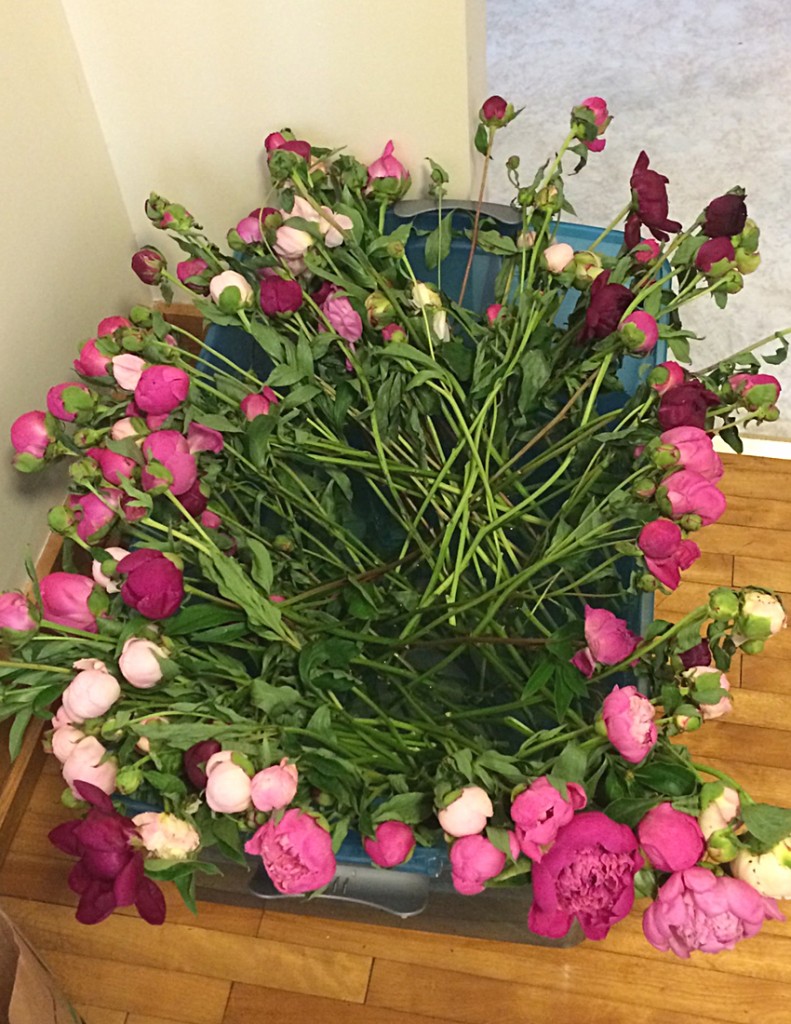
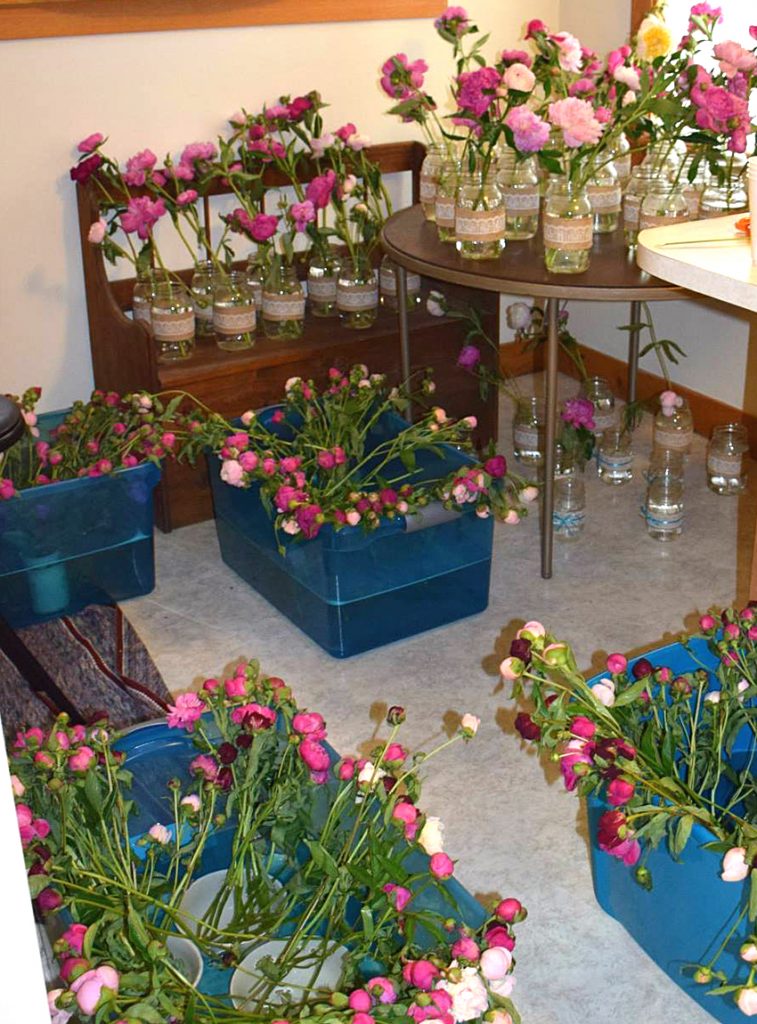
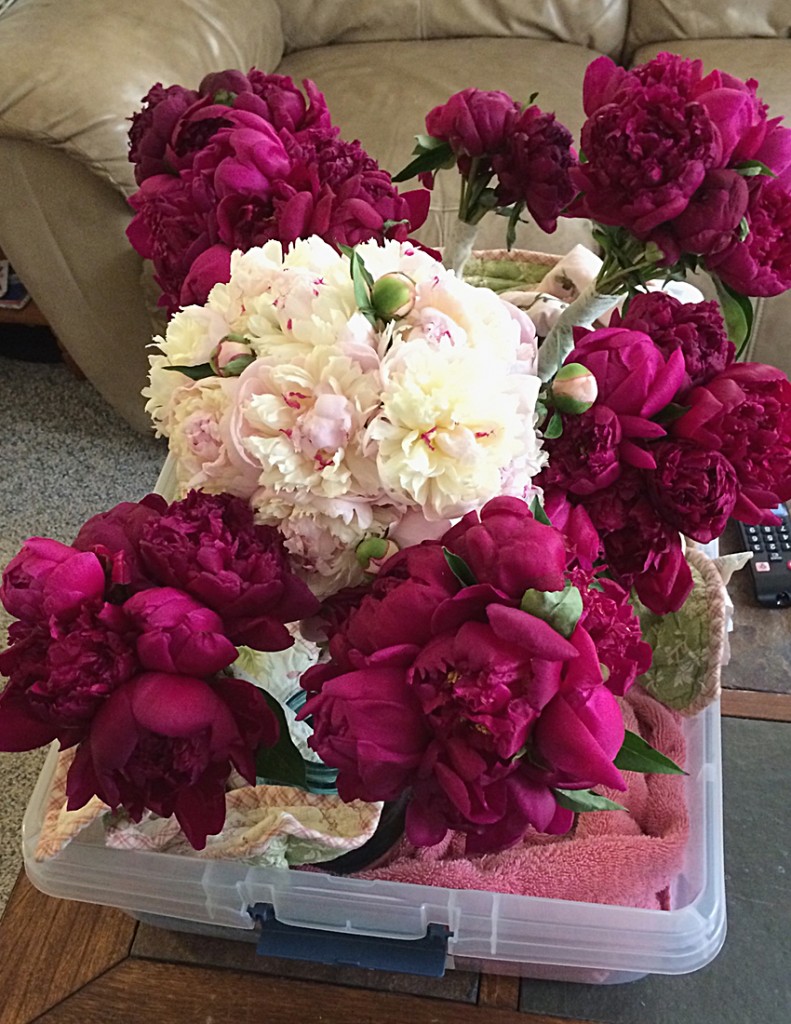
We filled large storage tubs with room temperature water and started unwrapping the peonies from the newspapers. Before placing the peonies in the water, make sure to cut about an inch or two off the bottom of each stem. You may also need to cut a few leaves off the bottom of the stem before placing it in the water. It is important to keep the leaves above the water line in order to avoid rot. Once cut, you can place that newly unwrapped stem into the tub of water. Then when all of your peony stems are in the water it will take just a couple hours to a day until they open fully! While we were waiting for the peonies to open, we lined up all of our mason jars, added water to them, and then plant food.
There are a number of different recipes you can use as plant food that is dissolvable in water, or you can purchase plant food from a local store. We used a mixture of bleach (to clean the water) vinegar and sugar.
Tip: We commandeered my friend Mel’s dining room/kitchen for this flower escapade. We needed a lot of undisturbed space, where we could shut the blinds, and crank the air conditioning to create a makeshift cooler!
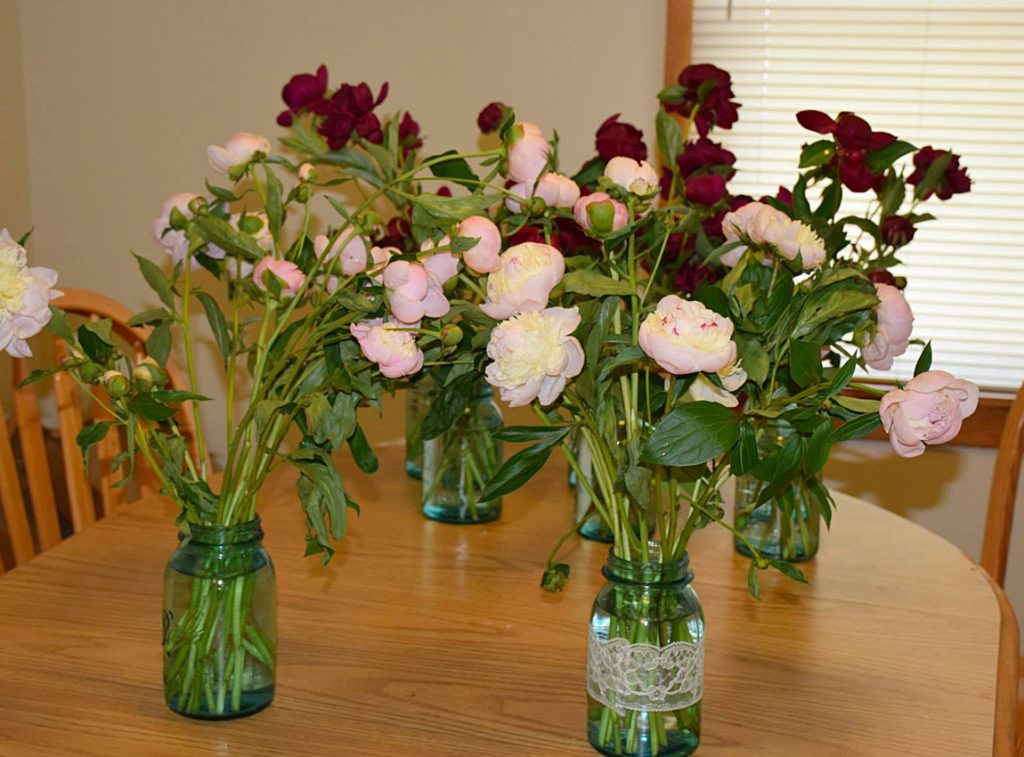
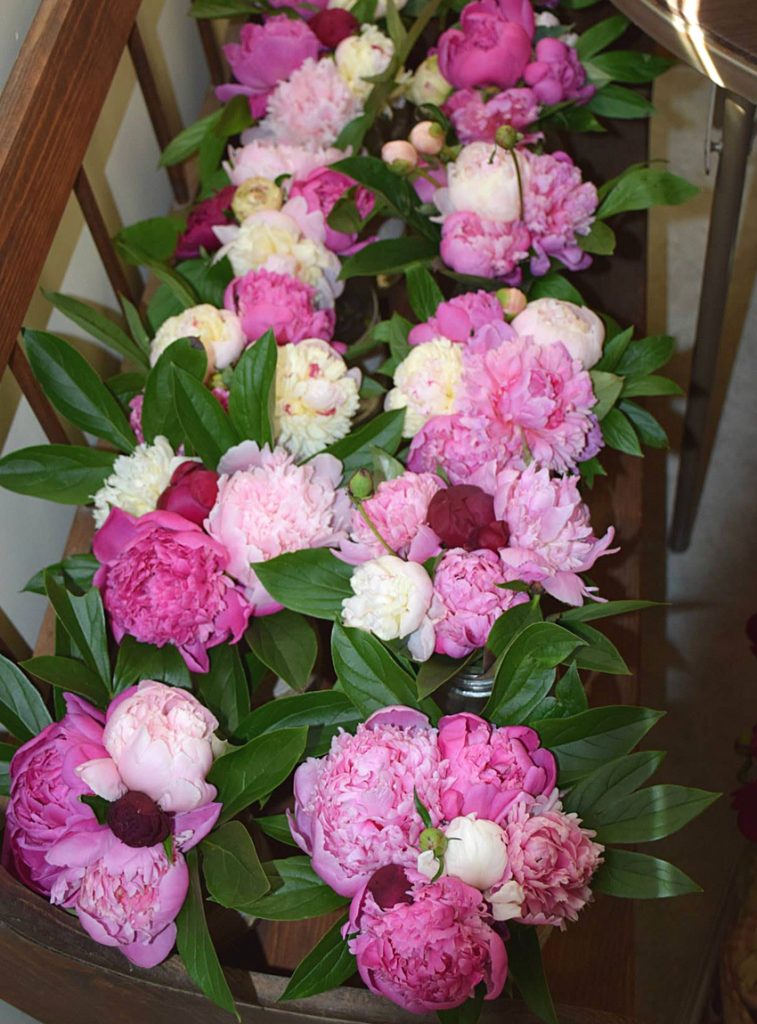
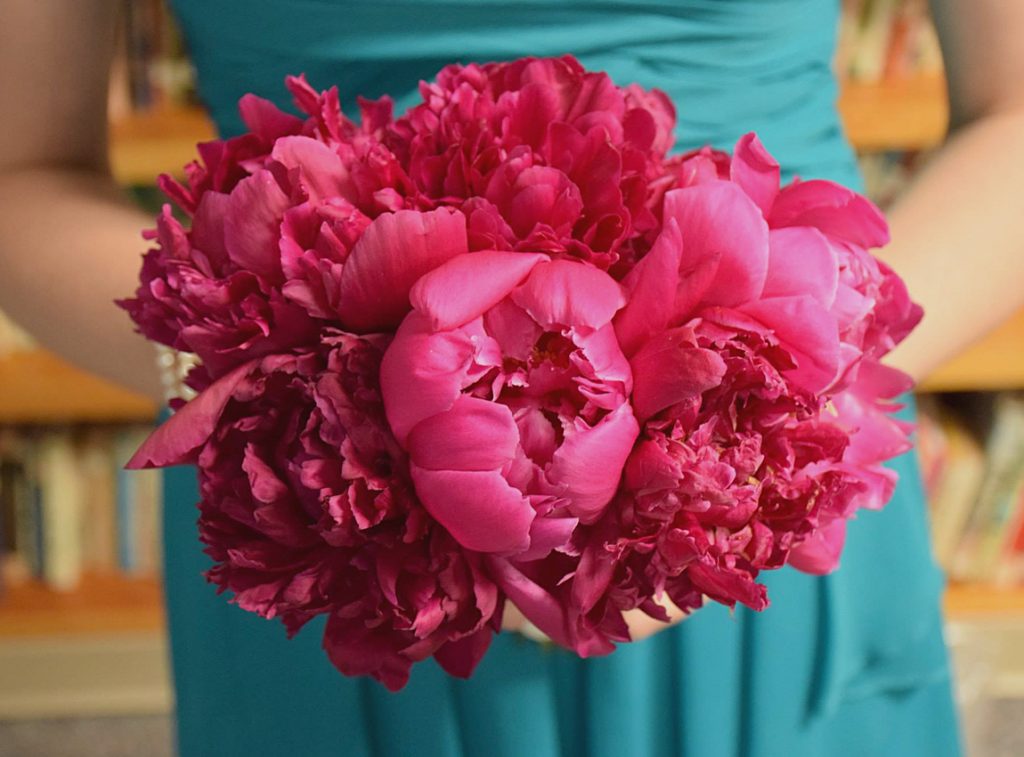
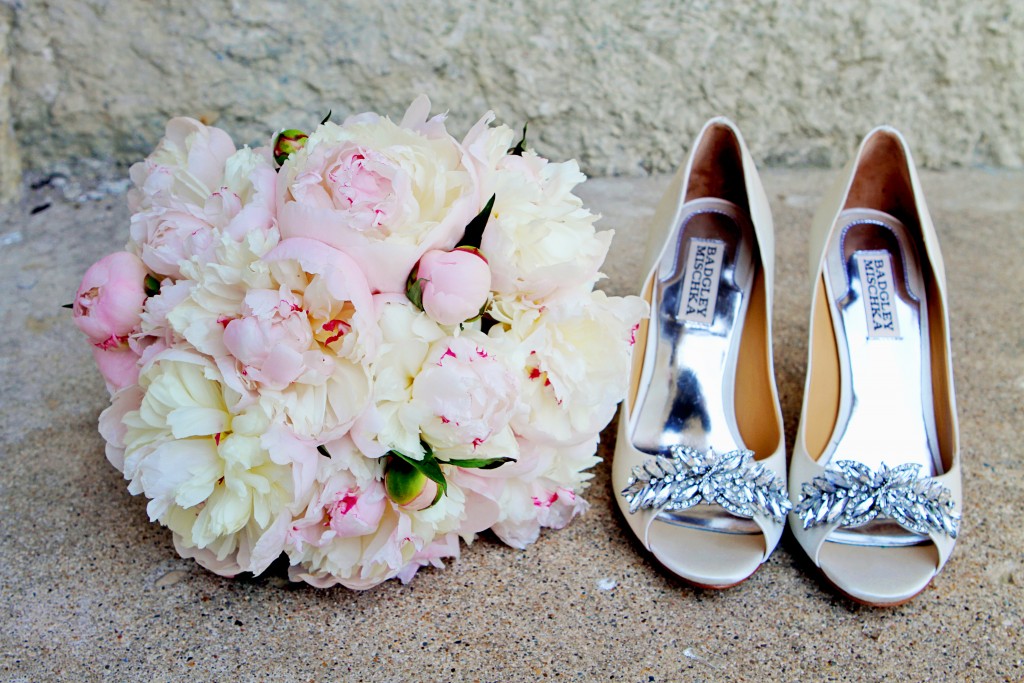
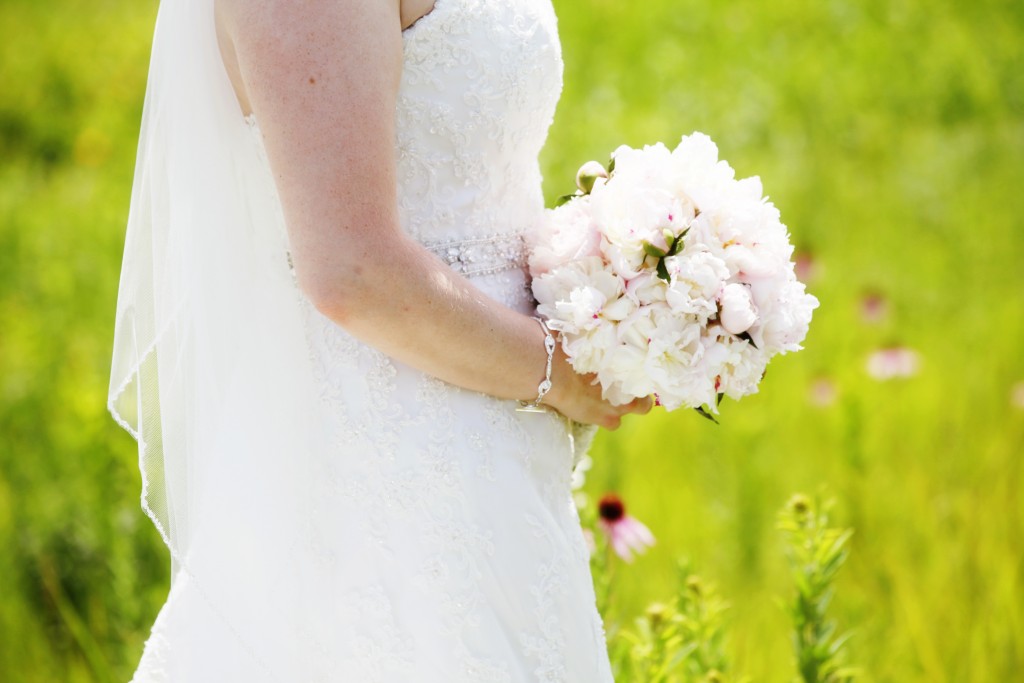
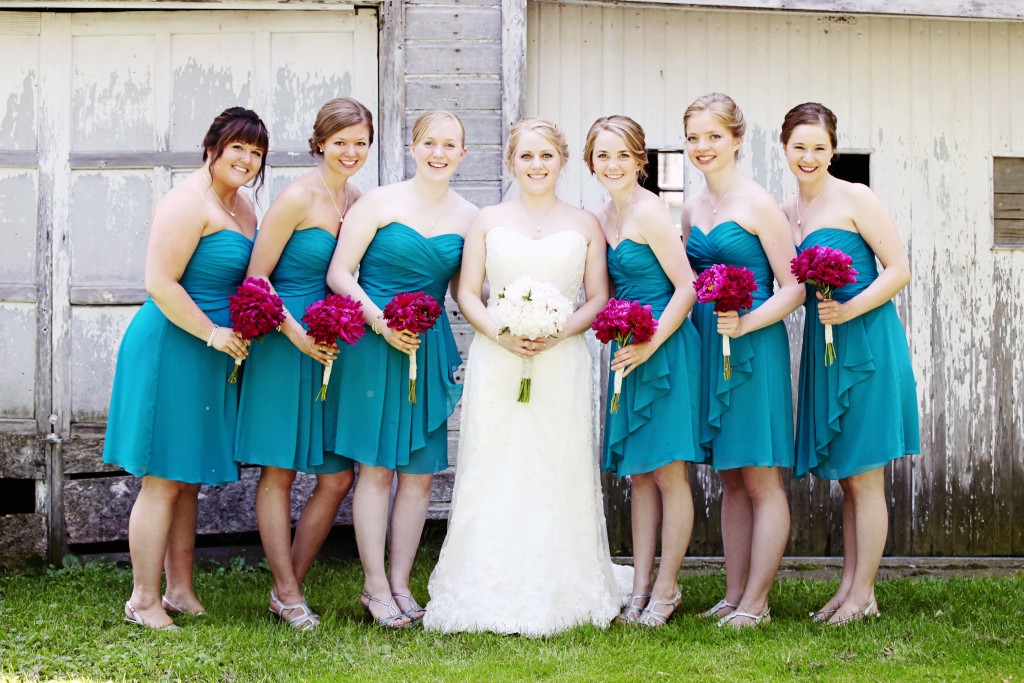
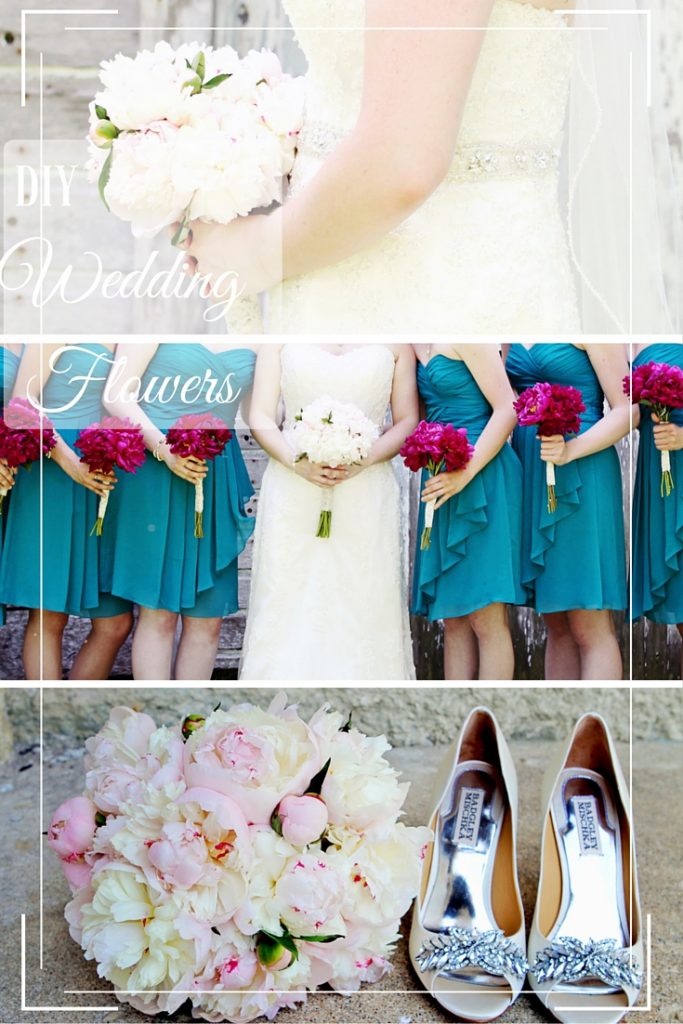
When most of the buds were open, we began to separate the blooms out, starting with the bouquets first. For mine I wanted white and light pink flowers to make a nice blush colored bouquet. And for my bridesmaids I chose the dark fuschia color. We picked out about 5-7 blooms for each of the bridesmaids and 10-12 blooms for the bride’s bouquet. (We also made a tiny 3-bloom bouquet for my flower girl!)
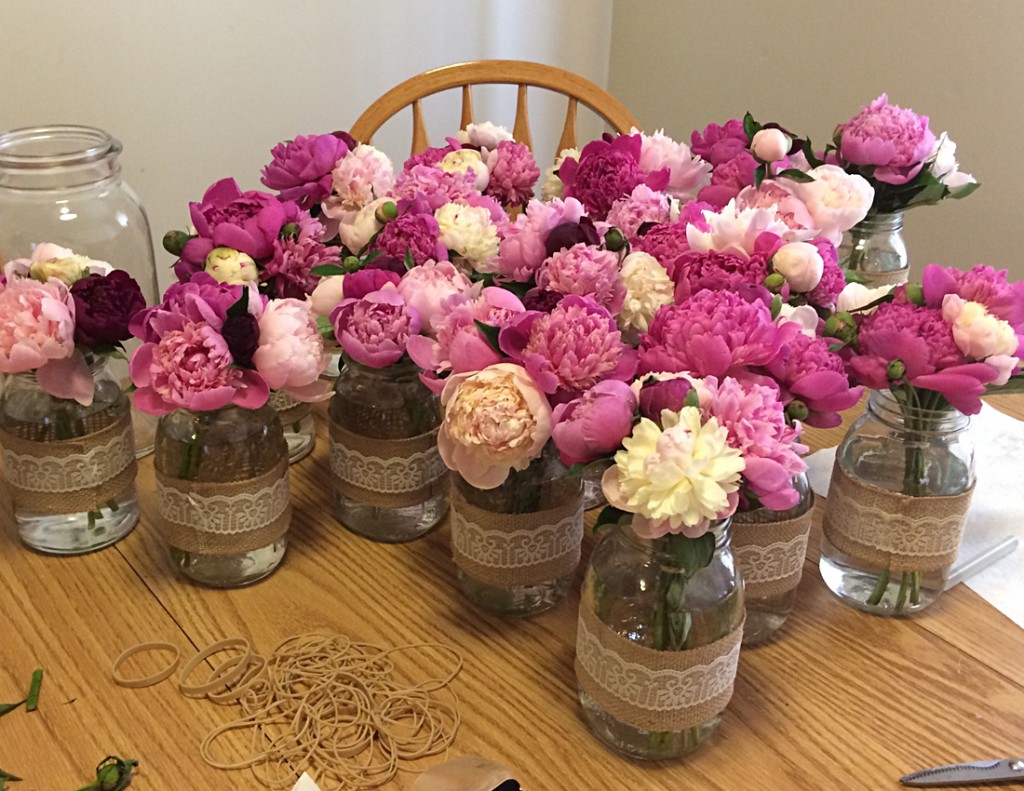
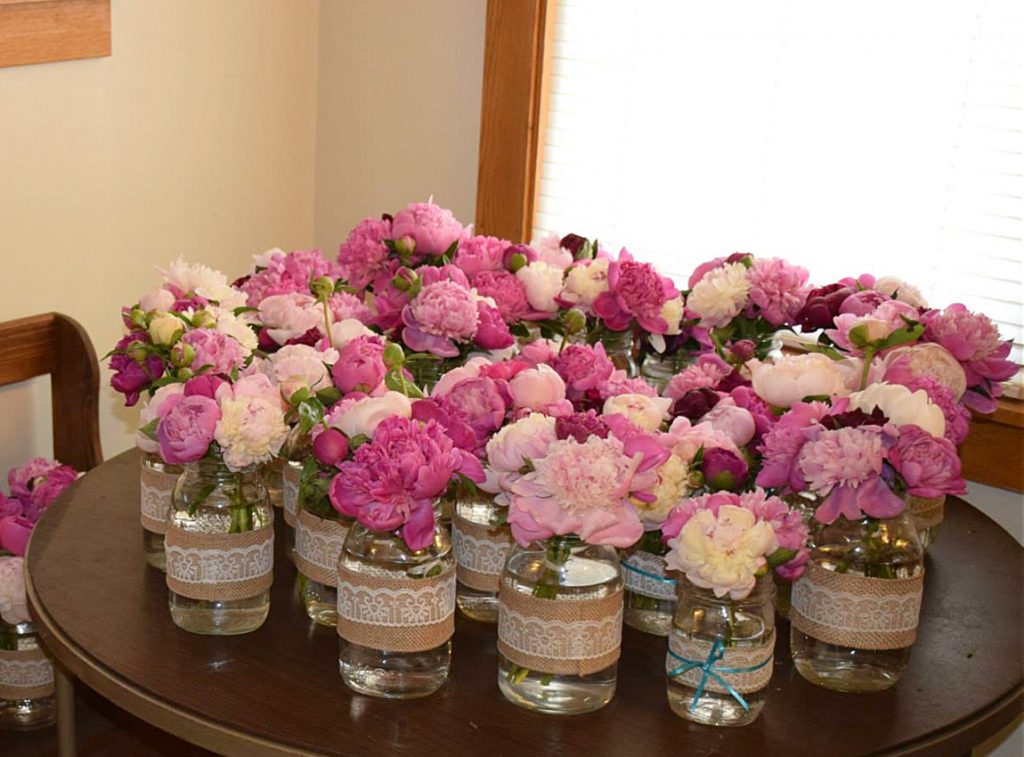
Once all of the best flowers were chosen for the bouquets we could then start mixing and matching all the colors for the jars that would go on the tables. We used up just about every peony that bloomed, and even some of the buds that didn’t open! We thought they still looked pretty, and added them to the mix.
Once you have all of your flowers in your vases, you can begin to cut down the stems and take off any dead or shriveled leaves that didn’t come off yet. We cut the flowers so they stood just above the mason jar and then used a rubber band, right under the blooms to keep them tightly together.
(Hey! If you like how I decorated my mason jars, find this lace trim and burlap ribbon! Just click on the links. These items are frequently on sale, otherwise there are always online coupons!)
The bouquets took a little more finesse..we left the stems longer then wrapped them with floral wire, and lace over the top of that for the girls to hang onto. To secure the lace we used a fine line of hot glue along the edge.
This was such an exciting and really touching DIY project for me. I loved that I was able to have my dream flowers for my wedding and really ecstatic that I had a hand in collecting and arranging them!
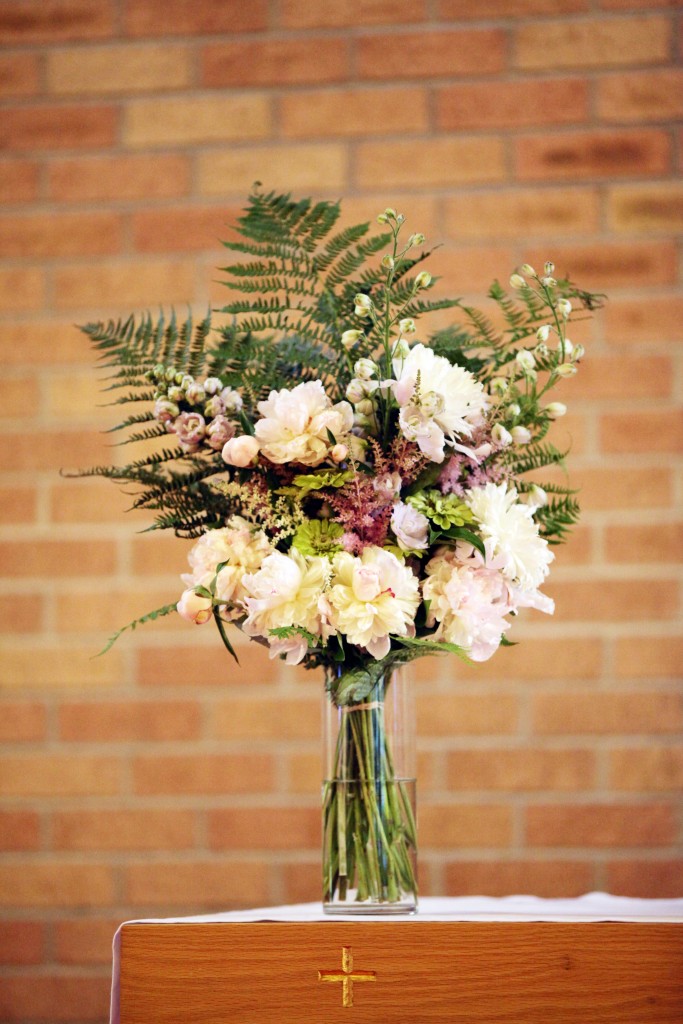
We know this works for peonies very well as my wedding is proof of that, however I am no flower expert by any means and am not sure if it would work for other flowers. There could be other ways to save other blooms, but I wouldn’t risk saving others if your event is this important. If you wanted to supplement your peonies you could buy just a small amount of others from a florist. Or if you have a nice established garden you could pick what is blooming at the time. That is what we did with the church arrangements, Theresa went and grabbed some flowers she had, as well as fern leaves from the woods!
Also, we picked a lot more blooms than were actually needed. We did this to make sure that we would have enough blooms to work with. This way we were able to choose the best flowers that bloomed and even though some didn’t open, we still utilized the buds.
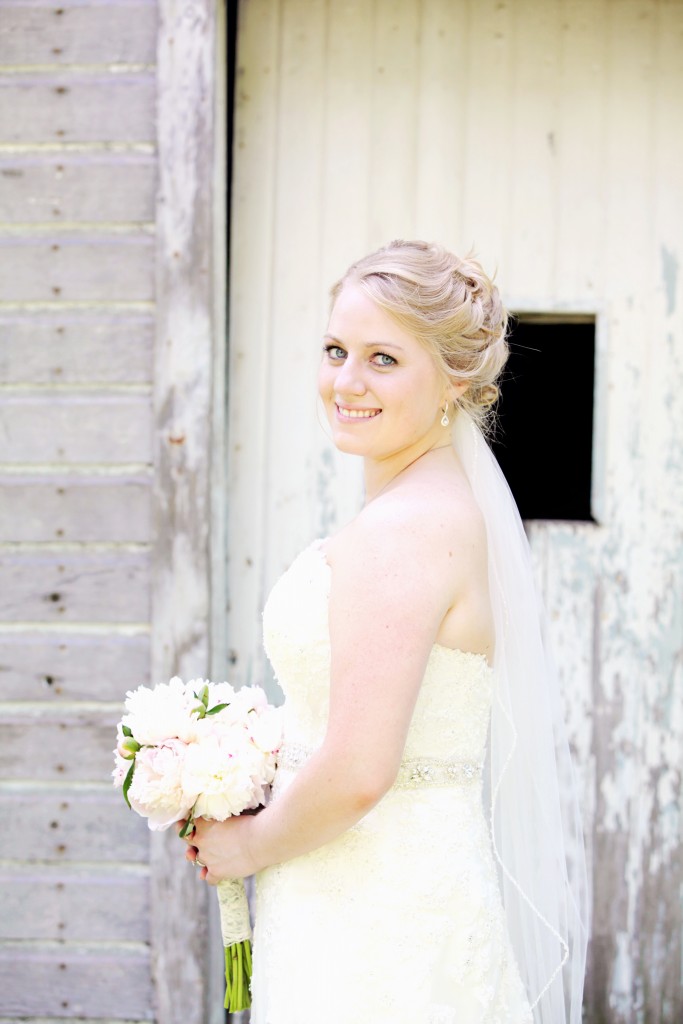
(P.S. How cool is this chippy old barn my friend and photographer found!)
We couldn’t have done this without the guidance of my friend and bridesmaid, Theresa, and now I am happy to share our project with you all! I hope this brings inspiration and direction to some of you so you can have your dream flowers just like I did (all while sticking to a budget!) I also had a lot of helpers for this project. While you can do it just yourself, it was a lot easier to have my mom and sisters help me pick and my friends and sister-in-law open the blooms and arrange them.
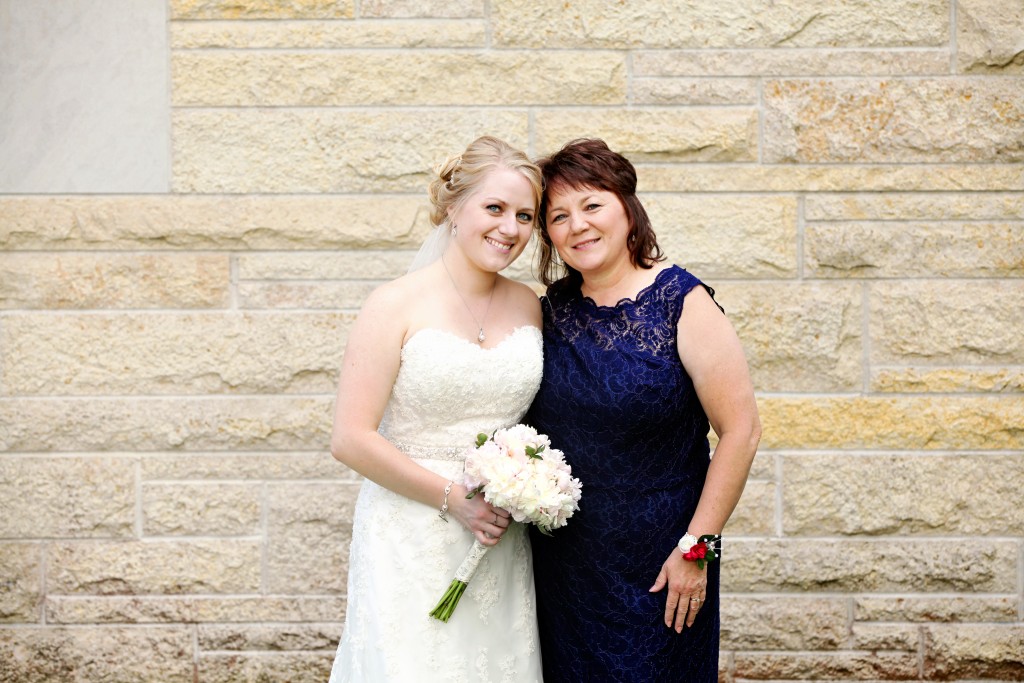
I also want to throw a shoutout to a really good friend of mine, Laura from L.O. Imijri for the beautiful wedding photos. I love her and her pictures and she is definitely one to follow so check her out sometime (P.S. she has a beautiful little baby girl who is her cutest little model to date!) Check her out on Facebook, Instagram and at www.loimijri.com.


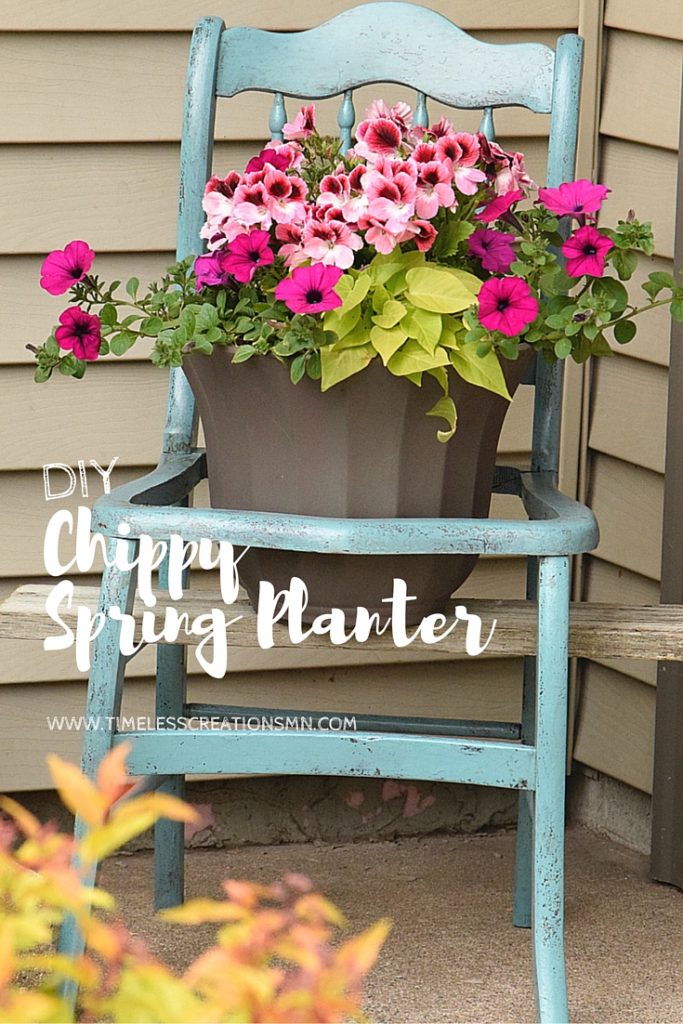
DIY: Fun Spring Planter


[…] Timeless Creations MN -DIY Wedding Flowers […]