So I think I may have a problem… a beautiful furniture problem! We find these wonderful pieces that have such character and I just want to keep them all for myself! Unfortunately I am unable to be a furniture hoarder since my husband and I rent right now, we just don’t have the room. Maybe someday! 😉
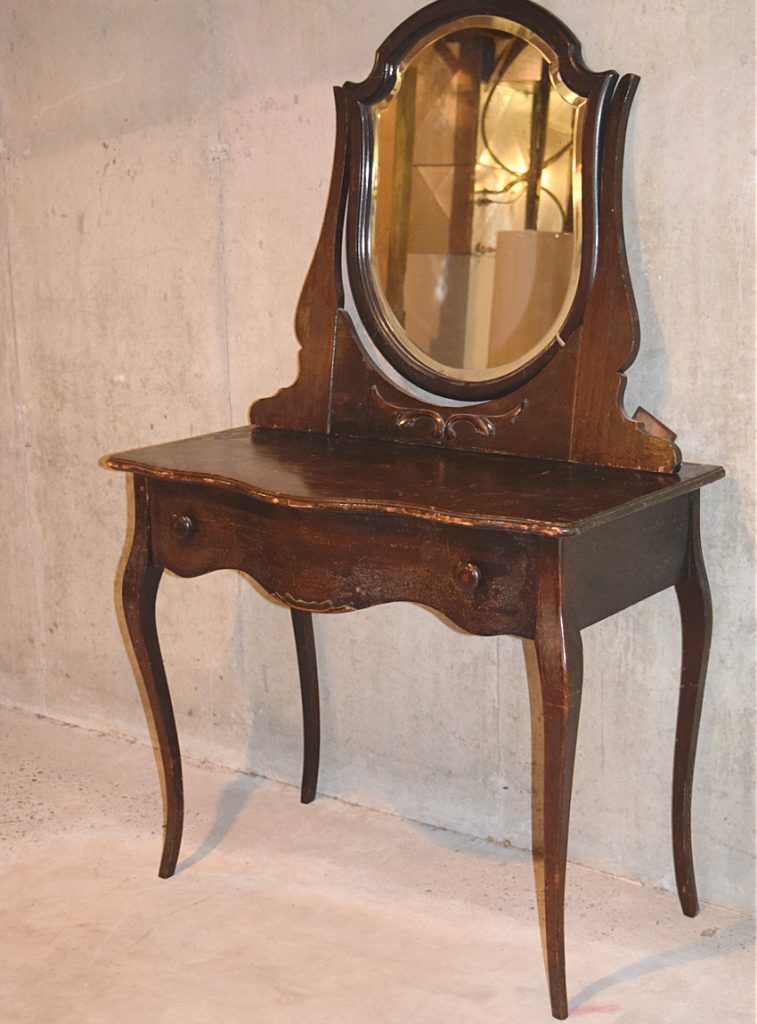
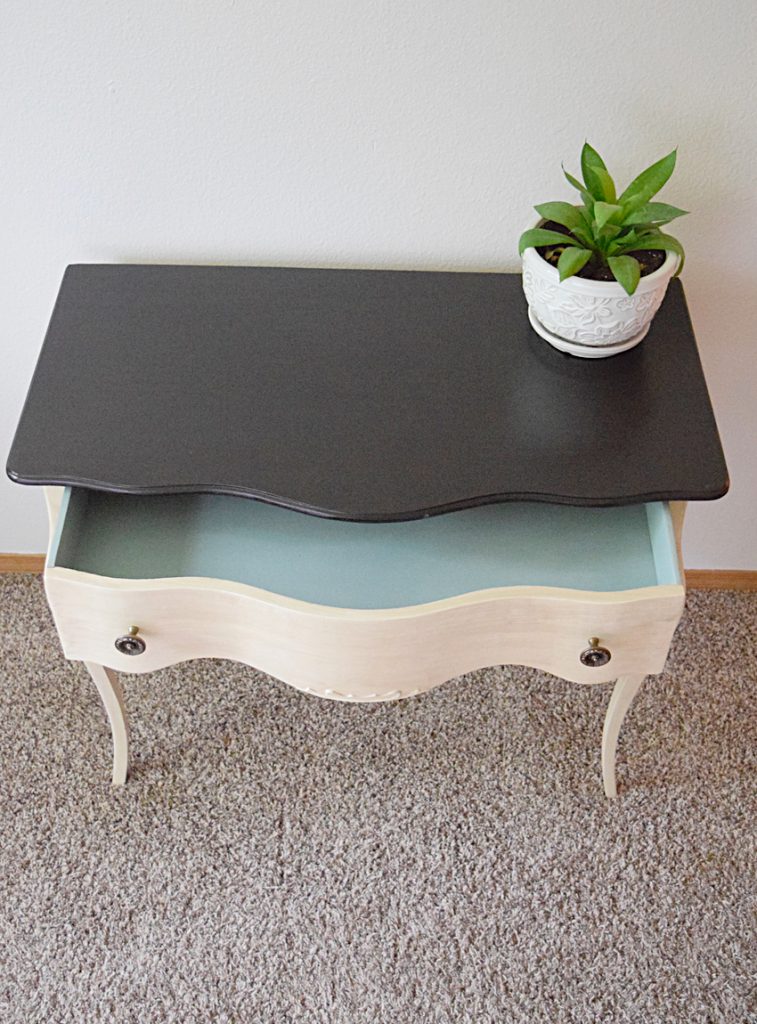
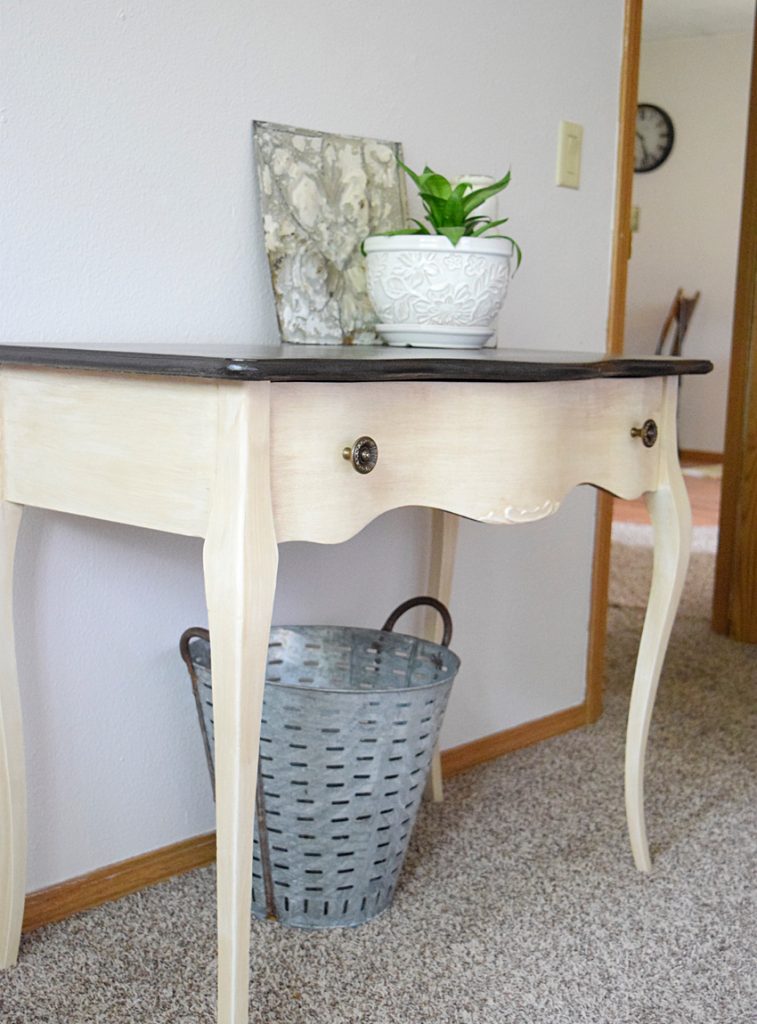
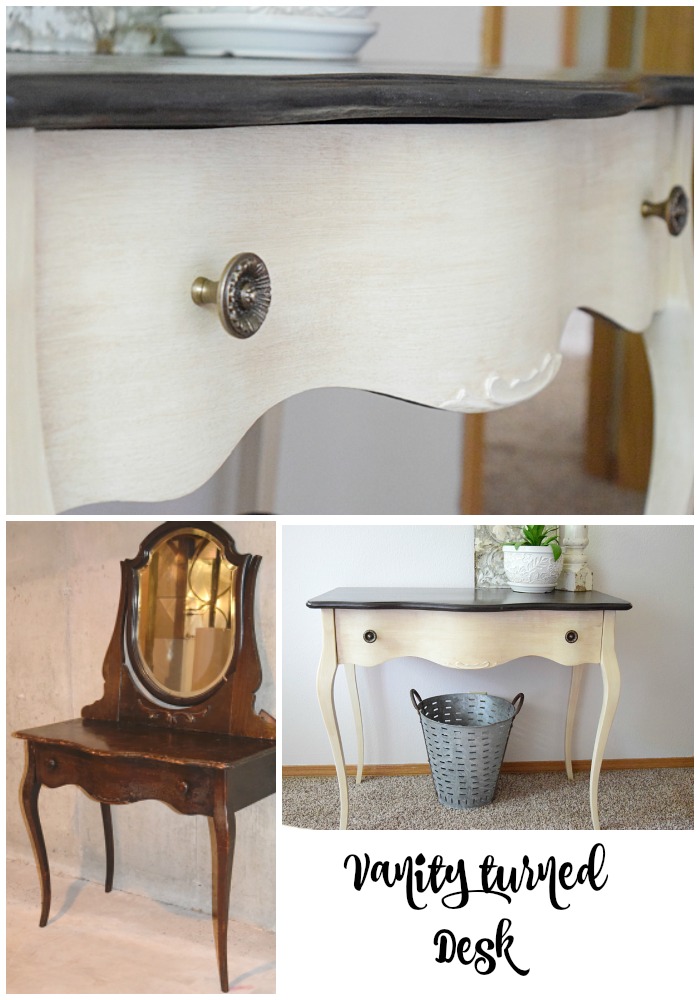
Originally this piece was a vanity with a mirror on top, but because the mirror was chipped, and falling apart, we decided it would make the whole piece more functional to separate the two. While thinking of the design scheme for this, I knew I wanted to keep it light, but wanted it to have a pop of something to it. I decided a dark stained top, white legs, and a pop of color inside the drawer would be perfect
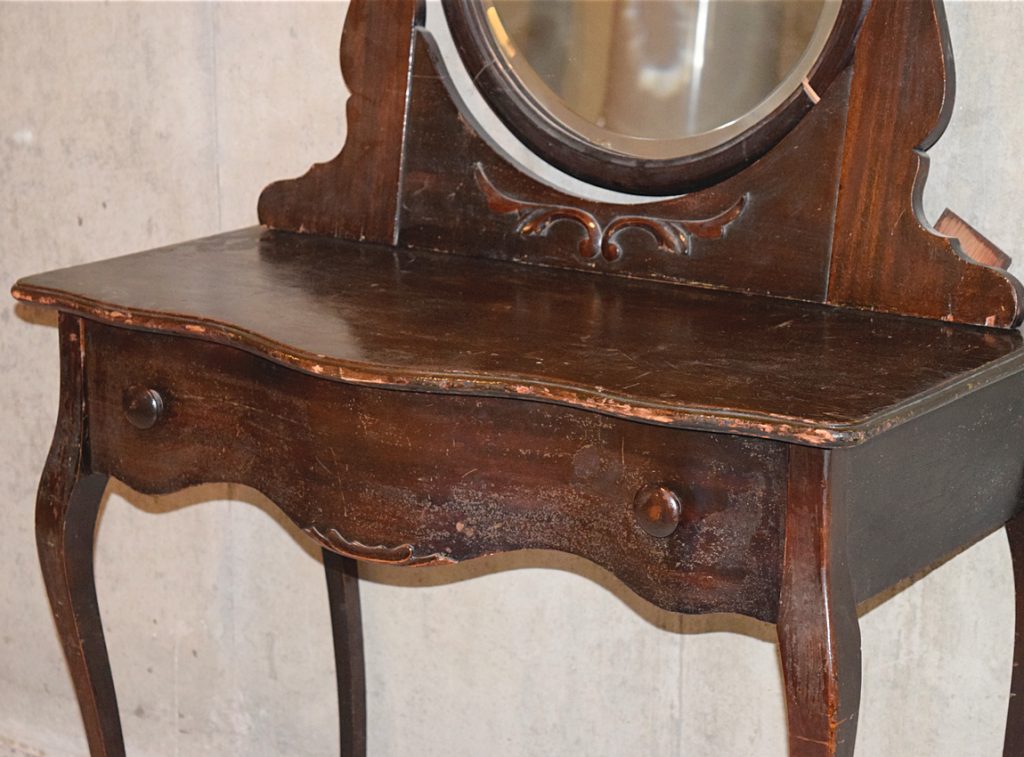
To start we of course began our prep work by sanding the piece. The table top had too many scratches on it to count! We grabbed our electric sander and a coarse sand paper pad to begin stripping it down to the raw wood. I also sanded down the legs and drawer front as well. I didn’t go quite as deep down to the raw wood for the rest of it, but just enough to rough up the finish.
After sanding I realized that the old finish that wasn’t down to the raw wood was a reddish color, and after consulting with Vicki, we realized we needed to apply Shellac so that red color wouldn’t bleed through the paint. It took two coats of the Shellac to create a protective barrier so the color wouldn’t bleed. If in doubt, or if the color still bleeds through the paint, stop painting and apply a primer.
Then down in the workshop (my basement to be exact 😉 I took General Finishes “Java” gel stain and applied it with a sponge brush to the top of the desk. I like to use a sponge brush for stain because I hate cleaning my paint brushes with mineral spirits. I just don’t like the stuff and would rather throw away a cheap sponge, but thats just me. Allow the stain to set for just a minute or so and then wipe off any excess with a clean rag.
Then we started with the inside of the drawer, wanting to get the color applied before we began the white. We coated the inside of the drawer and the outside sides of the drawer with Annie Sloan’s “Duck Egg Blue” for a fun ‘wow moment’! Now every time the drawer is opened you get a little peek of something different.
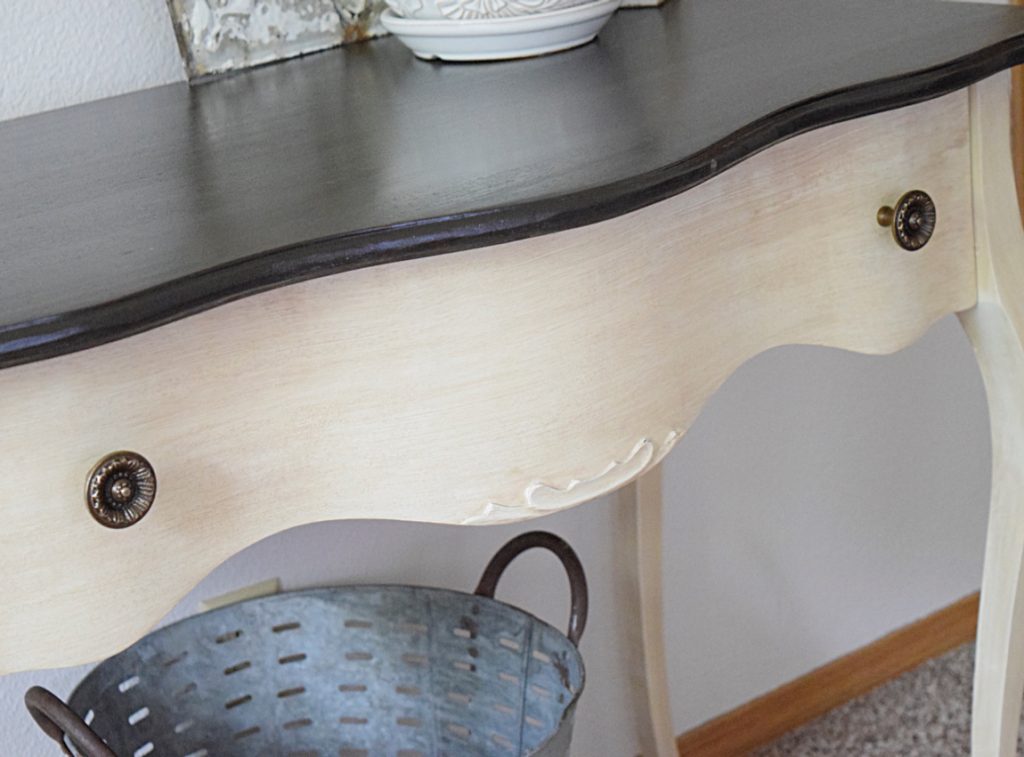
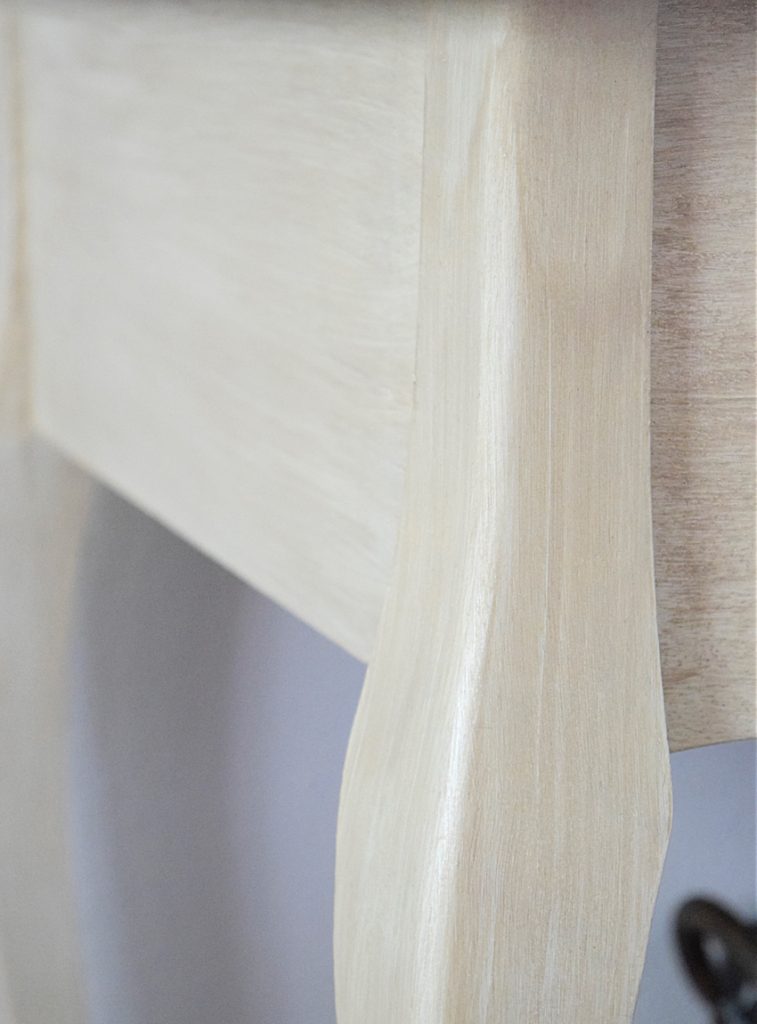
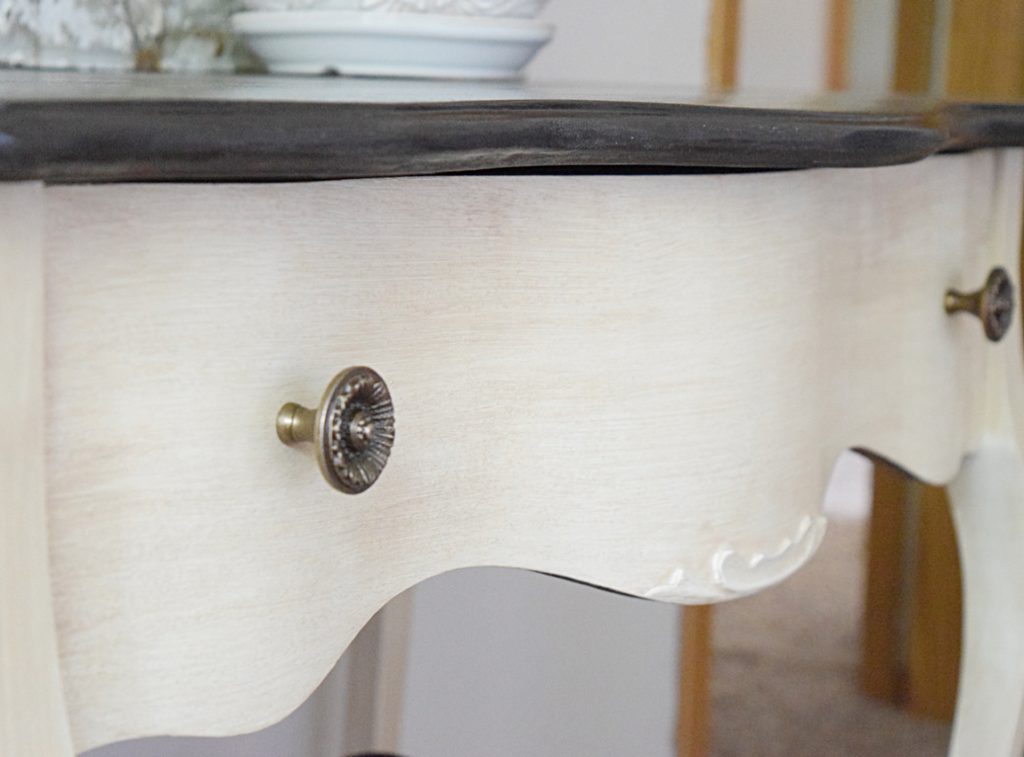
Then we went ahead and applied two coats of Annie Sloan’s “Old White” to the drawer front as well as the legs right over the shellac. Once that was completed and had dried I then waxed all of the painted parts with a light coat of Minwax Finishing Wax. Once dried, instead of buffing the wax, we mixed up 2 tablespoons of Annie Sloan’s “Coco” with a half tablespoon of Annie Sloan’s “Old White” and about 1.5 tablespoons of water to create a wash. We then applied the wash to the white painted legs and drawer to give the desk a soft brown hue to match the dark brown top. It was applied with a regular paint brush but wiped off with multiple dry sponge brushes.
Then all that was left was to seal the piece. Wax was again used over all of the painted parts, however for the stained top we used 3 coats of polycrylic instead. It adds better protection and a satiny sheen instead of matte.
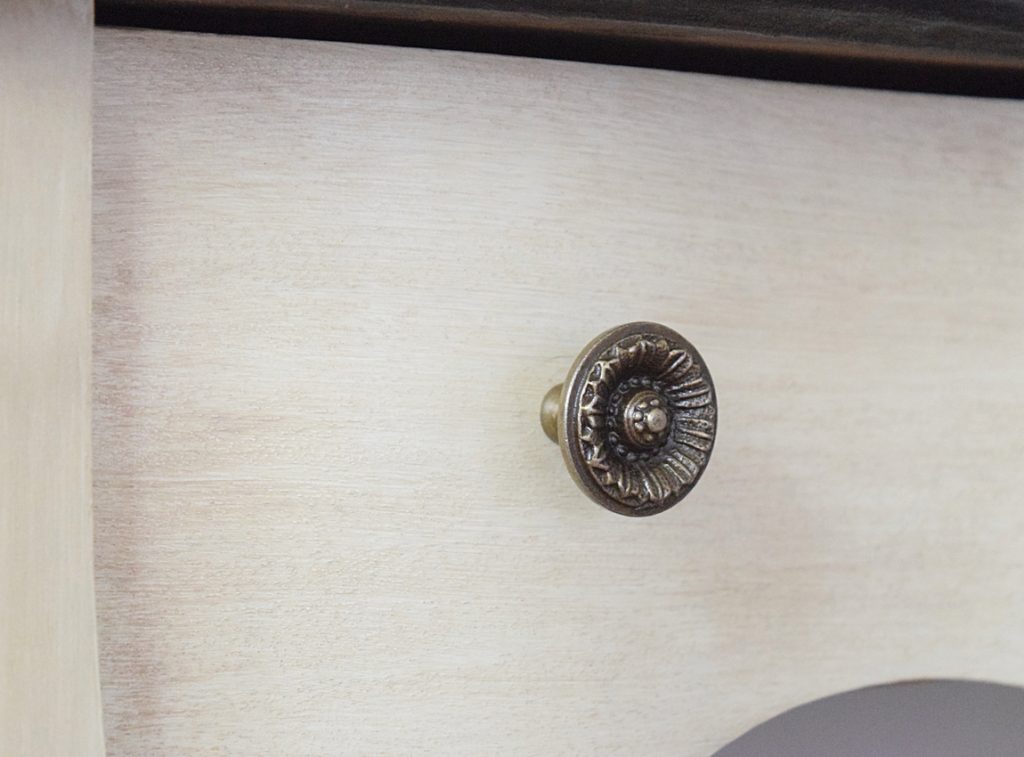
Then all that was needed was some beautiful new hardware we picked up at Hobby Lobby to complete this little desk.
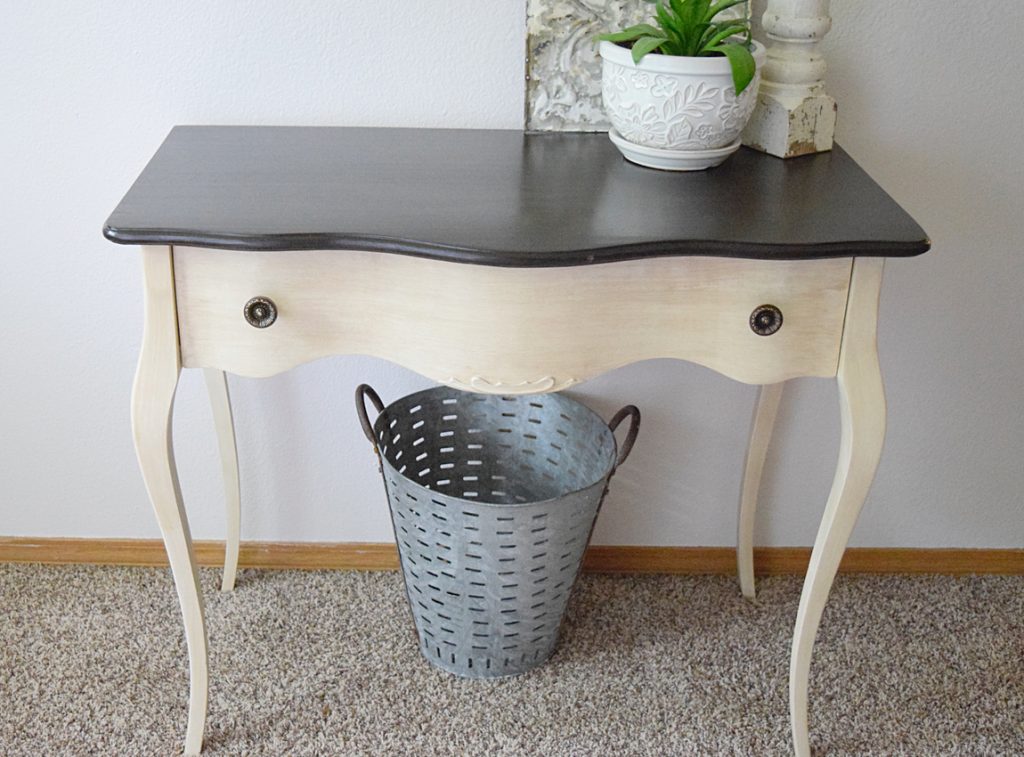
It was restyled from frumpy and dark to a pretty new desk or entry table for a great addition to any house. The colors were kept neutral, but packs a fun punch when you open the drawer!
More you may love…





Leave a Reply