How to DIY Marble Countertops!
This post was sponsored by Stone Coat Countertops.
Welcome! Boy do we have a treat for you, dear readers! We are so ecstatic to be sharing part 2 of our kitchen makeover. We are sharing our countertop transformation and have a great coupon for those of you who may want to try their hand at creating their own counters!
Some of you may remember our kitchen renovation we did a little over a year ago as part of the “One Room Challenge” but if your new to our blog here is a little recap. Below is a photo of our kitchen on move-in day last year.
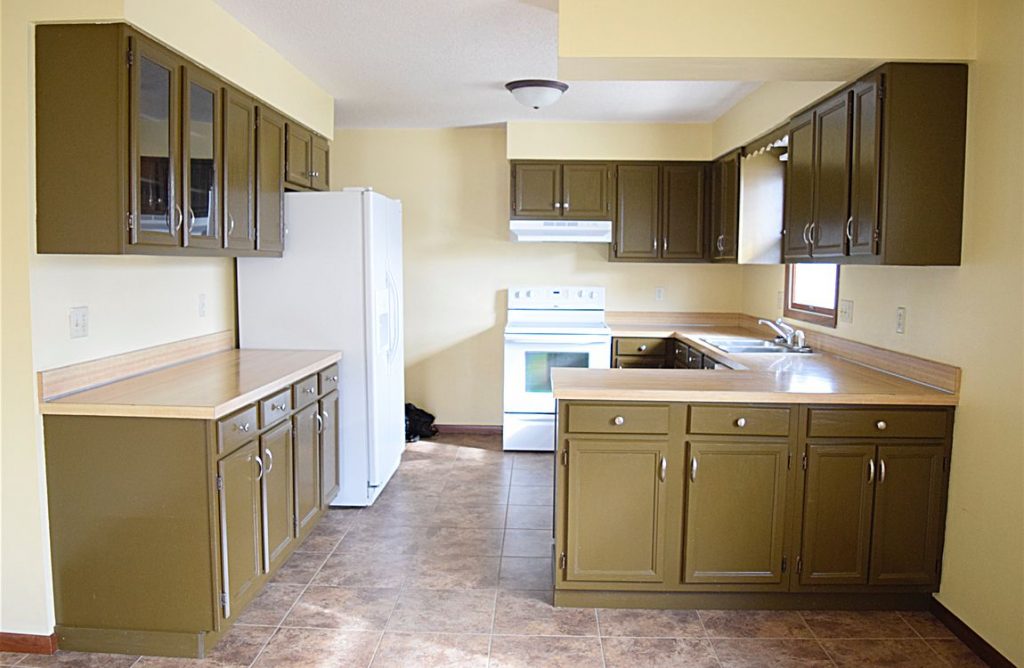
Before moving into our very first house, my husband and I knew there were a couple things we needed to tackle right away before our first child was born. We ended up painting every room on the main level, but the biggest transformation was in our kitchen. Not only did we paint over the yellow walls, but we painted the cabinets too! To get a little refresher, or if your visiting for the first time, here are the links to the first part of our kitchen makeover.
Kitchen “Before” / Painting Kitchen Cabinets / Final Reveal
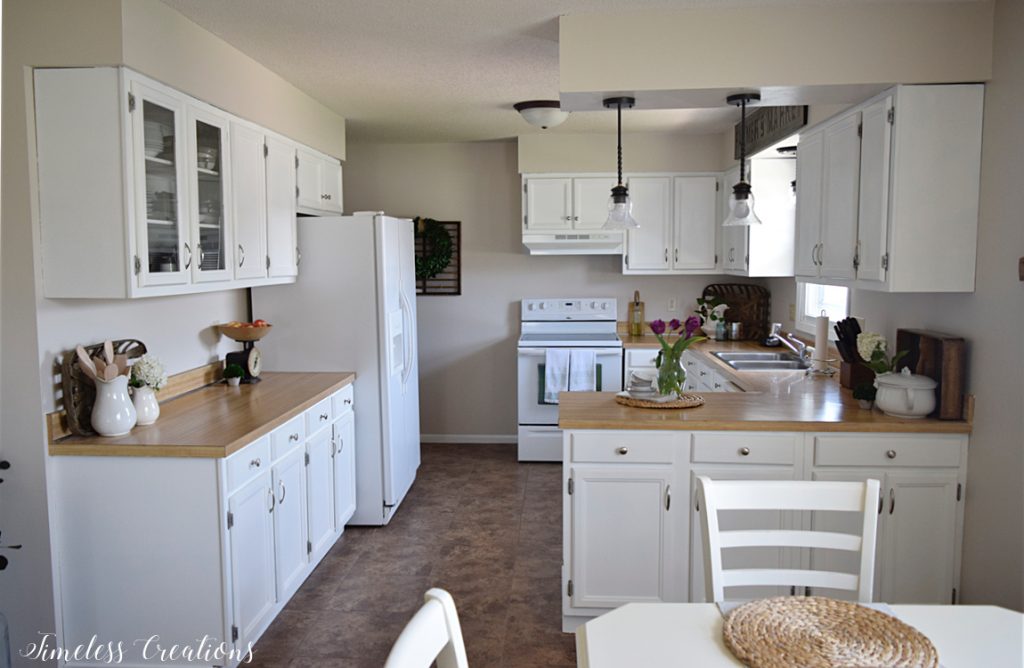
Kitchen after paint
While paint did wonders for our kitchen there were still items we hoped to makeover in order to call it complete. The original laminate countertops being a top priority! The faux wood laminate countertops of the 70’s just were not what we were looking for when it came to counters.
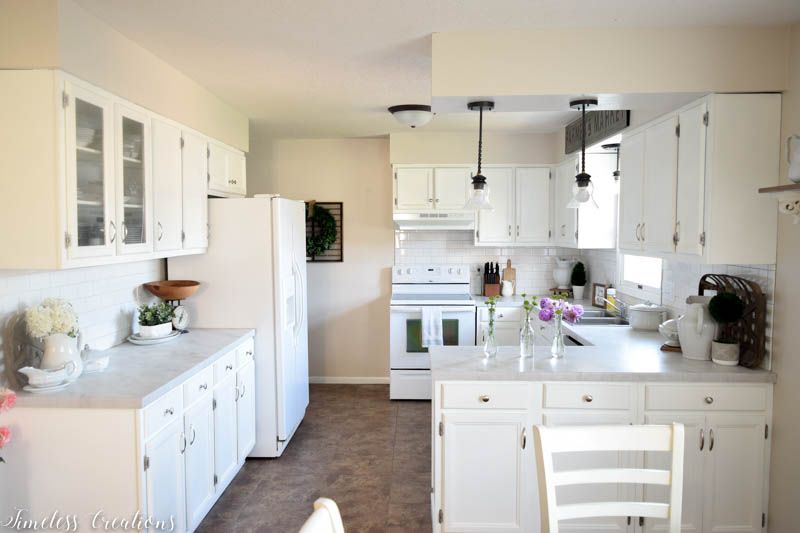
While they don’t look absolutely horrid in the pictures, the longer we were at the house the more annoyed we became with them. They had some great big bubbles in the middle of two areas where the laminate top layer was starting to separate. We looked into getting new laminate, but weren’t sold on it.
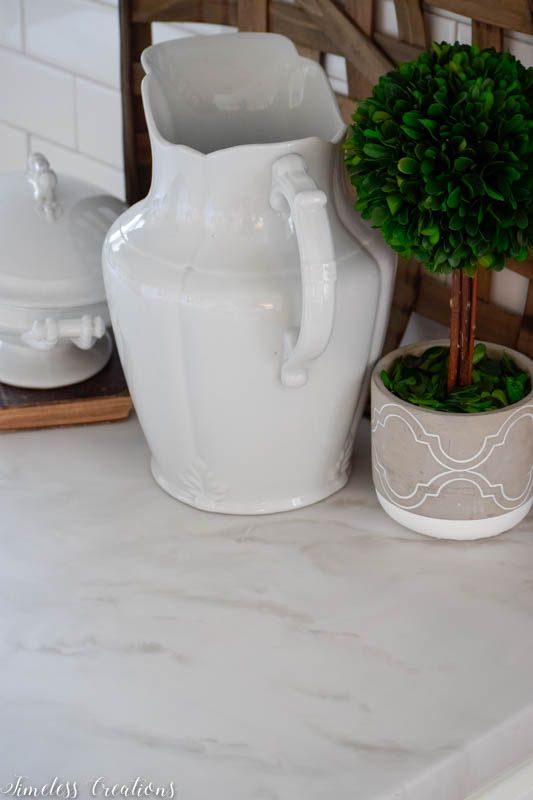
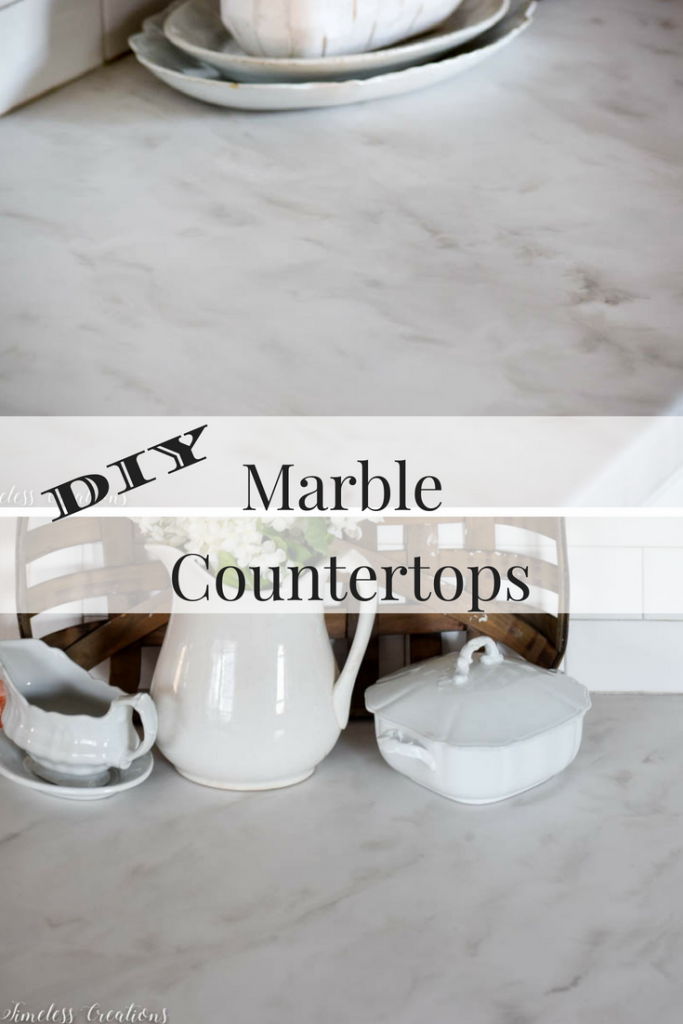
So when I heard my cousin Ben of “Minnesota Countertop Creations” was creating beautiful and unique looks with an epoxy product, we were intrigued! He showed us what he had already done and how the product works. But when I heard we could get a Carrara Marble look for a fraction of the cost of real marble I knew this would be perfect for us!
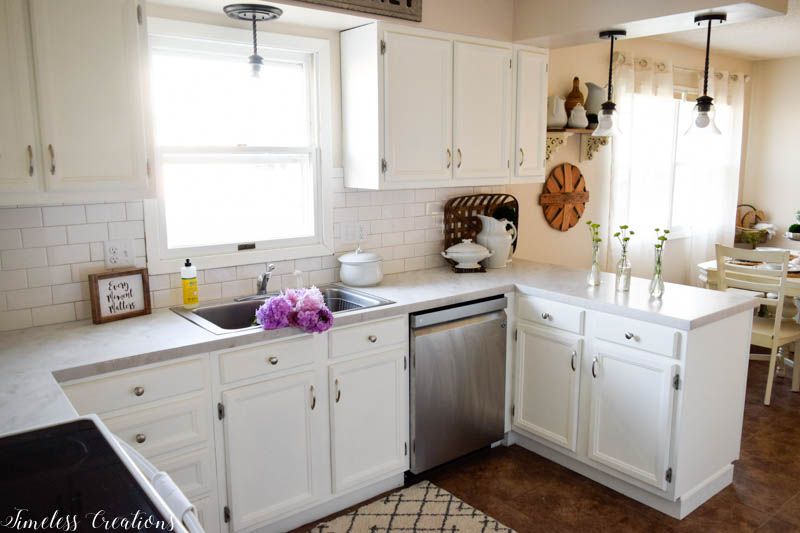
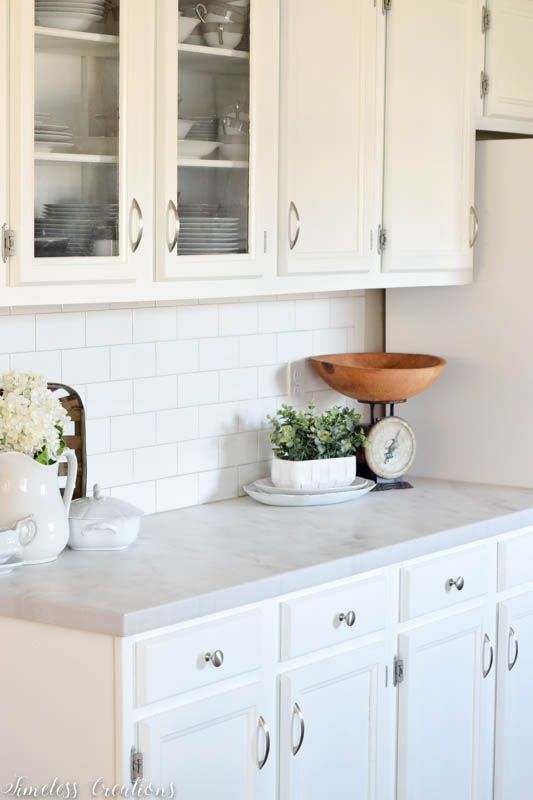
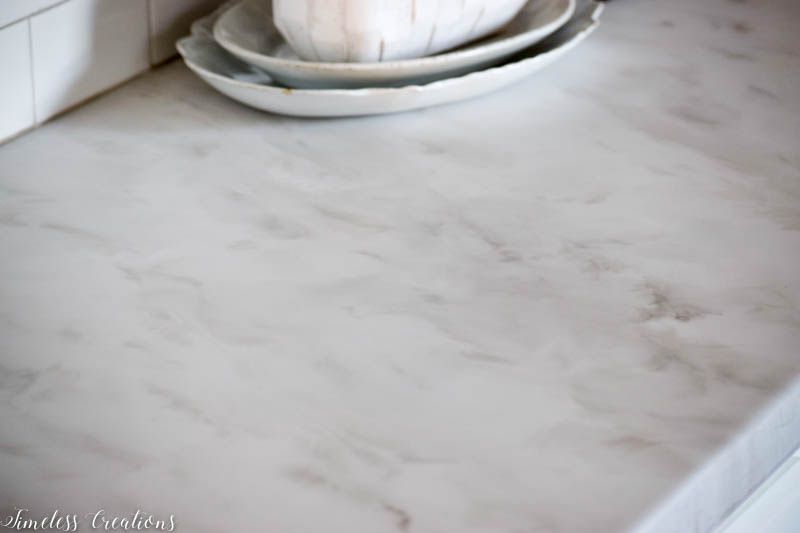
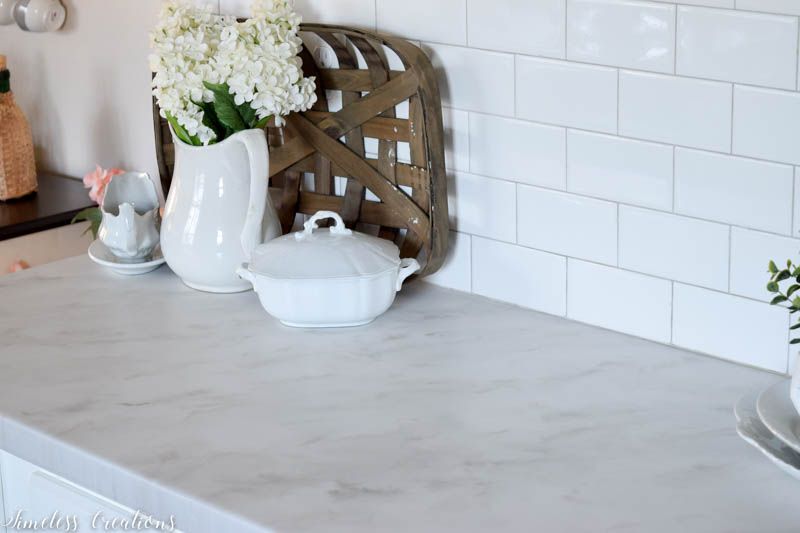
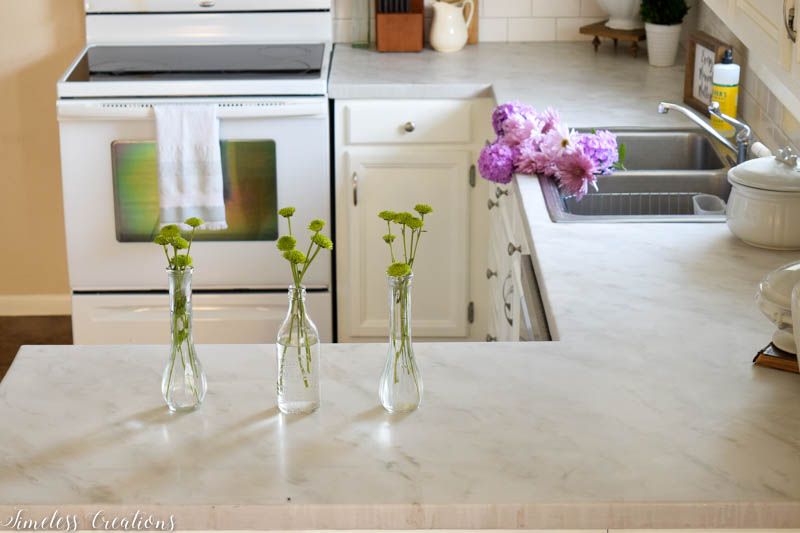
And just look at how it turned out! Our kitchen went from drab and dark to a light, bright, beautiful farmhouse kitchen! All for a fraction of the cost of a major renovation. Our counters are just gorgeous now! And look at that fabulous tile backsplash!!
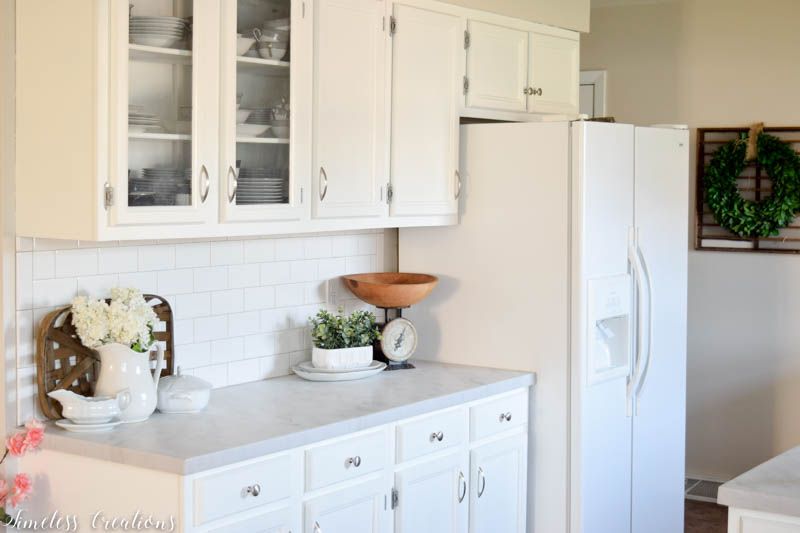
This epoxy product by Stone Coat Countertops was really simple to use. While we had Ben create this unique look for us since he has worked with it before, you could definitely do these yourself if you wanted. Stone Coat has all kinds of video tutorials and are great at answering all of your questions. It was just easier for us to have someone with experience and all of the tools to do it!
HERE is where you can find their products.
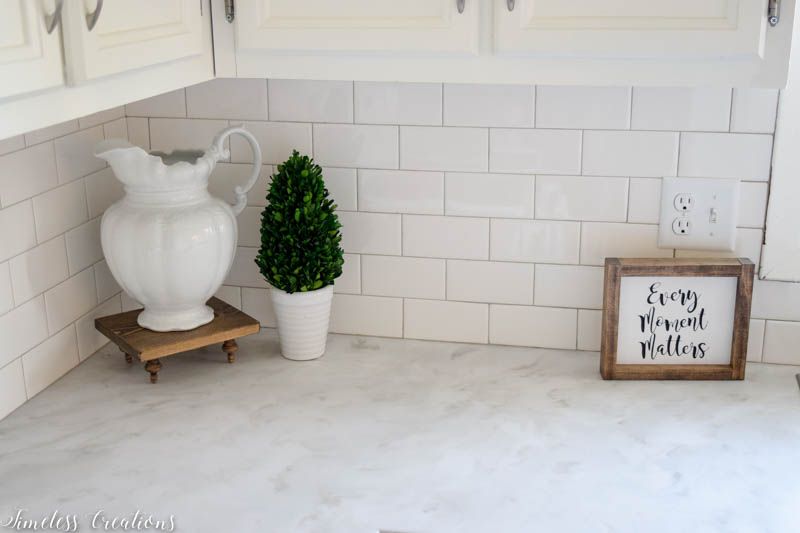
After taking off the top layer of the laminate (because of the bubbles) and leveling everything Ben covered all the freshly painted cabinets with plastic. The epoxy comes in two containers that you have to mix together as well as add a base tint of your color choice (depending on the look you are going for). Since we were re-creating the look of marble we added a white base coat, as well as some pearl metallic powder to the epoxy.
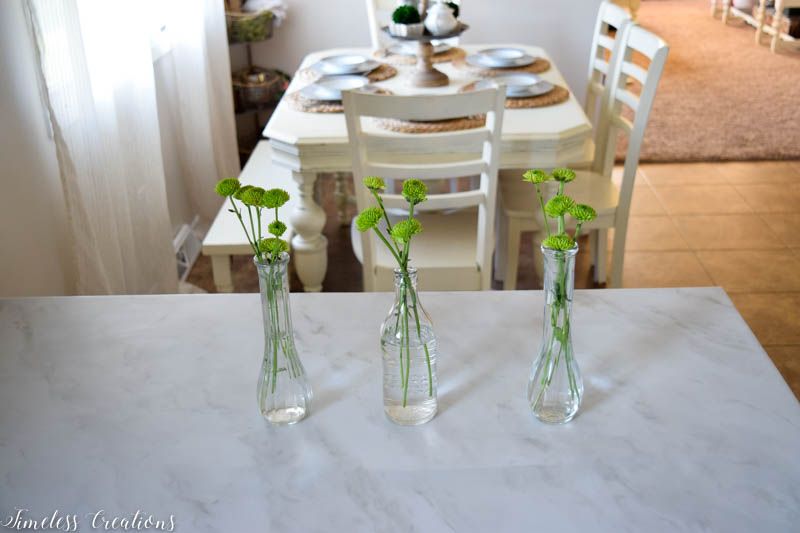
Then Ben began pouring the epoxy on. He worked in small sections, taking a trowel to spread the mix over the area. It was a pretty simple process that when finished was a smooth, plain white base. He dabbed the epoxy onto the sides and just let it drip down over the edge. Once the base coat of epoxy was on we began the marble effect!
When you look at the design of the marble it looks like it would be an intricate process…but it’s not! You just have to decide ahead of time which way you want your marble veins to run and then you literally take some spray paint, spray it on scrap cardboard, dip a paintbrush into the color and “chop” it into the white base! Here is a video of Ben “chopping” the color in.
How easy is that?! Since the epoxy self levels over and over you don’t see the brush marks, and you have quite a bit of time to work with the color. We used two different colors of spray paint, a light gray and a medium-dark gray. We mixed the two together to make another medium tone gray.
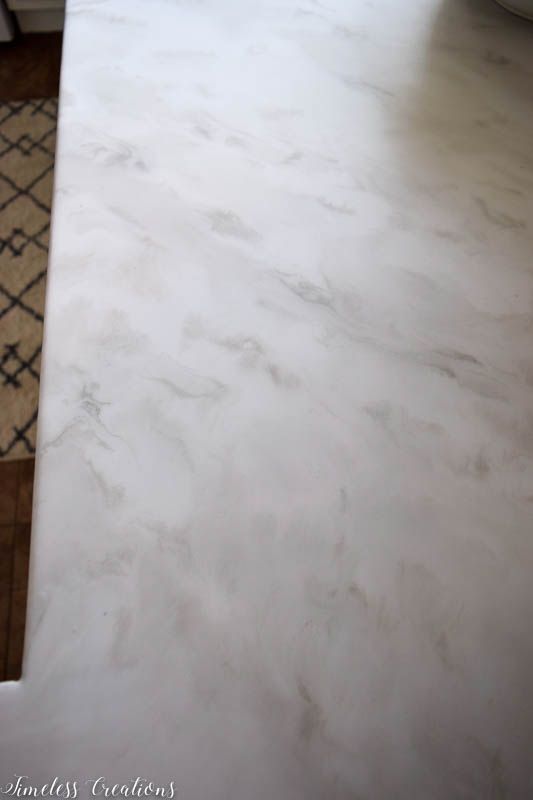
Once we had the design how we wanted it, that was pretty much it for the first pour! You do have to use heat from a blow torch to pop any bubbles, but then it just sits for a day until you pour a clear coat to finish.
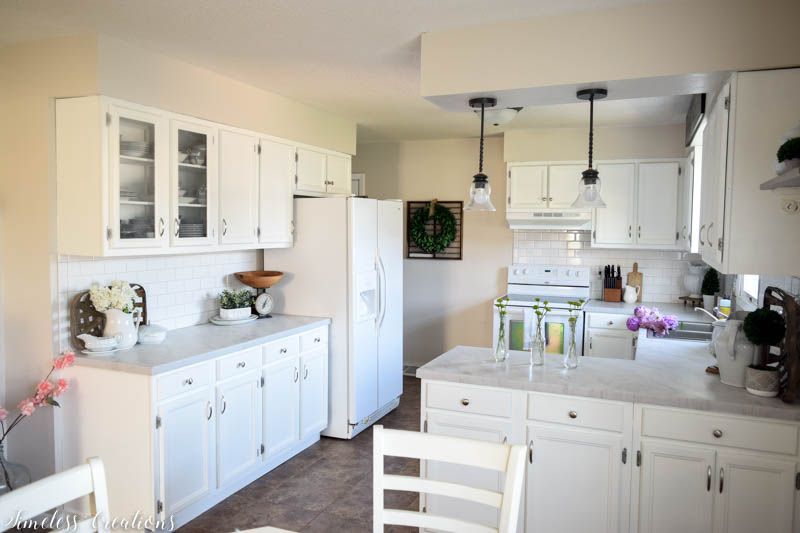
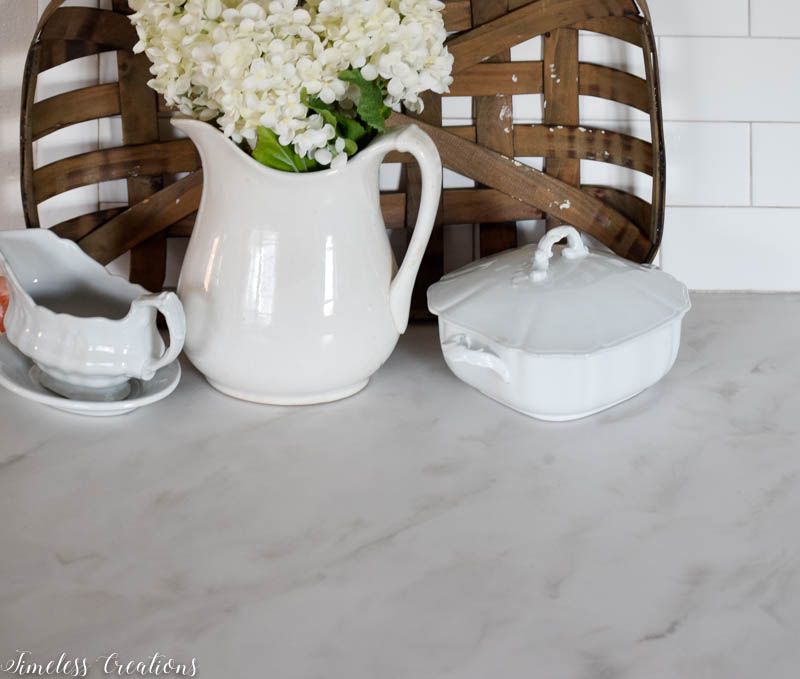
You can either leave the epoxy as is, or you can come back about 2 weeks later and sand the countertop down with super high grit sandpaper and then buff it. It takes that high shine out of the epoxy and leaves less finger prints on the surface. Since we have a young child we thought this option was best! Once it was sanded I thought the counters looked even more like real marble. I liked the subtle sheen instead of the high shine.
And that was that! We got beautiful new counters without the real marble cost!
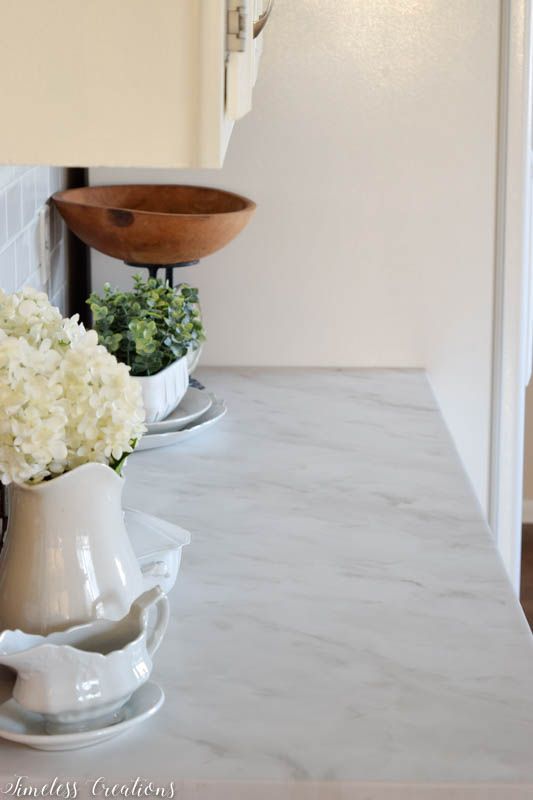
As you can see we also put up a new white subway tile backsplash, which I am absolutely in love with! We removed the old backsplash and while you can epoxy a backsplash to match your countertops, we decided to do tile instead.
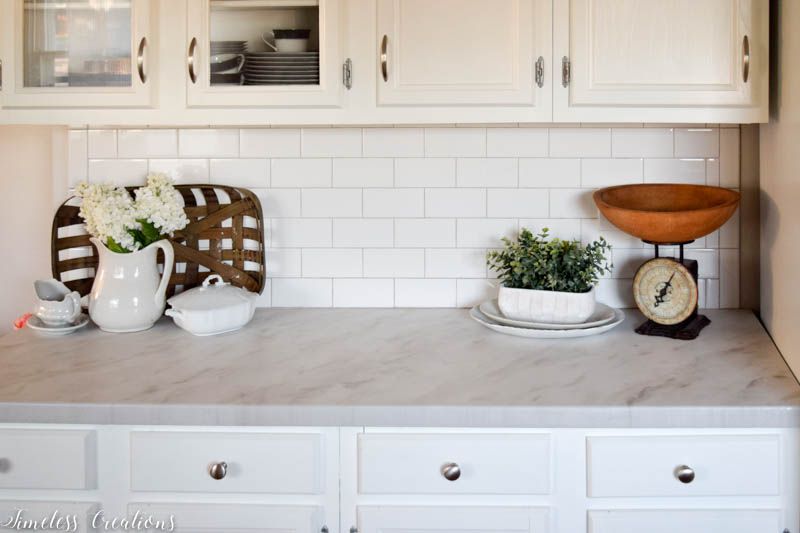
It was so nice to have Ben of Minnesota Countertop Creations create a one-of-a-kind counter for us! I learned how easy this product was to work with and we got a beautiful kitchen out of it!
For those of you who are interested in creating your own counters here is a link for the video tutorials from Stone Coat Countertops.
Click HERE for DIY Video Tutorials
And HERE is where you can purchase their products! Very simple and easy.

See more from our Room Makeover Series:
- Farmhouse Kitchen Reveal
- Laundry Room Makeover
- $100 Family Room Makeover






This is amazing! What an awesome transformation! Thanks so much for sharing the tutorial for Sweet Inspiration. 🙂
OMW how incredibly lovely. I cam’t believe the transformation. You did an amazing job Kristen
Wow… you did an amazing job! Love the color, too!
So very beautiful. I wish Ben from Minnesota was Ben from Atlanta, GA…..I’d call him in a heart beat. Congrats on your fab new countertops.
What a beautiful change. It makes the room feel so soft and airy.
How have your countertops held up a year later? Any chipping? Yellowing? We’re looking to do something similar but have heard negatives on the longevity of epoxy countertops. Would you disagree? Looks great !!
Hi Elizabeth! They have held up pretty well for us. No chipping at all. We have had some accidents happen to them however. We set a crockpot on high for a long time and they did yellow a bit underneath. Now we know not to do that. We also had someone cut a lime without using a cutting board and have some small knife marks. However you can buff those out, or pour a really small amount over the top to correct them. But for being budget friendly they are pretty good! You have to keep in mind that better quality items are usually more expensive. So you are getting what you pay for. I feel like they are pretty much on par with a laminate option, but of course are not in the same category as say granite, or quartz. We really wanted a cheaper option since we couldn’t afford much else.