With our tutorial below you can make your own DIY wooden plaque, however, if you prefer we make one for you please PURCHASE HERE.
Make your own wooden plaque or sign.
Ever wonder how people get those perfect letters onto wooden plaques or signs? Want to DIY your very own sign so you can design it to be your own unique style or quote? There are so many different ways to transfer graphics onto wood, but here we will walk you through just one easy technique for you to try on your own.
For Christmas this year I wanted to make a special, one-of-a-kind gift for my mother-in-law and my friend’s new baby girl. I thought they would really appreciate a personalized, unique gift, and it also gave me practice so we could soon fulfill orders for our new shop!
For your convenience in locating products we have used, this article contains affiliate links. All products are items we use ourselves and have formed our own opinions on. For our full disclosure go to our “Disclosures” page.
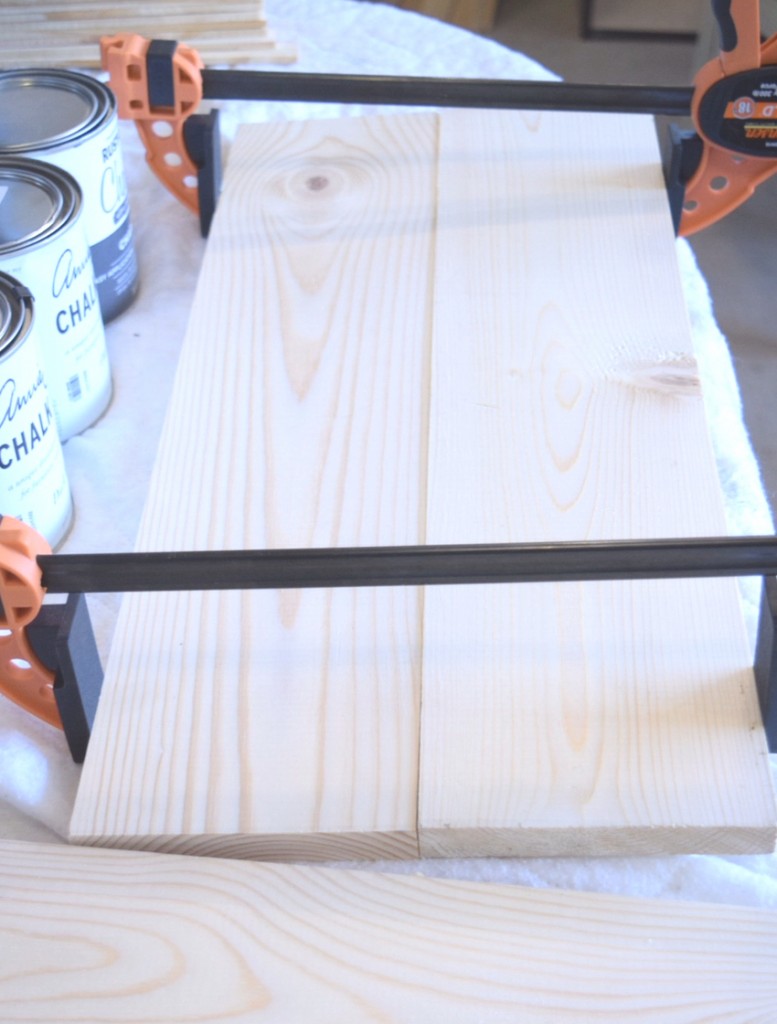
I first ran to Home Depot to grab some boards. I used these pine boards, 1 board for each plaque. I brought them home to cut them in thirds and then began gluing them together using wood glue and two clamps. I started by glueing two of the boards and using a clamp to keep them together during dry time. (Tip: Wait until the first two boards are sturdy, about 30 minutes, before gluing the last one on.)
Tip: Make sure to wipe off any glue residue that squeezes out between the boards with a damp paper towel or rag.
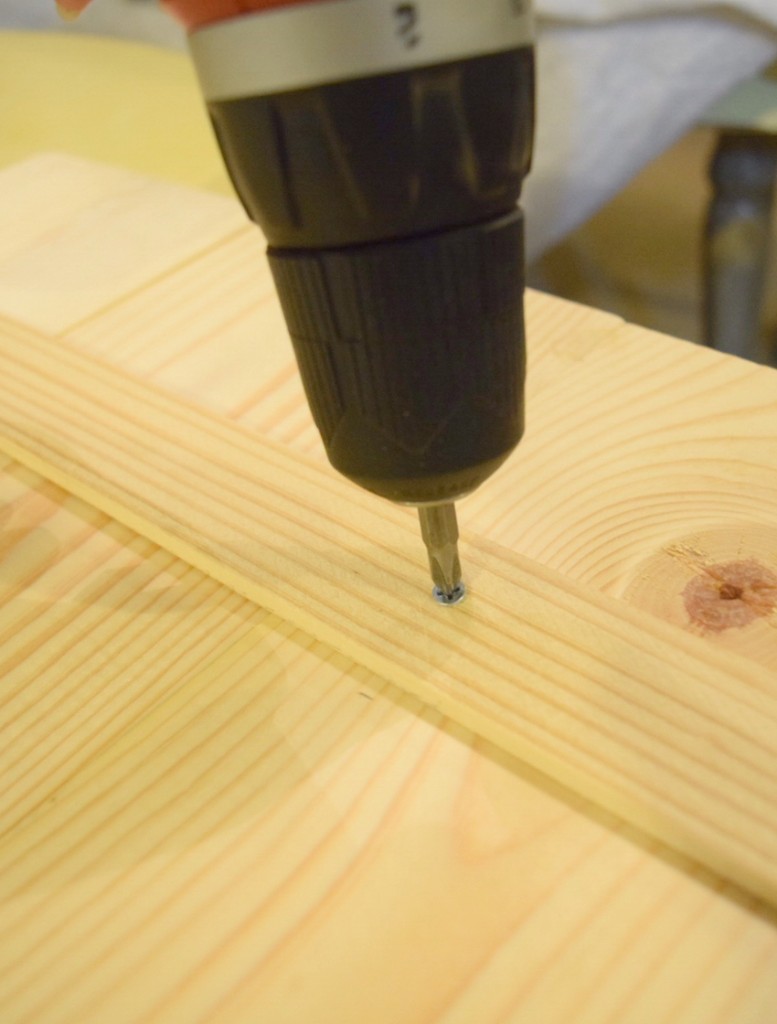
After all three boards are glued you can take two small skinny boards (this is what we used) for your backing to further attach the boards and keep them from breaking apart. Make sure the small boards are perpendicular to the larger boards you just glued and carefully screw them to the plaque, one screw attachment to each of the 3 larger boards.
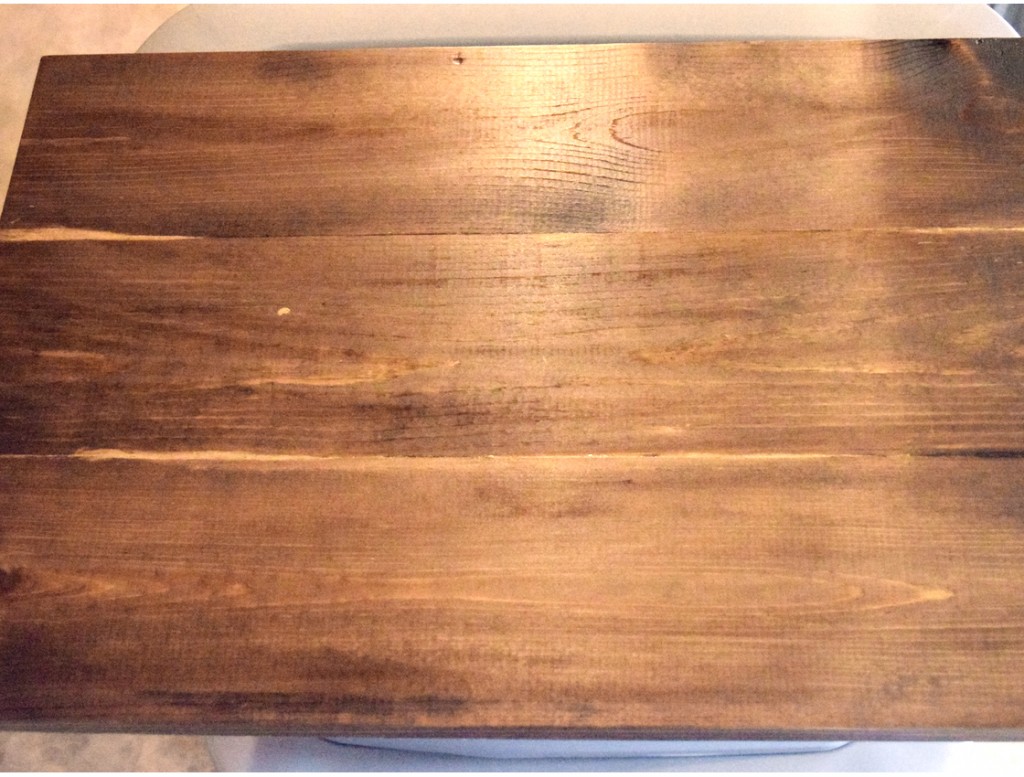
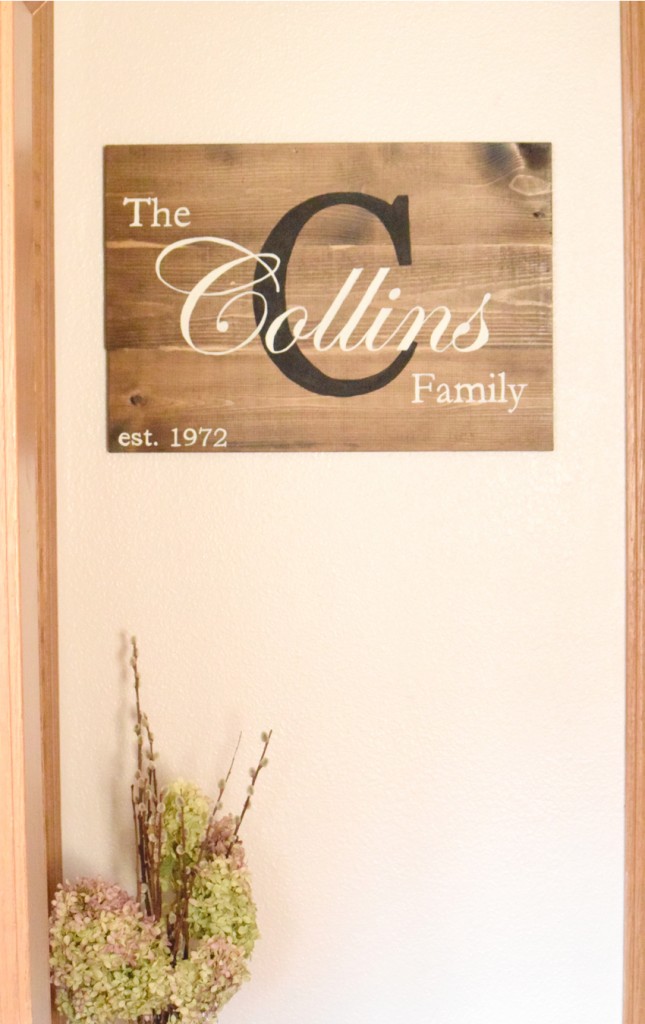
I then sanded the entire piece to make sure everything was smooth, also slightly rounding the edges so they weren’t so sharp. Next, for my mother-in-law’s we stained the boards with a dark stain color.
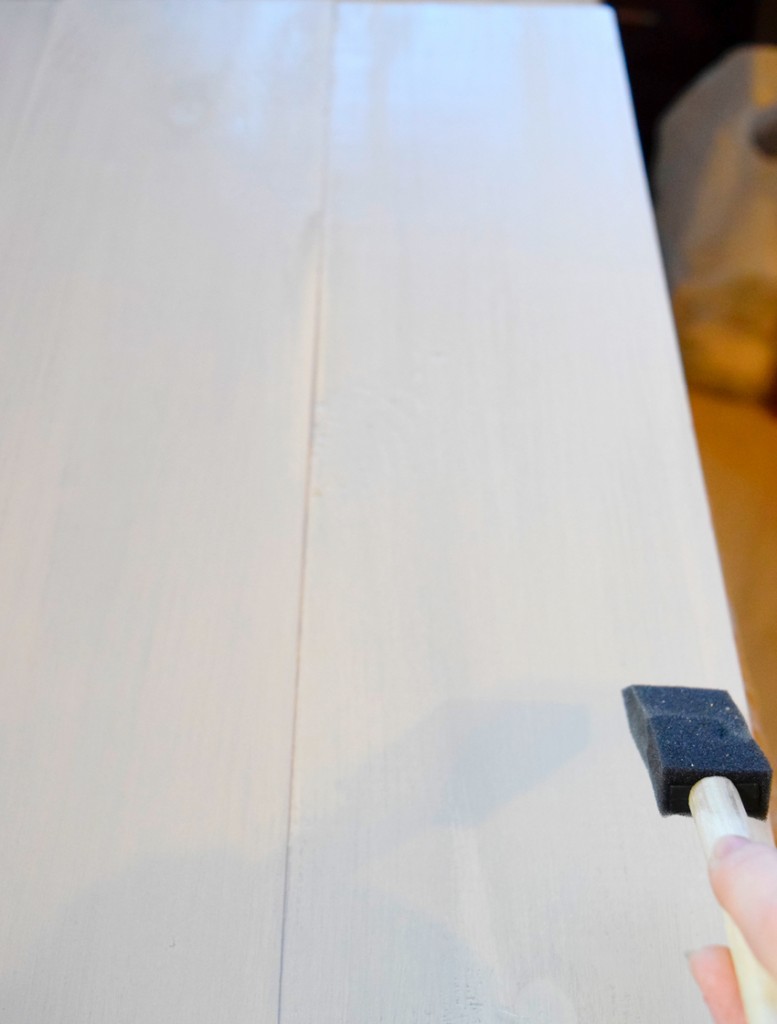
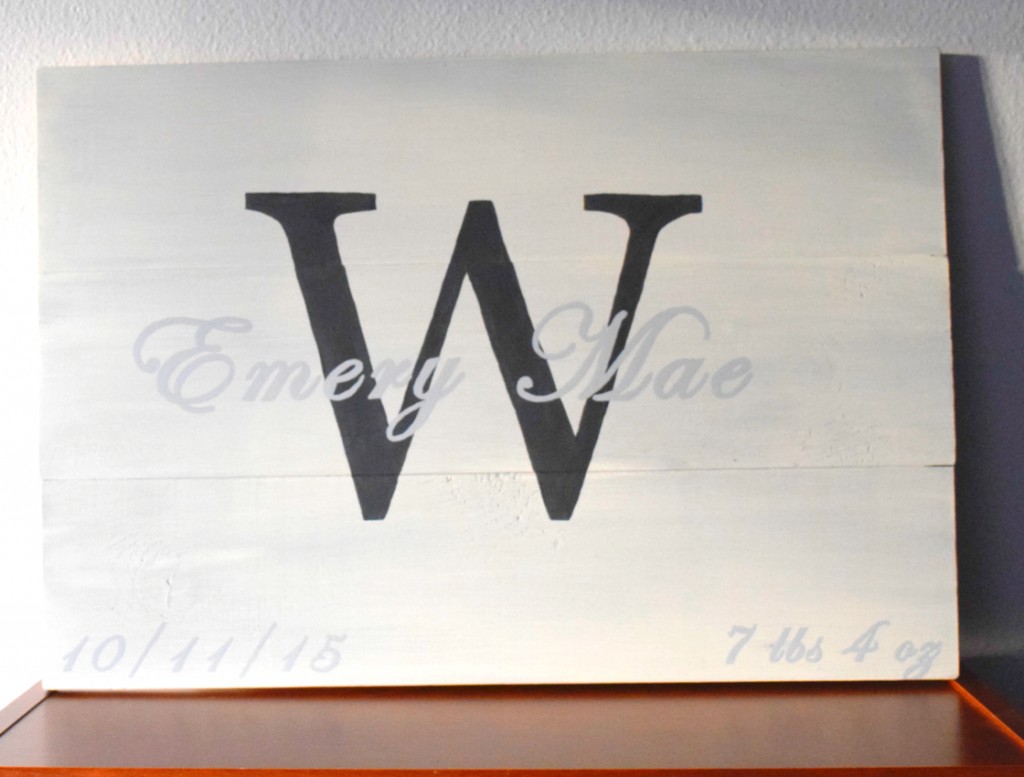
But for my friend Laura’s new baby girl I wanted to go with a different look and started by painting it with Annie Sloan’s Old White. I then applied a Paris Grey wash over the Old White with a sponge brush and then wiped it back with a dry rag. (A wash is created by mixing water in with a bit of paint, for this I used a 1-1 ratio)
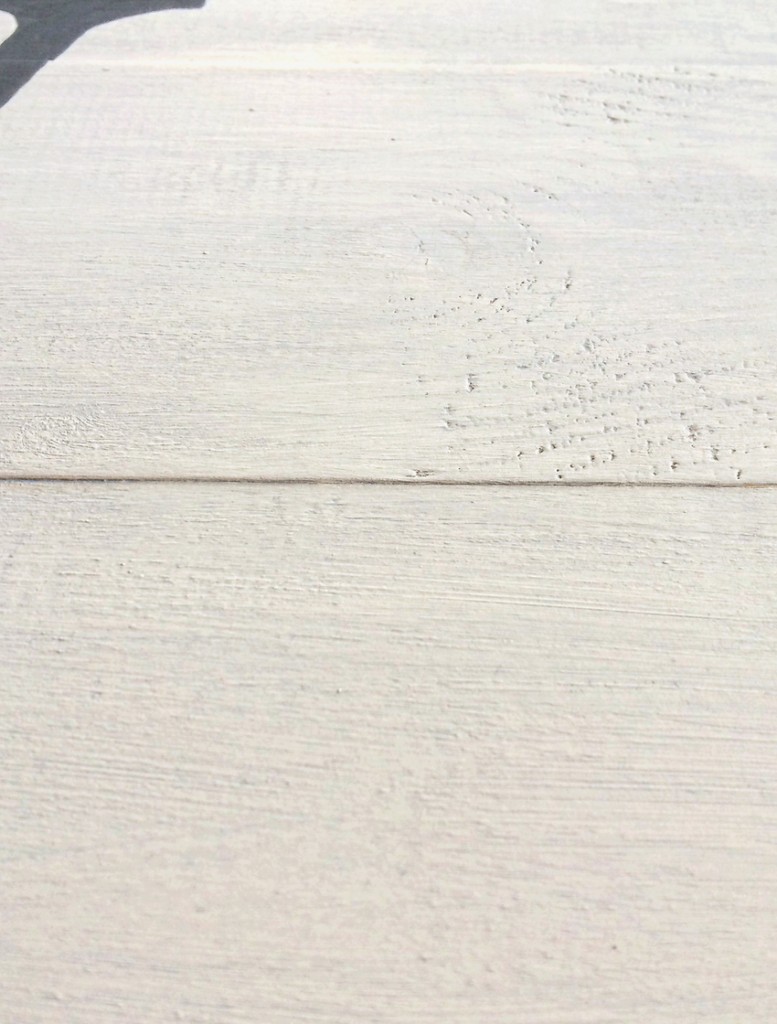
A closer look at what the Paris Grey wash looks like over the old white. It almost took on a purply-grey color, which I thought would be just perfect for a little baby girl!
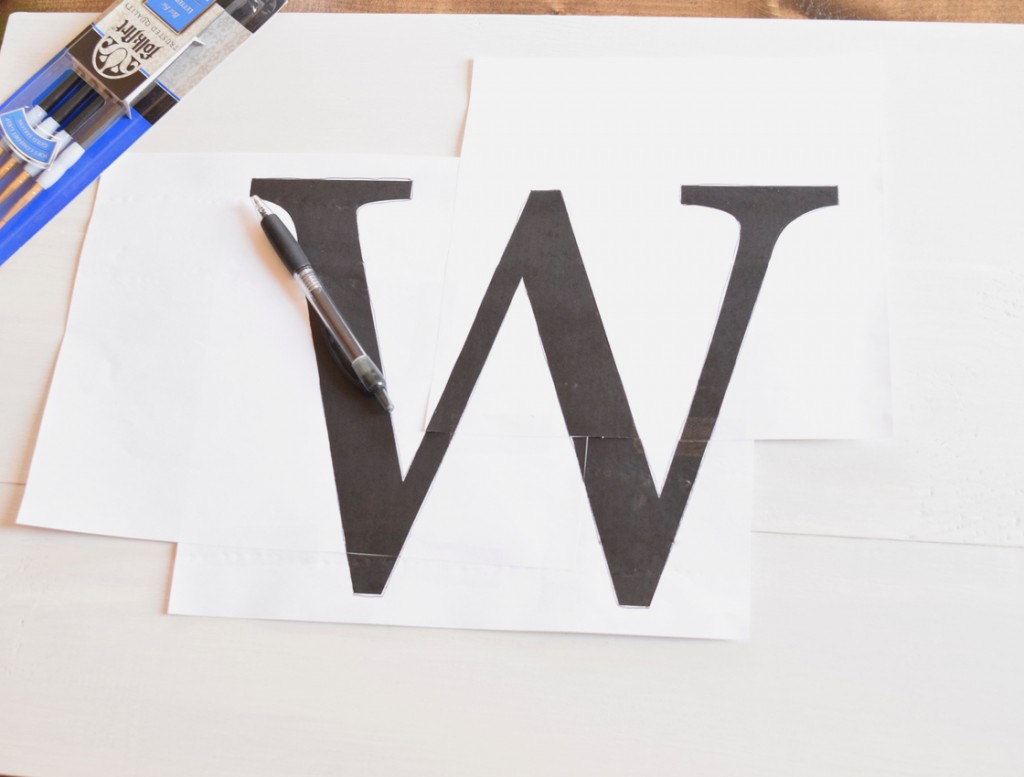
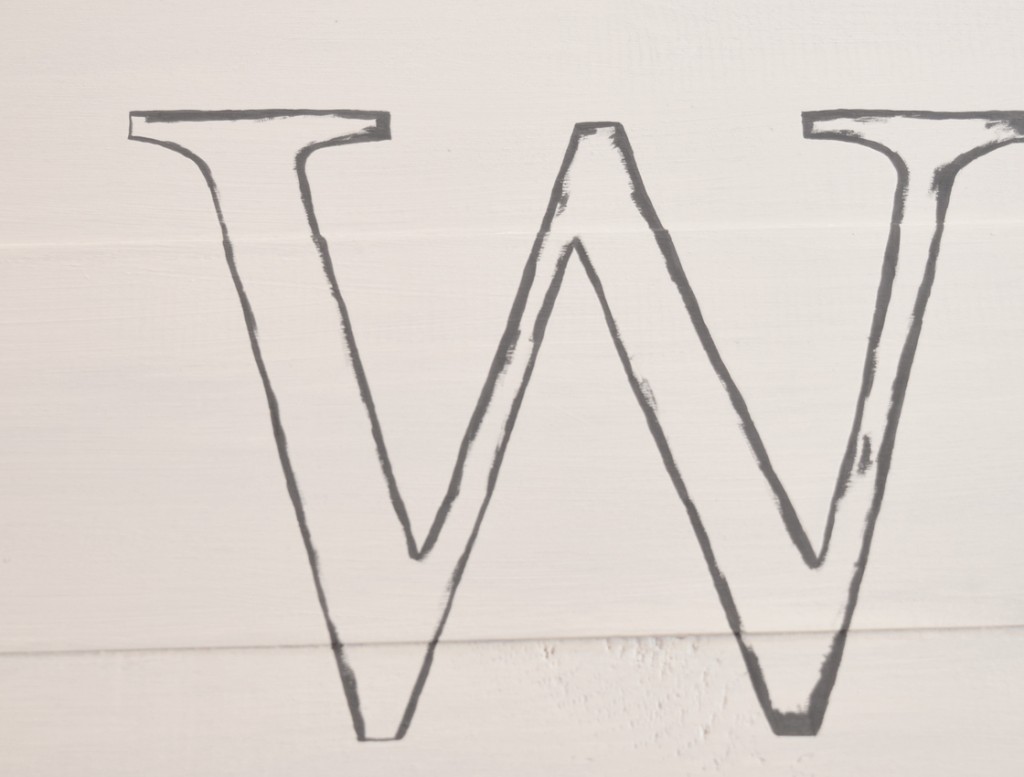
Once the base was completely dry I next began the letters. For these particular plaques I printed off what I wanted it to say from the computer, placed the letters on the board, and then traced over them using a ball point pen.
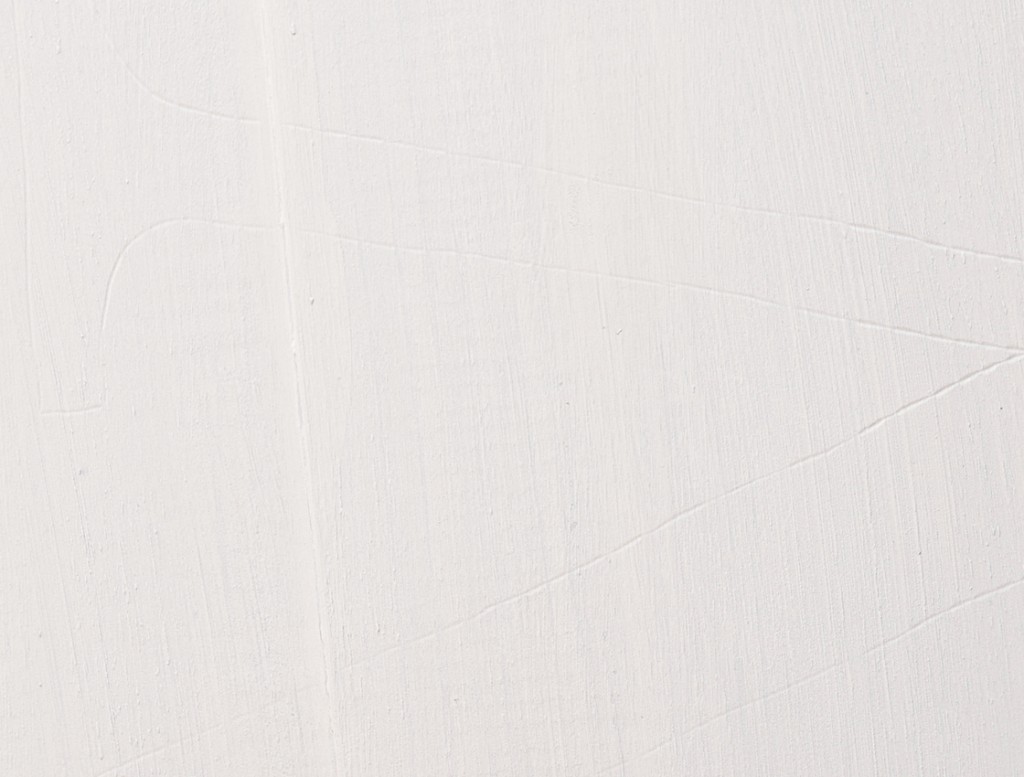
Since pine boards are a soft wood, the pen makes an indent for you to follow with your paint. (If your base color is a bit darker you may want to color in the back of the paper with chalk in order to see it easier on the board after you trace.)
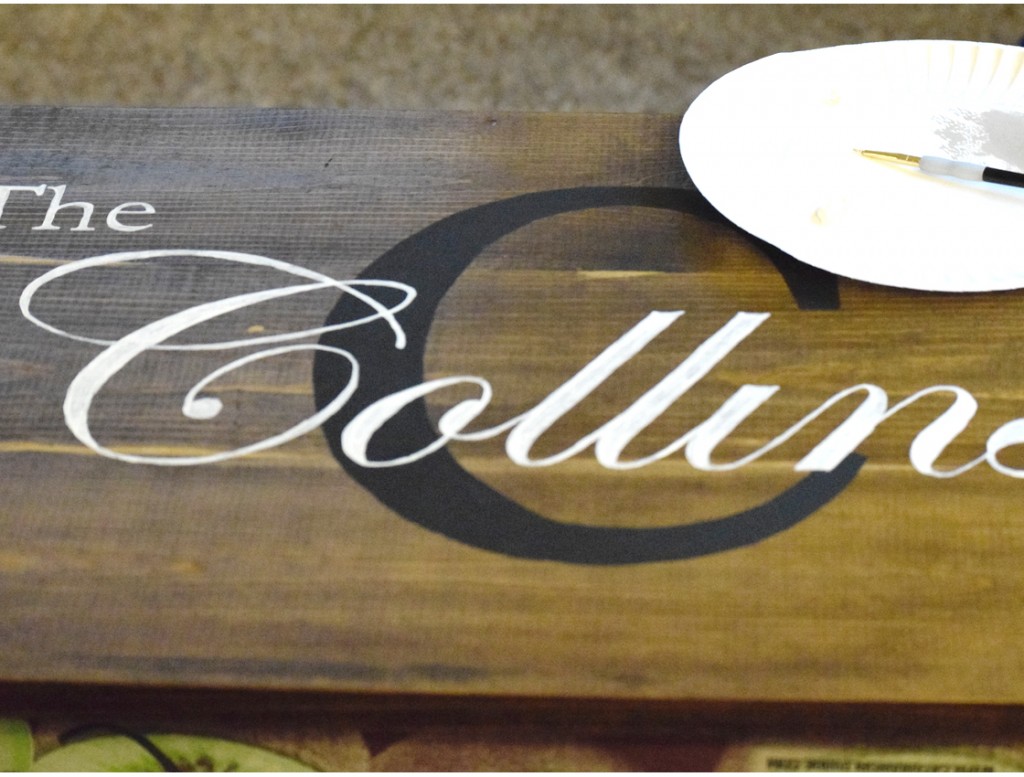
Then I outlined the letter with a small paint brush and acrylic paint and filled the letters in.
The large initial letter came first and after that was dry I went on to trace the name over the top as well as the additions on the bottom using the exact same technique.
The letters will probably need at least two coats, especially if acrylic paint is used, which is more watery.
There are so many different ways to customize a plaque of your very own, and they go with any kind of decor style. The stained board could be distressed for an even more rustic look or you could use any color and font pairings that would match your home.
And there you have it! Now you can make your very own wooden plaque! And if you are not a DIY-er just contact us and we can take an order and make one for you! For your own custom-made plaque please SHOP HERE.


Great Gifts for the ‘Farmhouse Fanatic’!


This is so nice, I really like the idea of the family initial on the wooden board! So lovely!
Oh! I want to make one of these for my daughter! She just got engaged. 🙂 Thank you for sharing this project at Dishing It & Digging It! 🙂 We enjoy having you each week!
Thanks so much Lori! That would make a perfect gift for your daughter. Very personalized and would be so cool that you made it!
Like the concept you’ve come up with. Going to put it on my list for those long cold winter days when bigger projects are impossible.
Excellent tutorial and a beautiful finished product. Thanks for sharing at Monday Social. We love seeing your latest creations.
Judith
Your wooden family sign looks so great! Thanks for the tutorial and for sharing at Snickerdoodle Create~Bake~Make Party. I’ll be featuring this at tomorrow’s party. Hope to see you there!
Thanks so much Beverly! We appreciate the feature!
Your sign is beautiful! Love this look! Thanks for linking up with Merry Monday last week 🙂
Thank you Emily!
This would make such a fabulous gift! Thank you for sharing with us at the To Grandma’s House we go link party last Wednesday, you will be featured in the next party starting tomorrow morning!
Thank you Tarahlynn! We actually had some custom orders for these for christmas gifts this year!
I love the plaques. Thank you for sharing. Do you happen to know what the font is that you used for “Collins”?
Yes, I’m seconding Kara’s request for the name of the font.