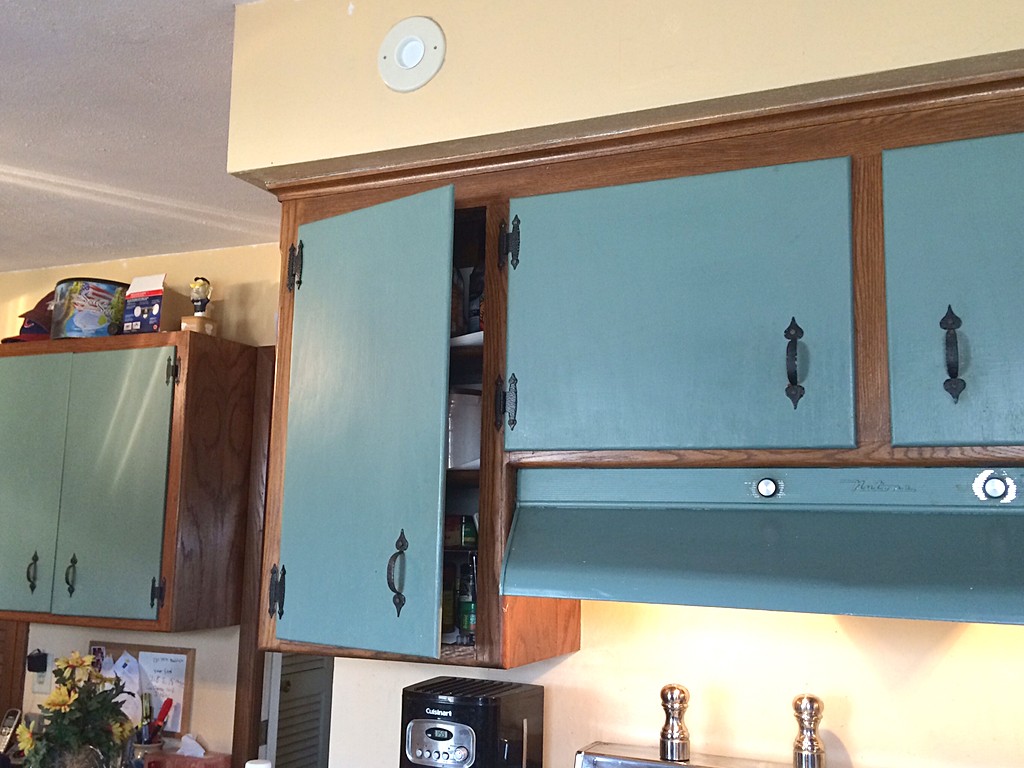
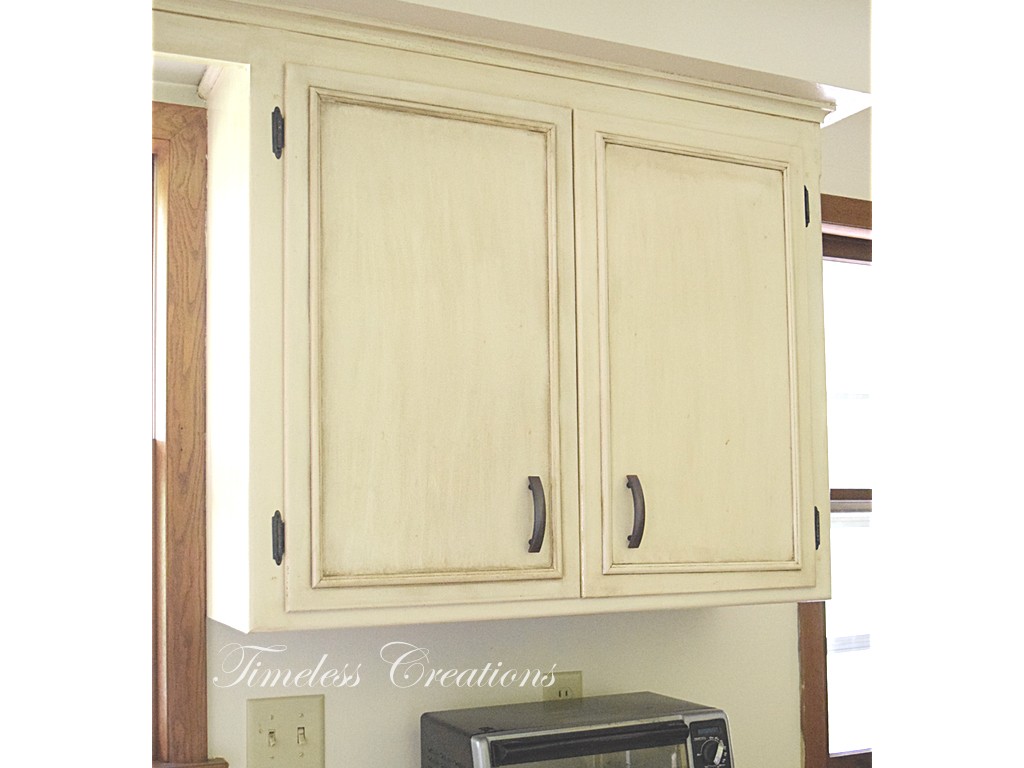
When Kristen and I were asked to revitalize the kitchen cabinets for Kristen’s in-laws, we wholeheartedly agreed that we needed to do something to add a little detail to some very plain, unadorned cabinets. We not only needed to change the color scheme, which the homeowner was more than tired of, but we also thought adding some detail would update these cabinets very nicely. As you can see from the before pictures, (below) the front of the doors and drawers were very plain.
For your convenience in locating products we have used, this article contains affiliate links. All products are items we use ourselves and have formed our own opinions on. For our full disclosure go to our “Disclosures” page.
What you will need:
- Molding
- Wood Glue
- Miter Saw (this is the one we have now)
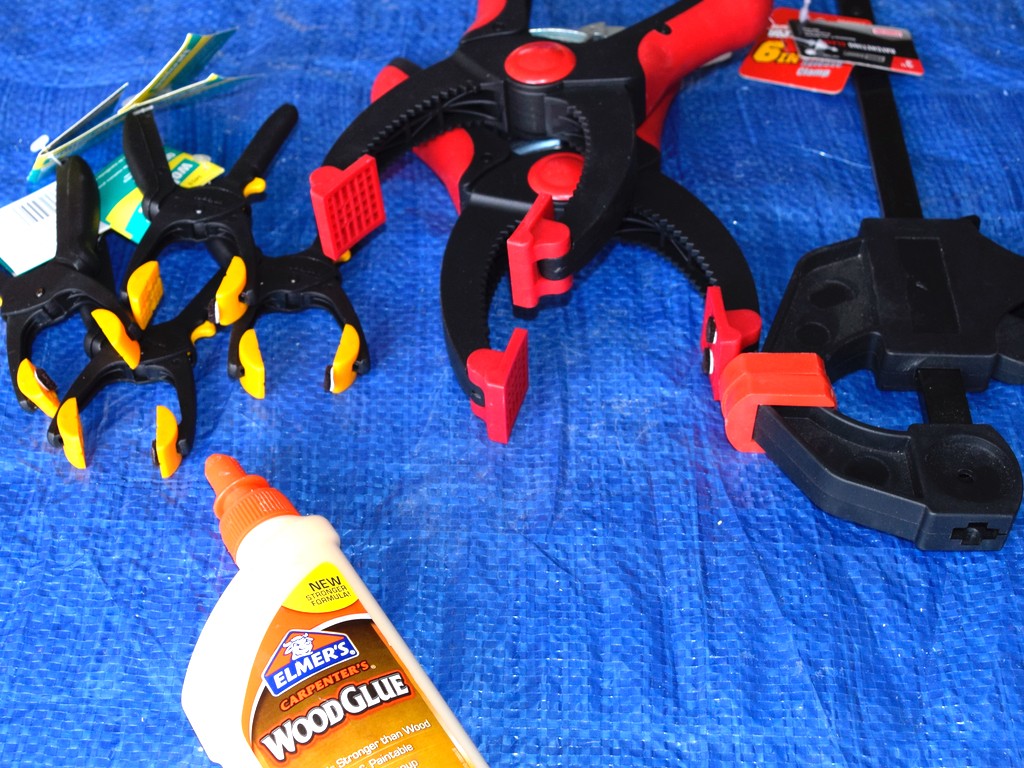
- Clamps
- Pencil
- Measuring Tape
- Paper Towel (for glue spills!)
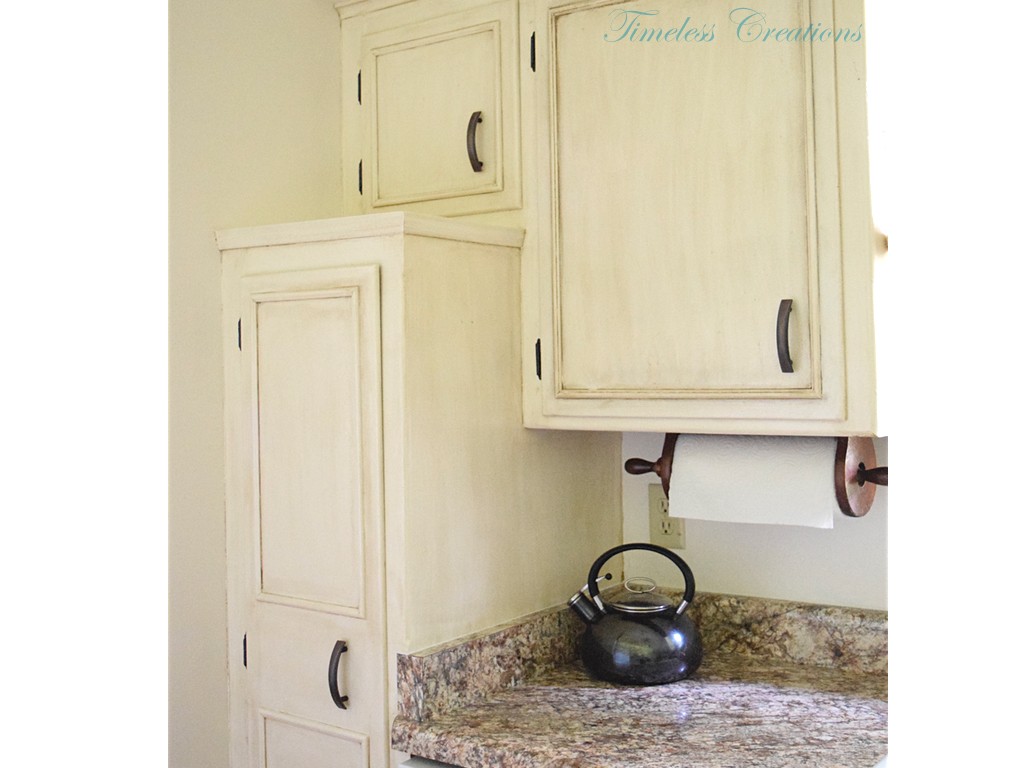
Since many of the cabinets that we have recently seen were a beautiful cream color with a brown glaze, and many of these cabinets have molding that allowed the glaze to bring out those details, we thought this would be an excellent option for the homeowner. We presented our ideas to the homeowner and she was thrilled with the possibilities!
After further discussion, we opted to leave the drawers plain and apply molding only to the doors of the cabinets. We thought putting molding on both the doors and the drawers might look too busy. We didn’t want to overwhelm the space with too much detail, but enough to be tasteful.
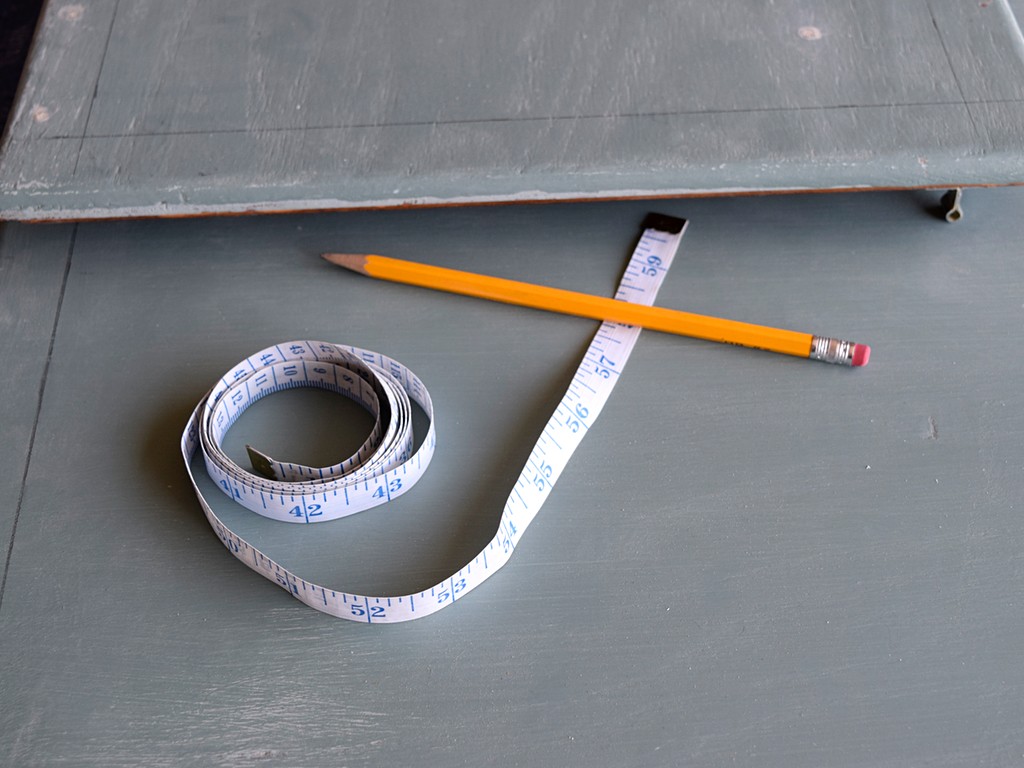
The first thing we did was decide upon how wide the molding should be and how we wanted to place it on the doors. Since these were existing doors and we needed to work within the parameters of the door style and where hinges and knobs would be placed, we opted to go with a small 17/32″ wide pine molding from Home Depot. Once a decision was made on the size, we needed to decide on the placement of the molding on the door itself. We cut out a paper template the width of the molding we had chosen. Once we laid the template on the door, we could see how far we wanted it to be from the edge of the door and the outside edge of our paper template. We used this measurement to mark all the doors and draw a light line on each door where the outside edge of the molding would be.
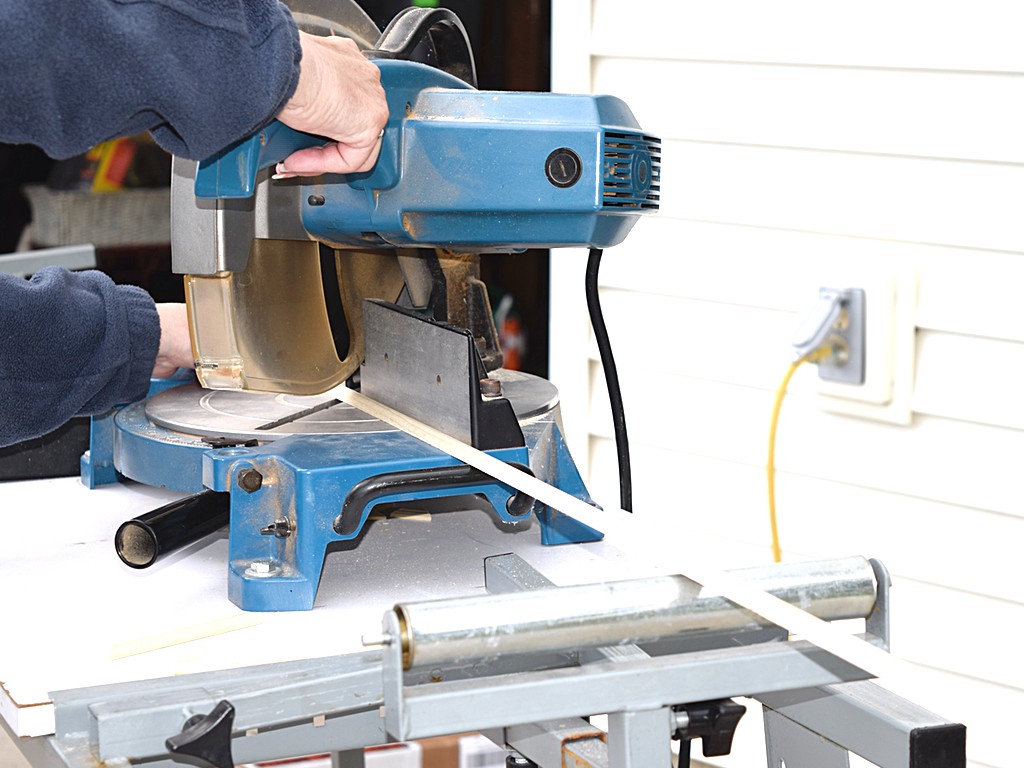
Now it was time to actually cut the molding using our miter saw. This job fell in my lap since I am a little braver with using the miter saw! Once each door was measured and marked for the molding, I measured out our first piece of molding based on the length of the first line on the door, as well as placed the molding along that line to double check that my measurement was correct. I needed to be sure I was measuring the outside edge of the molding and not the inside edge, since the 45 degree angle of a miter cut makes the inside edge shorter.
I positioned my first cut piece of molding on the applicable marking of the door, then measured the marking for the next mark that was perpendicular to the first piece and marked the molding at the outside edge directly in the corner where the pencil drawing was on the door. I also found it helpful to place a small slash mark on the molding in the direction that the 45 degree angle needed to be cut. This saved some confusion when going to the miter saw to make that next cut since the angle has to be opposite of what you just did. I continued around the door in this same manner following the pencil lines on the door until all four pieces were done.
After the pieces of molding were cut, I turned the door and pieces of molding over to Kristen for the next step of gluing them to the door. We used Elmer’s Wood Glue to glue the molding to the door and clamp (these clamps are the best!) them for drying.
One thing to note: be very careful that the molding does not shift while putting the clamps over it. That wood glue does a very good job of holding the molding in place and it is impossible to remove the molding once the glue is dry!
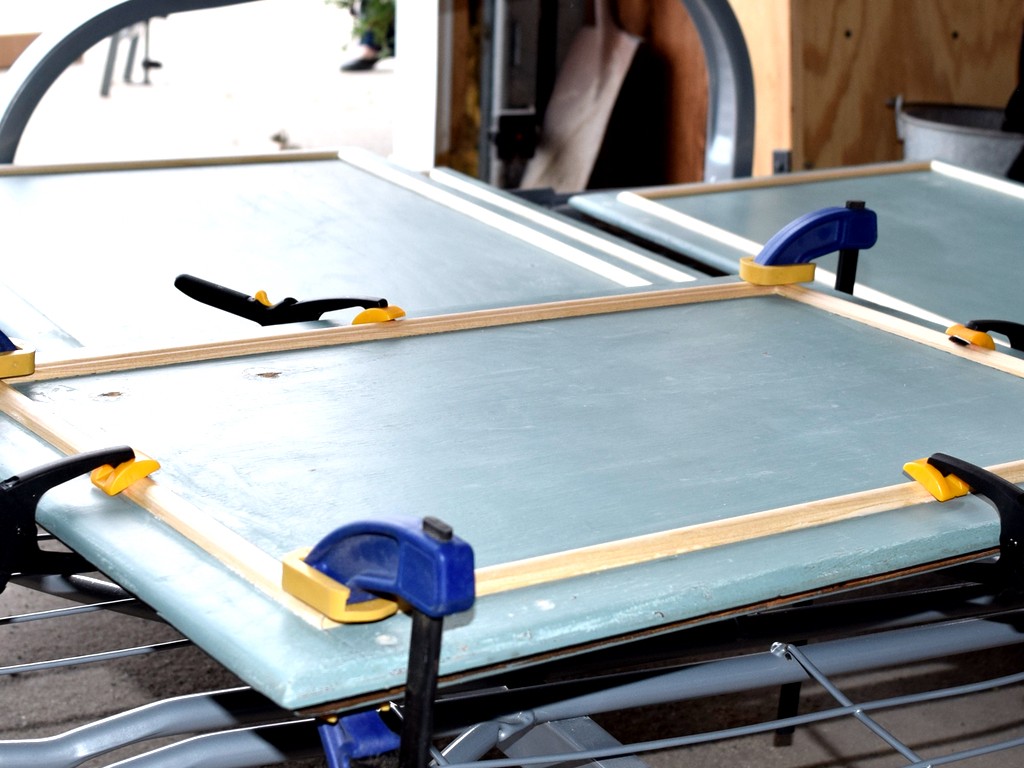
Another thing to note is that when we used clamps to tighten the molding down on the door glue would squeeze out from under the molding. We kept a slightly damp rag (an old t-shirt works great for this!) handy to wipe that glue away before it dried. It is much easier to remove the glue this way than after it dries!
Now some people might have chosen to also use finishing nails in each piece of molding for extra holding power, but we decided that due to the small size of the molding, the strength of that glue, and because we would be painting over the entire door, that molding wasn’t going anywhere! So we opted to skip that step.
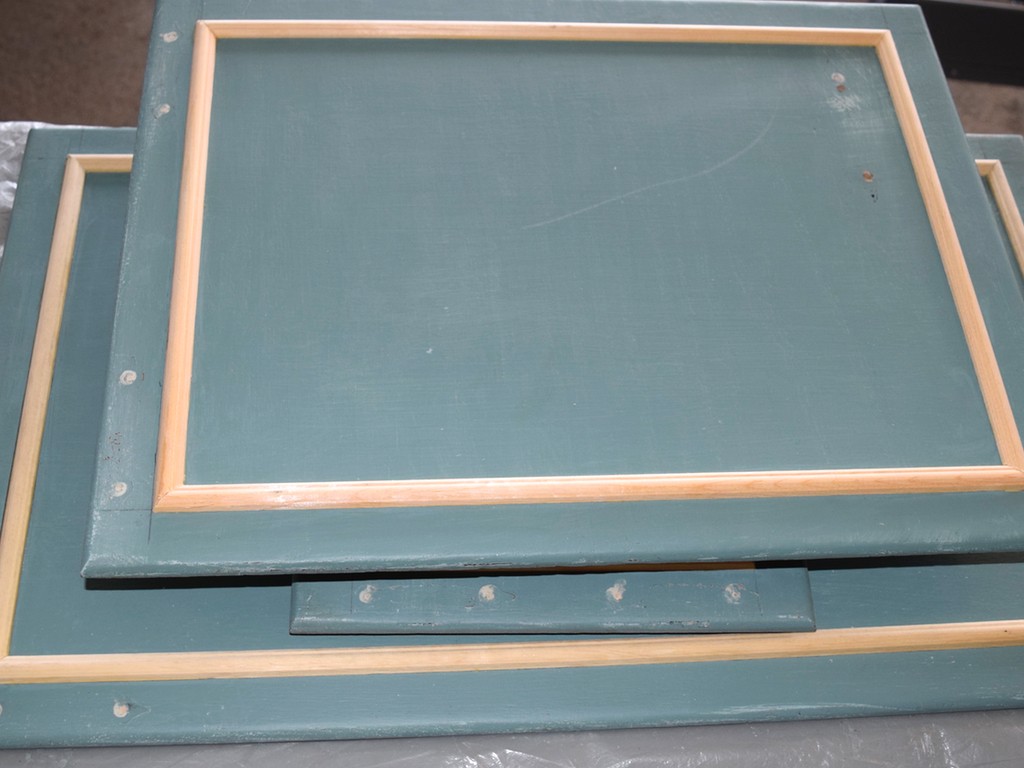
We left the molding clamped for at least 30 minutes so the glue could dry in accordance with the instructions of the glue manufacturer. Once the glue was dry, we could remove the clamps and we were ready to paint!
See our post here for painting the cabinets!
More you may also love…




Leave a Reply