Hi again and welcome to Week 4 of the One Room Challenge, a makeover series hosted by Calling it Home. Each of the 20 handpicked designers and all of the hundreds of home bloggers get 6 weeks to complete one room makeover in their homes! We have already shared our room inspirations, one furniture makeover, a DIY decor item and now for this week we have completed our second (of three) big furniture items!
If you missed any of the earlier posts you can catch up with them Here:
Week 1 / Week 2 / Week 3 / Week 4(You are here) / Week 5 / Week 6
I will admit, this last week was not a super easy one. We had to get back into the swing of things after vacation and I didn’t choose a very easy project! While Vicki and I makeover furniture all the time, this particular one did challenge me a lot. Let’s dive right in and I’ll show you something we have not tackled yet!
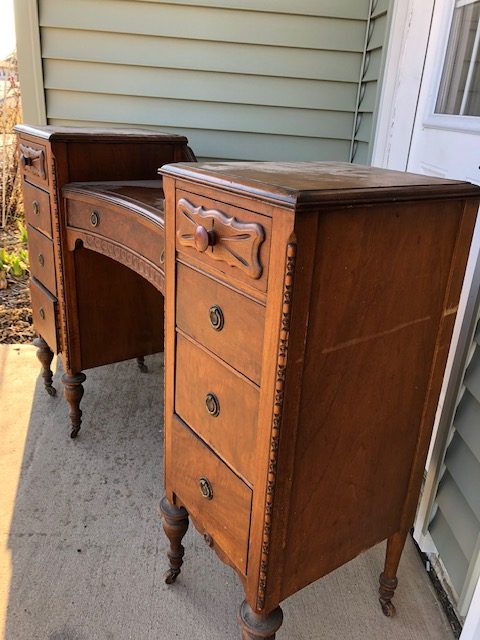
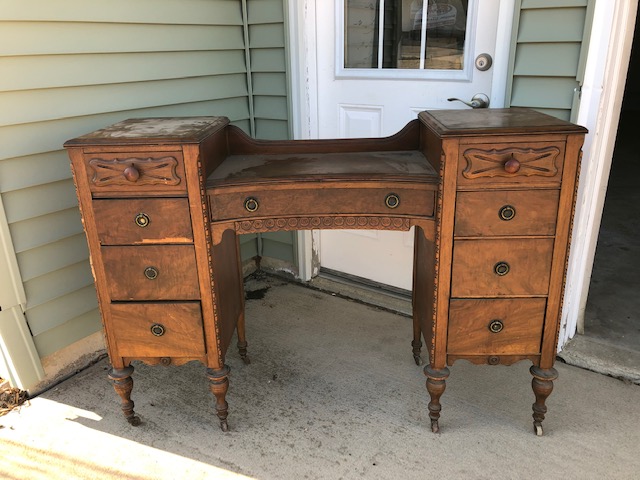
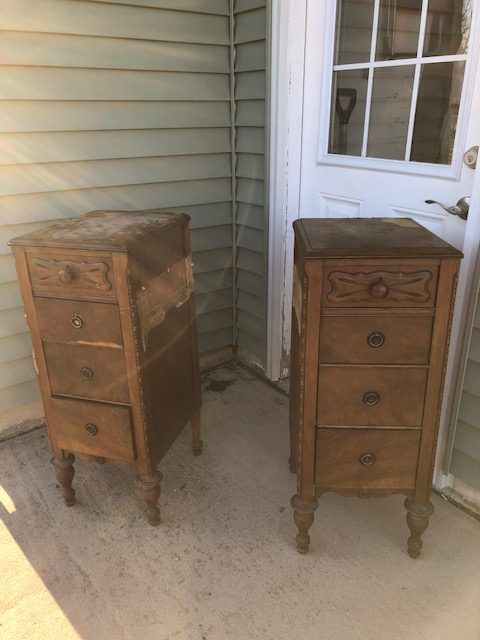
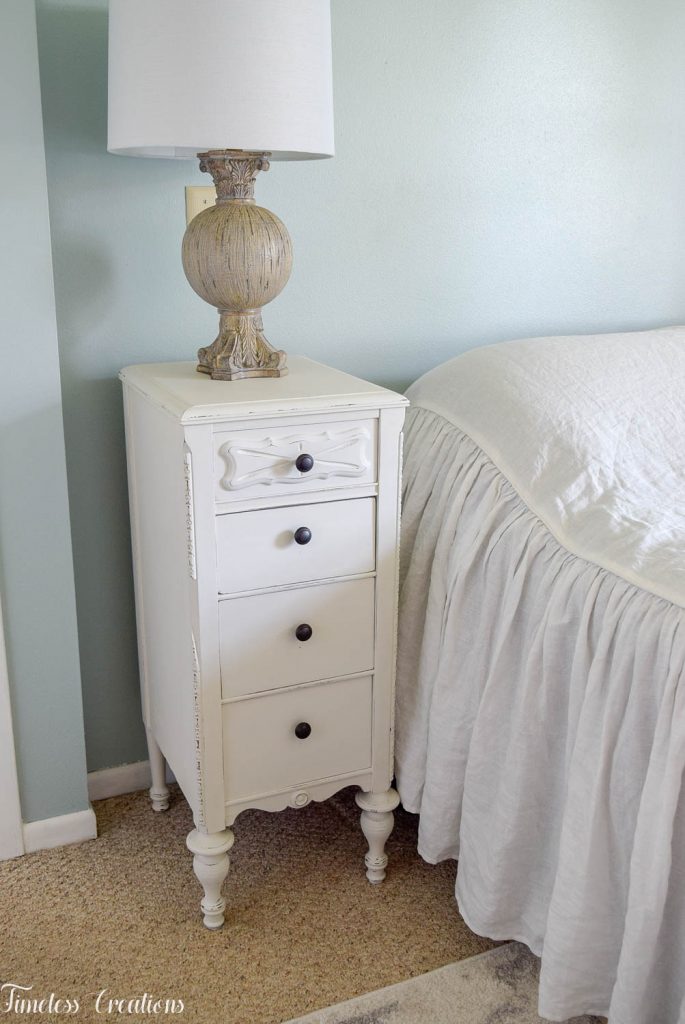
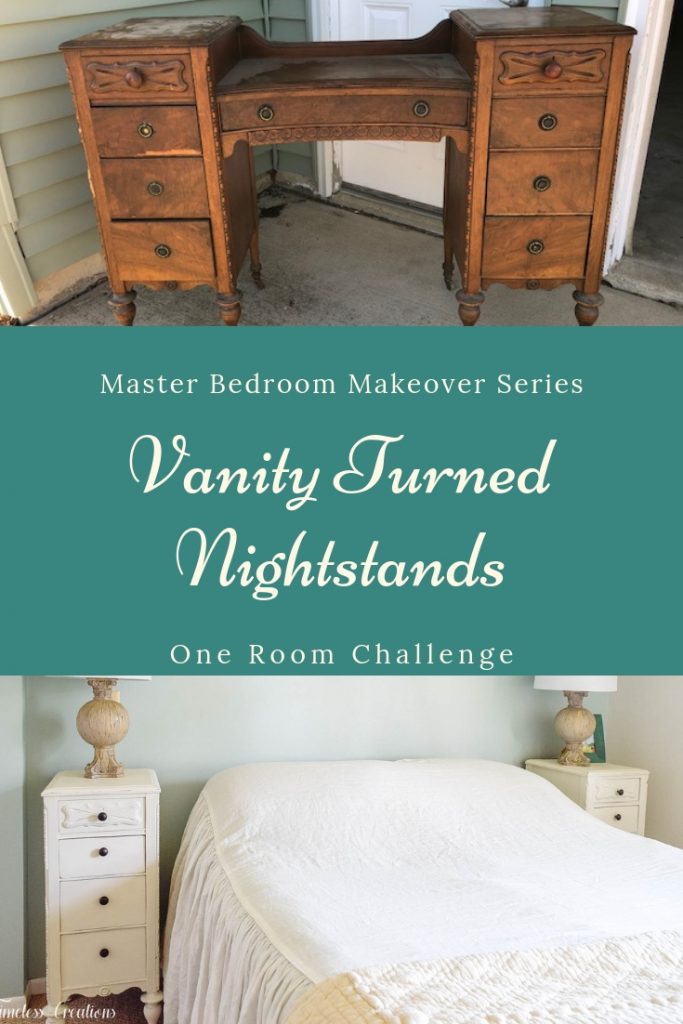
All over the “furniture social media world” I have been seeing other artisans taking old vanity’s apart and creating two matching nightstands out of the sides. I have admired these projects and have always wanted to try it out! I actually picked up this particular nightstand last summer, ready to try my hand at taking one apart. Needless to say, since it was for my house, it got pushed to the back of the project list!
We started the project by taking it apart. This particular style of vanity was fairly simple actually to take apart since the middle piece was completely separate from the two end pieces. “Separate” meaning they didn’t share a top. I had previously watched a video of another furniture artist taking apart a vanity similar to this and all they did was sit in between the leg area and push the two ends apart! I shared a video of this in our Instagram Stories last weekend.
This part was fairly simple to complete surprisingly. There was no top to take off, and the vanity pushed apart pretty easily. It was the next step that was the challenging part.
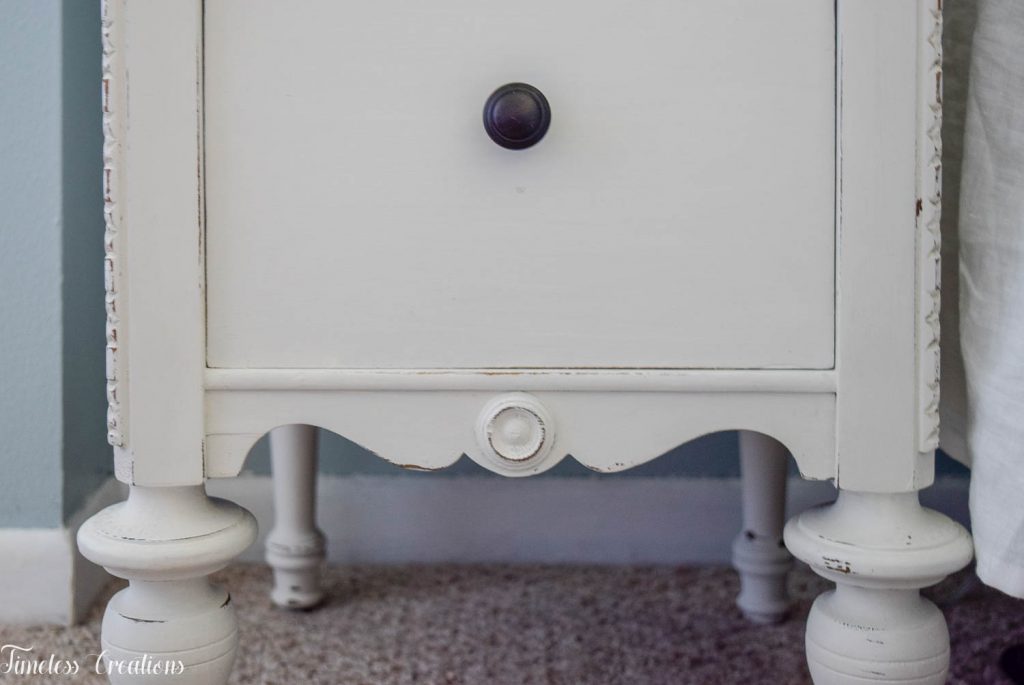
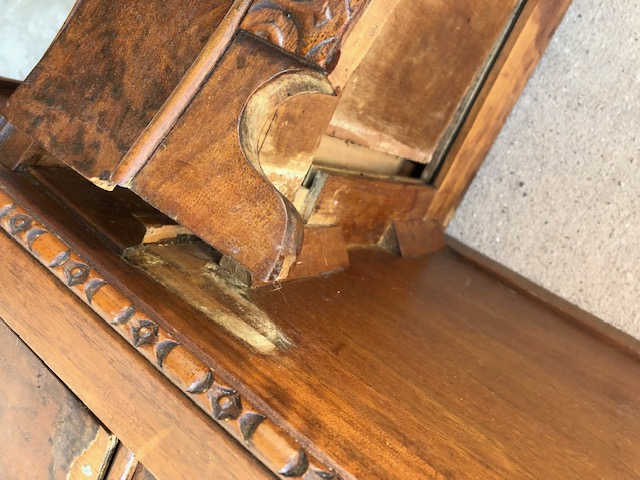
There was so much prep work for this piece before I could get to painting! It had veneer peeling up, joints to re-glue, large holes to fill from nails, and lots of sanding! I think I spent a good two days just on fixing it. Then when I finally got to the point of painting it a beautiful white, the wood started bleeding through…so out came the stain blocking primer! I was a bit disappointed since I was hoping for a chippy white look, but I figured I could still distress the piece for a similar look instead.
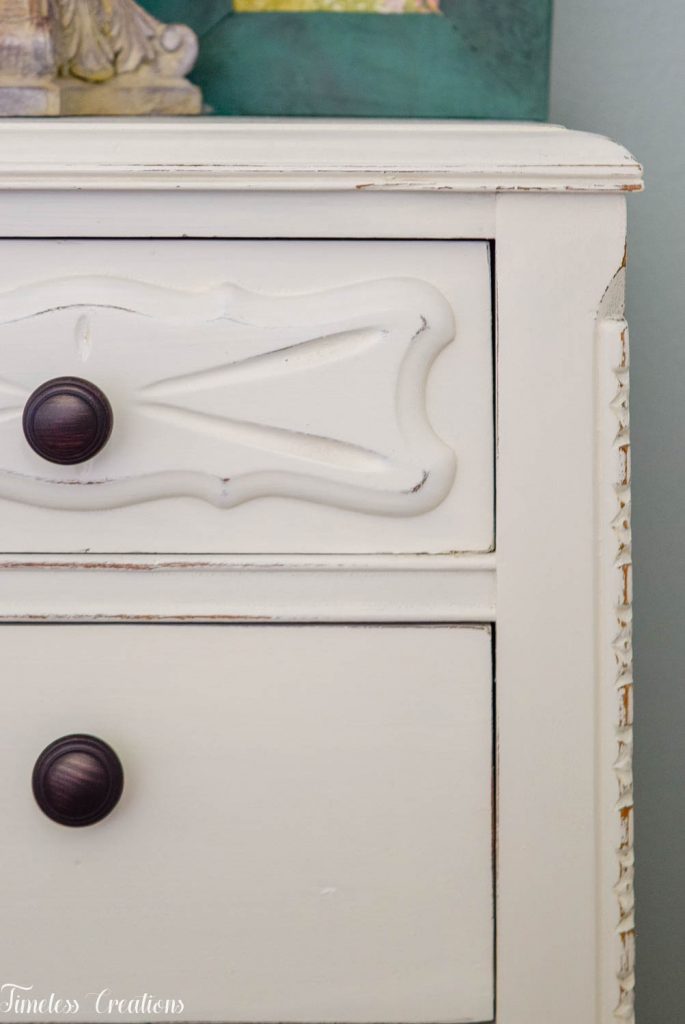
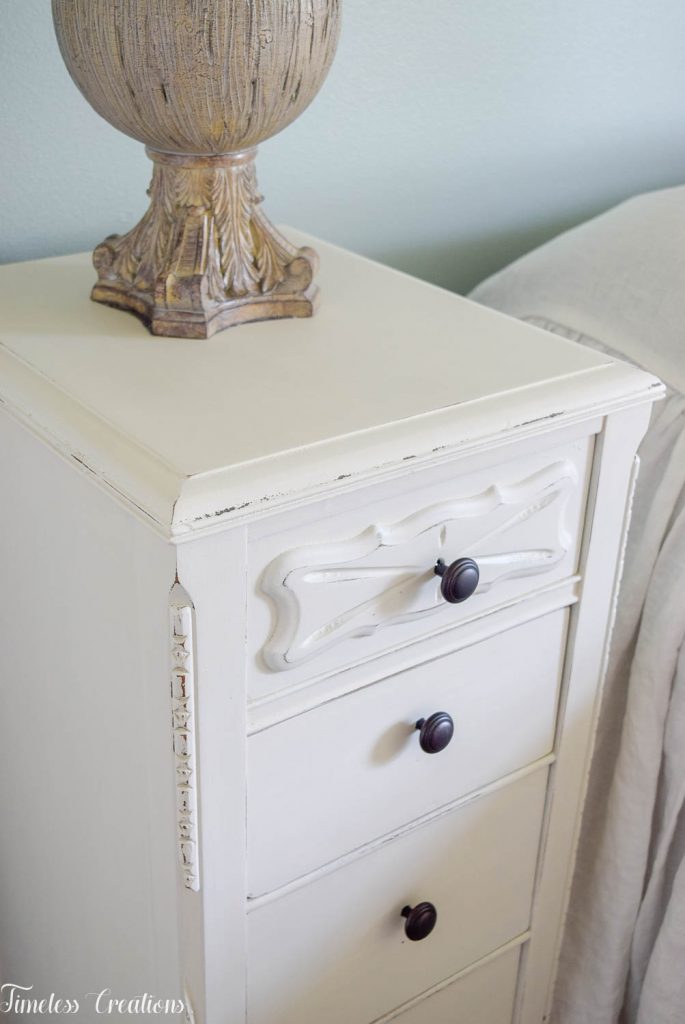
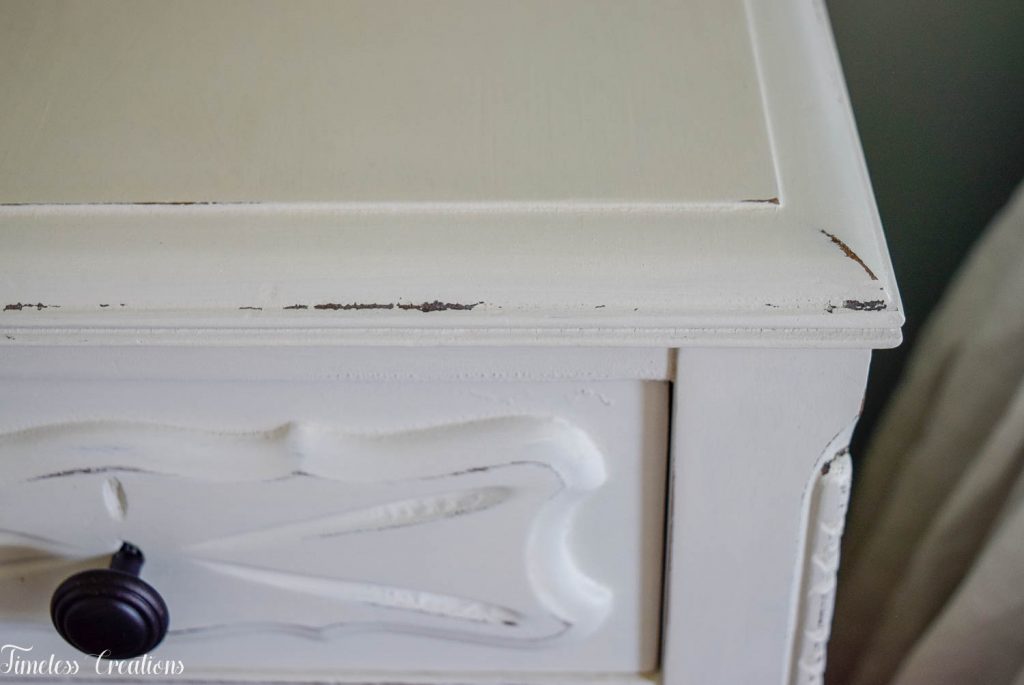
I only applied one coat of primer under the white paint and it worked perfectly to block the stains. I then painted these two beauties with Miss Mustard Seed’s Milk Paint in “Farmhouse White”. We retail this Milk Paint in our store and it is one of our favorites to use! The colors are absolutely beautiful and is truly the only kind of paint to get that authentic “chippy” look from. (For more “chippy” inspiration check out our post HERE)
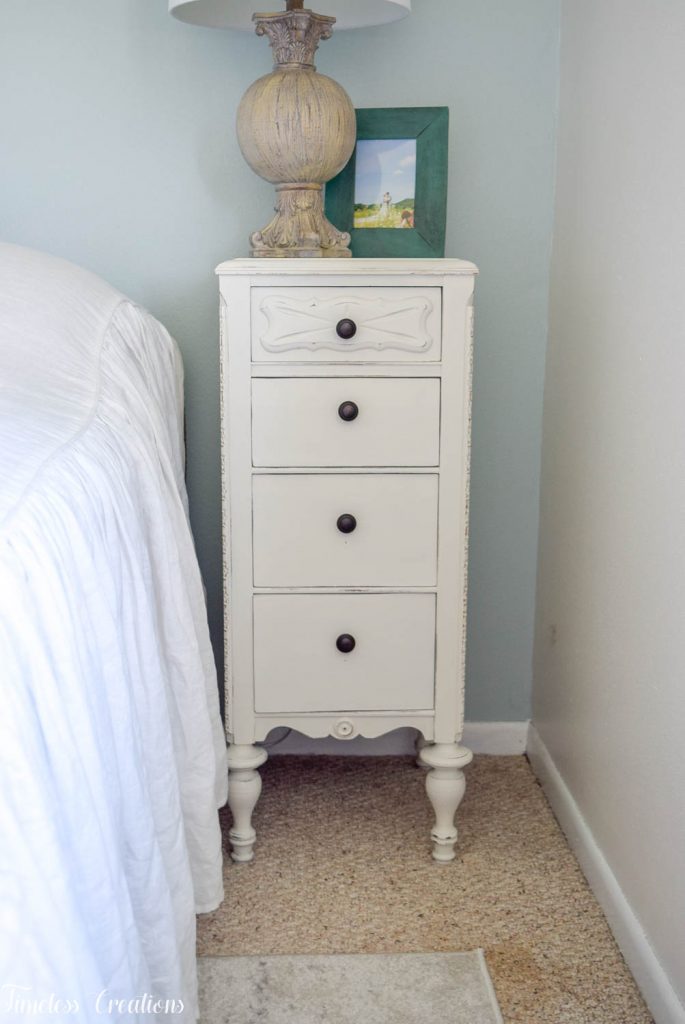
Once the painting was complete I was really excited to see that the nightstands were indeed chipping in some of the edges where the old varnish had bubbled! It wasn’t a ton of chipping so I supplemented it with more distressing to achieve the look I was going for. A quick coat of clear furniture wax over the top and these were just about finished!
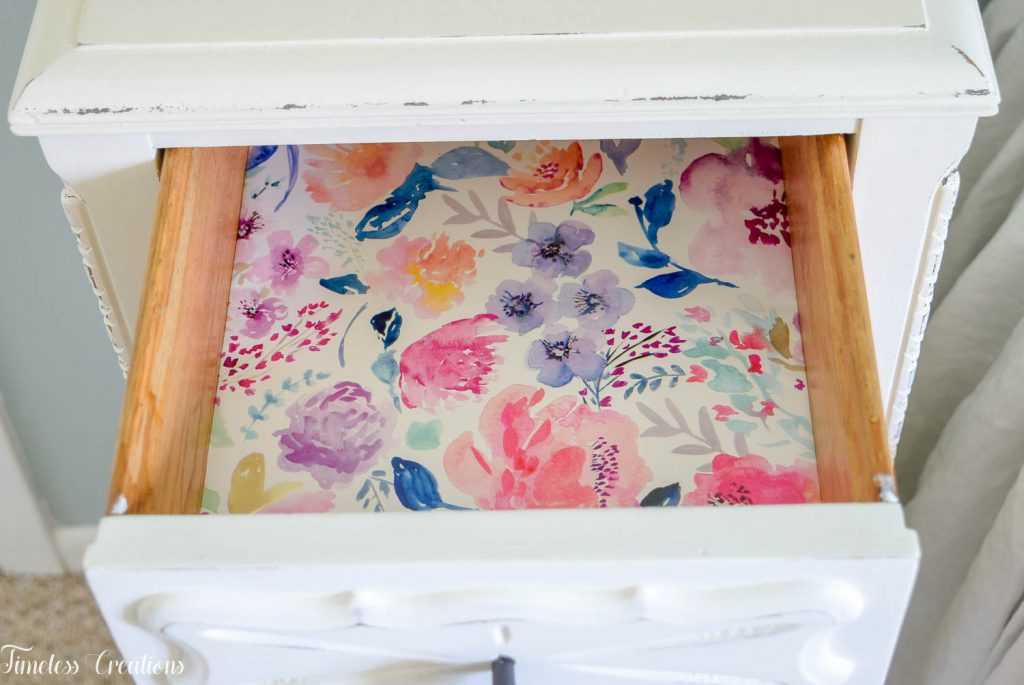
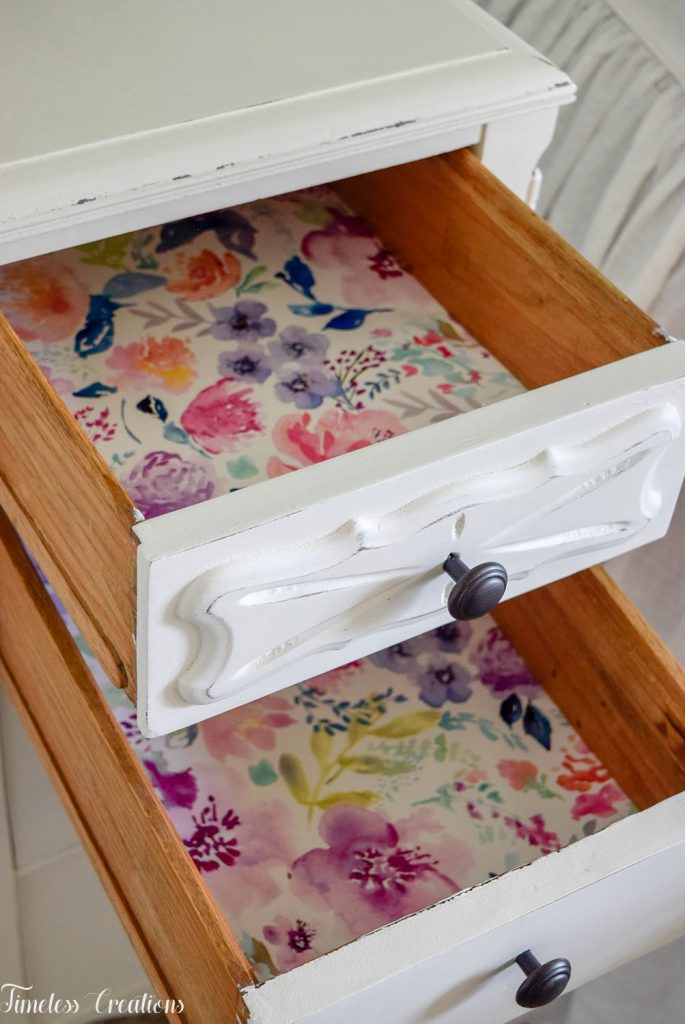
The topping on the cake so to speak is when you open the drawers! I lined them with some beautiful floral paper from TJ Maxx! I didn’t feel like the colorful floral paper was necessarily “french style” however the pattern and colors made me really happy. Now when I go to open these drawers in my bedroom and they put a little smile on my face, that is all that matters!
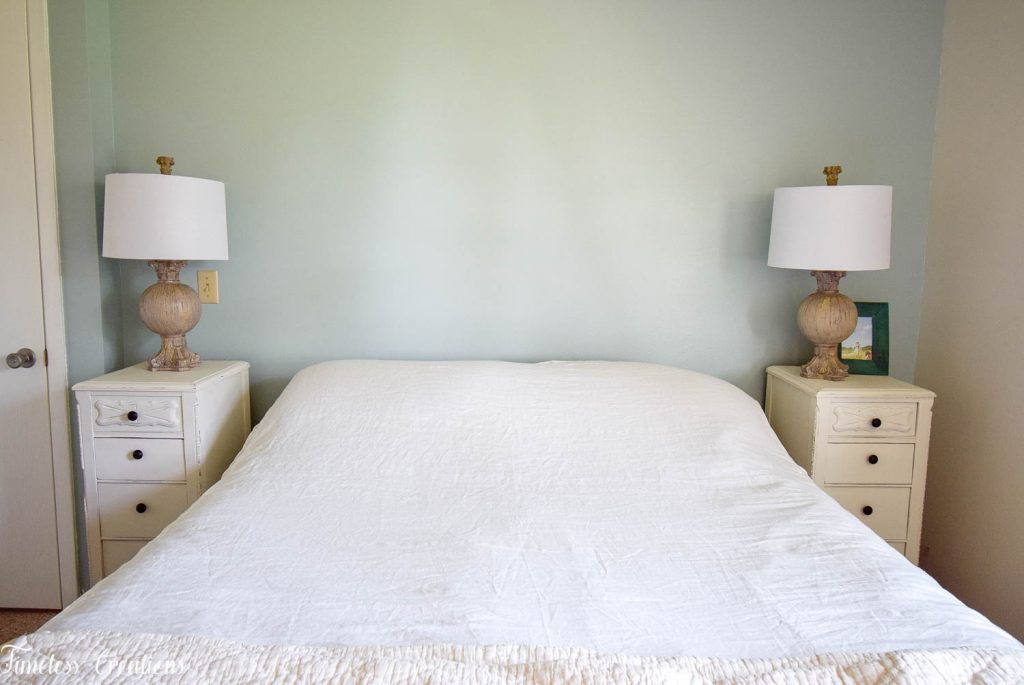
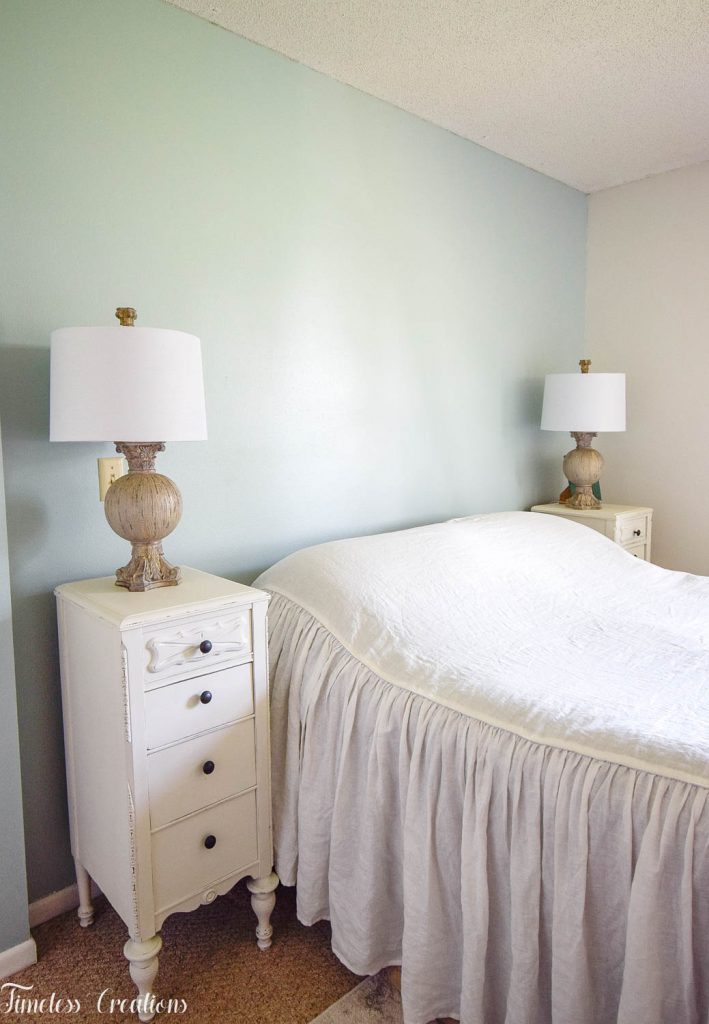
I am definitely in love with my new nightstands, and couldn’t be happier with the way they turned out! They are exactly the vision I wanted in my bedroom, mixing french country and farmhouse styles. They are also pretty much the PERFECT size for our bedroom too. We don’t have a lot of space in our room so skinny was definitely a must.
The One Room Challenge is quickly coming to a close so let’s take a look at all we have accomplished so far and all that we need to do yet.
Purchase new beddingPaint “new-to-me” dresserFind and makeover nightstands OR build nightstands- Build a headboard
- New curtains or DIY curtains
- Make or purchase decorative pillows
Rug for under the bedNew Light Fixture (?)Paint hexagon wall hanging (Already have, just needs a makeover)Purchase a farmhouse riser for top of dresser from ourStore(We LOVE our risers and plan to use them all throughout our homes!)- Decorate
Whoohoo! I am actually doing better than I thought! I have received all of my purchased items, you got a peek at the new bedspread and the new rug in the pictures above. We have received the light fixture and have hung it already, but I didn’t want to show it quite yet. The headboard is going to be made this weekend when I get time. I have all of the supplies already and have drawn out the design, but hopefully the design I see in my head comes out perfectly! It is a fairly simple design so I plan on doing a great DIY tutorial for next week!
Thank you all for visiting our bedroom makeover series again! We so appreciate all of your kind comments and can’t wait to share the full reveal with you soon! If you want to see what other rooms are being made over by the other bloggers and designers don’t forget to visit the One Room Challenge website. See you next week!






Wow what a great way to up-cycle that piece into night stands they look great!
What a beautiful use for that vanity! And I love the color pops inside
Your nightstands turned out lovely! I love the paper you chose.
I always love a good upcycle. Great job with these nightstands!! Love the detail and color.
What a beautiful use for that vanity – the finished product looks wonderful and I love the drawers!
What a neat idea for the nightstands! I have never seen anyone take apart a vanity like that. I also love the floral paper in the drawers!
The nightstands came out great! Wonderful way to upcycle that vanity. Looking forward to seeing the reveal!
You guys! Loving the nightstands and especially the pop of color with that pretty print inside. 🙂
What a beautiful work of art ! You did not mention what you do, when the veneer is coming off? Interested to know, since you mentioned this as part of prep of this piece.
Thank you ! Sherrie
Hi Sherrie! When veneer is water damaged really bad like mine was theres not much you can do but remove it. Mine lifted up pretty easy with a metal putty knife, but you can also use a heat gun and putty knife too. I then used filler to make the spots even. You can use bondo or KwikWood In large areas you may need to score the veneer with a utility knife and take off to the cut area. Then you can glue in a new piece of veneer in the area and just fill the small line between the two. It just depends on how large of an area your veneer is coming off on! I will make sure to update the post with all the information for others. Thank you!
Thank you for sharing your idea. This is so perfect for what we need in our bedroom. Now I just need to find that vanity…
Hi Cindi!
So glad you like our project! Vintage vanities are not super easy to find nowadays, at least not in my area 🙂 I love how small they are yet they have great storage with all the drawers!