Spring Festival Blog Hop
Hey Friends! Welcome to our Spring Festival Blog Hop hosted by Kendra at Joy in our Home. Each season we team up with our fellow bloggers to bring all kinds of decorating inspiration just for you! So each day this week there is a new theme, filled with beautifully decorated spaces. We love joining in with Kendra each season – if you missed last springs inspiration post, see our Boxwood Spring Tablescape Here.
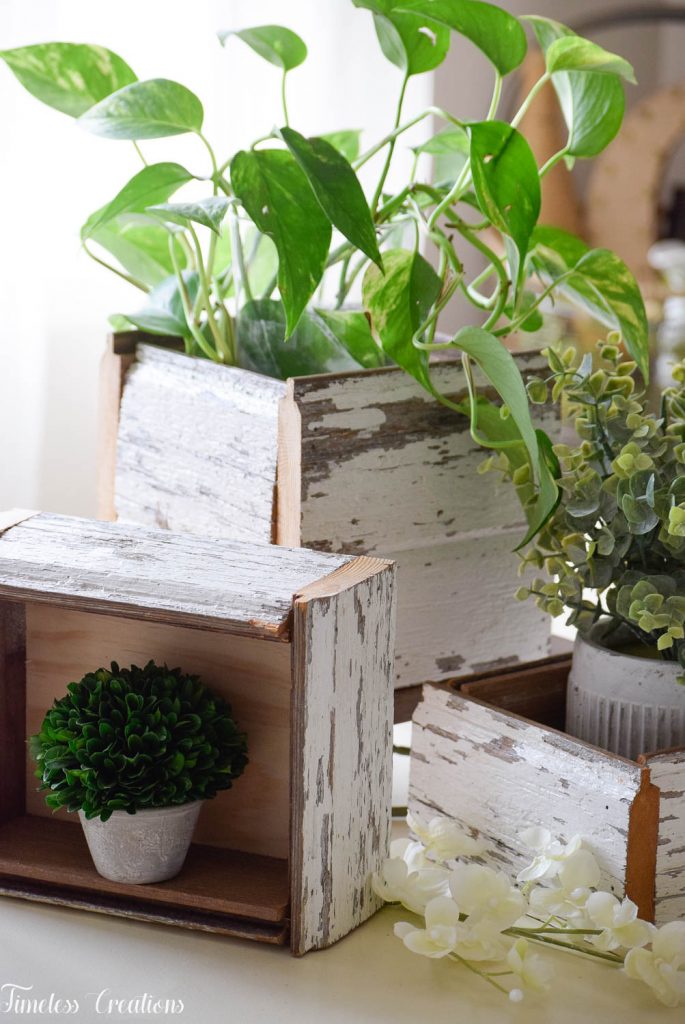
Today we are sharing our DIY decor for spring with a simple tutorial that you can easily follow to create your very own Chippy Planter Boxes!
Vicki and I have been busy getting our store ready for spring and one of our favorite spring items to find and make are planters! We both love to fill our outdoor spaces with plants when the weather gets warm enough and while thinking of items for our store I wanted to make some rustic planters for my home. My home is decorated in the farmhouse style so I thought some rustic chippy white planter boxes would fit perfectly! A few simple cuts from our miter saw, some glue and nails later and we had my “new” planters!
Here is what you will need to complete your project:
- Chippy Barnboard
- Miter saw (or other saw)
- Wood Glue
- Nail gun and nails
- Scrap board for bottom
- Measuring tape
- Sealer
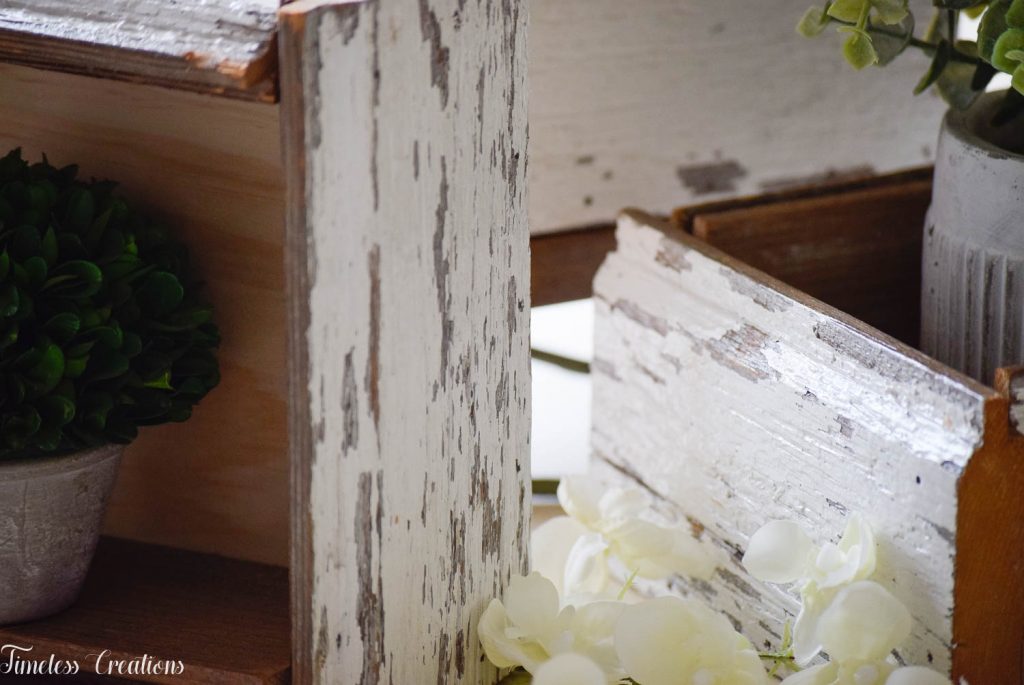
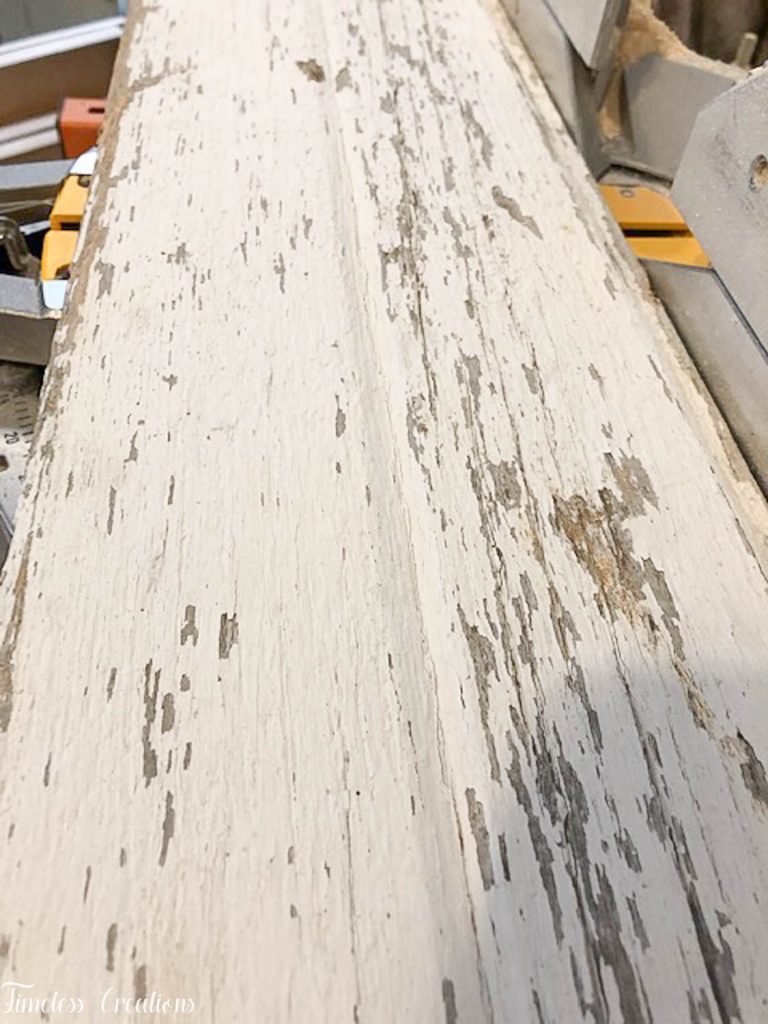
These beautifully chippy boards are original tongue and groove barn boards we purchased a while ago. You can literally use any kind of boards you prefer. And if you you wanted to use new boards there are ways to distress and create the chippy look. We prefer to use Miss Mustard Seed’s milk paint for that authentically chippy look!
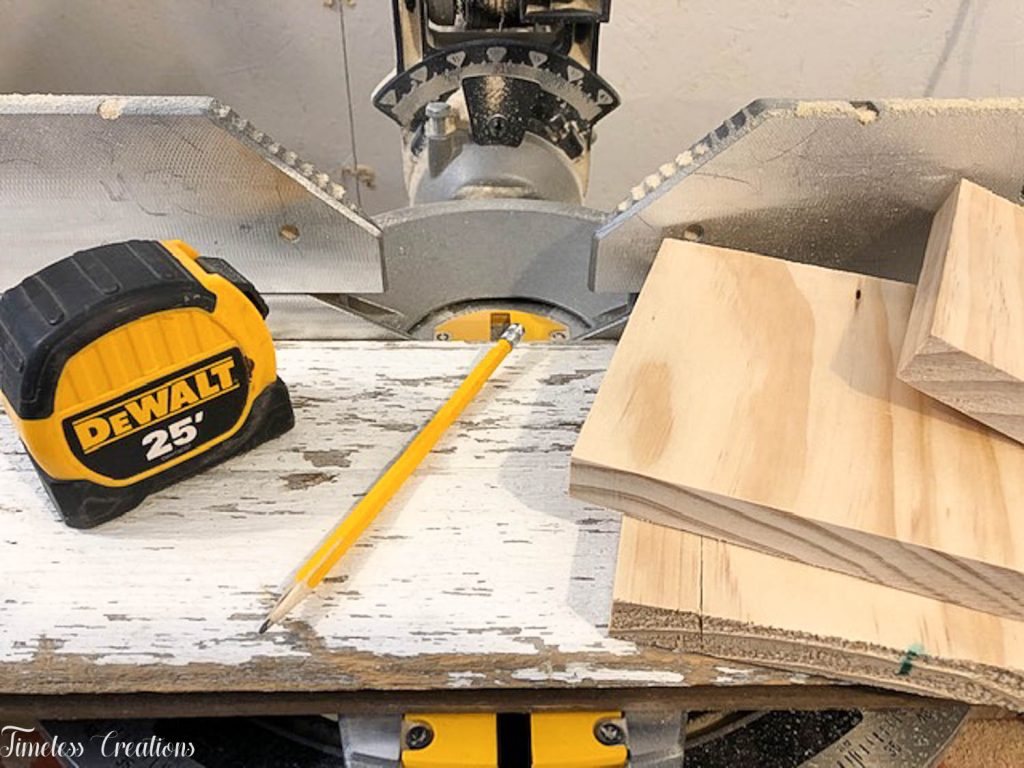
Start by finding a scrap board (or cut a board) for the bottom square. We have all kinds of scrap pine boards from different projects we have done in the past. We wanted to use a scrap board instead of the barn boards to ensure the box would sit flat and not wobble.
After you have found the bottom board you can take your tape measure and measure the sides. Start with one side, then do the exact opposite side (which should be the same dimension). Cut both of these measurements from your barn board. We cut the barn board the length of the bottom scrap and then cut that same barn board in half lengthwise to create the boxes that have lower sides.
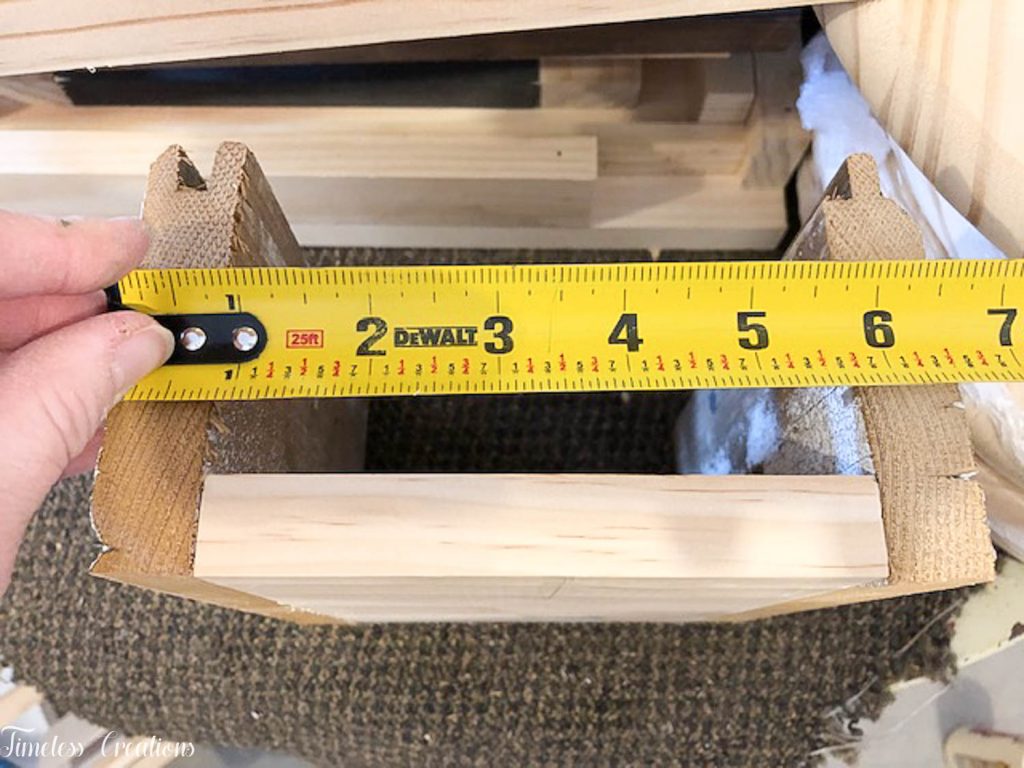
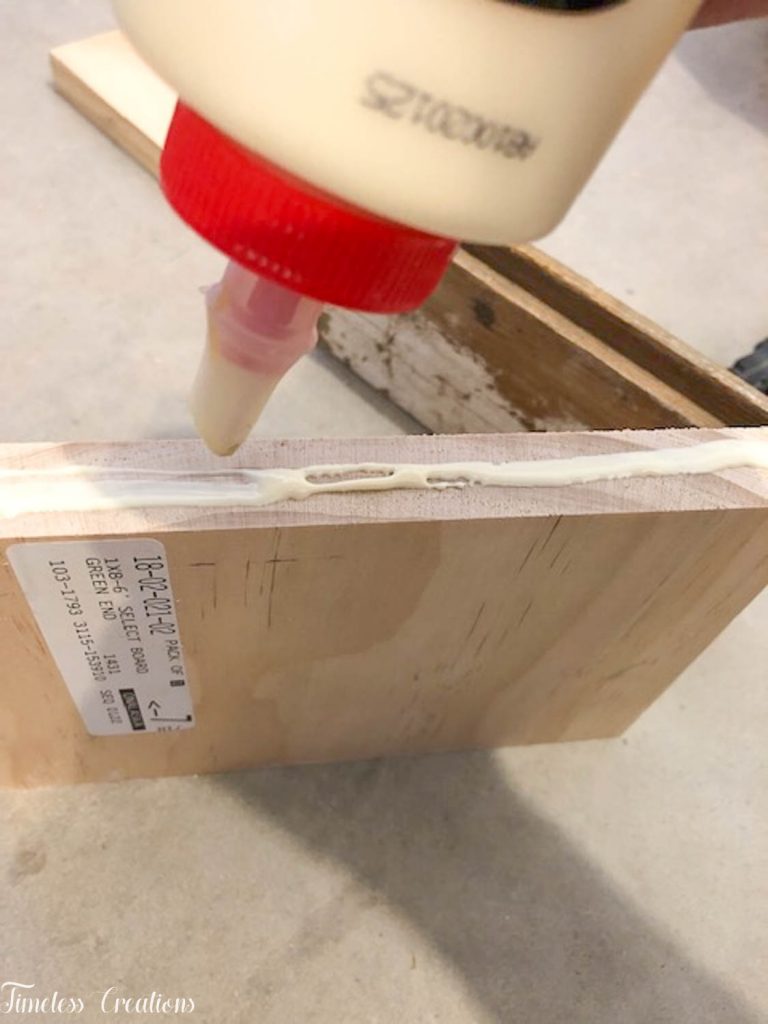
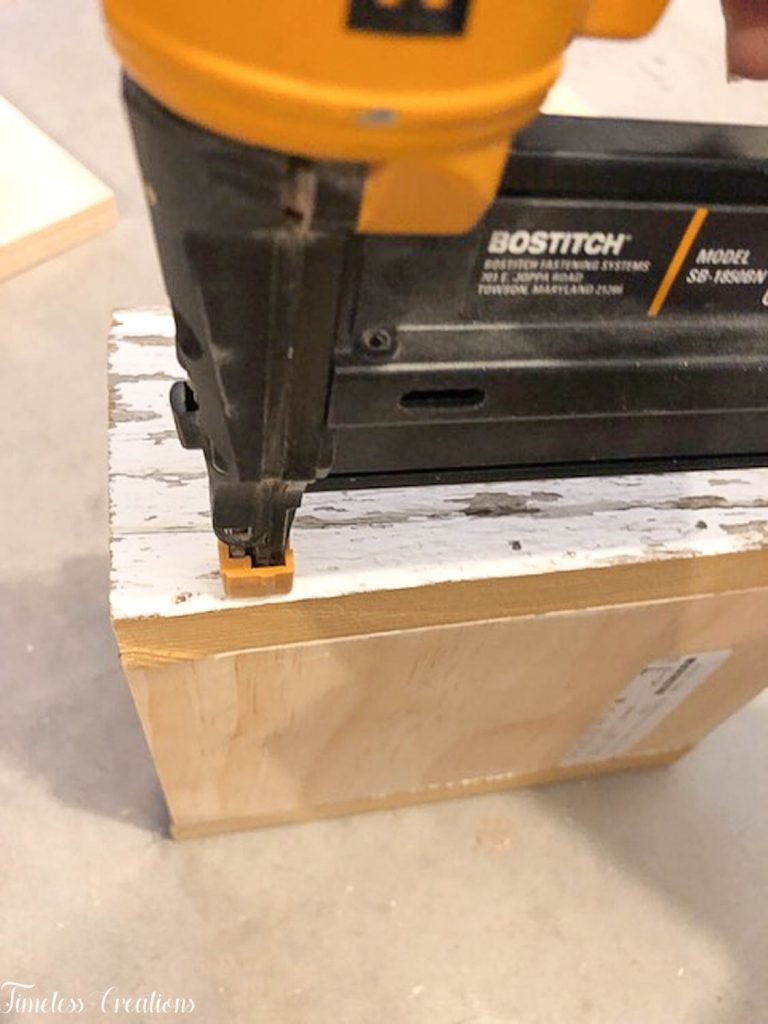
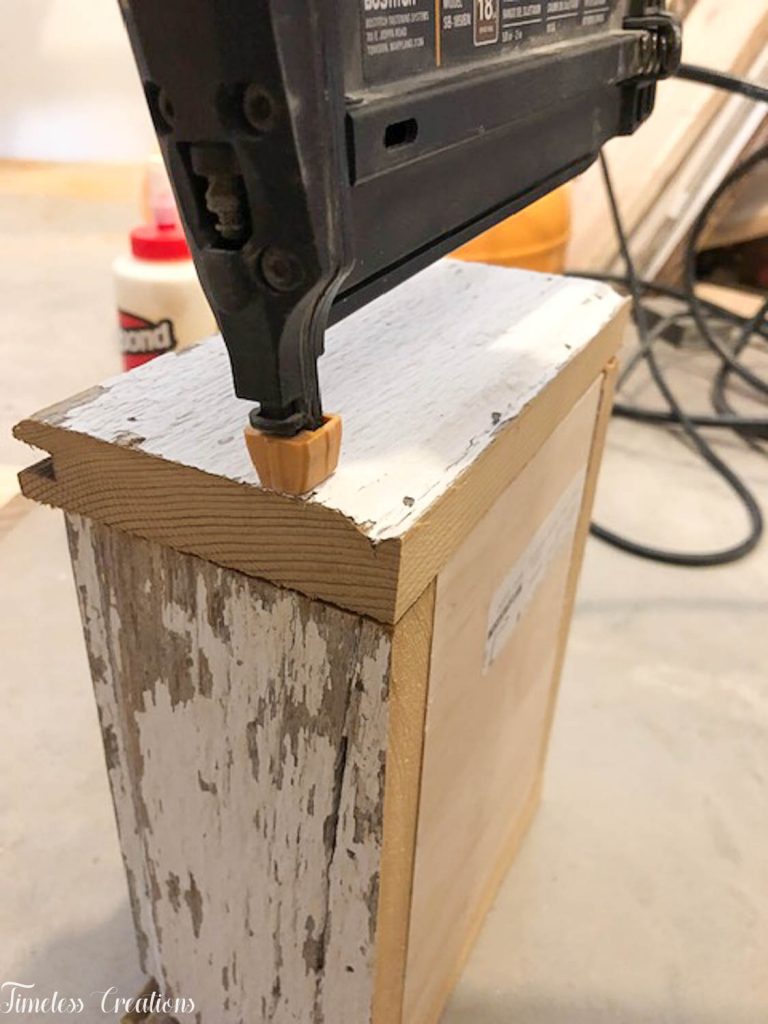
Next take your wood glue and place a line along the edge you measured. Position the bottom of your barn board along the glued edge and using your nail gun, tack the barn board into the square pine bottom. (The length of nails will depend on your boards you are using. These boards are 3/4″ thick so we used 1 3/16th inch nails, which is what we had on hand). Continue this same step for your opposite side.
Then you will measure your other two sides for their barn board. Because our barn board was old it was a bit warped in places. We opted to just measure the entire side and overlap the barn board edges instead of using a mitered edge. The mitered edges wouldn’t have lined up perfectly with our warped barn boards anyway. Therefore we made it rustic and overlapped the edges. On some edges there is a bit of a gap, but that won’t matter since you can certainly use a plastic liner if you will be putting dirt in your box.
You do the same thing with these sides by gluing and tacking your nails along the edges.
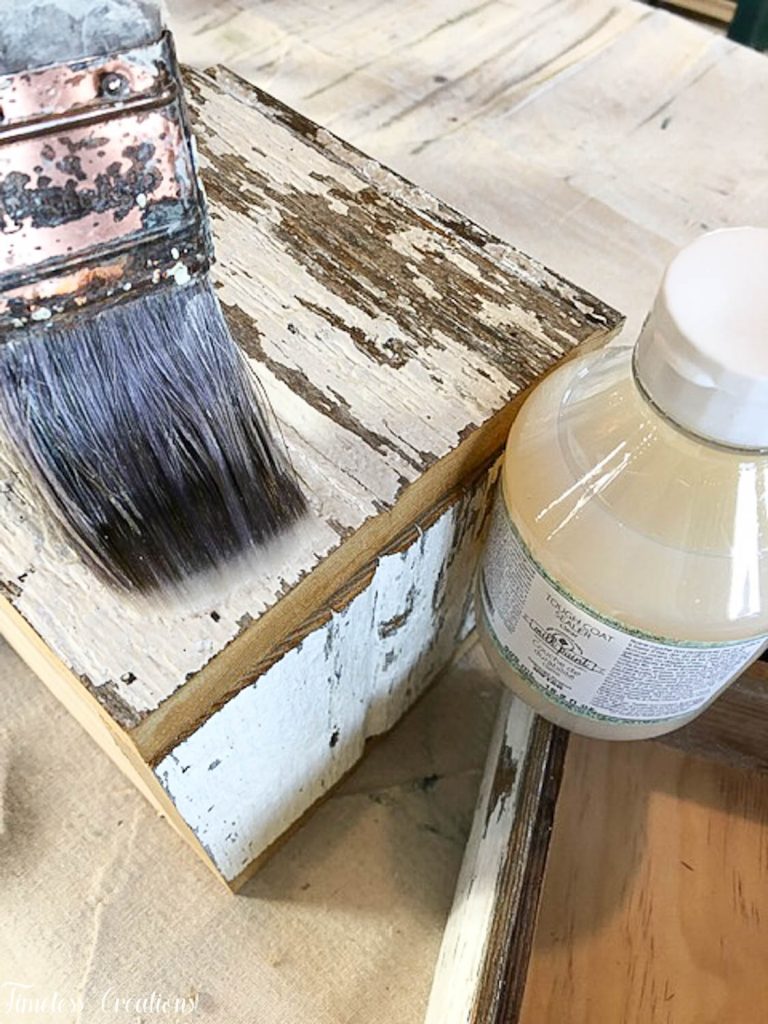
Once all sides are attached you are almost finished! We did not test our barn boards for lead paint beforehand but instead took all the necessary precautions when cutting them. But to ensure the piece won’t chip further we brushed on Miss Mustard Seed’s milk paints “Tough Coat” sealer over the white paint on the outside. Tough coat is great for sealing in paint chips. (If you don’t have Tough coat you can also use THIS Sealer).
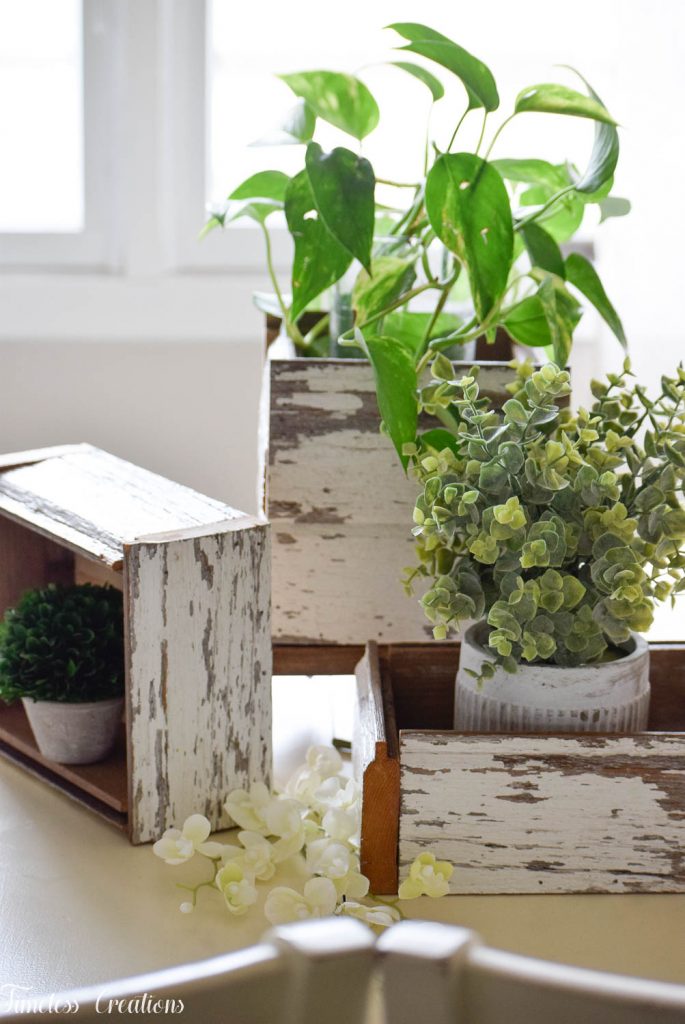
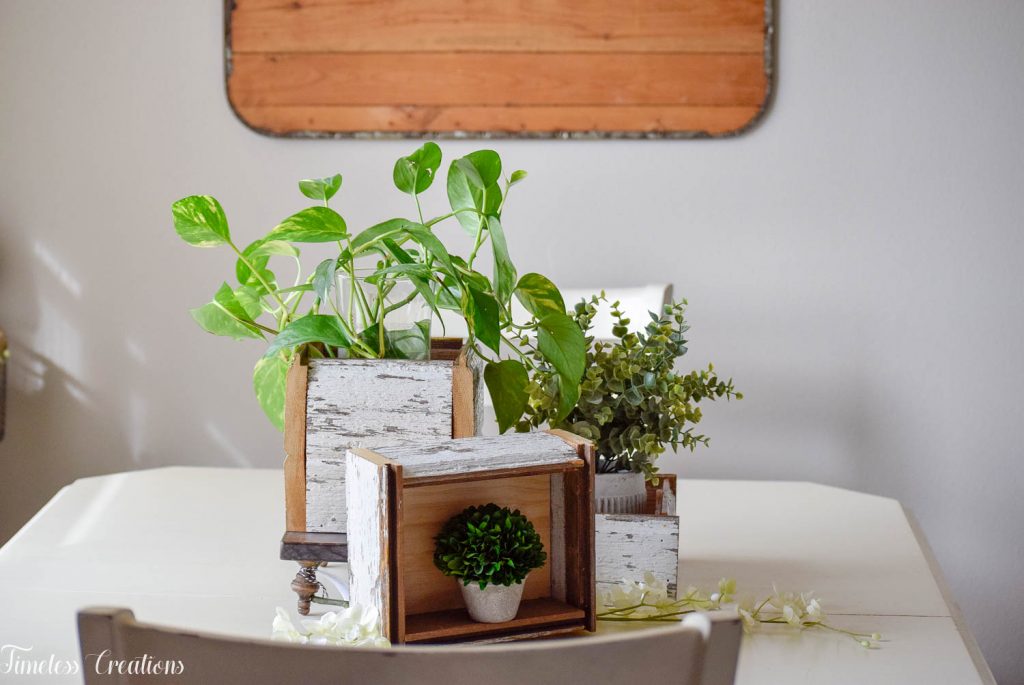
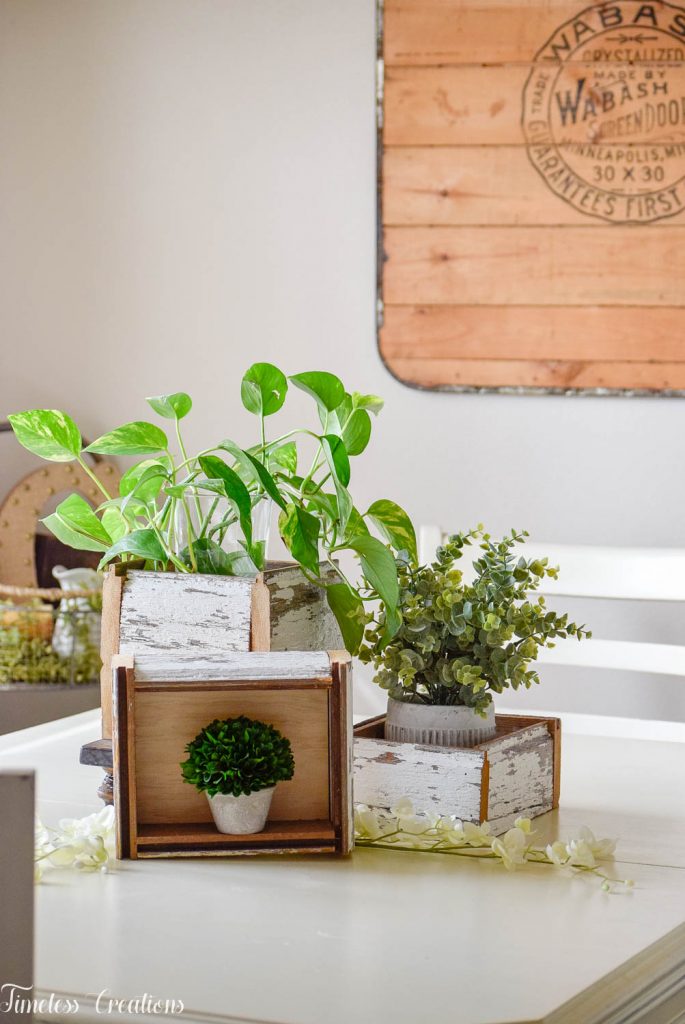
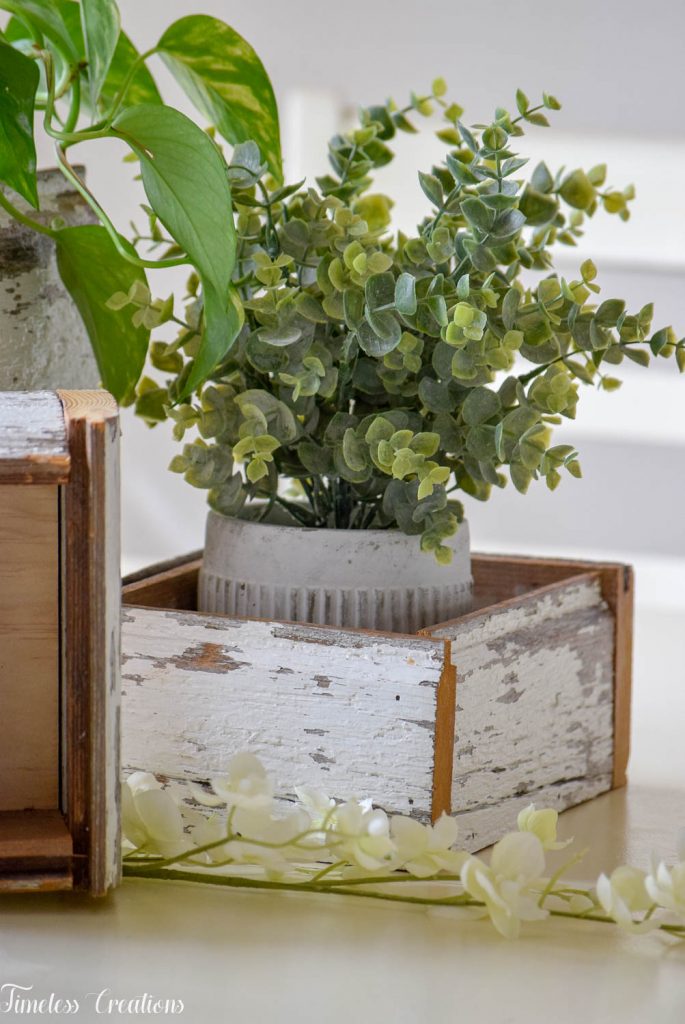
Once sealed you are finished! And what cute little chippy white planter boxes we created! Since it is still March it is way too cold out for real flowers here in Minnesota. Instead of real flowers we opted to style our boxes with a pothos plant in a vase, a faux eucalyptus plant as well as a little boxwood topiary!
It’s kind of nice to know you can actually use these planters year round inside if you wanted to. It would be cute to style these for the seasons inside and still get that beautiful rustic farmhouse style in your home!
If you plan to use these outdoors though make sure to seal them with an outdoor sealer like THIS one.
And there you have it! A super simple DIY chippy spring planter! Even if you didn’t have a nail gun you could easily tack in a few nails the old fashioned way – with a hammer!
Don’t forget to see what everyone else in the hop came up with for today’s DIY theme. And remember to check back each day this week for even MORE spring decorating inspirations! See all of the links below.


DIY’s on Monday
Joy In Our Home | Timeless Creations | The Tattered Pew CityGirlmeetsFarmboy |Life on Kaydeross Creek
Vignettes on Tuesday

anderson + grant | Follow The Yellow Brick Home | White Arrows Home | Worthing Court | Camelot Art Creations
Front Porches on Wednesday

County Road 407 | Elizabeth Joan Designs |The Crowned Goat | 2 Bees In A Pod | Sanctuary Home Decor
Mantels on Thursday

DIY Beautify | The Painted Hinge | Making It In the Mountains Grey Birch Designs | The Homemaking Momma
Recipes on Friday

Love In My Oven | Noting Grace | Beyond the Butter Confessions of a Baking Queen | The Sugar Coated Cottage


Love these! The chippy paint gives the box so much charm.
Oh you had me at chippy! I love how quick these came together and how much charm they have! Beautiful DIY!
Oh my gosh, these are so cute! We are updating our deck later this spring and these would be perfect! Thanks for sharing!
These are not only pretty but so darn cute! Love the chippy look! I’m sure they’ll be a hot seller in your store! Thanks for always joining me friends! xo
These are so wonderful!!!! I want to make some!! Thank you for this wonderful inspiration!! Fun to tour with you this week!
I love anything chippy and white! These look amazing!
That chippy board made your little boxes so sweet! I love that it has the groove showing! Happy hoping with you!
-Desiree Camelot Art Creations
These chippy planter boxes are fabulous. What a great way to reuse your weathered wood! They’re the perfect size to highlight spring plants right now too. Pinned and shared! Hugs, CoCo
Y’all have done a fantastic job on these. I love them and think of so many things to do with them. Now if I can just get my husband to let me use his power tools, I’d be in business! Love these!
Oh my gosh – these DIY planter boxes are fabulous. This is such a great reuse of your beautiful chippy boards! We just love them!
How cute are these? I love anything white and chippy, especially when combined with plants! Pinning for sure! You are always welcome to link up with us over at Thursday Favorite Things! You can find the party at 9:00 a.m. on my blog Thursday.
So glad to join you this week for the hop. Happy spring!
These are adorable! And they’re perfect for plants and spring flowers! So happy to be hopping with you!
That barn wood is gorgeous! What a great repurpose!
I just love the white rustic with the lush green plants!! Gorgeous!
Thank you so much Elizabeth!
How I love learning from you! Thank you for sharing all your creative juices with us – you are amazing!
Thanks Kelly! Was such a fun hop!